When taking landscape photographs, you normally want to have sharpness across the full range of the image. That is to say, the objects in the background should be as sharp as the objects in the foreground. This allows you to capture a wider scope of the scene, creating something closer to what your eyes can see. But how can you achieve this? The ‘double the distance’ method is one trick that might come in handy. Here’s how it is done.
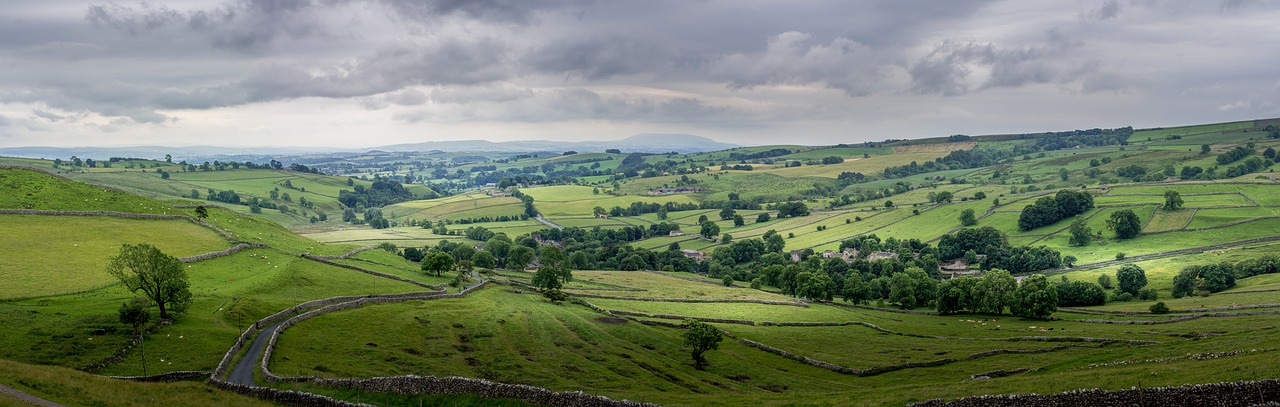
Photo by Tim Hill on Pixabay
What does this method do?
In essence, what you are doing is trying to figure out the correct distance at which you should focus your lens, so that the foreground and background will have equalised levels of sharpness. This isn’t always easy to achieve if you don’t know what you are doing, but thankfully, this technique is very easy to use when you are on the go.
How does it work?
The first thing you need to do is to take a look at the closest object in your frame, and try to figure out how far away it is from you. Actually, it should be how far it is from the plane of your camera sensor, but let’s not overcomplicate things yet. Next, you should focus your lens at twice that distance.
For example, if you have something that is around two metres away, you should focus at four metres. If you think that it is about five hundred yards away, focus at a thousand yards. You get the picture! It doesn’t need to be completely accurate for this to work – you can just estimate using your own eyes.
You can use any measurement format that you like – miles, centimetres, inches, hectares if you like. All you do is double the distance you can see. You could even set your tripod down, count your paces between it and the first object, and then walk the same distance away in order to figure out your focus point. It would give you the same end result.
When you get it right, this results in the foreground object you measured from and the distant horizon both being equally sharp.
What are the limitations of this technique?
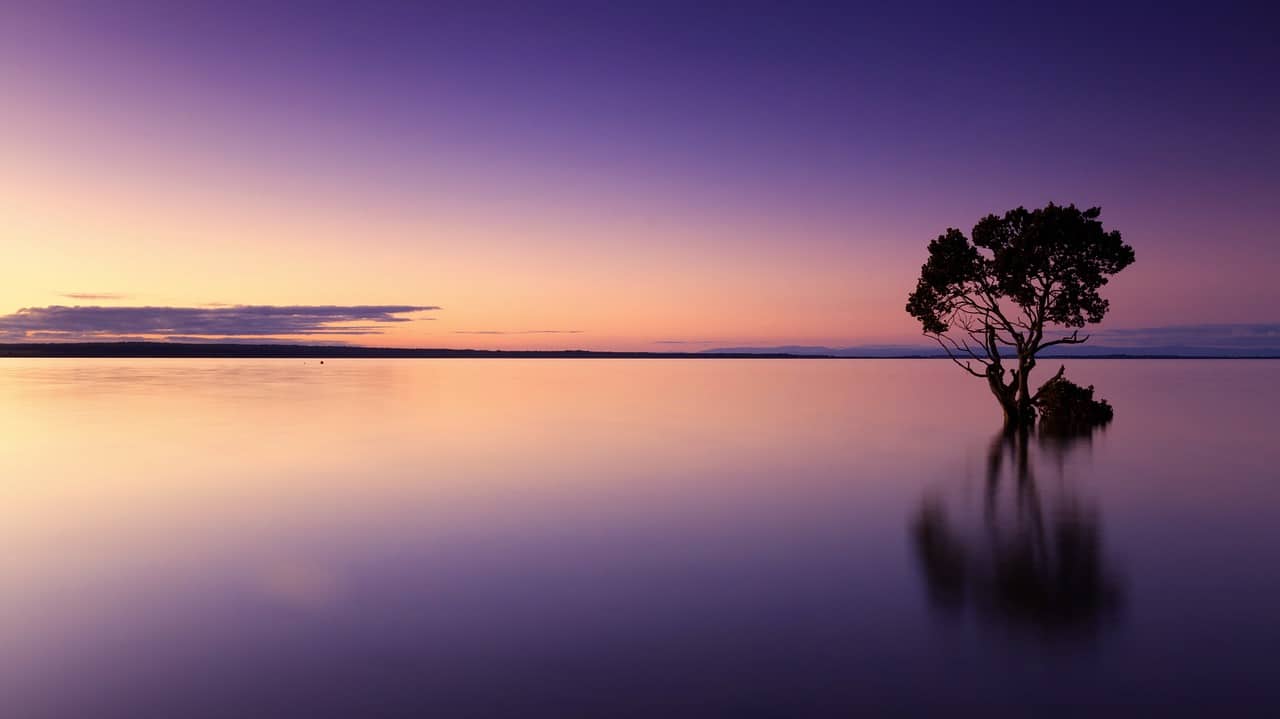
Photo by Cleverpix on Pixabay
You might have spotted a clue in the previous sentence: this technique just ensures that the foreground object and the background horizon are equally sharp. This doesn’t mean that it will help you to get them both in focus. In fact, what’s more likely is that both will be a little bit out of focus. You can only achieve perfect sharpness on the actual object or focal point that you are directly focusing on. But this does allow you to get the maximum level of sharpness across the whole of the frame, according to the specific settings that you are using.
Sometimes, this method won’t be suitable for the image that you are trying to capture. If you want to capture a person standing in a landscape, you would want to focus on the figure of the person to ensure that they are sharp. If you want to emphasize the placement of a particular tree, or a building, or something else within your composition, then you will probably be better off focusing on that. Of course, one way to maximize sharpness as well as achieving these goals would be to position yourself in such a way that your intended focal point is actually double the distance from you as your nearest object.
You should also bear in mind that this technique assumes your background object is far away, on infinity. That’s not always the case – your view might be cut off by a closer object, or you might have fog or clouds obscuring the horizon. In that case, since your background is actually closer than the horizon, you’ll need to adjust your technique. There’s no real mathematical formula for this – just bring the focus point a bit closer to you and carry on adjusting it closer until you get the shot right.
What else should you watch out for?
Remember how we said before that the distance method actually works based on the space between your object and your camera sensor? Normally, that doesn’t make much difference – you can just calculate the distance between your camera and the object without taking the plane of the sensor into account. After all, as we pointed out earlier, you don’t have to be fully accurate when measuring your distances.
However, things do change a bit when you come to the angle at which you hold your camera. If you want to tilt or angle your camera in a way that isn’t straight-on to your scene, then you will end up with a different calculation for your measurements. If you’re tilted at a sharp angle – for example, if you have your camera pointed down into the Grand Canyon – then you might have to change your thinking process.
How do I set up my camera?
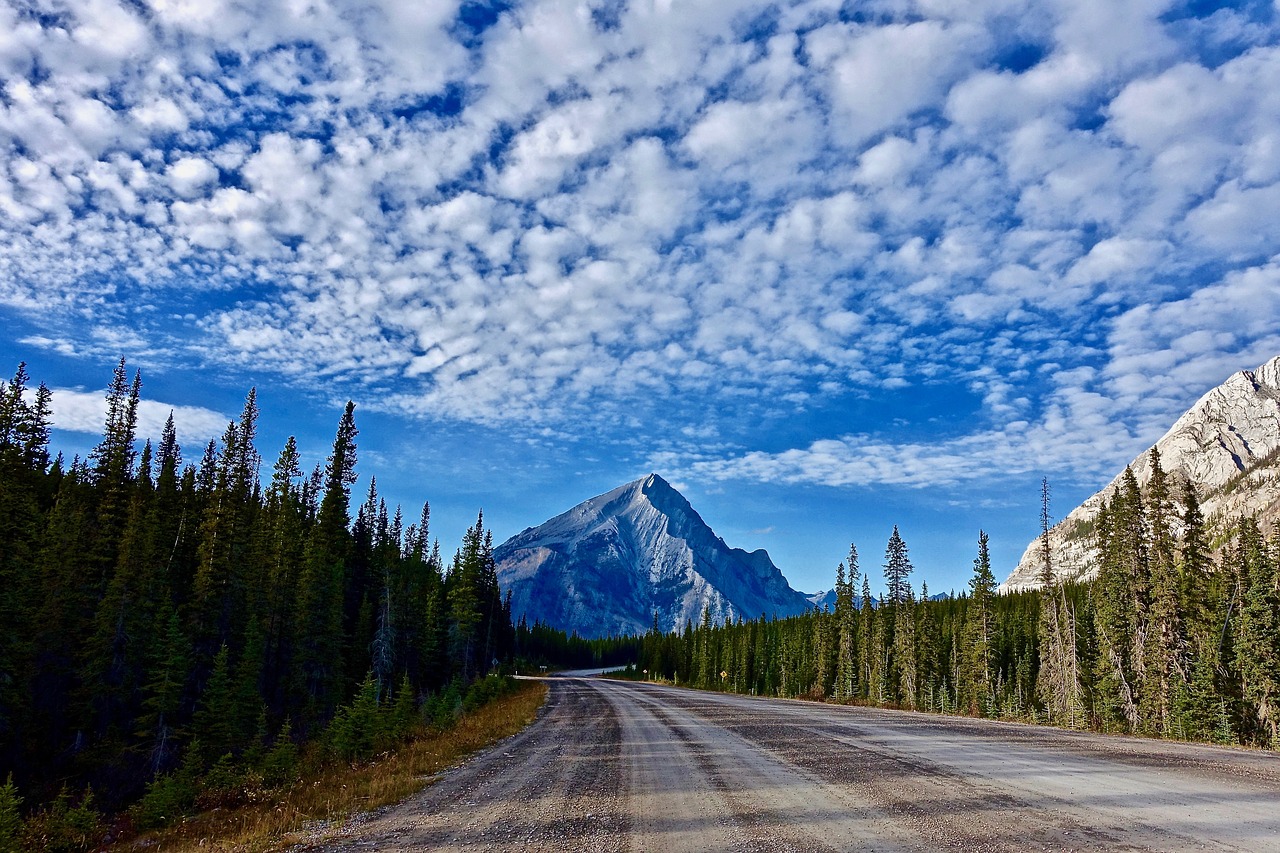
Photo by MemoryCatcher on Pixabay
Now, let’s talk about how you can put the double the distance method to the best possible use by the way that you set up your camera. As we mentioned, you only get equal sharpness using this technique – which doesn’t mean that you get maximum sharpness. You might have both your background and foreground totally blurred out if your settings aren’t adequate.
Generally speaking, a wider aperture means that more of the distance in your image will be covered within the range of focus. However, there are optimal points, so you shouldn’t always be aiming to shoot at the highest aperture possible. Instead, you should find a balance which provides a good level of focus without compromising your other settings or making it difficult to shoot. Here are some general rules of thumb to follow while shooting landscapes:
- Use f/8 or your sharpest measured aperture for your particular lens when shooting into the distance
- Use f/11 if you have more of a foreground element and you are using a wider lens
- Use f/16 when the foreground is very close or you’re using a telephoto lens
You should use these suggestions as a starting point, and then experiment around them to see what works for the specific location, situation, and lens you are using. Most of the time, you will find that these numbers work well enough to get a sharp photograph for most uses.
Using this technique will usually ensure that you are able to get an image which is sharp across most of the frame. That will be hugely beneficial for those details at the very foreground of your image as well as those out in the distance, bringing back a lot of definition and detail that would not have been there previously. Although it is a simple technique and easy to learn, it can make a big difference in terms of the overall quality of your photographs.
If you can, a great exercise is to go back to a location where you have previously shot images using a different focus point. Take a look at the photographs you took then and the ones you shoot now with this method, and see what contrast there is between the two.


Why not just determine the hyperfocal distance and use that? Especially with wide angle lenses that can be from a very short distance to infinity.
From your article “Generally speaking, a wider aperture means that more of the distance in your image will be covered within the range of focus.” I disagree- the wider the aperture, say F4, results in less area in focus, the smaller(narrower)the aperture, say F11, the more you have in focus.(depth of field). You state that correctly in the bullet points, but I believe that the opening sentence in that paragraph is incorrect. Thanks