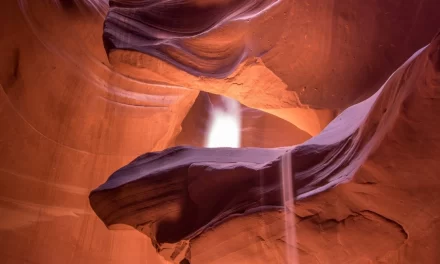
Taking photographs of landscapes requires a number of different elements to come together in a satisfactory way. One element is your foreground, while the other may often include elements of the scene that stretch to a distant horizon line in the background. You will also often have to contend with a skyscape, which means learning how to photograph clouds. Here are some tips you will need in order to capture them perfectly.
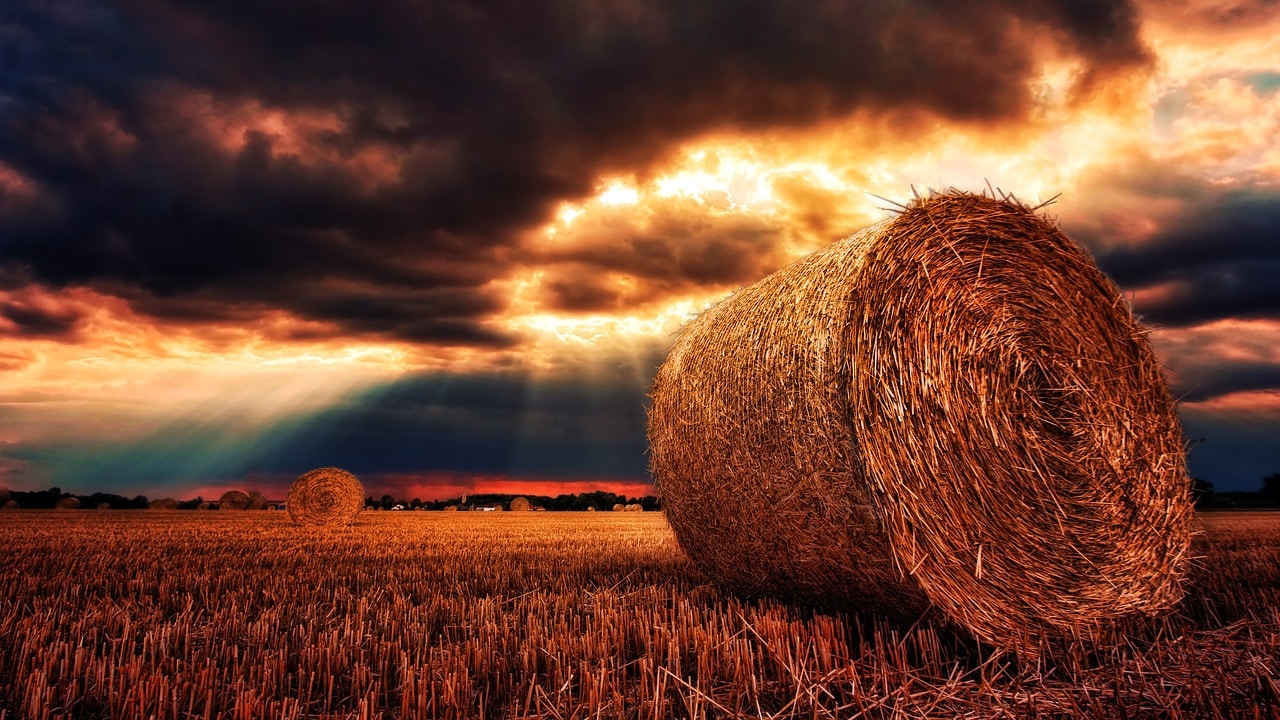
photo by Johannes Plenio | CC0
1. Learn about the types of clouds
If you understand what you are looking for when photographing clouds, then you can do it more effectively. This is essential if you want to try planning ahead and setting up shots that will have a particular look to them. You need to know what type of clouds form where, when, and under what circumstances.
For example, there are lots of different types of clouds to explore. These include cumulus, stratus, stratocumulus, and cumulonimbus. These all have a different appearance. Certain locations can even attract special clouds – like the lenticular clouds above Mt Rainier or Mount Herard.
Knowing about these kinds of clouds that buck the trend, or how and when you can capture the perfect fluffy white clouds above your landscape, will help you to capture more dramatic and exciting photographs.
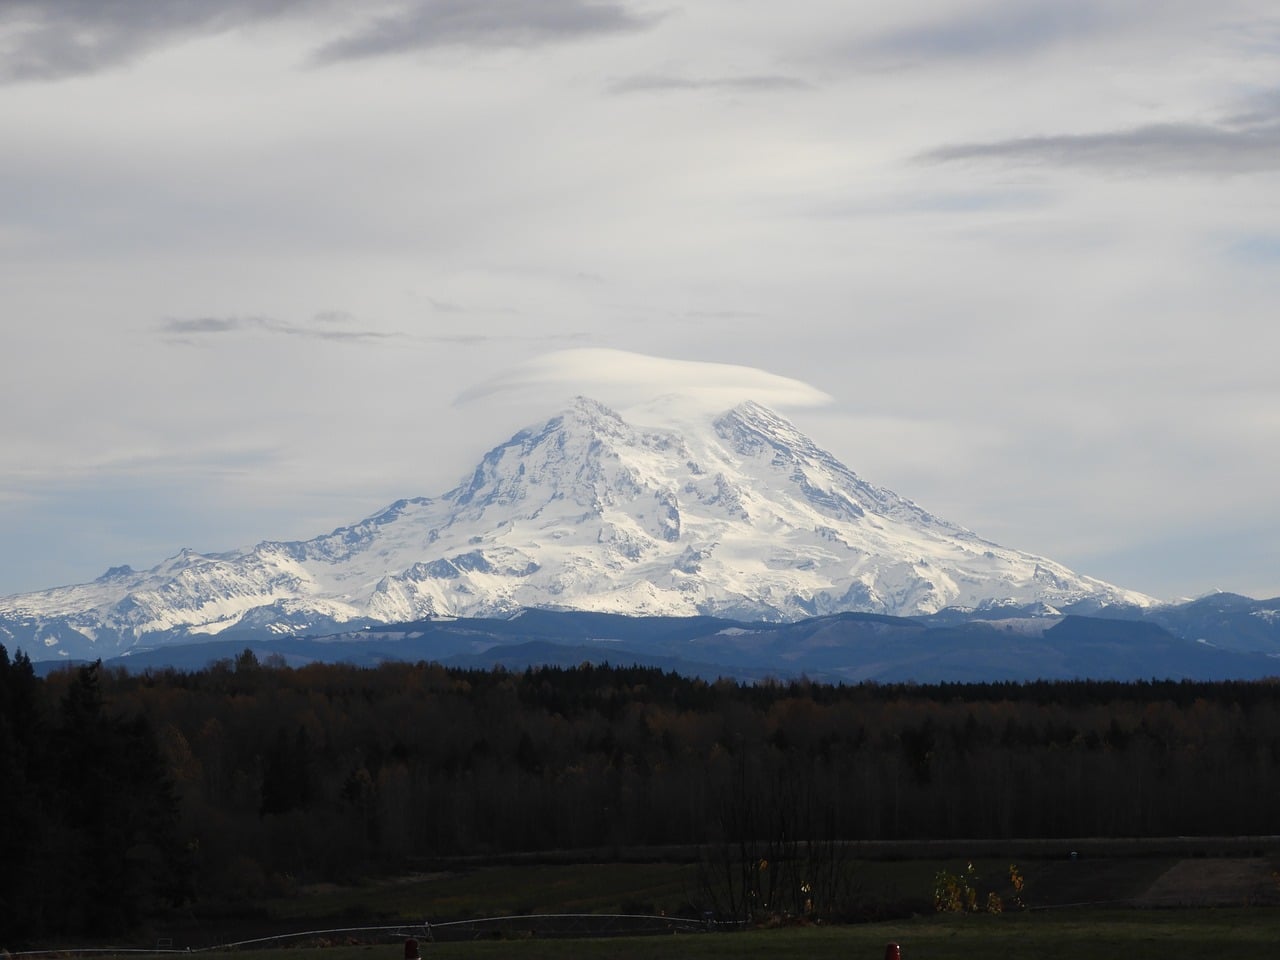
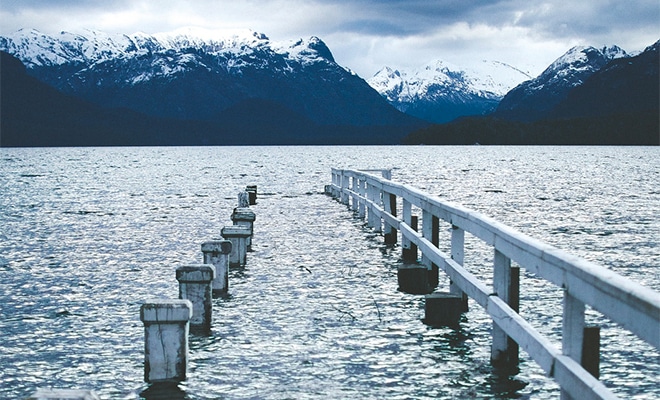
photo by Jonathan | CC0
2. Use the weather
Often, as photographers, we’re scared of anything that isn’t a nice, sunny day. We want above anything to protect our equipment. That means avoiding rain and snow, and staying out of high winds which might whip dust or sand up into the camera lens.
However, by being too protective and avoiding bad weather, you’re actually missing out on some of the best possible cloud shots. When it’s windy, the clouds can move fast, being pushed into interesting shapes. When it’s stormy, big dark clouds can make the sky seem imposing and melodramatic.
The best way to deal with this is to invest in a cover which will protect your camera and lenses. This should normally be made of clear plastic, so that it can cover your camera completely without having to obscure your view. Make sure to wrap yourself up warm as well, with waterproof clothing, so that you don’t suffer the ill effects. Shivering is a sure-fire way to introduce shake into the image if you are shooting handheld!
Of course, a tripod can also help you to get around this problem.
3. Use a lens filter
Lens filters are useful for a number of reasons. Not least is the fact that they can help to protect your lens. Any scratches on the lens filter can be easily shrugged off, as you can simply purchase another one at a cheap price. That’s much more cost-effective than buying a new lens instead! You might even get lucky if you drop the camera, and have the lens filter get damaged while the lens itself is fine.
The other way in which filters can really help is by improving the look of your image. Just in the same way that we use them to improve our selfies or when posting shots to Instagram, having a filter on the lens in the first place can change the look of your skyscape.
A polarizing filter is the best choice for separating clouds from the sky behind them, darkening the blue and making them really pop out. This is even more effective when you’re shooting with the intention of converting to monochrome, but it works in colour too. This happens because the filters block certain light waves from going through the lens, which affects the way that your sensor captures the image.
Another useful filter for cloud shots is the Graduated Neutral Density filter, or GND. This helps to reduce the gap in exposure across a scene. When might this be useful, you ask? Take a sunset or sunrise, where the clouds float across the bright light of a rising or setting sun.
The foreground is often also very dark, so in order to achieve balance, you need to reduce that difference. You’ll likely have to do a bit more work in post-production to even the gap more, but a GND gives you a good start.
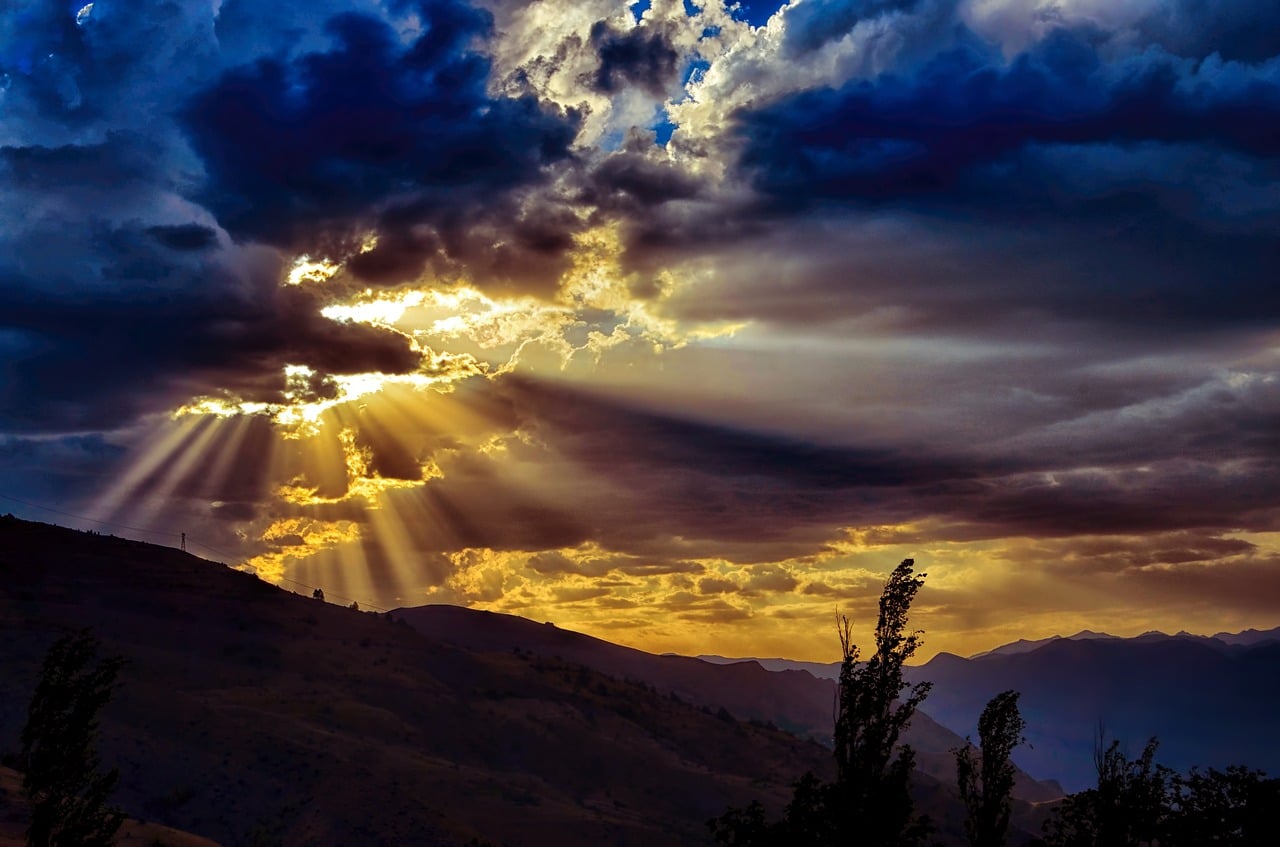
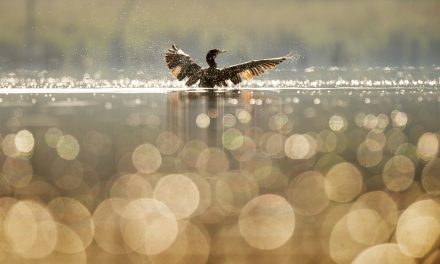
photo by RÜŞTÜ BOZKUŞ | CC0
4. Watch your exposure times
It can often be tempting, as a landscape photographer, to go for a slow shutter speed and get a nice long exposure effect. This can turn rivers into silky, smooth ribbons which create an interesting theme for the image. However, this is also something that is going to affect how your clouds look.
The long exposure can leave you with shapeless or formless clouds, or a sky which appears simply white with no real detail. You can play around with your exposure to see what suits the scene. It could be that the landscape you are shooting looks really interesting with that surreal, silky sky.
On the other hand, it might look better if you have solid cloud forms visible. You can always compromise by shooting a quick image of the sky first, and then using a long exposure setting to capture the land, compositing the two together later during post-production.

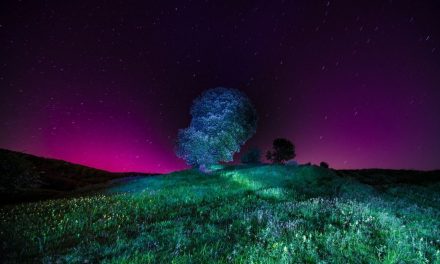
photo under CC0
5. Add more elements
When the clouds look really beautiful, as if they were painted onto the sky, it’s tempting to want to capture just the clouds on their own. You might try to crop out everything else by tilting your camera up and dropping the landscape. However, this often creates an image which is lacking depth and purpose.
When you add other elements into the frame it instantly becomes more interesting. Just a hint of landscape can be enough to give a completely different feel to the final shot. You could try looking around for taller structures which can bisect the sky, such as telephone poles or street lights. Trees, buildings, or even hilly landscapes can give depth at the bottom of the frame.
Try also to step back a little from just the clouds that you find interesting. Zoom out more and capture some empty sky around them, or perhaps white areas of cloud that are not quite as spectacular. This will give the composition room to breathe, and will make those specific clouds that you want to focus on stand out all the more.
Remember the rules of composition when capturing a sky just as much as you would when looking at a full landscape scene. The rule of thirds, the use of leading lines, and other tried and tested techniques can make your image feel all the stronger.

photo under CC0
All of these tips can help your cloud images become more spectacular, whether the clouds are the main event or just a complimentary element to your landscapes. Make sure that you experiment in post-production as well, by boosting blues, pinks, and oranges, increasing contrast, and so on.
There are lots of ways you can make those clouds stand out more, or even tone them down if you feel that the drama has gone too far.With these techniques on hand, you can even create your own library of stock clouds to be used later for skies which need a bit more interest added to them!
Photo license link: CC0


On the Image of the Portland Light, the REAL sun and the ADDED sun do not make the same shadows. Please pay attention to detail if you are going to use examples. And take a LOT of sky images at all times of hte day so that this does not happen and you have a lot of images to choose from. Clouds have hte shadows too, so if you are shooting with the sun in a particular position in hte original, make sure your added shadows also show the same time of the day. details are noticed by buyers, too. Thank you.