Photo by yusuf / CC0
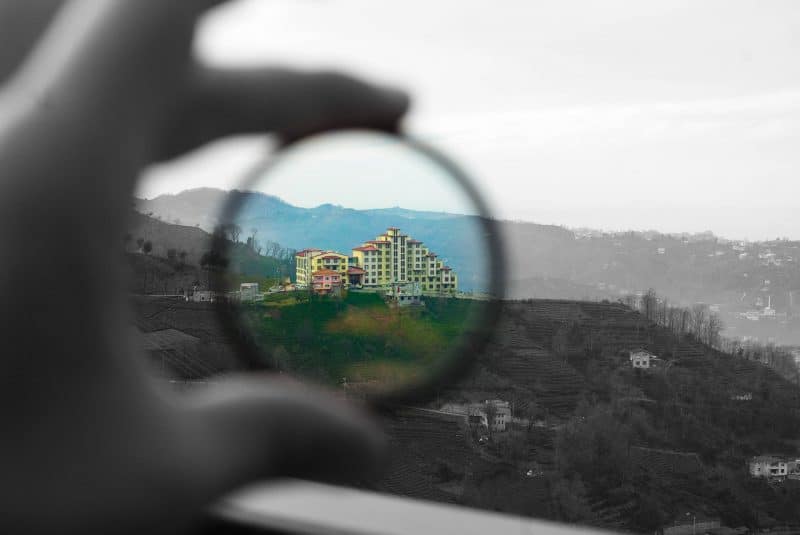
What Does a Polarizing Filter Do?
Polarizing filters enhance color contrast and saturation to give your photographs more “pop” factor while reducing glare from incidental light sources. Fortunately, they are as easy to use as they are effective.
I want the light source to be perpendicular to me in order to gain the most benefit from the filter. By “perpendicular,” I mean that the sun should be to the side of me rather than in front of or behind me. But the filter isn’t entirely useless if a scene demands otherwise. Next, I rotate the filter as it sits on the lens; the alterations in color, or the reduction of glare, should be immediately noticeable.
Keep in mind that because you’re using a filter to remove light this will affect your overall exposure. Most polarizing filters reduce incoming light by 1-2 stops. This means 1/2 to 1/4 of the light that would normally be entering the camera is doing so with a CPL. Therefore if I’m shooting full manual mode then I’ll need to adjust my ISO, aperture, or shutter speed to compensate for this.
Which Scenes Benefit Most from Polarizing Filters?
Sky photos will show a definite improvement while using a polarizing filter. The atmosphere itself, as well as haze like dust and smog, cause light scattering that is the bane of the CPL user. By using the filter the incidental scattered light is cut out, leaving a much more vibrant sky than even your eyes might detect. Clouds show more detail and crisper borders and the blues of the air are deeper, essentially increasing contrast in the sky. Often the differences in tones from the lower and upper atmosphere become clearer as well. Even if polarizing filters only made skies more beautiful they would remain an essential tool for landscape photographers.
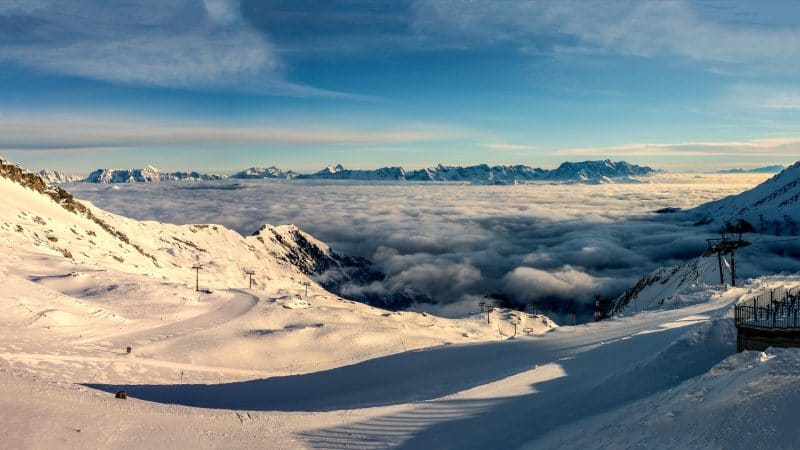
Photo by MonikaP / CC0
Still, we need to be careful. A special problem called “gradient sky” can occur when using a polarizing filter and a wide field of view. The position of the light source (the sun), as well as the rotation of the CPL, can create an effect where the sky will appear to have a separate light and dark band, rather than a smooth transition. The effect is especially dramatic with the wide-angle fields of view that landscape photographers love.
This can be prevented by not rotating the polarizing filter to maximum polarization and reducing the amount of sky in the image, as well as using a smaller field of view. But generally it’s better to simply remove the CPL at the cost of some color saturation if it’s preventing you from capturing the full scene. You might also consider using the gradient filter tool in Lightroom or Photoshop to counteract this effect across the sky.
CPLs also help with water photography. Anyone who has shot on a sunny day near a body of water knows how difficult it can be to capture the true color of the water. Trying to capture details like the clarity of the water or rocks and other submerged subjects is nearly impossible when the sun is out. Polarizing filters also help reduce or eliminate the glare that forms on the surface of the water as well.
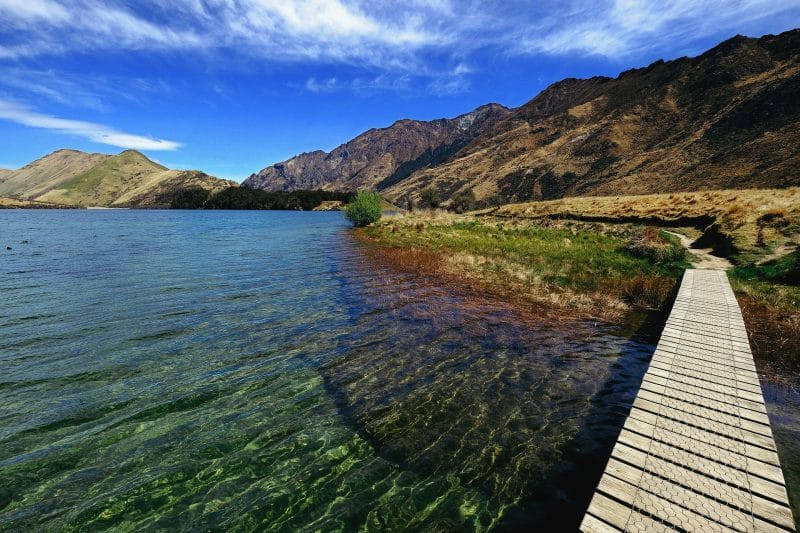
Photo by Hameg / CC0
Bright colored objects also gain a slight amount of punch when using a polarizing filter. Even if it’s not immediately obvious there may be reflections in other wavelengths that are muting the colors of your subject slightly. Trees are an easy example; polarizing filters tend to bring out more vibrant green tones with use that can be surprising yet entirely natural in appearance. And fall foliage becomes that much richer, especially from afar.
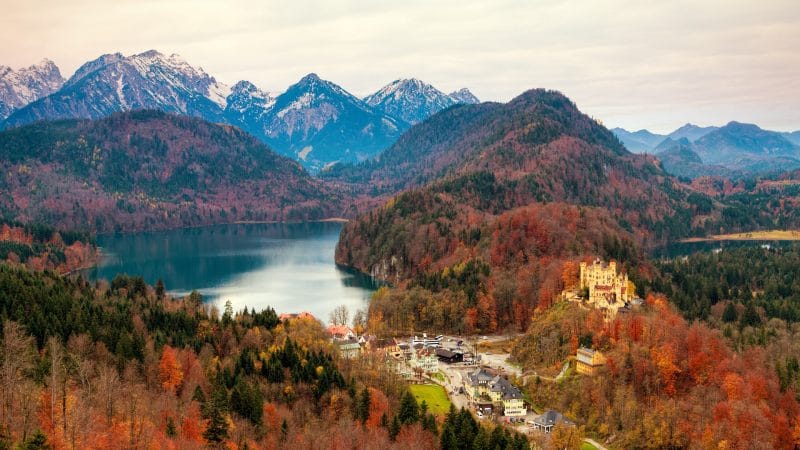
Photo by Hans / CC0
The effects of a polarizing filter are hard to replicate using computer software. Sometimes the Clarity setting of Lightroom gives a decent approximation and Dehaze works fairly well with atmospheric haze. But it’s easy to overdo it and create an image that may still be beautiful but not necessarily true to the original in color saturation.
All a CPL does is cut out some of the incidental light but it makes a dramatic difference. Keep in mind that the impact of the filter will vary depending on the scene. If I’m up close to dramatic rocks on an overcast day I’ll get a reduced effect compared to a bright, sunny day while standing far away with lots of atmosphere in between us.
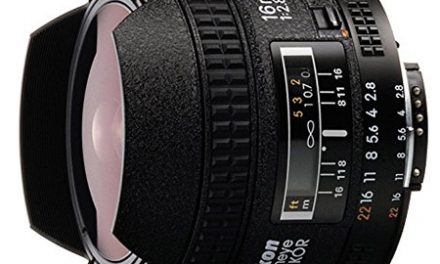
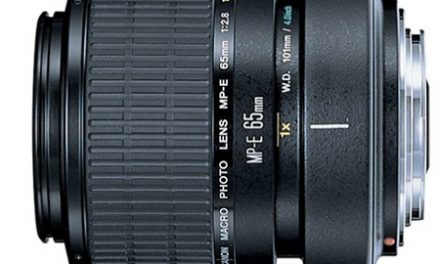
How to Choose a Polarizing Filter
Simply match the filter diameter to that of your lens. If you have a 52mm diameter lens then you’ll want a filter that will fit this lens. As far as other choices, the glass quality does make a difference, which also affects the price. You can easily find polarizing filters for under $10 but how important is the quality of your images? Keep in mind that the polarizing filter sits in front of your lens. Therefore any issues introduced by the poor quality glass aren’t going anywhere. More expensive glass is less prone to flare and ghosting, for example. While higher-end interchangeable lenses have specialized coatings to help reduce or eliminate these issues we don’t want to make their jobs any more difficult.
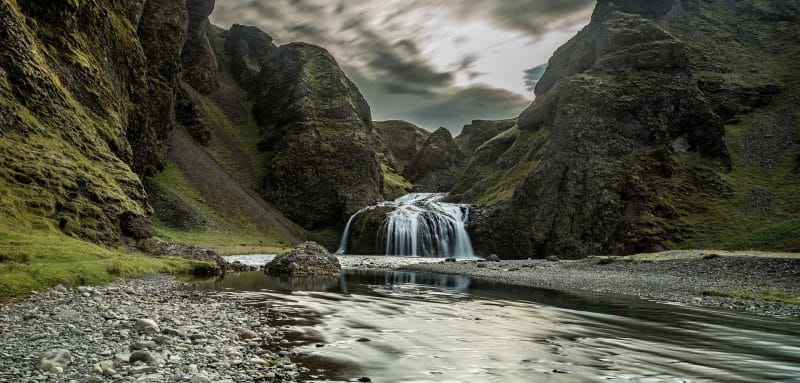
Photo by globenwein / CC0
Conclusion
Polarizing filters are nearly as mandatory as tripods for the landscape photographer. They’re versatile and punch well above their weight in size to usefulness. Few filters are truly usable with most scenes but circular polarizers just might be the universal landscape photographer’s filter that deserves a place in every gear bag.


Great post explaining the benefits of polarizing filters!… When I talk to people about landscape or travel photography, I tell them that the easiest way to improve their pictures is to put a cpl on their camera lens…
Glad you thought so! CPLs are one of the few filters I’d say are mandatory for anyone to have.