Photo by Jonas Svidras / CC0
If you’re a beginner photographer you might be wondering what’s the best aperture to use when you shoot, say a portrait, or a landscape.
Well, as with all camera settings, choosing the aperture settings largely depends on what you’re shooting and what you want to achieve.
You’ve seen portrait photos with sharp subjects with completely blurred, out-of-focus background and you’re wondering how you yourself could achieve this effect and make the subject pop. Or you might be interested in landscape and nightscape photography where you need everything up to infinity to be sharp and in focus.
Changing aperture settings will affect your photos in two main ways:
- Larger aperture means more light will come through the lens and into the sensor while a small aperture only lets through a narrow stream of light.
- Large aperture will create a shallow depth of field (blurred background) while small aperture will create a deep depth of field (everything in focus)
Remember: Larger aperture is marked by a smaller F number. So, an aperture of F/2.0 is larger than F/16. This is because the F value is actually a fraction: 1/16 is smaller than 1/2. Lens with a large aperture is also referred to as fast lens, as it allows for shorter exposure time (faster shutter speed).
Photo by Anes Mulalic
Lens and Aperture
Aperture is all about the lens. It has very little to do with your camera. Prime lenses (lens with fixed focal length, non-zooms) have a fixed aperture (e.g. F/4), while zoom lenses can either have fixed aperture or variable aperture range (e.g. F/4 – F/5.6) that changes as you increase focal length (zoom in).
Professional and more expensive lenses are usually fast lenses, meaning they have a large maximum aperture (e.g. F/1.4) which allows them to capture bright images without forcing high ISO or slow shutter speed.
Budget lenses are usually slow zoom lenses (e.g. F/3.5 – F/5.6). Fully zoomed in, the F/5.6 aperture is rather slow and will force you to either bump up ISO to high levels; introducing noise in the process, or to reduce shutter speed; increasing potential for blurry photos.
Note that above examples refer to shooting in challenging lighting conditions, i.e. poorly lit indoors or night photography, hand-held and without flash. Shooting in daylight, with flash or with camera mounted on a tripod, consumer lens can produce very impressive results as well.
To conclude, these are the scenarios where you’ll need a fast, large-aperture lens:
- Low light photography
- Action, sports or wildlife photography where you need fast shutter speed
- Portrait photography when you want to isolate the subject with a blurred background
And these are the scenarios where a slow lens will do just fine:
- Landscape photography
- General daylight photography
- When the camera is mounted on a tripod

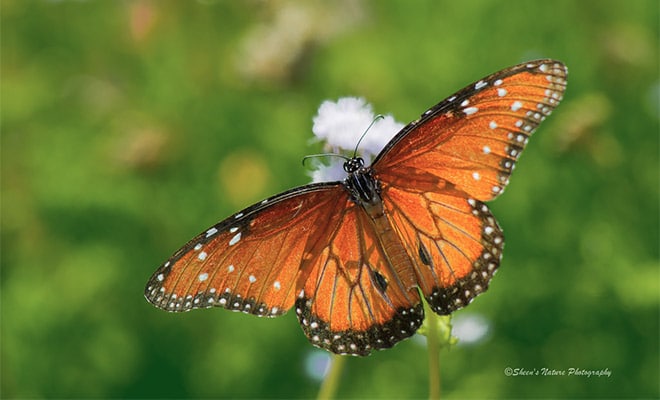
Depth of Field difference between different aperture settings. Photo by Igor Letilovic
How to Adjust Aperture
Some lenses have a physical ring for adjusting aperture size, some rely on camera settings to change aperture, while others allow both.
If your lens has fixed maximum aperture of F/4, that means you cannot increase it any further, but you can still “stop-down” a lens by increasing the F value via camera settings. Lenses will usually have minimum aperture, e.g. F/22.
Next, we’ll review reasons why you might want to sometimes use a smaller aperture.
Lens Aberrations and Diffraction
These are many types of lens aberrations, such as vignetting, astigmatism, color fringing, coma, to name a few. These are all imperfections in the lens itself. Taking each of these into detail is beyond the scope of this article.
What you need to know is that aberrations cause degradation of image quality, namely sharpness, and mostly around corners of the image and at large apertures.
Aberration mainly affects image corners because corners of the lens are more challenging to produce by lens manufacturers and are more prone to imperfections such as different aberrations.
Using smaller aperture literally blocks the light coming in through corners of the lens, allowing only light coming through the centre of the lens to reach the sensor. This centre light will disperse around the glass, meaning corners will still be visible, but you’ll significantly reduce aberrations.
That means that an image will likely be sharper at F/5.6 than it would be at F/1.8, for example.
Now, you might think stopping down the lens down to F/22 will produce sharpest results, but you would be wrong. Narrowing aperture too much will produce another unwanted effect, which is known as diffraction. Diffraction, in turn, causes blurring of details – reducing sharpness.
Now we know using smaller aperture will reduce lens aberrations (increasing sharpness) but at the same time will introduce diffraction (reducing sharpness). So, what do we do?
Well, the trick is to know when diffraction first appears (at what aperture). On smaller sensors (Micro Four-Thirds, APS-C) it will manifest sooner than it will on full-frame sensor.
For full-frame sensors, aperture of F/8 and F/16 will likely show diffraction, but not necessarily too much to bother you if you really need that depth of field. F/22 on the other hand is something I would recommend avoiding.
For APS-C, divide the aperture with 1.5 and you’ll get the smallest aperture you can use without causing too much diffraction. For Micro-Four-Thirds sensors, do the same but divide with the number 2 instead. This means that F/11 on a M 3/4 camera will have the same diffraction effect as it would appear at F/22 on a full-frame camera.
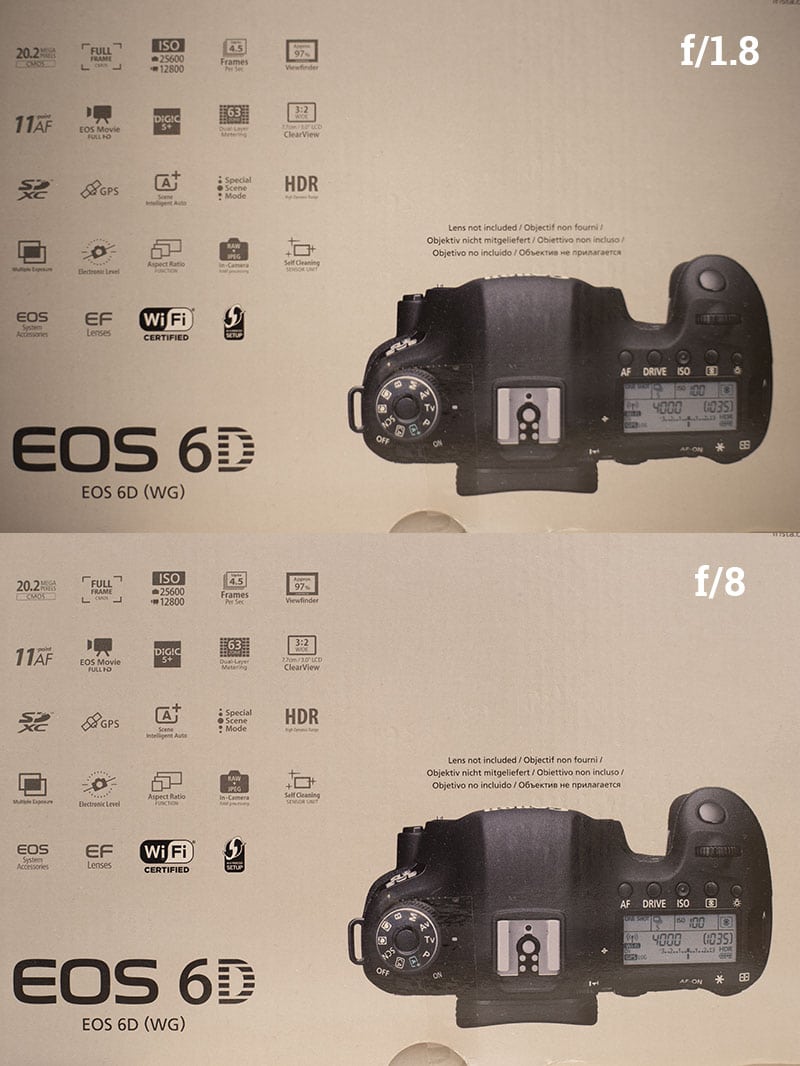
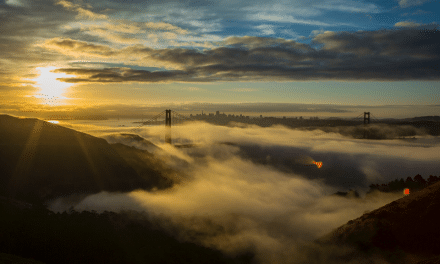
Noticeable difference in lens aberrations between different aperture settings. Photo by Igor Letilovic
Notice the difference in vignetting and sharpness around corners.
Conclusion
Taking both aberrations and diffraction into consideration, we conclude that sharpest results will come in between F/5.6 – F/11. Again, these are only general guidelines and you shouldn’t be afraid either to completely open your lens aperture or to narrow it down.
Manipulating aperture can allow for some other rather interesting effects as well. For example, if you’re shooting a waterfall and you want that silky-smooth water effect, you would need to use slow shutter speed. Knowing that this will likely overexpose the image, you can counteract the overexposure by narrowing aperture size.
Another popular effect are sunbursts, those elaborate sunbeams you see in landscape and city photographs. You can achieve this effect by using a small aperture such as F/16.
Of course, the most important thing for a photographer is a sufficiently exposed photo with as little noise as possible. That’s where large apertures play a huge role.
This article is intended to help you understand aperture, how it affects your photos and ultimately, help you answer the question “What aperture should I use?” With that said, don’t stray away from experimenting with aperture. Happy shooting!