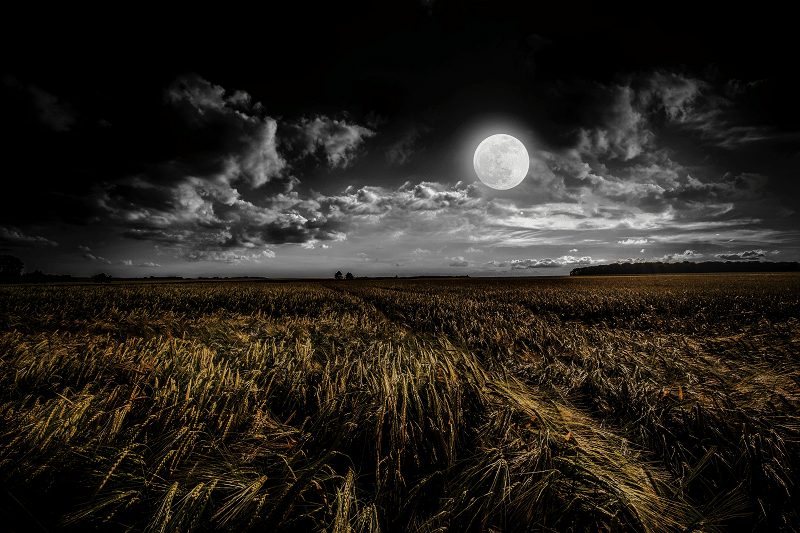
photo by: Luca Huter
The moon is perhaps one of the most photographed subjects there is, but if you’ve ever tried your hand at moon photography, then you know that capturing the moon isn’t as easy as it might seem.
You don’t have to wait until the next blue moon or eclipse to get some great moon shots, there are plenty of opportunities to capture the moon on ordinary nights; regardless of how full, how bright, or how blue the moon may be.
While there is no one set group of rules to follow to create stunning moon shots every time, there are a few steps you can take to help increase your chances of getting a better shot; and not just an image of a distant blur in the night sky!
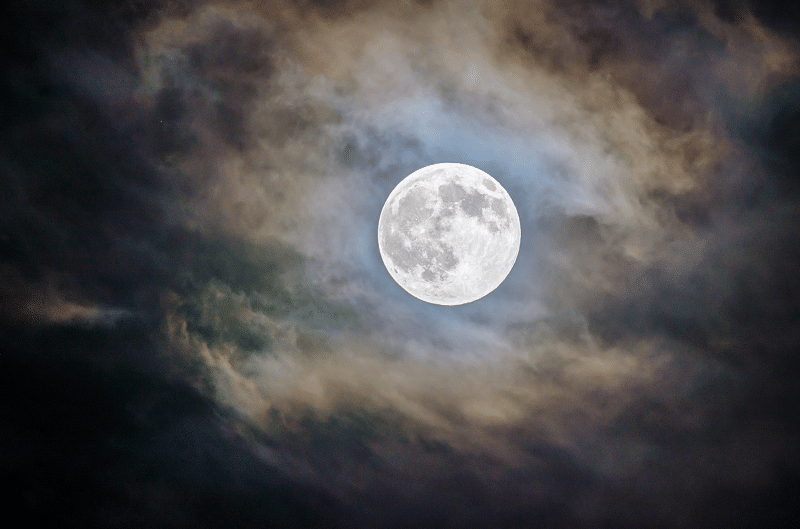
photo by: Ganapathy Kumar
Find the Right Night
Just like every other aspect of landscape photography, there are certain times when it’s easier to capture the moon. At different stages in the moon cycle, the moon will be brighter than others so try to pay attention to the moon’s phases by tracking it to get a better idea of when to head out. Keep in mind that while a full moon can make for a great image, it’s also extremely bright –and can be difficult to capture. Crescent moons tend to make for beautiful images, while three-quarter moons often have visible craters. Of course, you should also pay attention to the weather. While some cloud cover could give you interesting formations and details to work with, you’ll want to make sure that the moon isn’t totally obscured by clouds.
Bring the Right Gear
In addition to your camera, there are a few other pieces of gear that will help you to capture some amazing images. Here’s a look at a few now:
• A Tripod
Since you are working in low-light conditions, and using a longer shutter speed, you will need a tripod to prevent camera shake and ensure that your scene comes out looking sharp and clear.
• A Good Lens
The type of lens that you should use will depend on what type of photograph you want to capture. If you’re hoping to capture the moon with some surrounding scenery you should consider using a wide-angle, however, if you are looking for a close-up of the moon and looking to get as much detail as possible, then go with a telephoto lens; one with a focal length of 200mm–300mm or higher is usually ideal.
• A Remote Shutter Release
Any little bump to your camera can cause camera shake and image blur. Using a remote shutter release can help reduce the amount of camera shake your camera experiences and give you the best shot at a crisp image. If you don’t have a remote shutter release then consider using the timer on your camera so that you don’t have to touch it.
You should also remember to bring along your patience. Shooting the moon and getting a great shot doesn’t happen every time and it doesn’t happen overnight. It will take some time, practice and patience to get the right shot.
Set up Your Scene
Like any landscape photography, planning ahead is a big part of your capture! In fact, if there is a special moon you are hoping to capture, you might even start planning days in advance. Apps such as PhotoPills and The Photographer’s Ephemeris, are two good apps that can help you plan and prepare for the moon that you want. Finding an ideal location is another important part of prepping for your shoot. Keep in mind that pollution and smog can get in the way of a clear shot, so you may want to head out of town a ways for clearer images.
Once you have determined when and where you would like to capture the moon, you should consider the composition. There are plenty of different types of foreground that you can incorporate into your shot, and you may also want to consider a reflection off of the lake or ocean as well as the sky and clouds. Paying attention to the scene, and not just the moon, will enhance your composition and help your image to stand out.
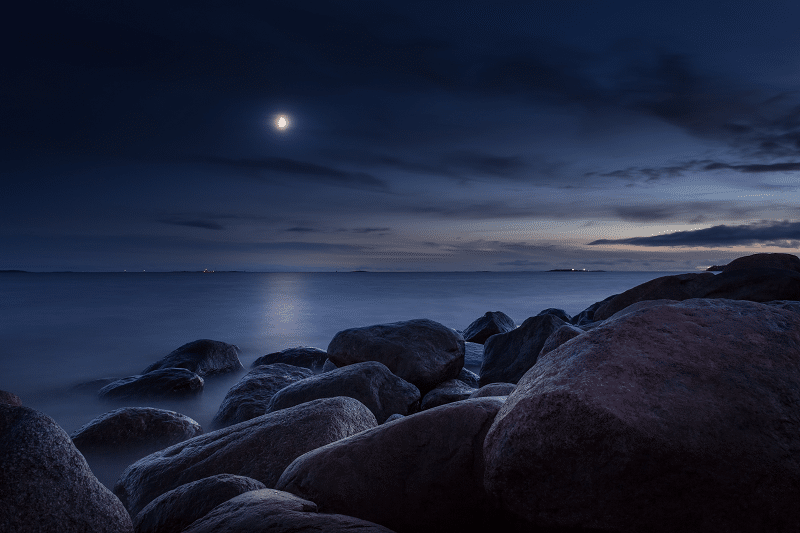
photo by: Joakim Honkasalo
Adjust Your White Balance
Auto white balance isn’t always the best option when photographing the moon. Instead, try using daylight white balance. Because the moon reflects the light of the sun, it makes sense to try to use this white balance setting. Of course, you can always shoot in RAW and adjust the white balance later on in post-processing as well.
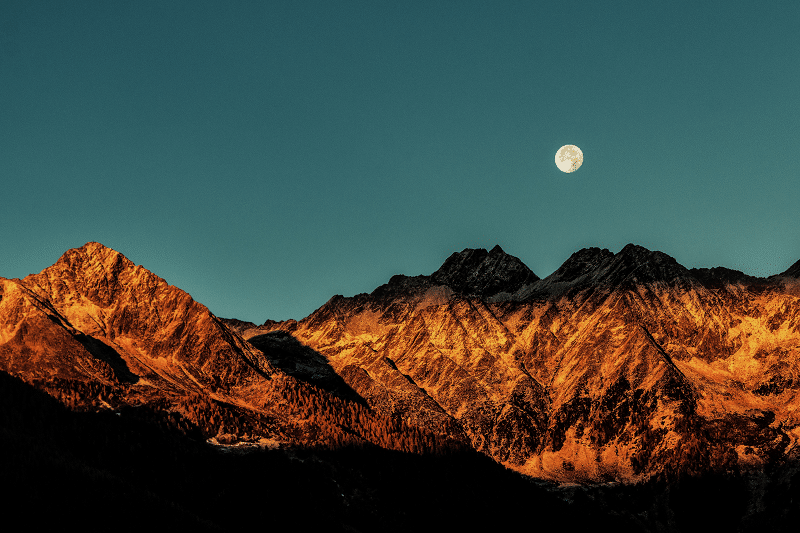
photo by: eberhard grossgasteiger
Adjust Your Settings
Getting the right exposure for your moon shot can be a bit challenging. After all, you are working with very little light, in a dark atmosphere, this alone can throw off your camera’s automatic exposure system, meaning you need to tackle the settings yourself if you hope to get anything more than a bright white circle in an otherwise dark image.
A good place to start is by taking the ‘Lunar 11’ or ‘Looney 11’ rule into account. Similar to the “Sunny 16” rule, the Looney 11 gives you a starting point for adjusting your settings. According to this guideline, you’ll want to set your aperture to f/11, your ISO at 100, and your shutter speed to 1/100. Take a few shots and adjust accordingly, keeping in mind that your settings will vary depending on your location, foreground and your goals for the resulting image.
Consider taking a test shot get your settings right. If you can’t see the craters, then your exposure may be too bright –try dialing down your shutter speed or readjusting your focus. Be sure to use a critical eye when evaluating your images, and adjust the settings accordingly.
Remember, shooting the moon successfully takes a lot of practice, so don’t give up if your first night out doesn’t reward you with amazing images. Keep practicing and before long you will have mastered the art of moon photography –and will be capturing amazing images!
Have you attempted moon photography before?


awesome moon shots included in this article. the moin is my favorite muse.
You did not include anything about focus. I tried to shoot the Supermoon last month and failed. It was a white blob. I will try the setting recommended here for ISO, speed, and f-stop. Thanks.