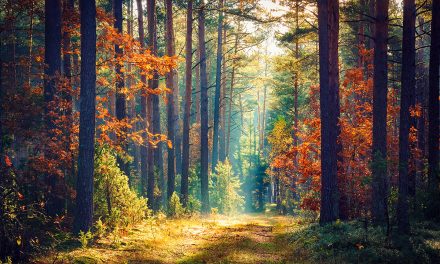
photo by: Sean McGrath
When you think of off-camera flash photography, studios and portraiture probably comes to mind.
But you may be surprised to learn that you can use your flash to shoot nature or landscape photography as well.
One of the most common challenges that landscape photographers face is the issue of lighting. When you’re out in nature, you don’t exactly have control over the type of lighting in your images –especially when you find yourself on-location during less-than-optimal lighting situations.
Your off-camera flash can be a powerful tool that can help enhance your images –especially those that are taking during challenging lighting conditions. While you can’t always control the amount of light you have to work with, or the direction the light is facing, you can control your flash, and use it to help add supplemental lighting to your images; improving the end results.
You can use your off-camera flash for close-ups like macro images or nature shots, and in some cases, to illuminate certain aspects of your landscapes as well.
Here are a few things to keep in mind to help you perfect your off-camera flash skills.
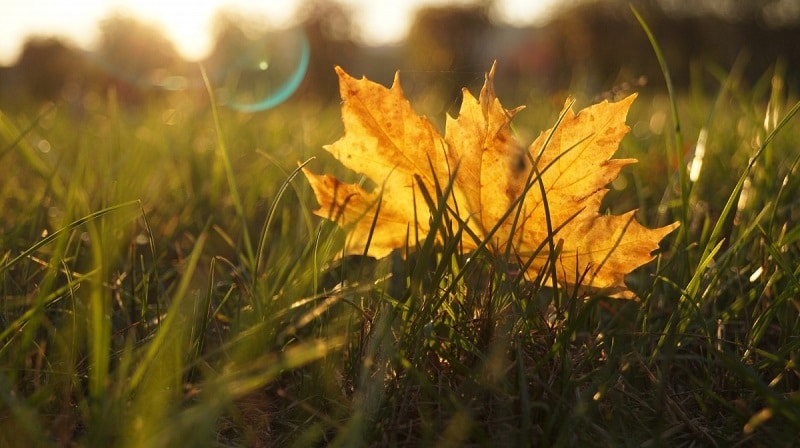
photo by: pxhere.com / CC0
When to Use Your Flash
In some cases, bringing some extra light into a scene will make it possible to capture your image far more effectively. Here’s a look at a few ways that you can use your off-camera flash now.
• To Illuminate Dark Foregrounds
Regardless of how powerful your flash is, when it comes to most landscape compositions, you won’t be able to illuminate the entire scene at hand! Instead, use your flash to illuminate the foreground –and highlight details that would otherwise be underexposed.
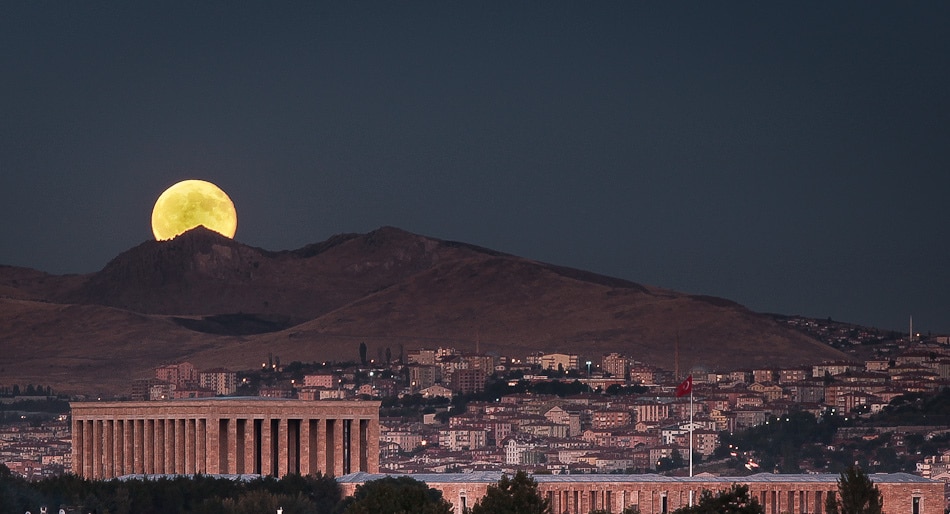
• To Capture Blue Hour Images
Once the sun dips below the horizon, you may be tempted to pack up and call it a day. But “blue hour photography” as it’s called, can result in some amazing images. To get the most out of these low-light images, you’ll want to find a light source to use in your image –be it the lights of a city reflecting on the ocean, or light trails from traffic. If there’s no light to be found, though, no worries! Simply set up so you’re photographing towards the brightest spot in the sky, and then take matters into your own hands. Use your off-camera flash, or even a flashlight to illuminate a subject in the foreground –such as a lone tree, positioned against the horizon. The light will illuminate your subject, and rather than appearing as a silhouette, it will be clear and properly exposed.
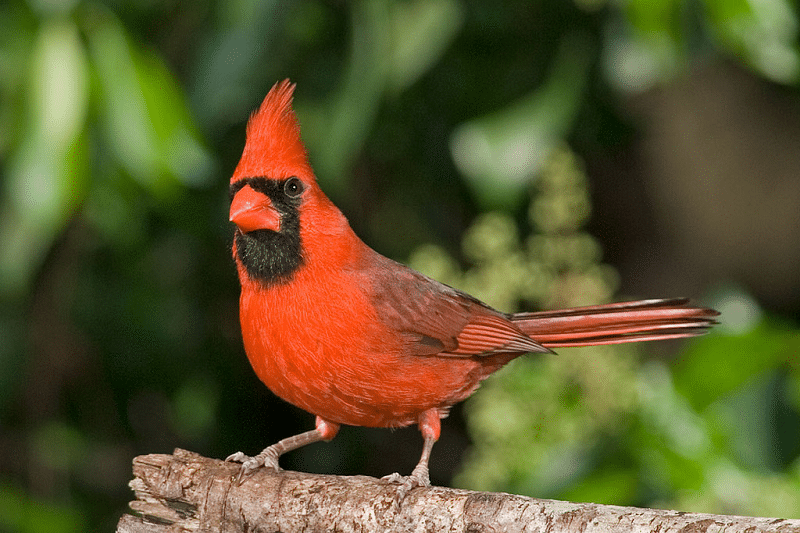
photo by: Russ Wigh
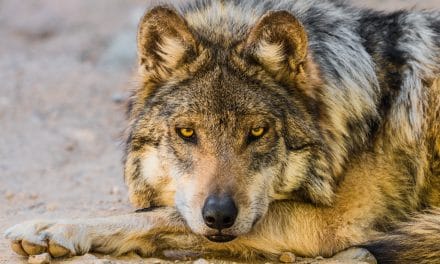
• To Photograph Wildlife
When photographing birds, using an off-camera flash can help you to capture them far more effectively. Because birds are often found in the dark, shady undergrowth, using a flash can help you to get that perfect shot.

photo by: Jim Brekke
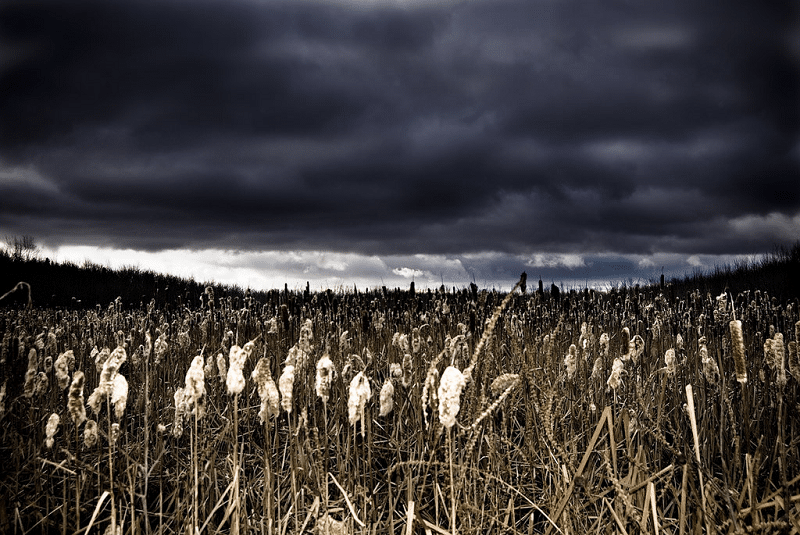
• When Shooting Into the Sun
As mentioned earlier, shooting with an off-camera flash can help to prevent your subjects from turning into silhouettes. This technique works especially well when photographing during sunrise or sunset. When you are shooting into the sun, it can be difficult to capture what you see, but using your off-camera flash can help fill in the underexposed areas and give you the best shot possible.
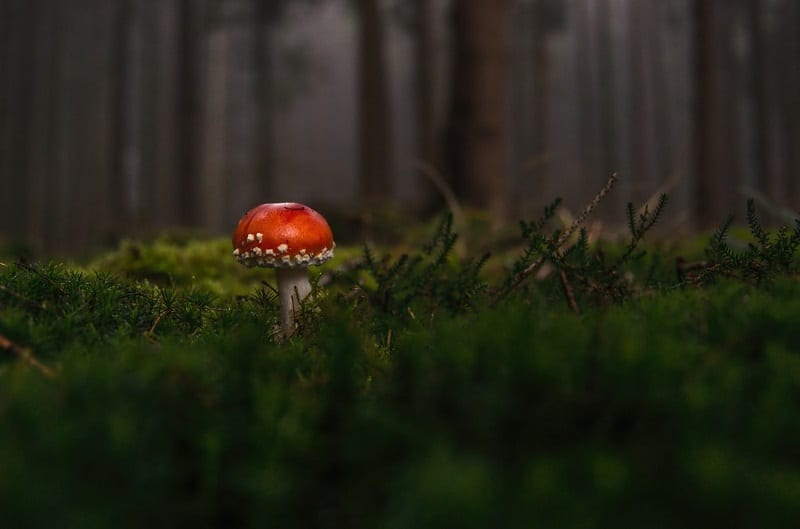
photo by: pxhere.com / CC0
Tips for Using Your Off-Camera Flash
• Adjust Your Exposure
Once you’re set up, take a few test shots and then adjust your camera’s exposure accordingly. In most cases, you should remember to adjust the ambient light with your shutter speed and the flash with your aperture. For instance: If you want to brighten the sky, slow your shutter speed down. If you want to brighten your flash, widen your aperture. Simple tricks like this will keep you from having to constantly readjust your flash.
• Keep It Natural
In most cases, you’ll want to work to keep your results looking natural. Harsh, front-lighting –like the kind from an on-camera flash tends to look overly bright and unnatural, but using an off-camera flash can help your results to look more natural. Don’t hesitate to play with the angle of light, and dial down the flash power, or consider using a diffuser, to help the results look more natural.
Gear to Bring
Now, let’s look at a few tools you’ll want to bring along when doing flash photography.
• A Flash
First up, you’ll need an off-camera flash. There are a wide variety of different speedlights to choose from, ranging anywhere from $30-$600. Opting for a mid-range flash is a good starting place as a cheaper option may lack reliability and important features. To help make the decision easier make sure your flash is compatible with your camera and features a rotating head.
• A Camera With a Hot Shoe
Next, you’ll want to ensure that you have a camera with a hot shoe –that piece of metal on top of your camera that you can attach a flash unit, or wireless trigger too.
• Wireless Trigger and Receiver
The wireless trigger and receiver is how your camera and off-camera flash communicate. The trigger attaches to your camera and the receiver to your flash. You don’t need anything too fancy to get started, just the basic set will do.
• A Light Stand
While not strictly necessary, a light stand can help to make your job easier. A stand will hold your flash will make set up and adjustments easier. There are lots of different options, so be sure to find one that’ll suit your needs.
• Lighting Gels
When photographing during the evening and blue hour, you may find that your images turn out a bit cool. If this is the case, you’ll want to consider getting ahold of some lighting gels to allow you to adjust the color temperature of your compositions. A CTO (color temperature orange) is a good option and will help to warm up your images.
If you’re new to off-camera flash photography, the best place to start is with practice. Start by taking a good look at your flash manual, browse through flash tutorials, and then have fun experimenting with different features and settings. While mastering your off-camera flash can be tricky, with a bit of practice, you’ll soon become adept at using it –and will be able to capture some exciting images, making the most of any available lighting situation.
Have you tried your hand at off-camera flash photography? Share your tips with us!