Low-key monochrome is a type of black and white photography which has fallen a little out of use since the days of film. Despite that, it is still a very effective style which can make a huge difference to your shots. It can be very dramatic and moody, and when matched with the right scene, can turn your work into that of a master photographer.
Here’s everything that you need to know about this style and how to put it to good use.
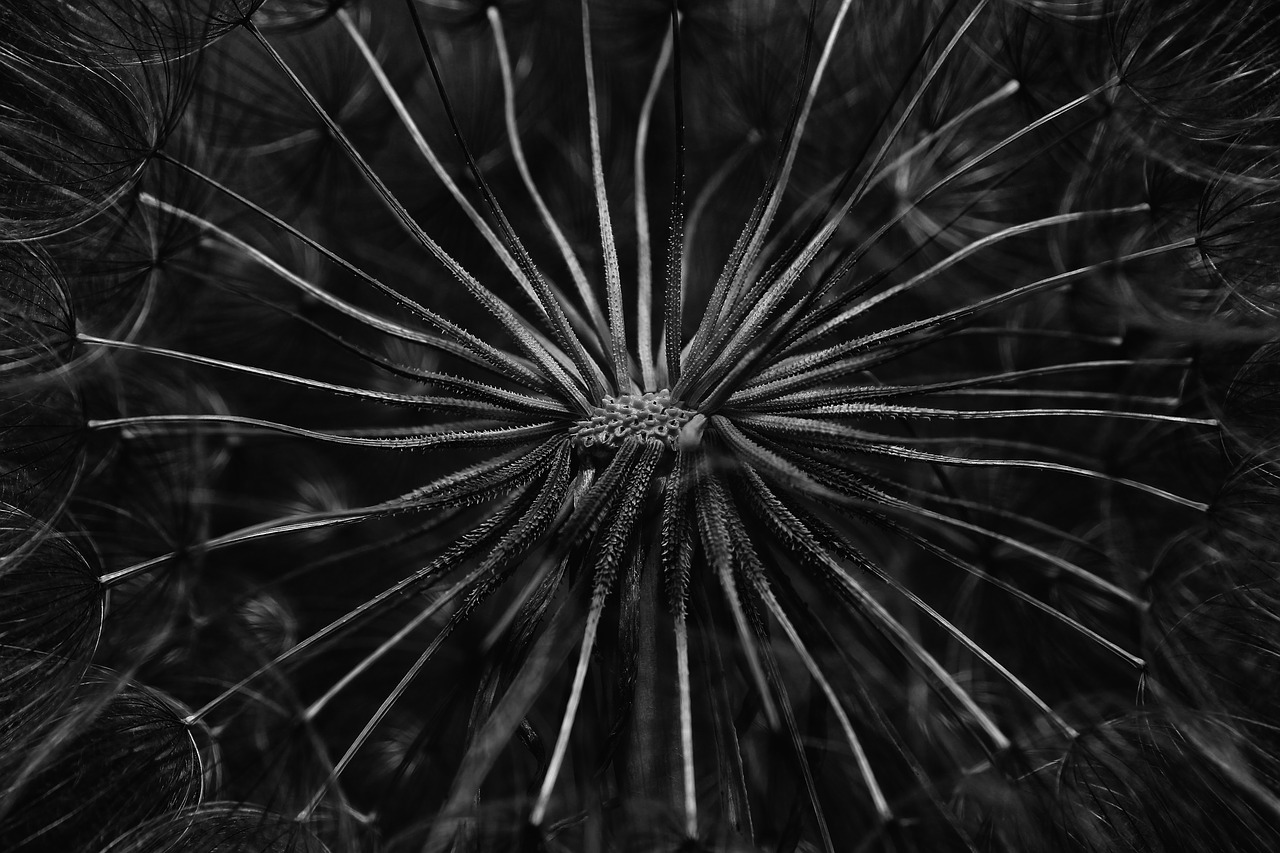
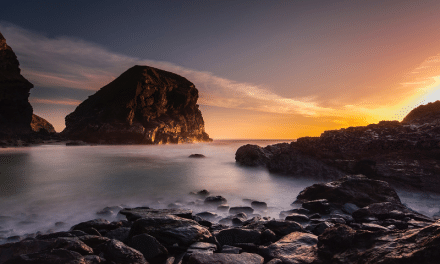
Image by Jingoba on Pixabay
What is low-key monochrome landscape photography?
Let’s start with the basics of what low-key monochrome means. This is a technique which creates an image with high contrasting blacks and whites. The low-key part means that the image is set on a black background, or the frame is mostly black. The opposite of this, a high-key monochrome image, is set on a white or bright background. This means that low-key images are often quite moody.
Low-key doesn’t mean dull, or ineffective. It just means that these images have a high level of contrast and tend towards the black end of the spectrum. They can still contain greys through to whites, but the overall impression is usually one of darkness.
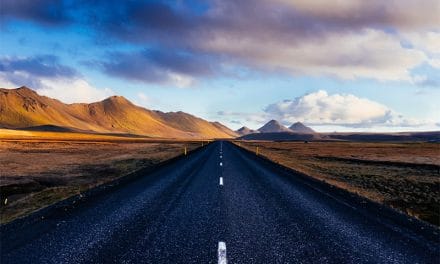
There are many ways in which the darker areas may come into play with landscape photography. You might be shooting into a dense area where little light penetrates, such as a forest. You could be shooting a night sky speckled with stars above a mountain range, or a lake reflecting the dark clouds of a storm. There are many scenes in which it would be fully appropriate to employ this method.
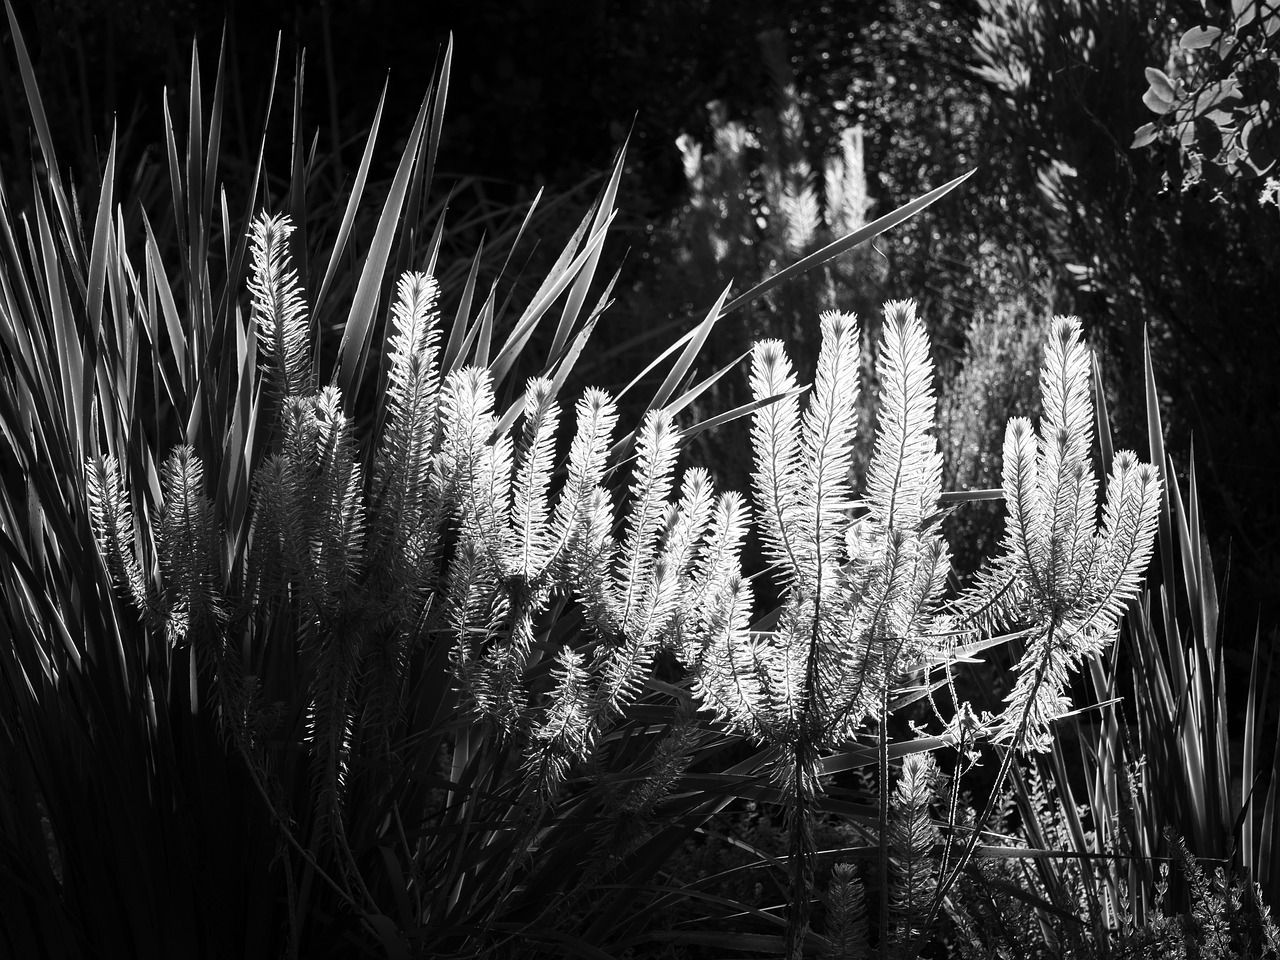
Image by Jean van der Meulen on Pixabay
How do I work out my darks and lights?
The way you expose your image, and the subsequent editing you apply, will obviously affect the overall appearance greatly. You can figure out how to turn this into a low-key monochrome image by using the Zone System, first devised by Ansel Adams. He is, of course, considered to be one of the fathers of landscape photography as well as a master of monochrome, so you know his methods are good. They still work today, and although the zones may now be used for colour images, they were developed initially for monochrome.
If you want to study this idea in great detail, you can read three books by Adams – The Camera, The Negative, and The Print. However, to explain it in a briefer way, we can say that there are ten zones across any scene, all referred to by Roman numerals. There is a single stop between each zone. Zones I and II are usually thought of as underexposed, while Zones IX and X are overexposed, with these areas lacking in much detail.
While you would normally not want to stray into these zones too often, they can be important for low-key monochrome, especially when looking at Zones I and II. These can be used to provide areas of deep blackness, creating a wide range of contrast for the other zones which formulate the detail in the image.
So, you might have deep blacks in the first few zones, bright whites in the last few, and then your greyscale areas are in the middle zones. Understanding this will be key for making the image work.

Ansel Adams: The Mural Project 1941-1942
Canyon de Chelly
Arizona
Ansel Adams | Creative Commons BY-SA 2.0
How do I set up the Zones?
Let’s now look at how these zones can help you to create a low-key monochrome landscape photograph. In order to get the optimal conditions for such an image, you would normally want to shoot with the sun hanging around the horizon behind you, illuminating your subject without giving you a hugely blown-out sky. Instead, your subject will be exposed a stop brighter than the sky, which puts it a zone higher – meaning that your sky will appear to be darker.
Stick to your base ISO as much as you can. This will help you to increase your dynamic range, which is at its best when you keep your ISO low. While you might not be worried about introducing grain, you won’t be able to get the full range of Zones that you want if you put your ISO up high.
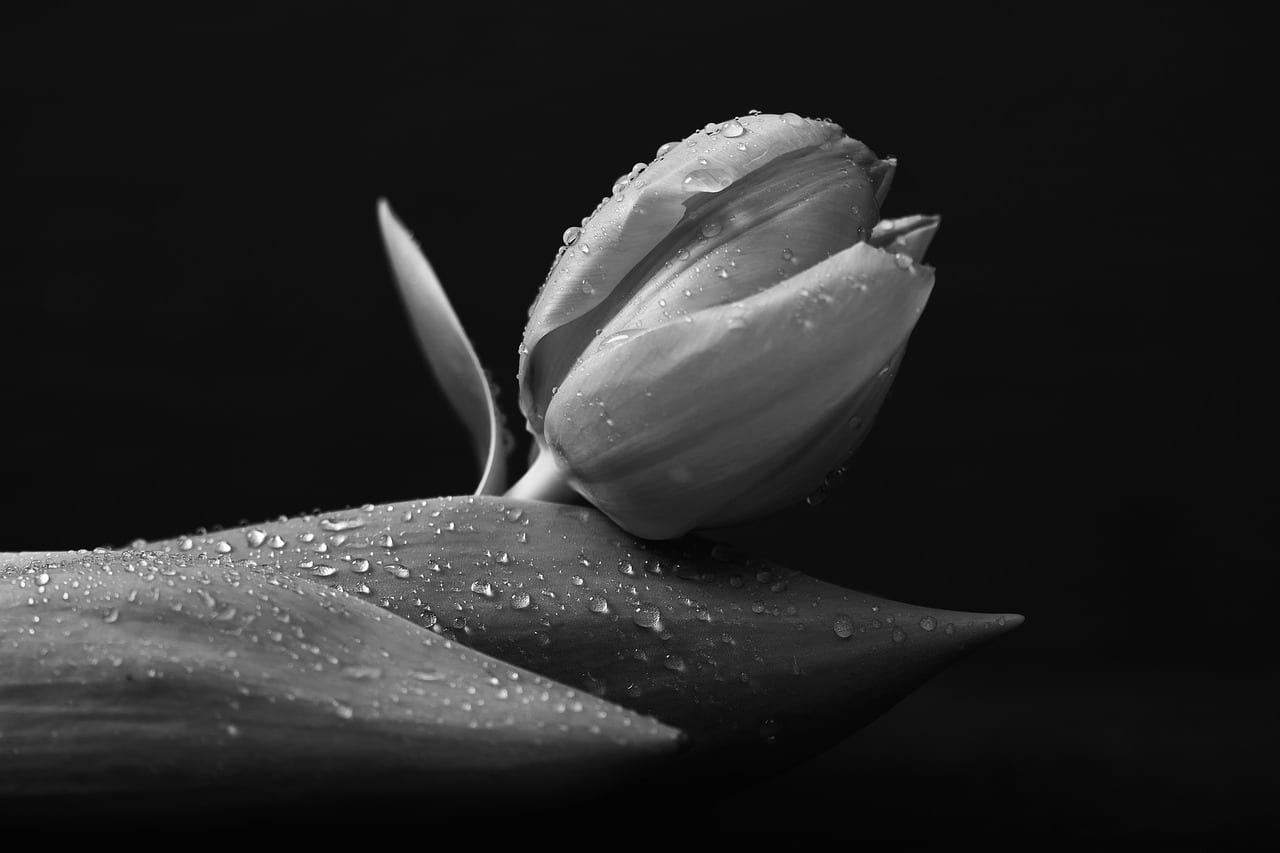
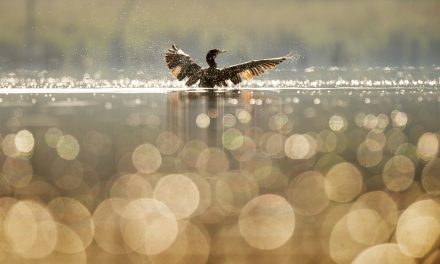
Image by MichaelJBerlin on Pixabay
Bracketing, by taking shots separated by one stop each, will help you to get that dynamic range right as well. You’ll end up with a composite of nine or more stops, which will mean more time in post, but it will also mean a better image. Since you’ll be using this technique, it’s best to shoot with a tripod in order to keep each frame in exactly the right place.
Make sure to shoot in RAW so that you get as much detail as possible, as you will likely want to play with things further during the post-production stage. This may include adjusting your white balance. You can even play around with that while shooting to see what kind of difference it makes; getting the RGB channels in your frame to overlap as much as possible usually gets the best results, though this is something that you can learn through experience for your particular tastes.
How should I frame my shot?
There are a few techniques you can use with low-key monochrome in order to make the image feel more dramatic overall. One of these is the use of negative space. Framing your landscape with a large, dark expanse of sky can bring out a totally different atmosphere, and as human eyes are naturally drawn to brighter areas, this means your viewer will be putting more attention on your intended subject.
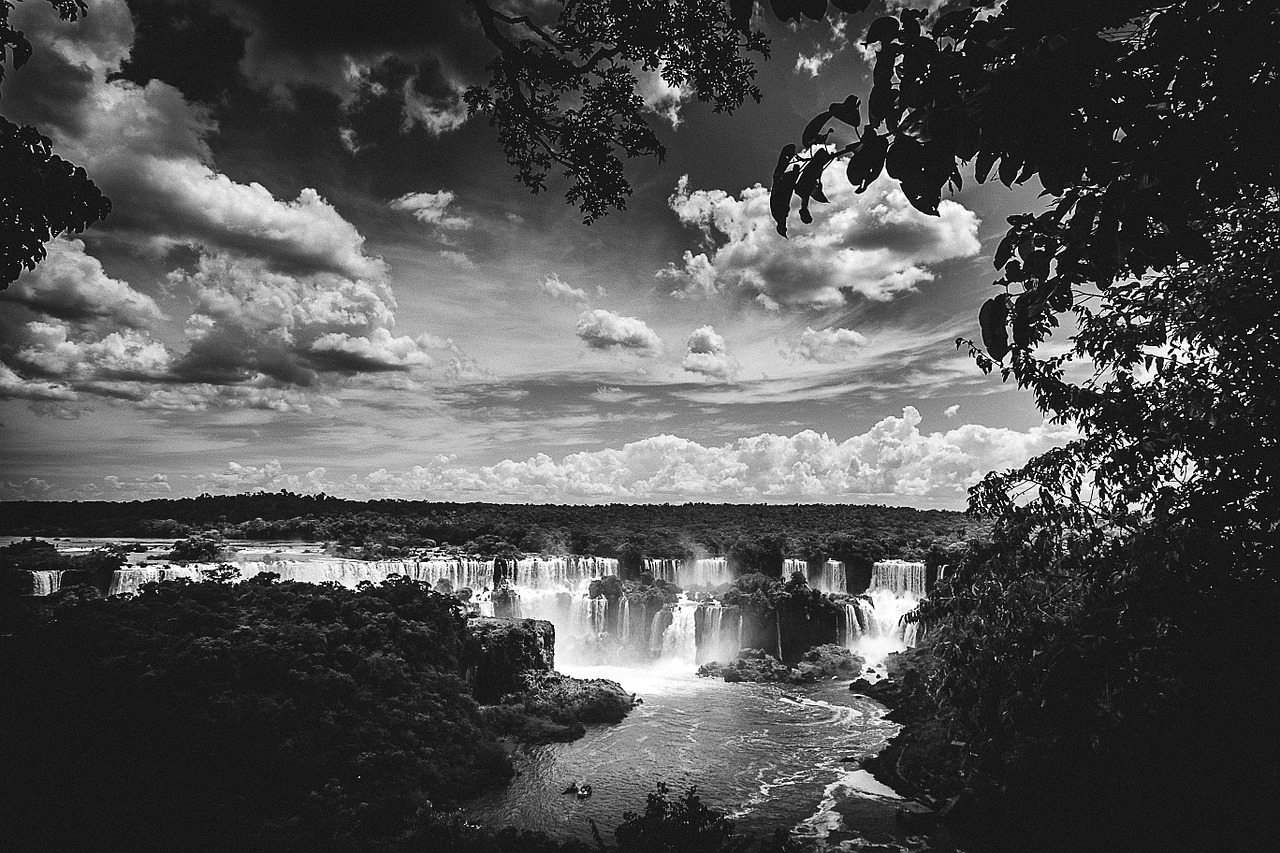
Image on Pixabay
Cloud patterns can bring a lot of interest to a low-key image because of the great range of contrast. Try not to blow out the highlights, of course – this can be too distracting. The detail in the clouds is what the viewer will appreciate the most.
Try to use leading lines and patterns through your compositions. Because of the stark black and white, these patterns can be even stronger than in colour shots. This can make the image more powerful overall, and can even turn a landscape into a piece of abstract art if framed correctly.
How do I process the images?
It’s best to shoot in colour and then convert to black and white in post-processing, as you may already be aware. Whether you use Photoshop or Lightroom, this method gives you more control over the tonality of the image and gives you more possibilities in editing. If you shoot in monochrome, then no colours are recorded. If you shoot in colour, you can adjust the contrast and levels of your black and white image by tweaking colour sliders. While this may sound wild, it really works, and so gives you more room to work with.
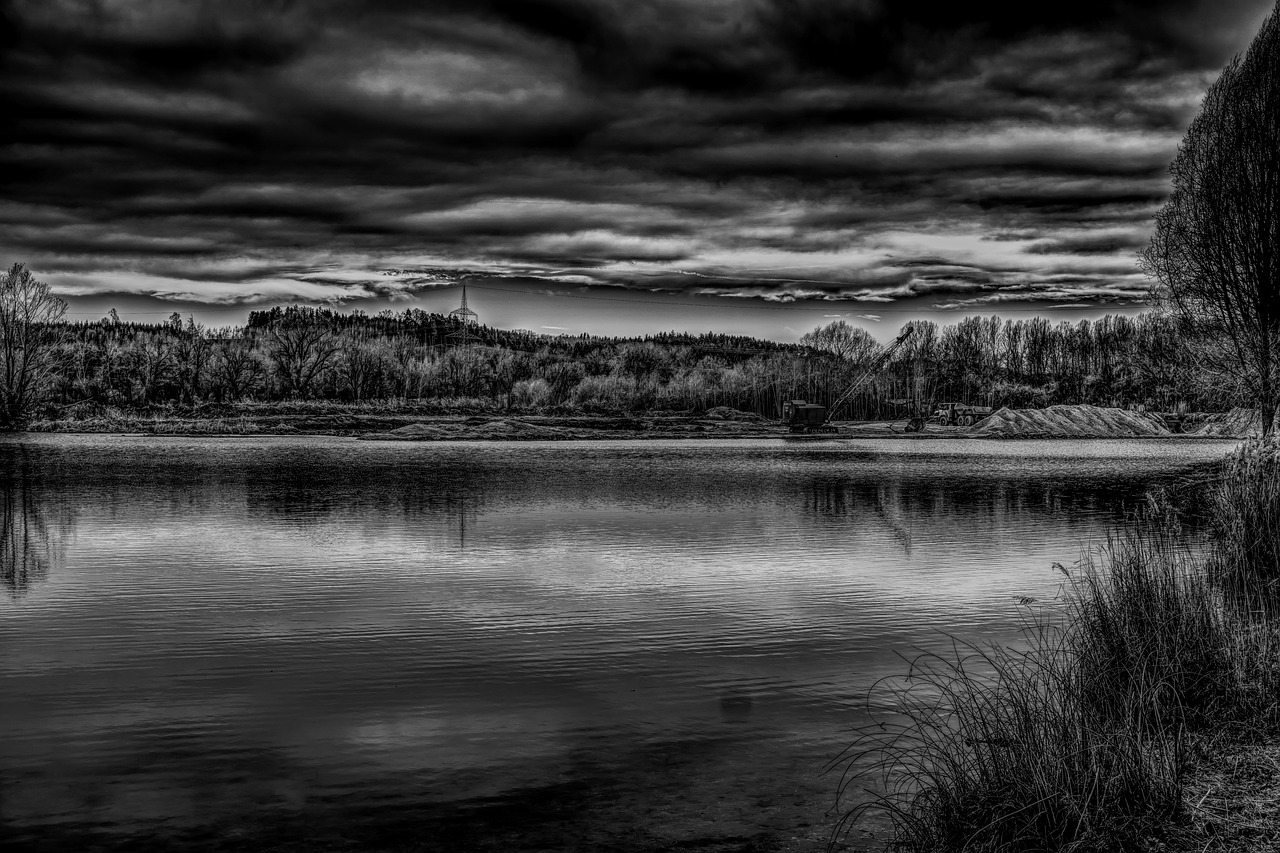
Image by Inaktiv on Pixabay
You will also want to play around with the contrast sliders and curves tools to try to bring out all of those ten Zones as described by Ansel Adams. Including them all in the image will make for a more dramatic and balanced composition – something that looks more like a work of art than the average holiday snapshot.
To take it to the next level, you can work on tonal curves on different areas of the image, layered up to create the final effect. Just remember that whatever you do, you can only work with what you have. It’s important to get a crisp, clear image with as much data recorded as possible when you shoot so that all of the potential is still available to you when you put it into your editing software.
Low-key monochrome is a stunning tool for all kinds of photography, but can be especially significant for landscapes. Give it a try using the steps here and see what a difference it makes when compared with colour shots of the same scene.