photo by: pixabay.com / CC0
ISO is a foundational principle for photography. It is one of the three elements of the Exposure Triangle, along with Aperture and Shutter Speed. Exposure is all about lighting, of course, and how much of it our film or digital sensors are exposed to. And precisely controlling that amount is crucial to creating great pictures. When you’re fully in Manual Mode, you have control over all three elements.
But even pros often shoot in Aperture Priority (Av) or Shutter Priority (Tv) mode, leaving the other and ISO up to the camera to decide on. Unless the lighting is extremely harsh or dark, the camera is usually pretty intelligent about choosing a good ISO setting for a given scene. And of the three, ISO may be the setting you adjust the least. But when you do need to, you’ll need to have a solid understanding of what it’s doing and what you’re trying to achieve.
What is ISO?
The term “ISO” hearkens back to the old days of film photography. Anyone who has shot film will know or remember that it comes in ISO ratings that describe how sensitive the film is to light. And the higher the ISO number, the more sensitive that film is. And the darker the environments it can be used in.
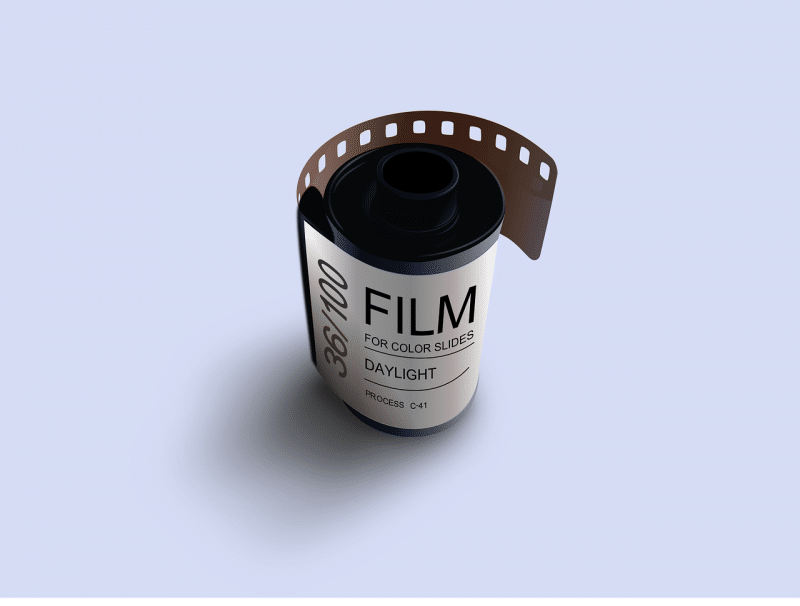
photo by: Clker-Free-Vector-Images from pixabay.com / CC0
Like crop factor, ISO is a holdover from the days of film that still describes a digital concept nicely. Most digital cameras have a minimum ISO value of 100 or 200. This is meant to be used in bright lighting in order to achieve clarity. The sensor is the least sensitive to light – which may seem strange. After all, don’t we want more light as photographers?
Yes and no. As you increase the light sensitivity if there’s too much light, the image will be overexposed, of course. But as the scene gets darker, higher ISO values tend to generate image noise that shows up as speckled artifacts across the photo. Noise comes from sources such as heat and electrons generated by the components of the camera itself as well as random sources in the environment. As we increase the sensitivity the sensor can become sensitive enough that it will pick up these unwanted sources.
Therefore it’s a delicate balance between ensuring the sensitivity is high enough to make good captures but low enough that image noise won’t become an issue.
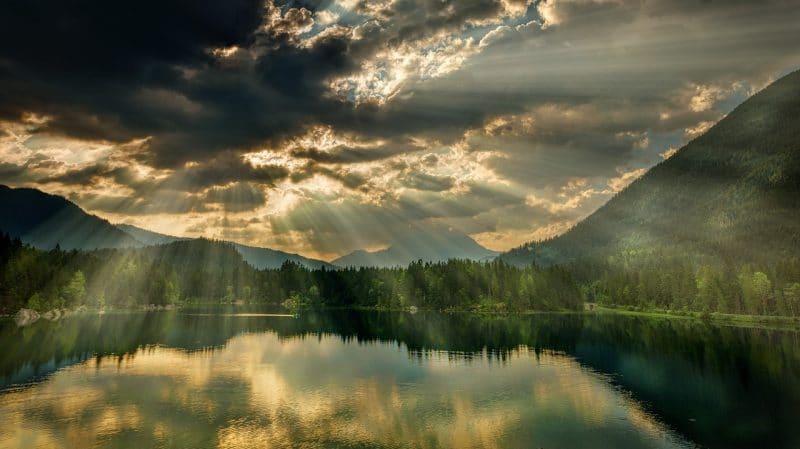
photo by: jplenio from pixabay.com / CC0
When Should I Increase My ISO Values?
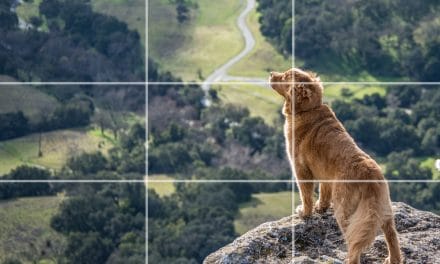
Sometimes when taking nature photos I don’t want motion blur to appear in an image. If I want individual raindrops to render nicely or I want to freeze the action of a moving animal, leaf, or other objects, then I’ll need to ensure I’m using a shutter speed fast enough to do so. But by increasing my shutter speed I’m reducing the amount of light entering the camera. Each step of shutter speed, from 1/30th to 1/60th to 1/125th of a second and so on represents a halving of the light exposure. Therefore, I need to up either my aperture or ISO to compensate or my image will rapidly become too dark.
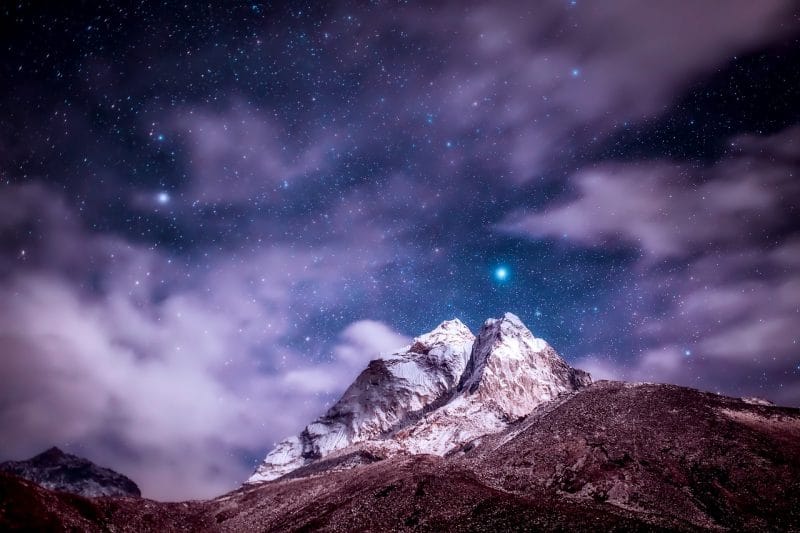
photo by: 12019 from pixabay.com / CC0
I also want to raise my ISO when the light levels are too low for good exposure. Raising my shutter speed is a great start. But that will also introduce motion blur from moving objects in the wind. Even clouds and moving leaves can cause unwanted blur. Shooting handheld also becomes a lot harder as any sort of hand shake will manifest as image blur. Using higher megapixel cameras like the Nikon D850 with no sensor stabilization will result in even more motion blur due to the higher image resolution. Night photography, therefore, is the realm of high ISO shooting.
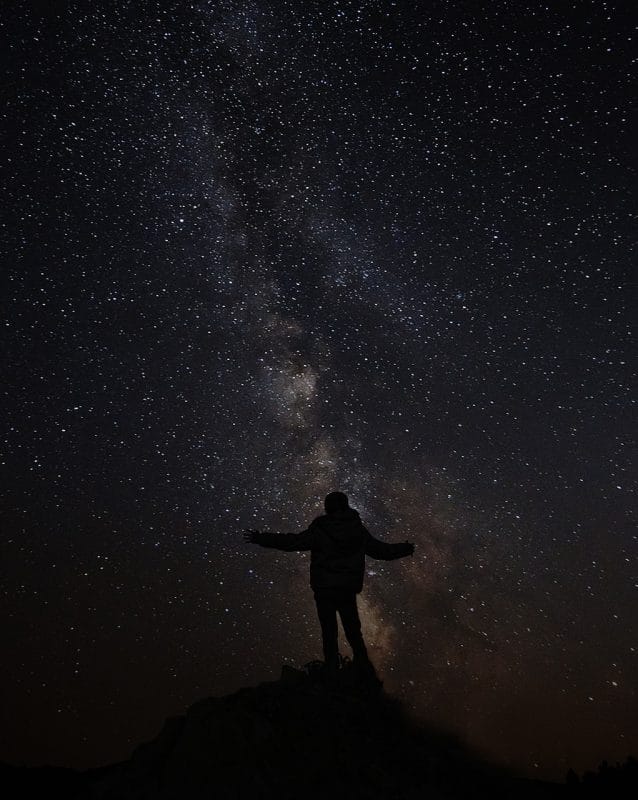
photo by: vicxmendoza from pixabay.com / CC0
When Should I Decrease My ISO Values?
Decreasing ISO is best for when the lighting is bright. Minimal sensor sensitivity means images will remain clear and image noise should be next to non-existent. Broad daylight is perfect for ISO 100 or even 50 if your camera has digital drops or native sensitivity to that level.
I’d also drop my ISO if I’m raising my shutter speed or aperture. Changing the other elements of the exposure triangle does have other effects, though. By opening my aperture I’m also changing my depth of field. Depth of field controls how much of a scene is in sharp focus. If I want a subject isolated and in focus and my background reduced to bokeh filled blur then a nice open aperture is just what I want.

photo by: StockSnap from pixabay.com / CC0
But as a landscape photographer, I often want the entire scene to be relatively or entirely in focus. So I don’t want to open my aperture too much. Instead, I’ll adjust my shutter speed to simply snap slower — and use a tripod to avoid any motion blur. That way, I can have a nice, clear image with no image noise or motion blur from shaky hands and the depth of field I want!
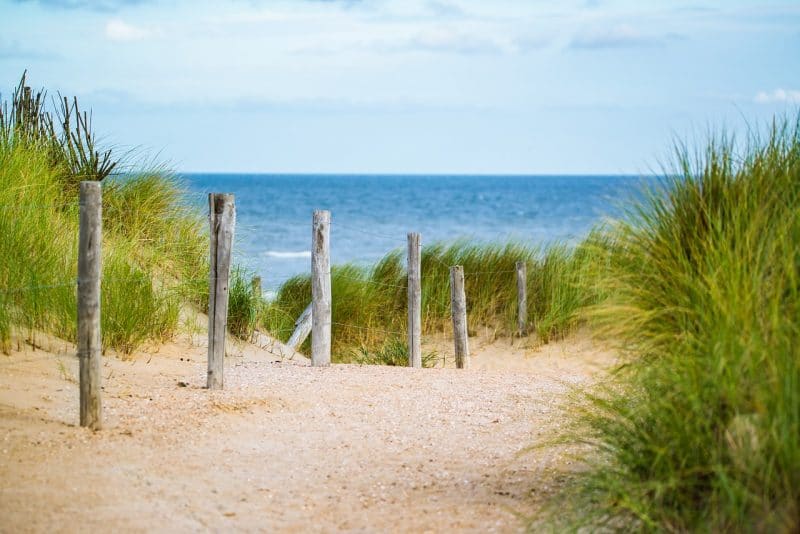
photo by: Evgeni from pixabay.com / CC0
Conclusion
ISO is not a difficult concept to understand. Essentially it controls how sensitive my camera is to light. And careful adjustments to this important function will guarantee your images come out looking sharp and as free of noise as your sensor allows. Happy shooting!
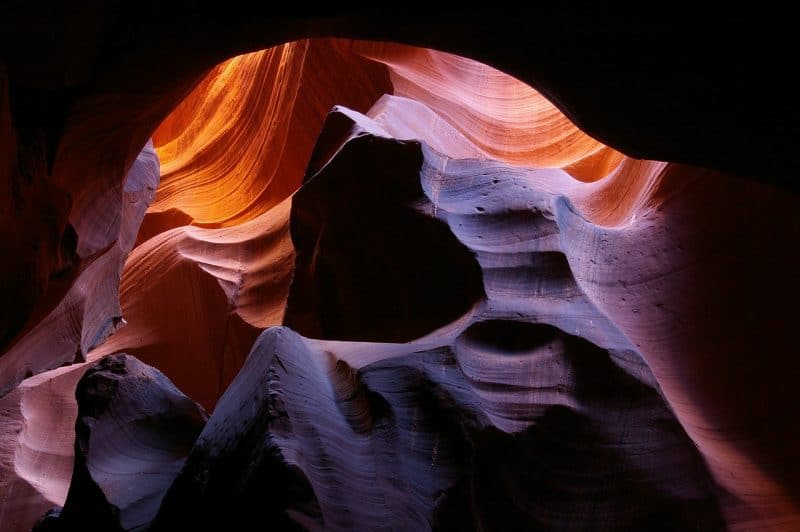
photo by: pixabay.com / CC0