Photo by Markus Trienke / CC BY-SA 2.0
If you want to make a big impact on the quality of your photography, one of the best things you can do is get to know your camera. Read the manual that came with it, get some hands on practice, and learn as much about it’s capabilities as possible. This includes familiarizing yourself with it’s shooting modes, which is a great jumping off point for new photographers into the world of digital photography.
While the end goal is being confident shooting in any situation using full manual mode, there are a few other modes that can help you improve your skills while you work your way up to manual. Let’s a take a few minutes now to get acquainted with the different modes and talk about when each of them should be used.
Programmed Automatic Mode
Programmed Automatic Mode, most commonly referred to as Auto, is the easiest mode to shoot in because it does all the heavy lifting for you. This mode is usually set by turning the dial on your DSLR to “P”.
When shooting in Auto mode, the camera decides the best exposure settings to get a properly exposed photo. If you just want to take a quick and easy shot, Auto mode should be able to get the job done; however, the photographer sacrifices any creative control on the image’s exposure.
That reason alone should be enough for any photographer wishing to improve their skills to avoid shooting on Auto mode whenever possible. Not to mention, shooting in Auto mode on a DSLR is kind of a waste of the complex camera’s abilities. If you’ve been shooting in Auto mode, it may be time for you to graduate to priority modes.
Priority Modes
Priority modes are like a perfect mix of manual mode and auto mode that allow the photographer to maintain some creative control over the photo while getting a little help from the camera to determine the best exposure settings. Most cameras have two different priority modes: Aperture Priority and Shutter Priority. Both are great stepping stones to get from shooting in Auto Mode to Manual Mode.
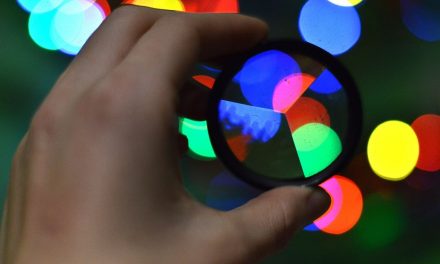
Aperture Priority Mode
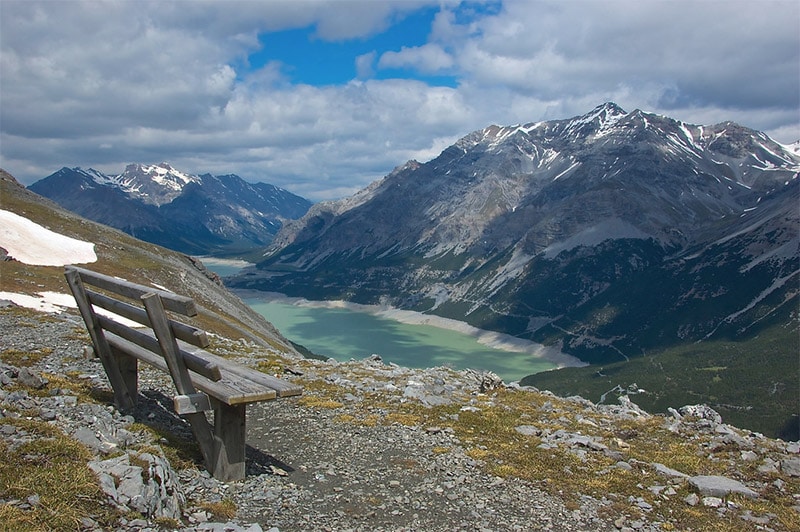
Photo by John Mason / CC BY 2.0
As you might guess, aperture priority allows the photographer to set a specific aperture they wish to shoot on and the camera determines the best shutter speed. It can be used by setting your DSLR to “Av” or “A” depending on which kind of camera you have. Check your camera’s manual if you are unsure.
Aperture priority mode is the perfect setting to use when you want to get a very specific depth of field, whether it be shallow or deep. For example, if you’re taking a landscape of a mountain range and want the depth of field to be sharp from the foreground all the way to the background, you’re going to want to shoot on a narrow aperture. If you determine you need an aperture of f/11, but are unsure of the correct shutter speed, set your camera to Aperture Priority mode, set the aperture to f/11, then compose and shoot your photo.
→ Related reading: Why Shoot in Aperture Priority Mode?
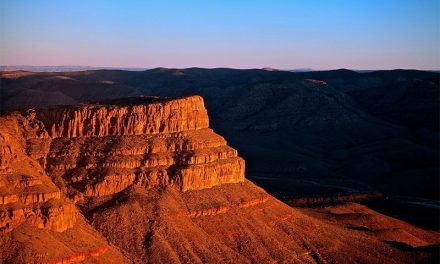
Shutter Priority Mode
Shutter Priority works the same way as Aperture Priority except the photographer sets the shutter speed while the camera works out the correct aperture. Shutter priority mode is activated by setting your DSLR to “Tv” or “S”, again depending on which brand of camera you shoot with.
You should use shutter priority mode when you need to control the shutter speed–say for instance, you want to shoot a motion blur shot and need to use a long shutter speed. Or, on the other end of the spectrum, let’s say you need a super fast shutter speed to “freeze” movement. Rather than using Auto mode and hoping for the best, shutter priority mode will give you control of the shutter speed and do the rest of the work to make sure you’re still getting a nice exposure.
→ Related reading: Guide to Long Exposure Landscape Photography
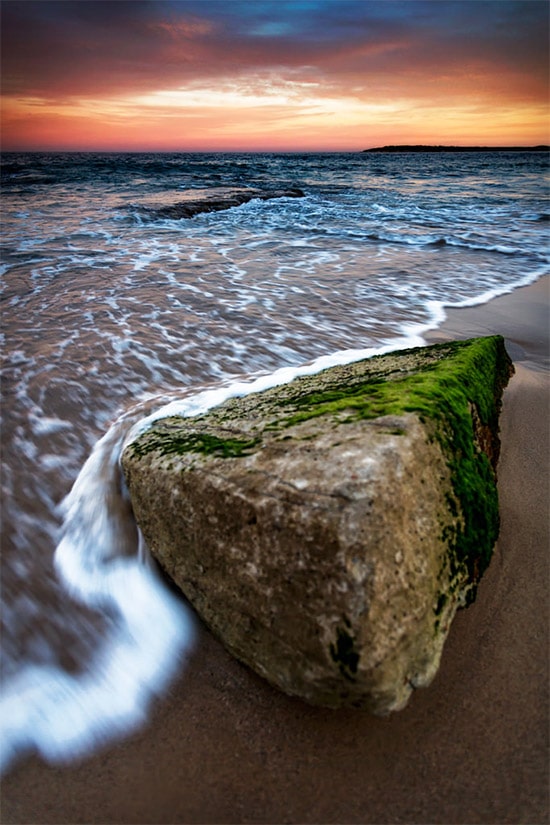
Photo by Luke Peterson / CC BY 2.0
Manual Mode
Once you’re comfortable shooting in priority modes, the next (and last) step is to start practicing in full manual mode. Manual mode is typically represented as “M” on the dial of most DSLRs. Shooting in manual mode means every exposure setting is up to the photographer including aperture, shutter speed, ISO, exposure compensation, white balance, etc…If there’s a setting or option or it on your camera, it’s up to you to make sure it’s set correctly.
That may sound daunting at first, but don’t let it discourage you. If you’ve spent some time shooting in either of the priority modes, chances are you have already learned quite a bit about how shutter speed and aperture work together–that knowledge will help you out when you make the jump to manual mode. Alternatively, you may also choose to use a light meter to really dial in on the correct exposure settings.
→ Related reading: Intro to Manual Mode and When to Use It
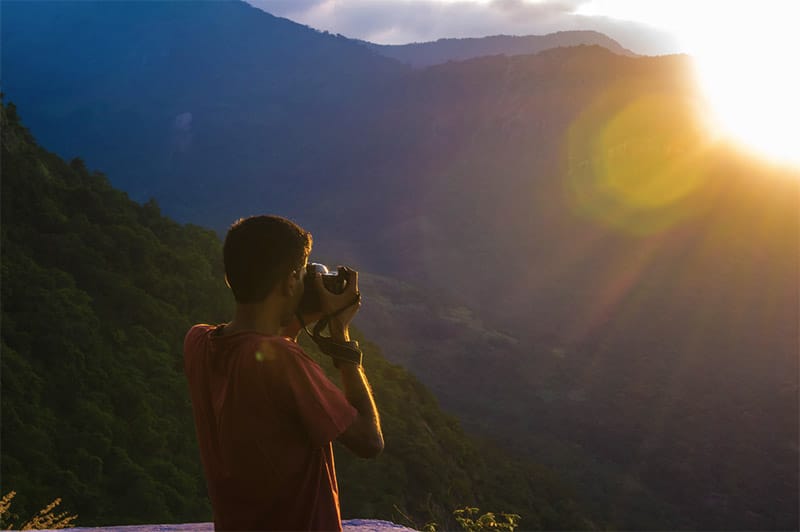
Photo by Thangaraj Kumaravel / CC BY 2.0
Conclusion
I personally shoot on Manual mode the majority of the time. That being said, if I’m in a bit of hurry and are not too concerned with certain creative aspects of an exposure such as depth of field, I’ll occasionally switch over to one of the priority modes. There is no shame in using the priority modes, especially if you are still learning the ropes! To that end, knowing how to shoot in manual mode should still be one of your goals, as it will allow you capture just about any kind of creative shooting effect you can imagine.
Photo license links: CC BY-SA 2.0, CC BY 2.0