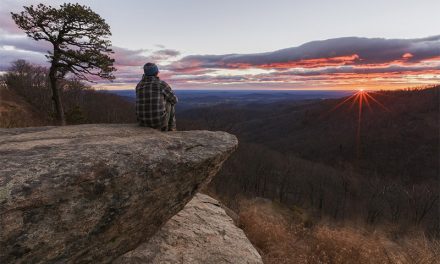
Photography is an art that requires getting in touch with our creativity. It requires trying new things so you can step up your game.
The use of prisms as accessories to add color and effects to your photos could elevate the artistic dimension of your photographs to a whole new level.
Moving with different angles and wavelengths will give each capture its uniqueness and individuality.
Photography could be a way to bring out the artist in you. Photographers express themselves through their photographs.
[table id=13 /]
It also requires your creative mind and imagination, but it should also include your heart. It is not just about how you point the front of your camera to a subject, but it should also convey a message that you want to send.
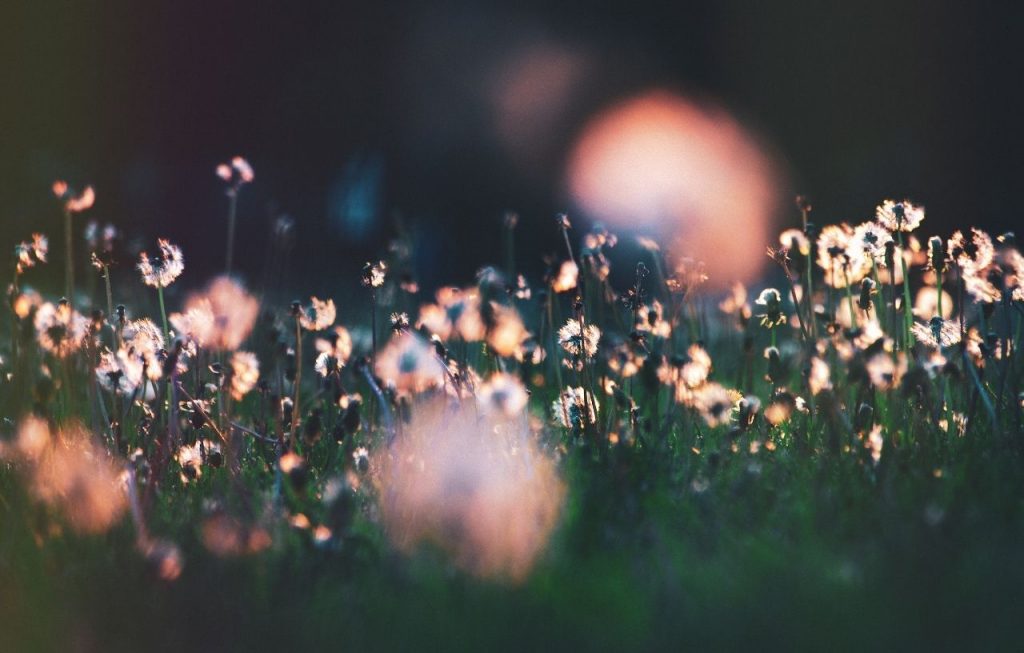
May it be a piece of broken glass, clear water, or anything transparent as long as it can bend a ray of light and disperse rainbows on your subject.
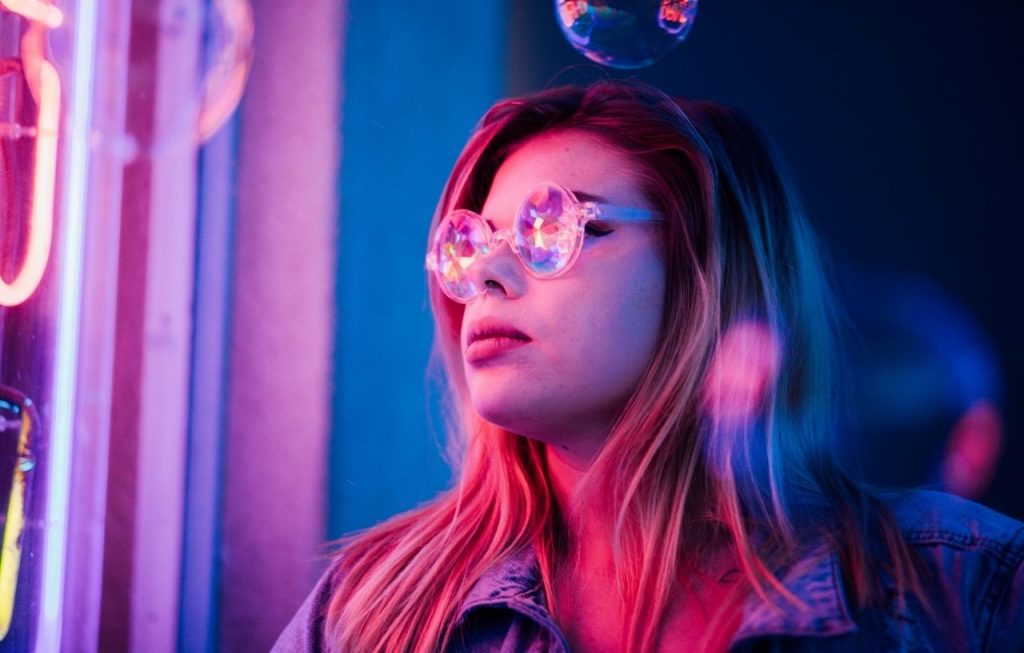
Using prisms is a fun way to add that dreamy, magical touch to your portraits without the use of Photoshop and other photo editing apps.

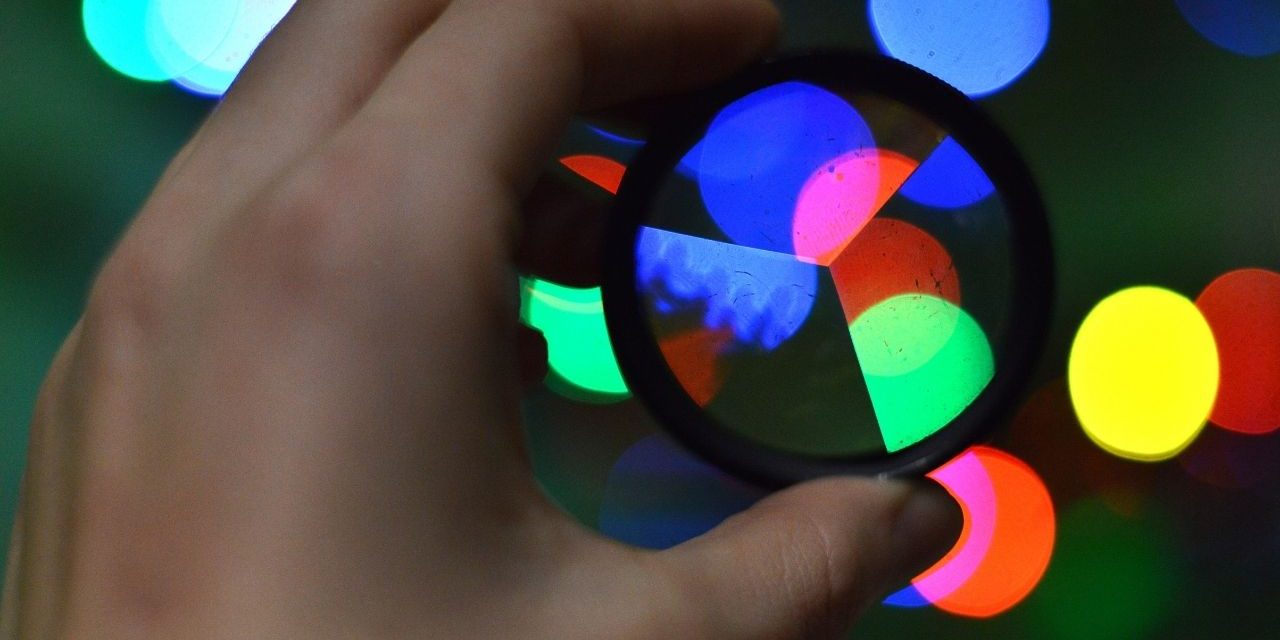
What Is Prism Photography?
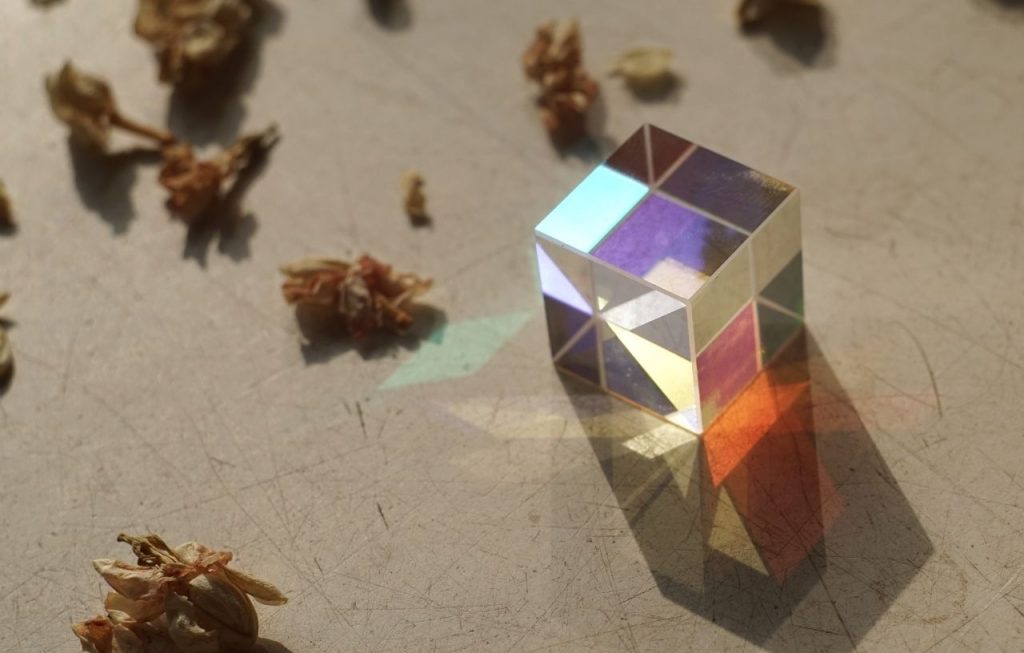
A photography prism is a geometric object with two congruent faces, and the sides are parallelograms. It separates the light that passes through it into different colorful spectrums. Together with fairy lights and crystal balls, prism is another fun addition to a photographer’s toolbelt.
Prism Photography uses rainbow effects on photographs using a source of light and a prism or anything that refracts light. The prism acts as a filter and can wield light before it reaches the lens of the camera that will result in a psychedelic abstract flair of the photo.
The best part of this kind of photography is that you don’t need a lot of expensive equipment to produce prism results. You can use a simple digital camera or smartphone plus your creativity and imagination to achieve photography prism effects.

Ways to Use Prism Photography
There are a lot of ways where you can use a prism for your photoshoot. But this will only work with the proper camera setup. Setting it to aperture priority will give you more controlled and predictable results.
Try a wider aperture, then remove your lens hood so the prism could be closer to the lens and out of focus to give more attention to the subject. Go on and twist or turn the prism while playing with the camera setting and have fun with the shots.
Using a shadow depth of field kind of lens is advisable in photography prisms. It lets a more significant amount of light enters the camera and can blur out the background and the foreground of the image and enhance the prism effect.
Find a good light source and attempt several angles to capture it with the prism and allow your creative juices to flow. Find a solid main point or a focal point and find a way to enhance it by adjusting the lighting or blurring the background using the prism tool.
Follow the rule of thirds to keep your subject in focus and get a better balance between the effect, the subject, and the background. Try using a 50mm focal lens or longer for portraits as it reflects the prism off and highlights the features of the subject.
Then you can easily manipulate the distance of your lens with the prism, the subject, and the light source. Building a solid composition by preparing the correct lenses to use is essential in prism photography.
How To Use a Prism For Creative Photography
Creative photography is only one of the categories of photography. It includes photo editing to create a specific mood or cater to a theme. A photographer becomes a true artist by throwing in ideas and techniques that separate his work from the ordinary. Finding a different approach to how each photo is taken is important for personal branding and originality.
How do you use a prism for creative photography?

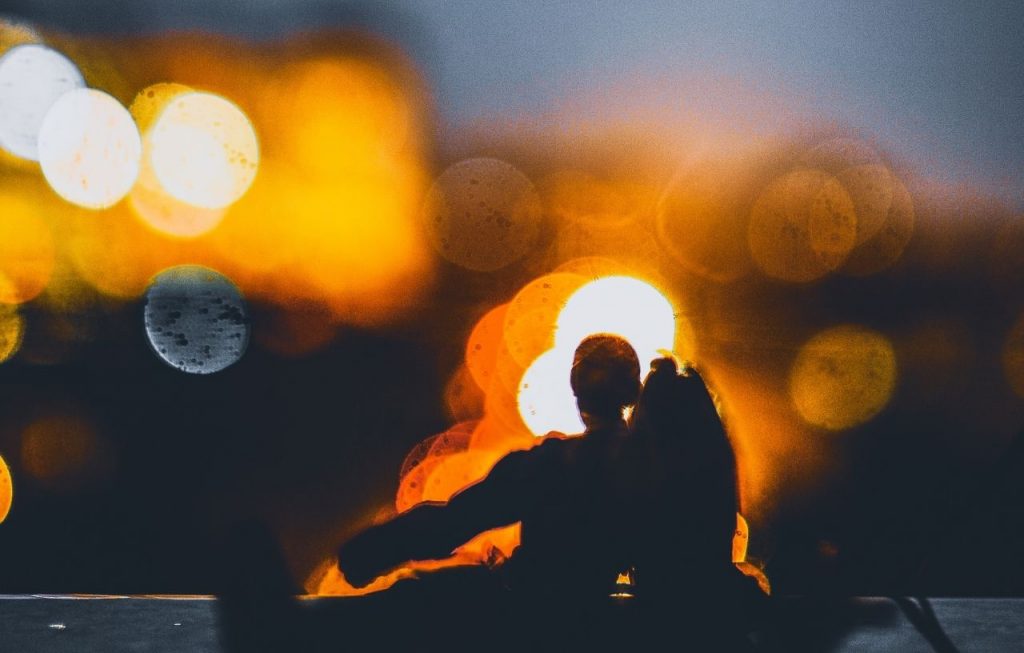
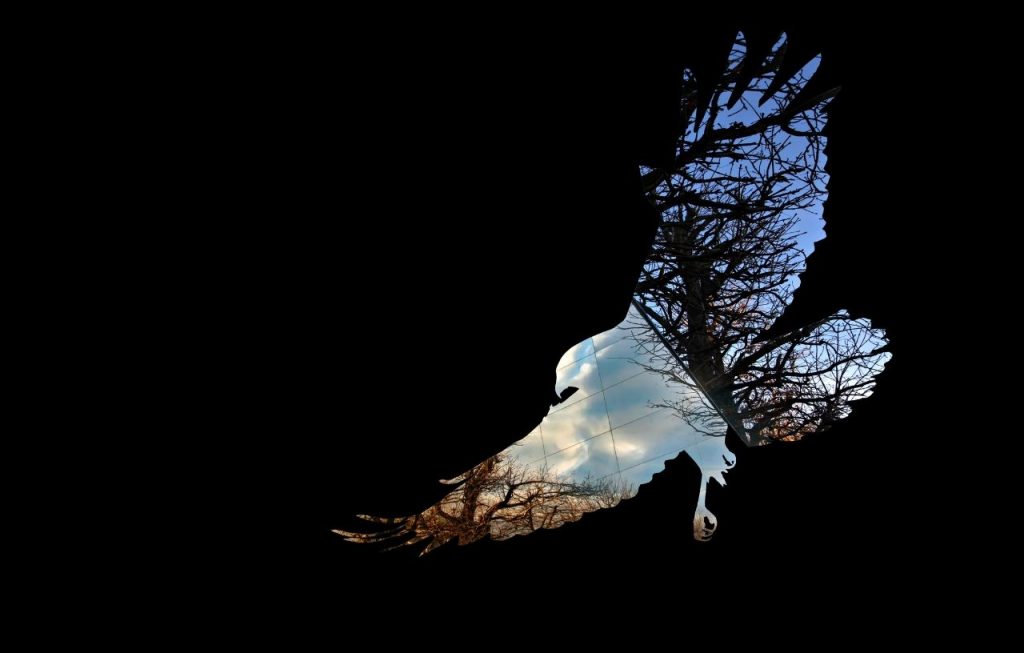
Some photographic artistry is shown through shadow play. It is a contrasting use of the light and shadow elements to convey a story through silhouettes.
Others use an old photography technique called double exposure that is easily accomplished by using a digital camera. Force perspective is another typical style of photography that uses illusions altering view perspectives creating more extensive and smaller scales of the subjects.
You can never go wrong with prism photography. Whether you are an artist or a non-artist, you can improve your prism photography techniques through constant practice and patience. Do not be discouraged if you did not achieve your desired effect the first time. Do more trial and error and learn along the way.
Among these styles, prism photography has made its way on the list of most used techniques to add depth and structure to photography. Placing rainbows and splashes of color on images became a trend on social media.
You don’t have to buy those expensive fractal filters to have this effect; you can try a glass prism. Broken colored glass or a piece of crystal from a chandelier that you have lying around will do the job!
How is it done:
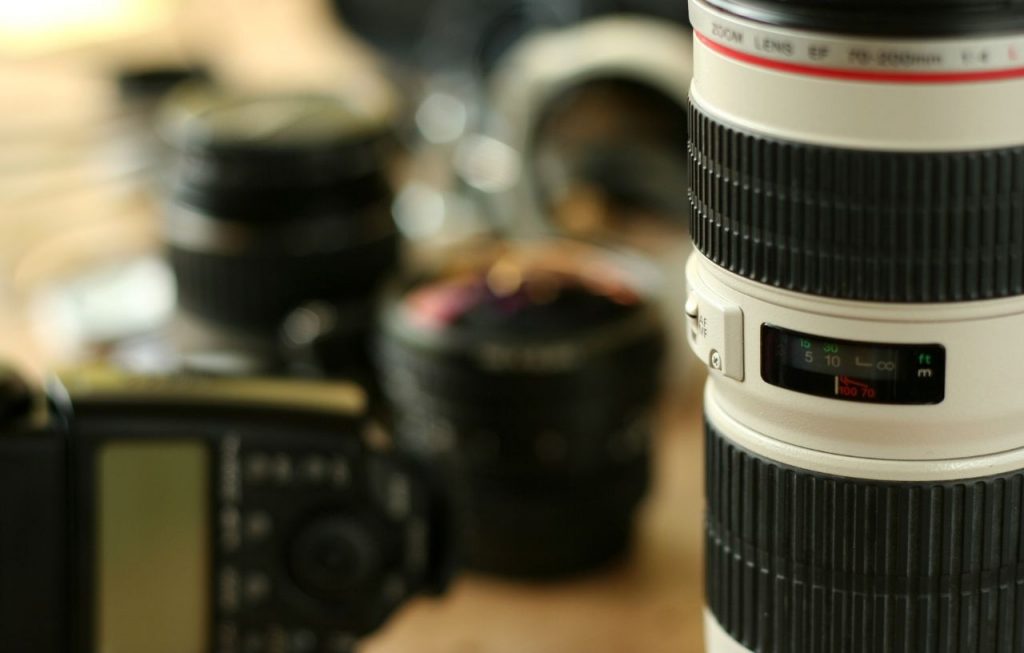
Gear
The gear used for prism photography could be any camera, but ideally, those with interchangeable lenses on manual mode are the best ones to use.
Prism in Front of the Lens
Hold your preferred light bending objects or prisms in front of the lens and move it to achieve your desired outcome or how you want it on the frame. Catch creative effects through the process of trial and error using a different prism in front of your lens with the same background.
Positioning
The positions of the prism matter; whether you use the edges or the flat side of the optics create different lighting on the image. Discover how you can do a reflection for the prism effect. You can double image, distortions, or light leaks just by moving or twisting it around.
Use Tripod
Using one hand to hold the camera and another to position the prism could be difficult and tiring. A tripod could come in handy to keep the camera fixed, freeing both your hands to easily manipulate the prism to more movements.
Camera Settings Used in Prism Photography (The Lens, Shutter Speed, And More)
To capture the best effect of the photo, using a wide aperture prime lens, preferably 50 to 80 mm, will give you that blended transition from the prism to the rest of the image.
Set your camera to a smaller aperture at around f/1.8 to f/3.5 to achieve a smoother prism effect.
Never use prism autofocus with multiple points; instead, use autofocus with a single point to prevent the camera’s confusion and keep the subject clear and sharp.
Decrease ISO settings, especially outdoor shots, to prevent the noise or the grainy veil and random pixels in your photographs. Adjusting the ISO could save your image from unwanted over-exposure with dull areas and ugly discolorations.
Set your shutter speed to 1/250 of a second or faster to prevent blurring caused by moving subjects in the frame.
When using a crop-sensor camera, always be mindful of the crop factor and set your camera to 1/(2x focal length) to get the additional reach gain from the sensor multiplier.
Start by using the simplest triangle-shaped prism and experiment with the camera setting and positioning to learn how prism effects work.
Different Ways to Achieve Prism For Photography
After setting up your camera, keep a lens cloth nearby and try to wipe down your prisms once in a while if you don’t want your finger marks to ruin the shots. Using the most basic triangular prisms for photography will give you a grasp of how prism is done.
Autofocus
Focusing on your subject through autofocus then quickly switching it to manual mode will keep the subject sharp and prevent the camera from lashing around and focusing on the prism. Monitor the effect on the camera screen, change the prism position, adjust with the light source, and hit the snap button when you’re happy with the result.
Rainbow Effect
To get the rainbow effect on your photographs, try angling the prism’s edges towards the camera. Spin the prism around to accomplish distortions and wait until it casts a rainbow on the subject.
Place The Prism In The Corner
Placing the prism at the corner of the lens or off-center and twisting it will give more light into the frame to highlight the subject. Make sure the prism does not cover most parts of the screen. This effect requires more control over the prism since overdoing it can either burn the subject or can result in overexposure.
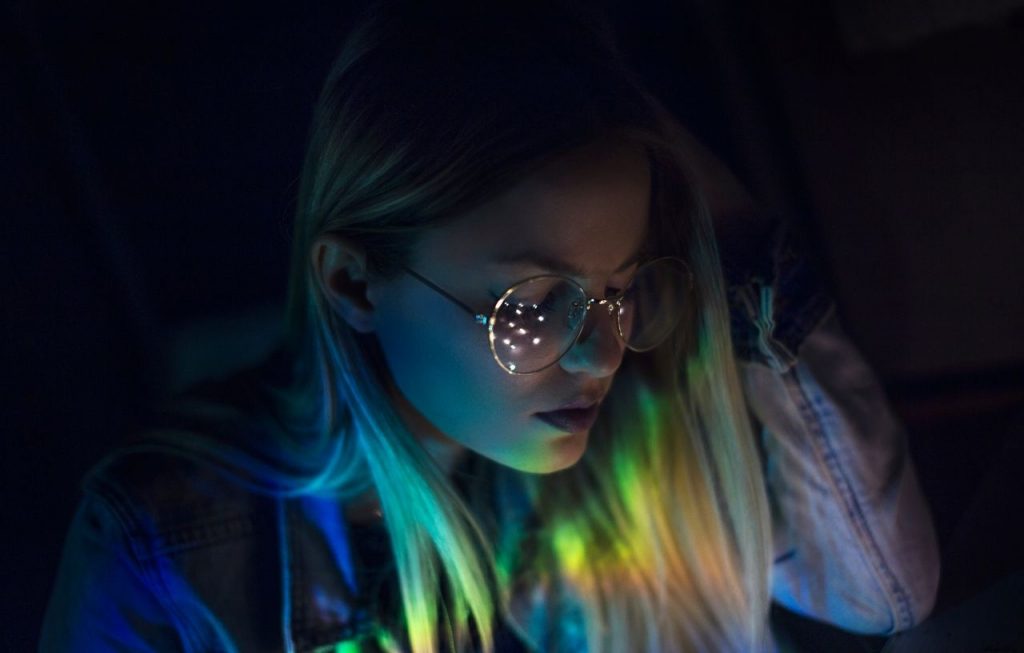
In Case The Background Is Not Pretty
When the subject is beautiful, but the background is dull and uninviting, you could use the rainbow or the blurring effect of the prism to hide it. Brighten it out with the extra lighting or reflection to bring the focus upon the main subject. Best played with portraits.
The Kaleidoscope Effect
Achieving the kaleidoscope effect is the most challenging. It will require a tripod to fix the camera steadily and easily manipulate the prism. Let one of the prisms flat bases face the lens covering most of it as much as possible and find something interesting to shoot. Move the prism ever so slightly and slowly to see the illusion you want.
How To Use A Prism To Make Creative Photo Effects
We are always looking for that wow factor with the images that we took. We can not usually achieve this by just pointing to the camera and taking a picture. Here are some insane photography tips on how to use a prism:
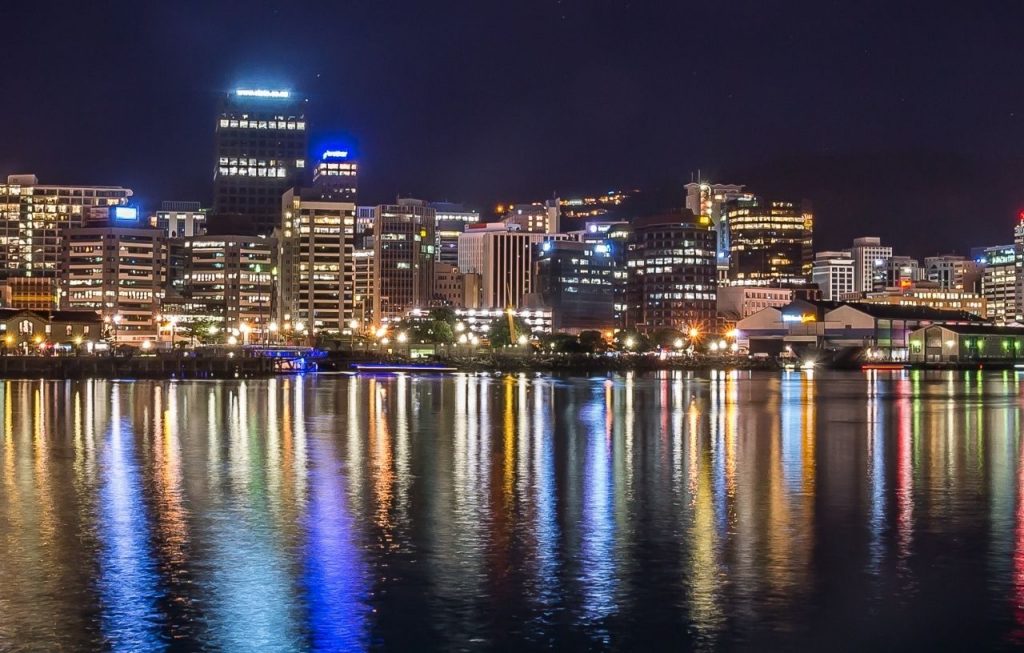
Create interesting light trails with your prism using the extended exposure technique. Stabilize your camera with the prism lens using a tripod and slow the shutter speed depending on the availability of light and the effect you want. Use a prism with light trails to create bokeh light trails and fading effects.
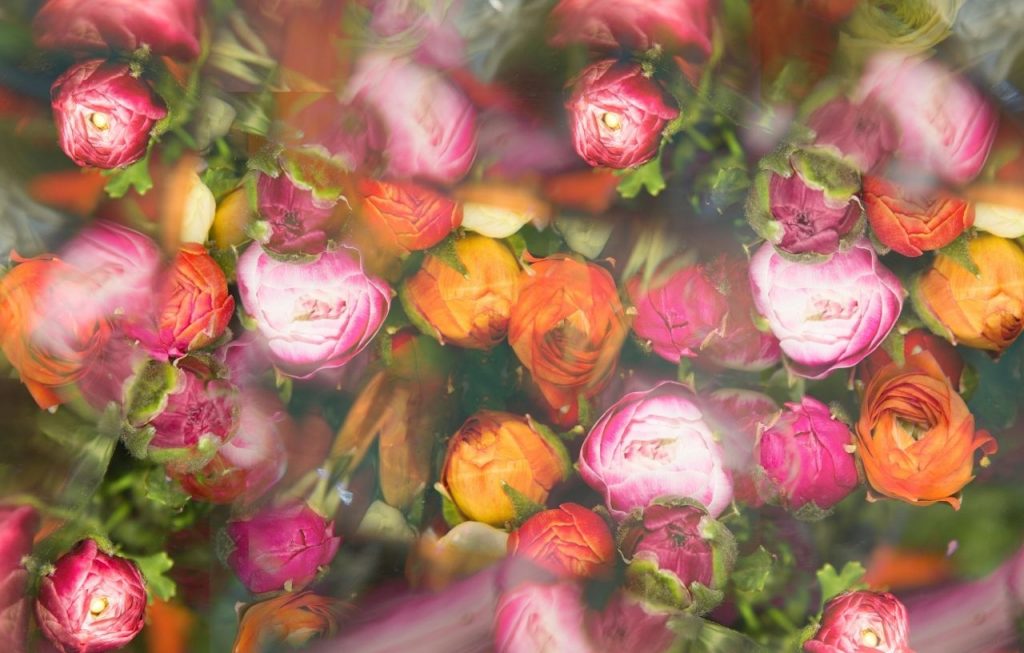
Try a motion blur with a prism. The result may be abstractly unpredictable but creative. Choose a landscape subject with vertical objects such as trees, flagpoles, and the like. Take a photo of the image and hit the shutter release while moving the camera repeatedly.
Use your camera’s burst mode to capture moments in motion with a rainbow prism effect. Set the camera to a continuous frame and take a photo but do not release the shutter button.
The bokeh technique doesn’t always have to be little circles. Cut out the desired shape from cardboard and trim around it to the size of your lens. Then set it to a wide aperture and take a photo of an area with lots of lights.
Take a shot of a levitation portrait with rainbow flairs in the background. Have your subject jump and take a photo when he/she is mid-air. You could also use the burst mode to capture the perfect moment.
What is Fractal Prism For Photography?
Fractal filters are creative tools in photography sold in sets of 3 made of glass and could mimic prism distortions. Each filter has three holes where you can put your finger in for easier grip and is designed with unique properties that create regular prism effects.
These filters are a bit pricey when bought online, but they are more convenient to use than holding a prism in front of the lens. These camera filters are hand-held prism glasses used as camera accessories for wedding photos, portraits, or creative shoots.
It is another innovation in the photo industry after prism photography was discovered. Well-known photographers, as well as videographers, use Fractal lenses to heighten their creativity during photoshoots.
The fractal lens kit has three different filters: Pascal, Penrose, and the Julia Filter. These filters are responsible for the kaleidoscope, bokeh, and double exposure effect of your prism photos.

Kaleidoscope Effect Prism For Photography
It creates an optical illusion that multiplies an image repetitively by reflecting surfaces from mirrors placed at equal angles. The patterns created are regularly symmetrical and could be easily achievable when using fractal filters. Best used with a wide-angle lens to cancel out the outer edges of the image.
The Bokeh Effect Using A Prism
It is another unique technique in photography prism that is also achievable by using fractal lenses. It is the blurring of the background to make the main subject pop out. Blurring out the background with colored lights will give you that magical photo with colorful circles floating around.
Double Exposure Effect Using A Prism
Fractal filters could also give you this effect where the image’s corners are lighted up. It is the combination of two exposures that shows in one image.
How to Use The Fractal Filters in Photography Prism
Choosing the right camera and lens to use is essential to obtain perfect shots when using fractal lenses in photography. A 40mm to 100mm focal camera lens is the best choice; setting the aperture to f4 compliments these filters’ effect well.
The next step is choosing amongst the three filters which suit best to your desired theme. This depends on the effect that you want to see on your final image. It can be the kaleidoscope, the rainbow, overexposure, or bokeh.

Every photo will come out unique. Repeating an effect on an image can be really challenging, so make every shot count. Try adjusting your focus so the main subject should be at the center of the filter and not the background,
Framing your photo correctly and not including the edges of the fractal filters to have a smooth transition from the filter effect to the main subject.
Decide on the subject you want to take a photograph of. Position the camera and the filter on your desired angle to that subject. May it be a portrait or a landscape, try looking into both lenses and make sure both are lined up properly. Or not! Depending on your artistic preferences.
The reason why these lenses are not designed to be attached to the camera lens is to give the user the freedom to be able to move it to different angles. Changing the angles dramatically affects the image of the shot.
Finally, preview the images you took and try to manipulate the filters more to get better results and enjoy the process while you’re at it!
Final Thoughts
Experienced or inexperienced, taking a photograph could be pretty straightforward. But it takes practice and continuous learning to get the best quality photographs and captured moments. From deciding on what subject to shoot to or adjusting the camera setting, every element is essential in taking the best picture.
The world of photography is a very competitive field that you have to step up your game to add style and identity to your photographs. Prism photography is a smart way to incorporate creativity into your images. It allows you to create distortions and dreamy rainbow reflections to add flare and upgrade your prism photos to another level.
It would take a while to master the technique with a bit of trial and error, but the process is worth a try, and the results are unimaginable. Prism photography is an opportunity to bring out the artist in you with your creativity and imagination as the limit.