
Photo by Pexels / CC0
Generally speaking, the advice that we would give is to try to avoid photographing into the sun. Instead, it’s usually better to turn and face the other way, taking advantage of the strong light.
On the other hand, sometimes having the sun right in front of you can create an interesting effect – and it might be just what your landscape photograph needs. And if so, here’s how to deal with the challenge of photographing into the sun.
1. Use a Lens Hood
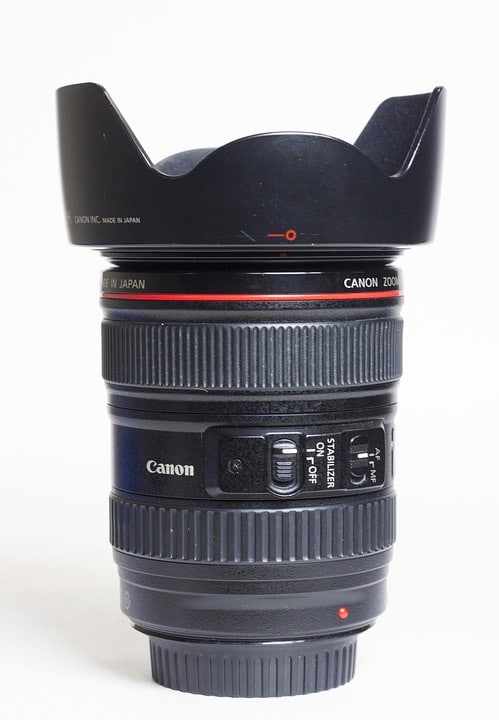
Photo by Fifaliana / CC0
A lens hood can be fairly useful for protecting your lenses – if you’ve ever dropped one only to have the hood smash and the lens remains intact, you’ll know just how much of a savior they can be. However, their primary usefulness is for protecting you from the sun. When you have strong sunlight coming right into the lens, it can create lens flares and other light effects that could be distracting to your photograph.
→ Related reading: How to Prevent Lens Flare
Having the hood on the lens reduces the risk of these effects, and can help you to control your photograph more effectively. It can also help to get the lens into a bit of artificial ‘shade’, even if it’s small because this can help your camera to process the light better.
2. Try Fill-in Flash
When you shoot into the sun, most of the time, you will end up with a silhouette. That’s because the sheer brightness of the light source forces the camera to adjust and see everything else as much darker. However, if there is an area of landscape right in front of you that you want to be visible, you can use fill-in flash to illuminate it and bring some of that detail back.
→ Related reading: Creating Compelling Silhouette Photography
If you’re able to create a more elaborate set-up, generators and light stand with full-sized studio lights can be brought in to light up larger areas. This can create a real cinematic effect, with lighting that we know instinctively we shouldn’t be able to see in a natural photograph. It’s a very interesting way to do something totally different to everyone else.
3. Grab a Filter

Photo by PublicDomainPictures / CC0
You should always have a filter on your lens – if not just, again, to protect it from smashing. But a filter can really work wonders in a lot of ways. An ultraviolet (UV) filter is a good defense against the sun in the first place, but you can also take it further. A polarizing filter will cut down the amount of light that comes through the lens, allowing you to get more detail and less of a silhouette effect. A neutral density filter can also help to give you more control.
→ Related reading: An Intro to Filters for the Landscape Photographer
4. Create Shapes
Since you are likely to be working with silhouettes, try moving around until you reach something that has a really stunning effect. You can create shapes and change your angle to transform the scene. As the viewer can’t see all of the details, they must infer everything from the shapes they can see. You can tell a story here, by placing a model into the frame or so forth. Think carefully about how your scene looks, and consider using a tripod so that you can frame things up more thoughtfully and make adjustments if needed.
5. Raise Your Shutter Speed
When it’s too dark to see, you can lower your shutter speed to capture things moving in slow motion. But when it’s too bright, you can also go in the other direction. Try raising your shutter speed as high as you can in order to capture less of the bright light you are facing. This could help to reduce glare and blown out highlights in your image. You’re also in the enviable position of being able to push your ISO right down as far as it will go, so there will be no grain visible in your final image. Control your settings manually rather than letting the camera decide, and see what happens.
→ Related reading: Intro to Manual Mode and When to Use It
6. Move Your Angle
Even when it’s important to have the sun beaming down through your image, you don’t have to face it head-on to do that. Moving to the side can give you a fresh perspective, and create some interesting results.
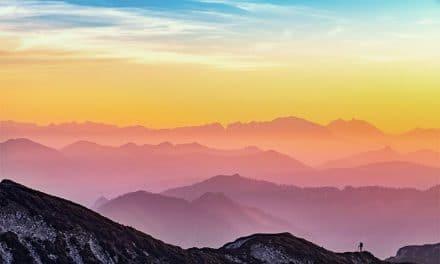
Imagine a valley in a hilly region, where the sun beams down right at you and creates a starkly lit landscape. Now move off to the left, and you’ll see the scene change. Now, you might see shafts of sunlight piercing the clouds and moving across the valley – a much more dramatic image. You can also control light spills and flares by moving around like this.
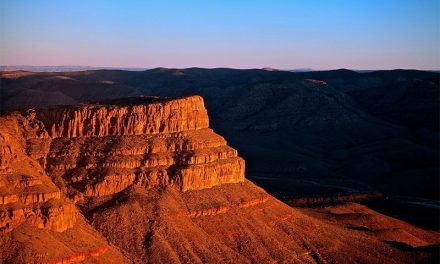
You can even take advantage of the natural landscape around you to play with your use of the sun. What about taking a few steps to the side, until the sun is only just peeping out from around the top of a tree? This can give you a halo effect, or create rays of light streaming out from the sun’s position, depending on your exposure and the conditions. This is a great way to play around with your photograph and find the angle that gives the best possible results.
7. Protect Your Eyes
Finally, if you are going to shoot into the sun, you have to be wary of your own eyesight and make sure you are protected. It’s a good idea to wear sunglasses – you can always lift them off your eyes for a moment when you’re checking the back of your camera. You should also avoid looking directly into the sun while you are framing your shots.
Even when looking through the camera, try to avoid looking directly at it and instead watch the frame around it. This will help you to avoid any permanent damage.
Many amateur photographers believe that it’s impossible to shoot into the sun unless you work to silhouettes only. But that’s not the case – and with the tips above, you can create something much more interesting. Try to work against what you’ve seen others do before, and find a new way of looking at the landscape in front of you.
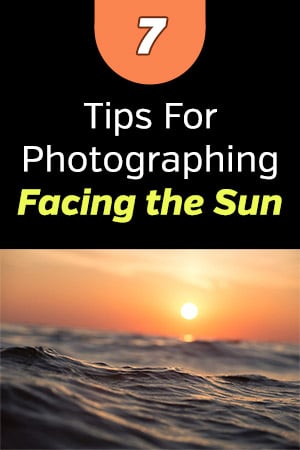
Photo license link: CC0


nice article. thanks for the pointers.
It’s really awesome tips
really pro tips for photo shooting in the sun.