Who does not love photography?
People are quite fond of taking pictures. They consider them as tangible memories which you can always look at after years have passed.
Our memories fade away, but pictures will always stay. As the world evolves, so do creativity and ideas.
-

- Image Source: Canva Images
[table id=12 /]
So now the real question is, how can you make sure that your photo will turn out great?
How can you make sure that you’ll still have a good picture outdoors, wherein sunlight is your worst enemy most of the time?
If you would like to find out the best time to take outdoor photos, you’ve come to the right article. Read on to find out more about this topic.

The Best Times to Take Outdoor Photos
Lots of people are fond of capturing moments. Pictures can also be used as a source of information and as evidence that a particular event had occurred. Photos can also be the products of a hobby and a pastime for many. Whatever it is, you are free to take photos anytime and anywhere.
You do not have to be a professional photographer; as long as you capture the subject/s and the photo is well-lit, your photos will look amazing. In fact, there is always room for improvements and doors for amazing opportunities.
Here are some suggestions: why not try capturing outdoor photos and not just rely on light bulbs and ring lights? Why don’t you give nature a chance to add uniqueness to your images?
In addition to giving you ideas on the best time to take outdoor photos, we also provided some tips on how to upgrade your outdoor photos and a detailed guide on how to look for the best lighting in outdoor photography.
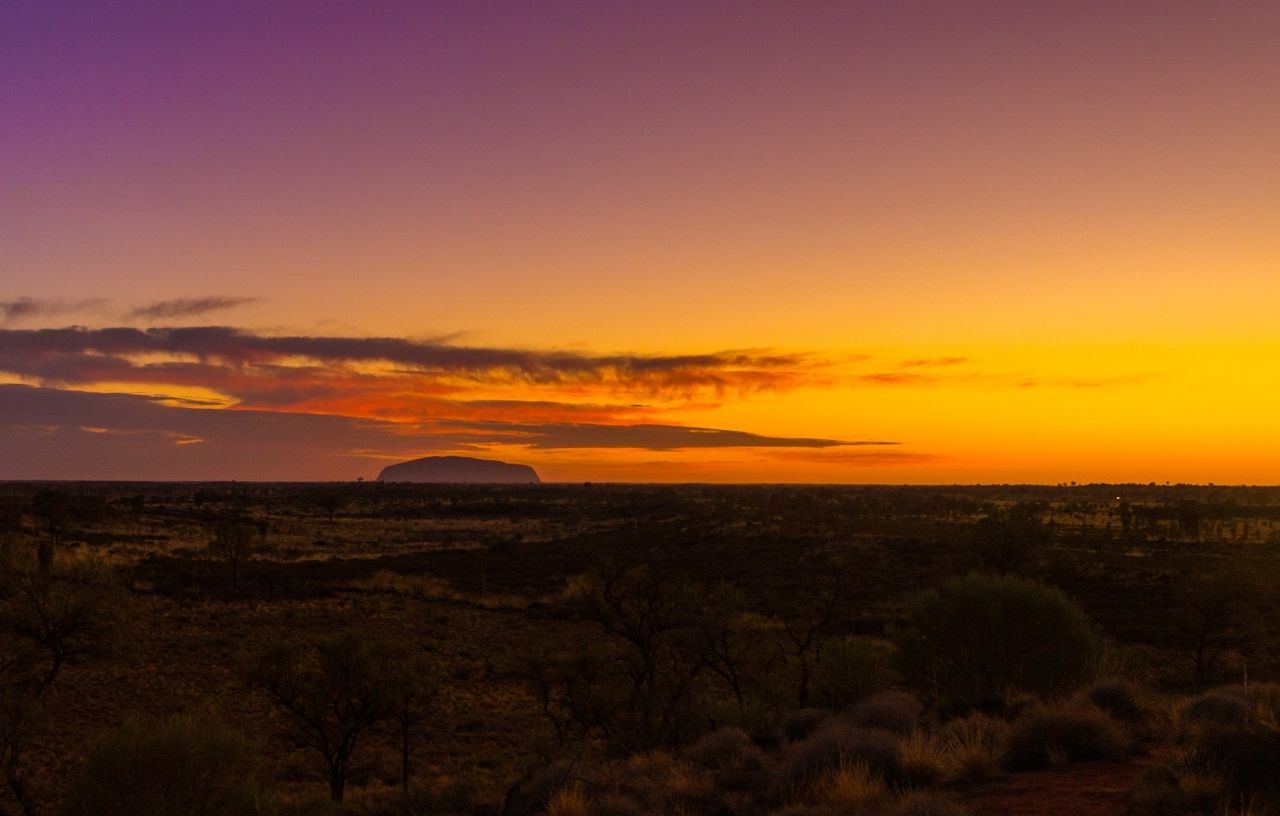
Image Source: Canva Images
Blue Hour Twilight: Before Sunrise and After Sunset
You are probably unfamiliar with “Blue Hour”, but this hour is very appealing to photographers who prefer a bluish tone and a mysterious effect that makes the photos more attractive.
The blue hour occurs before sunrise and after sunset. You can also call it dawn and dusk photography, which is quite similar to twilight photography, wherein the shots have limited sunlight.
Blue Hour is one of the best times to capture photos because it feels like you are connected with nature’s peace and stillness. You can also do blue hour photography during winter because there is no sunset and sunrise.
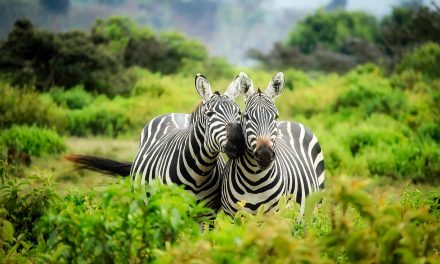
You see, photographers from National Geographic documentaries produce the best shots (often featuring the animals living in cold areas) because of the bluish hue and the coldness it provides in the camera shots, especially when the light is reflected in the water.
If you plan to do cityscapes photography, the bluish color will illuminate and provide even light to your photos, making them amazing and unique.
For selfies and other photos that have humans as the subject, you can take pictures at dawn or dusk to make sure that you will be the star of the photo since there will be fewer people in the area (or maybe none).
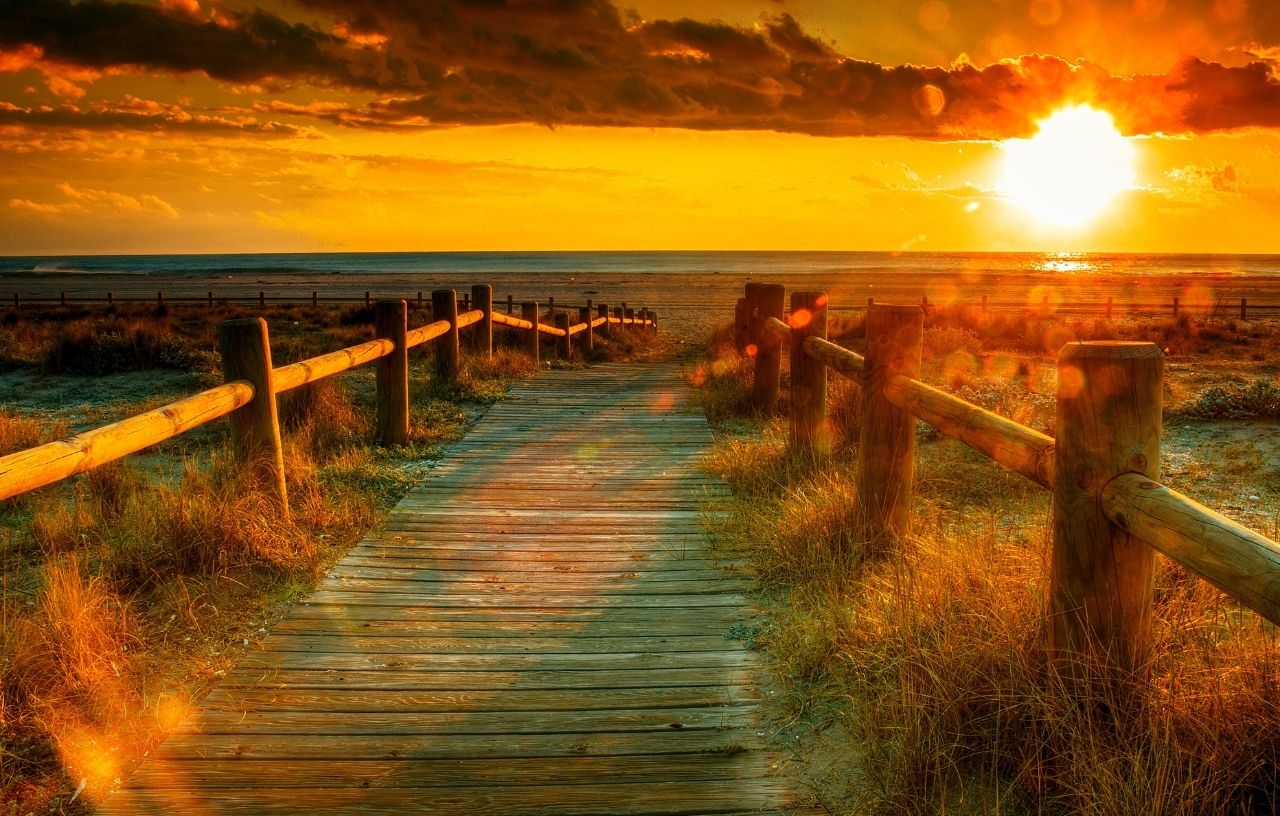
Image Source: Canva Images
The Golden Hour: Sunset
The Golden hour occurs just before sunset. It is characterized by clear skins, few to no clouds, with the sun shining between the trees (or other structures). This is a great way to take photos; however, golden hours only happen for a short period.
What time is the golden hour for photography? There are these so-called “magic hours.” It occurs when the sun is low on the horizon. Magic hours only last approximately 30-40 minutes.
Sunsets between 6:30 to 7:10 p.m. During this time, the light gets warmer, and deep shadows form. Thus, you have the opportunity to apply the light texture to your subjects and landscapes.
The sun is an adequate light filter compared to those installed filters on social media applications. It gives off a soft and flattering texture in photos. The atmospheric particles during these hours will filter the right amount of blue light and warm light (such as yellow, orange, and red).
When these warm lights shine on the skin or other things such as landforms and clouds, it can make the subject even more photogenic.
The Challenges of Shooting During the Golden Hour
The Golden Hour seems to be the ideal time of the day to shoot and capture photos. However, it is not easy to capture the best lighting conditions.
Challenges will certainly occur, especially when determining your best angles, adjusting your camera settings, and finding the right spot to avoid any contrast, excessive hues, and dull photos.
Golden Hour should not work by itself, but the photographer should also have excellent knowledge in photography to adjust to existing conditions.
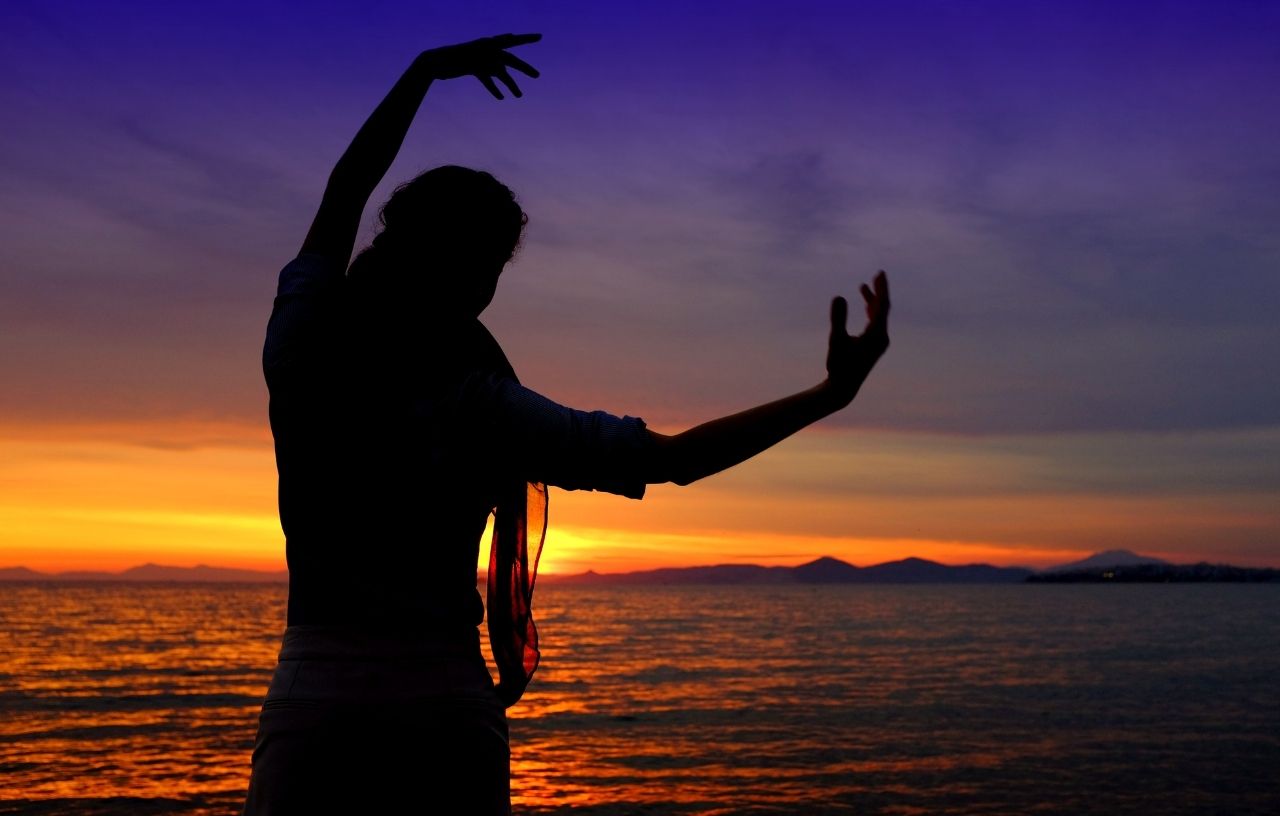
Image Source: Canva Images
Transient Light Conditions
Although sunlight can enhance lighting conditions, it does not mean that it cannot mess up your photos. Sometimes, excessive backlighting can confuse your camera’s light meters and make your subject look darker than normal.
Another downside of natural lights is lens flare. This will cause your images to have unnecessary colors and become out of focus and blurry, especially when entry-level lenses are used. Lens hoods would be much more outstanding help to avoid this.
Watch out for your front lighting because if it is not adjusted appropriately, it can cause intense orange skin and squint in the subject (this happens if the sun is too bright and is directly focused on your subject).
You can avoid all these by moving to an open shade or waiting for the sunlight to change its course. However, keep in mind that you need to take photos quickly since the light changes drastically. Make sure to balance your angles and hues in your shots.
Inconvenient Time of the Day
We all know that everyone is busy with work and other commitments. Changes can be very sudden, including the weather, so you should always have backup plans ready and squeeze those creative juices so you won’t run out of ideas. You must quickly adapt to the conditions in which you are shooting.
But whatever happens, the photography shoot must go on. You can find an open shade place and a place with trees and buildings if you are trying to capture photos during mid-day. Doing so will ensure that the shades will block excessive sunlight, and lights will be filtered, thus providing a balance between the lights, backgrounds, and subjects.
If you are trying to produce an overcast image, use a gold reflector or off-camera flash to avoid contradicting the natural sunlight and thus maintain consistency in images. This can also add more warmth to your subject. Isn’t that amazing?
If you still struggle with matching the light with your photos, digitization is always there to save the day. You can use applications that contain filters to help enhance your photos. However, the danger here is that your photos might look staged or fabricated after editing since some of the details will look far from real.
Say, for example, backlighting and front lighting should be balanced. Some editors tend to edit the photos thoroughly. Remember, nothing beats a natural image with proper lighting.
If you are planning a photoshoot, it would be best to plan ahead by determining the weather forecast for that location so you can avoid or lessen photography mishaps.
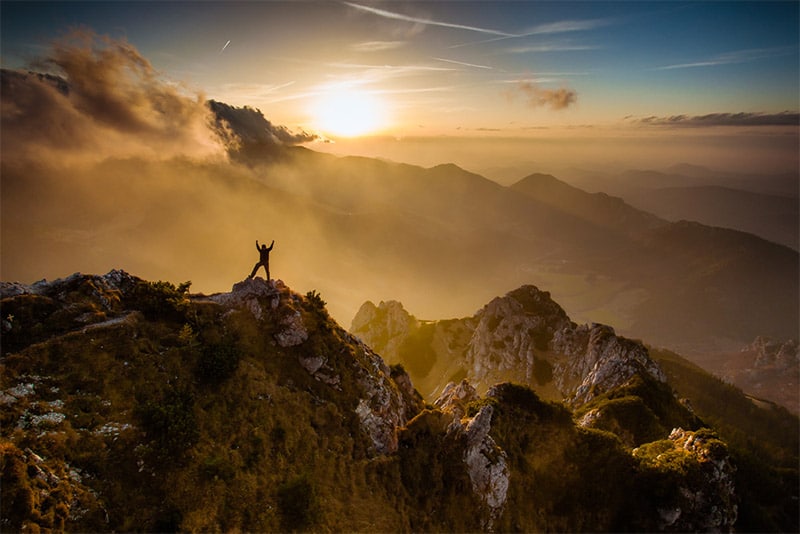
Image Source: Canva Images
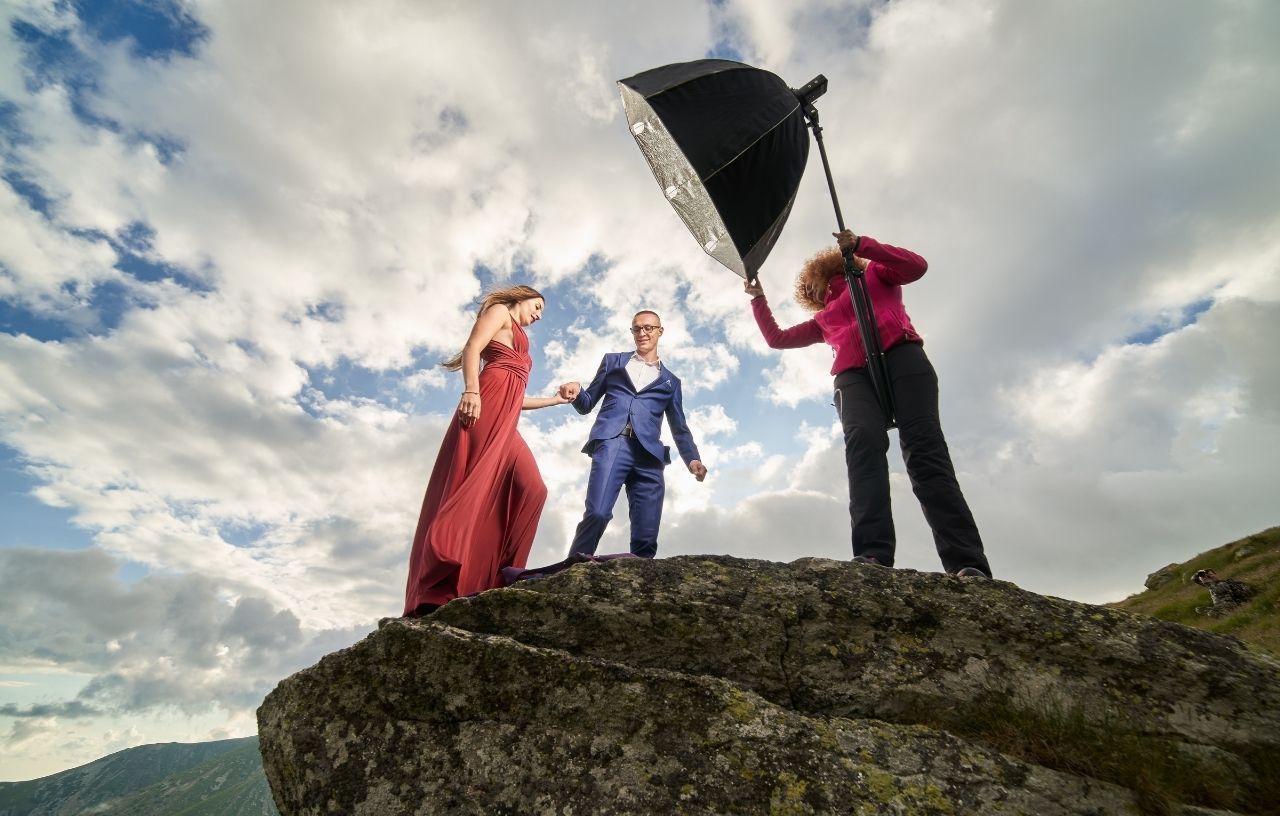
The Main Subject The Can Be Overshadowed By the Lighting
If you don’t want to waste your time and effort capturing photos, you should have a keen eye for the details. It is good that lights provide a bright color on your subject, but excessive lighting can make your subject invisible or look like a shadow.
Remember when you keep your flash on when capturing photos in daylight? There is this yellow stain on the picture, right? Well, you should keep your flash off because it counters the sunlight, especially during golden hours.
Try to find dark backgrounds. Let’s say you are shooting on the fields, and you might want to have your model sit or lay on the grass to attain balance in colors and avoid digital noises. Although there would be shadows on your subject, it would not look like a dull element. It will become a decisive element for more quality photos.
If you are shooting portrait photos, you always have to be creative. Say you are shooting outdoors and there is no shade available for your subject, the best thing to do is to make sure that your subject is not under direct sunlight.
You can also apply the rule of thirds wherein he or she would be on the left or right side of the sun. This is also applicable for candid pictures. See, if you cannot escape sunlight, then include them in your photos in the most creative way possible. Also, do not forget to bring a reflector because it is also quite helpful.
Shadows are Tricky
Shadows can be helpful when perfecting shots, but there are times that it can also be annoying when it appears out of nowhere, no matter what you do. Shadows block the subjects, which hinders the natural quality of the picture, so you better avoid them.
But since you are playing with lights during the golden hour, and somehow, shades can be a hindrance that can affect your images’ quality. You should definitely adjust your camera settings and keep in mind that you should not always capture raw photos.
Simple things like the darkening of a portion of your subject’s skin can easily affect the quality of your photo. For some, it seems normal, but for photographers, consistency and balance must always be observed.
Things that can produce shadows and affect your subjects are the lights being blocked by the shades, and these can easily be cast out beneath the walkways. The camera settings have no alternative solutions to eliminate those.
Another tip for you to not get lost while adjusting your angle is to trust your camera because it is the basis of your photo, not your eyes. Your eyes can adapt to lights, while the camera cannot handle these adjustments if the settings are not set correctly. Remember that your significant adjustments would be hues, saturation, and luminance.
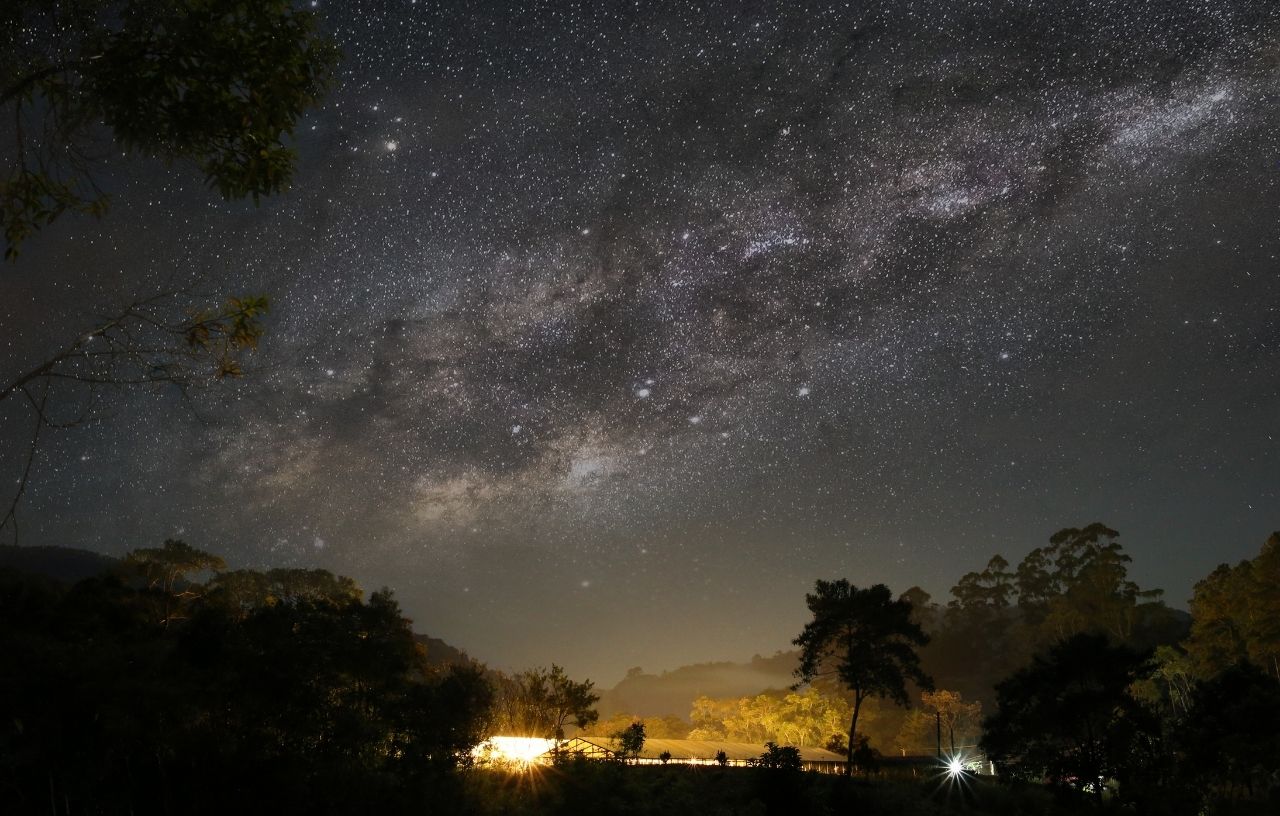
Image Source: Canva Images
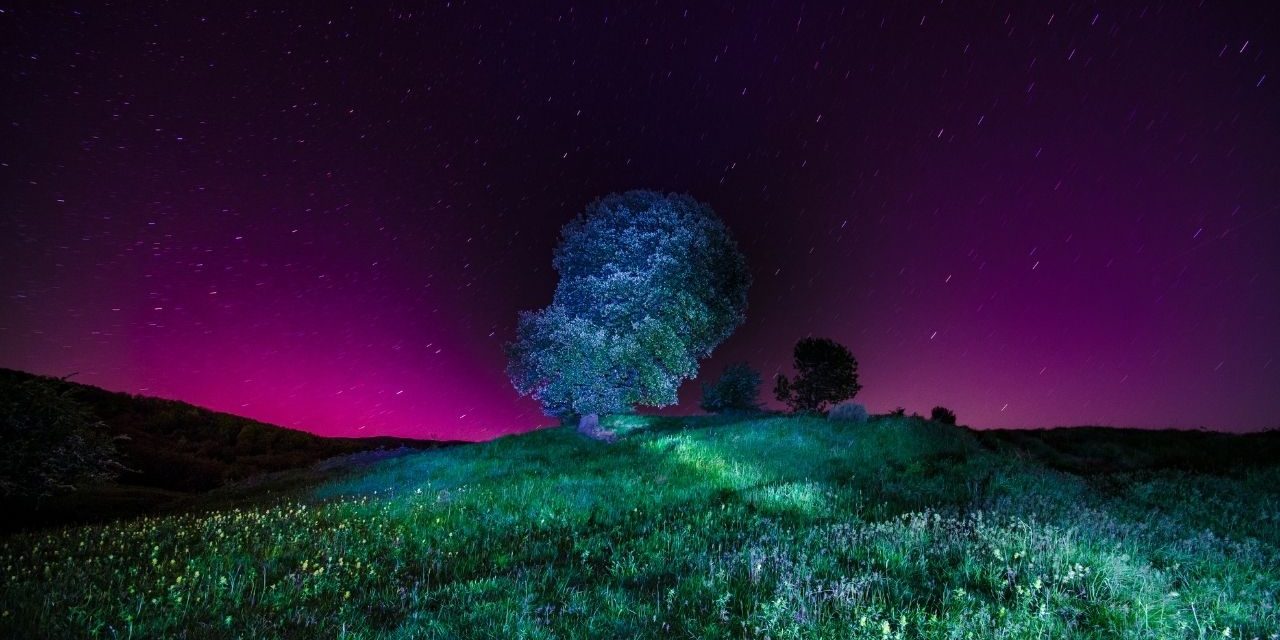
Night Time: The Glazing Stars
Only a few people prefer night photography because some say that it would be too dark and the subject won’t be clearly seen. Furthermore, if the light is not robust and realistic enough, the resulting photos would look dull.
It’s also a bit difficult because you really need to behave like a pro in navigating your camera’s manual settings. However, once you master night photography, it will be easier for you to capture photos even in low-light conditions.
Night photography works best in portraits if your subject is placed on the right spots wherein neon lights are present. Remember that you have to shoot in raw because there is minimal lighting, so it would be better not to add filters because it might overshadow the subject. It can also be challenging to edit the photos.
Bringing a flashlight is also optional, but its purpose is not to add light to your photos. It is for the photographer, so he or she can easily see everything on your camera and tripod.
Ensure that you determine the best angles, adjust your camera settings for this, and choose a quiet or less busy place to avoid any photobombing or glitches.
Here are the things you need to adjust in your camera:
Aperture: Open your aperture at night since the background would be black. Nights require fewer in-depth shots. Therefore, a broader aperture will allow more light to enter your camera lenses.
Shutter Speed: You can rest easy and let your shutter speed open at night because you will be shooting at night. If you happen to stumble to a place with people and vehicles passing by (such as public fountains), you can let your shutter speed open to add cool effects to your photos.
ISO: Your ISO should be low because there would be dark areas, and these dark areas can cause digital noise.
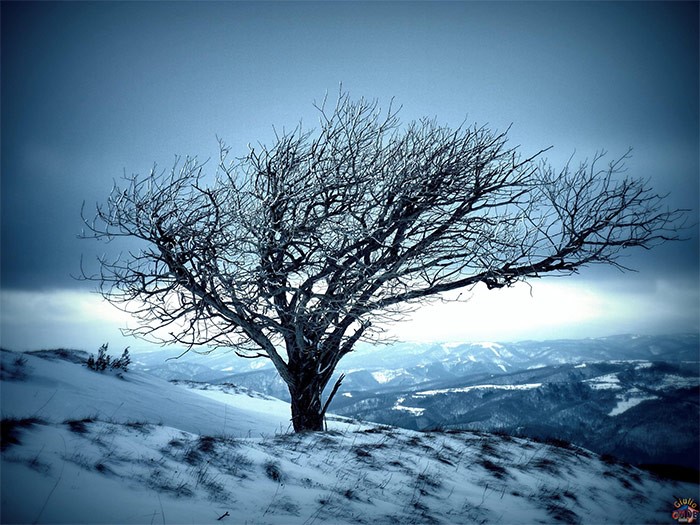
Lonely Tree by Giulio GMDB / CC BY-ND 3.0
How About the Other Times of the Day?
You do not have to wait for the perfect time to shoot because the truth is, you can shoot whenever and wherever as long as you can adjust based on the conditions.
If you are really into photography, you wouldn’t mind exploring different times of the day to see if there would be lapses and gaps in your photos.
Remember, shooting at any other time of day won’t necessarily decrease your chances of capturing fantastic photos. Here is the list of times which you can take advantage of to improve and hone your photography skills.
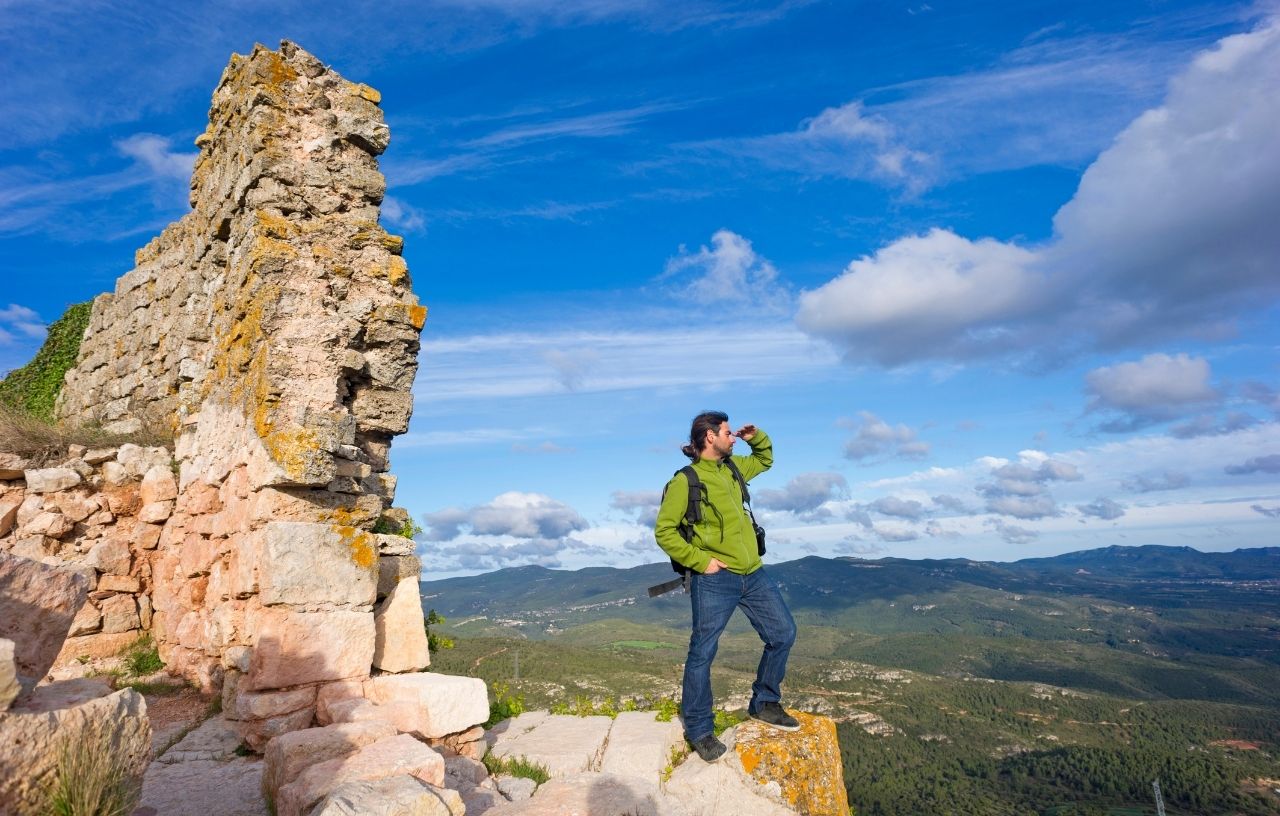
Image Source: Canva Images
High Noon
Some people prefer taking photos during the golden hours or the mid-day instead of high noon because the light interferes with the camera lens and leaves sharp colors in the photos.
Believe it or not, you can still do some shots at this time of the day with the proper adjustment techniques. Adjust your camera settings so it would look like you are playing along with the shadows.
Light during high noon might not be great for wedding and debut photography. However, it would still be perfect for those urban landscape photographers who intend to have a dramatic tone in their subject (while also including shadows that will enhance the photo).
Do not rely on the shadows themselves because they might overwhelm and ruin the entire photo. Balancing your subject and the background is a better choice if you want to produce quality photos. A reflector might come in handy. Bring it along if you have one.
You can also capture a crystal-clear shot of the ocean at any time of the day because the water matches the sky and the natural surroundings due to its neutrality.
You can also mix the colors. Imagine you are painting with multiple colors, and the goal is to make it more appealing. High noon photos work well if you intend to produce high-contrast images. See, taking photos during high noon doesn’t sound bad at all.
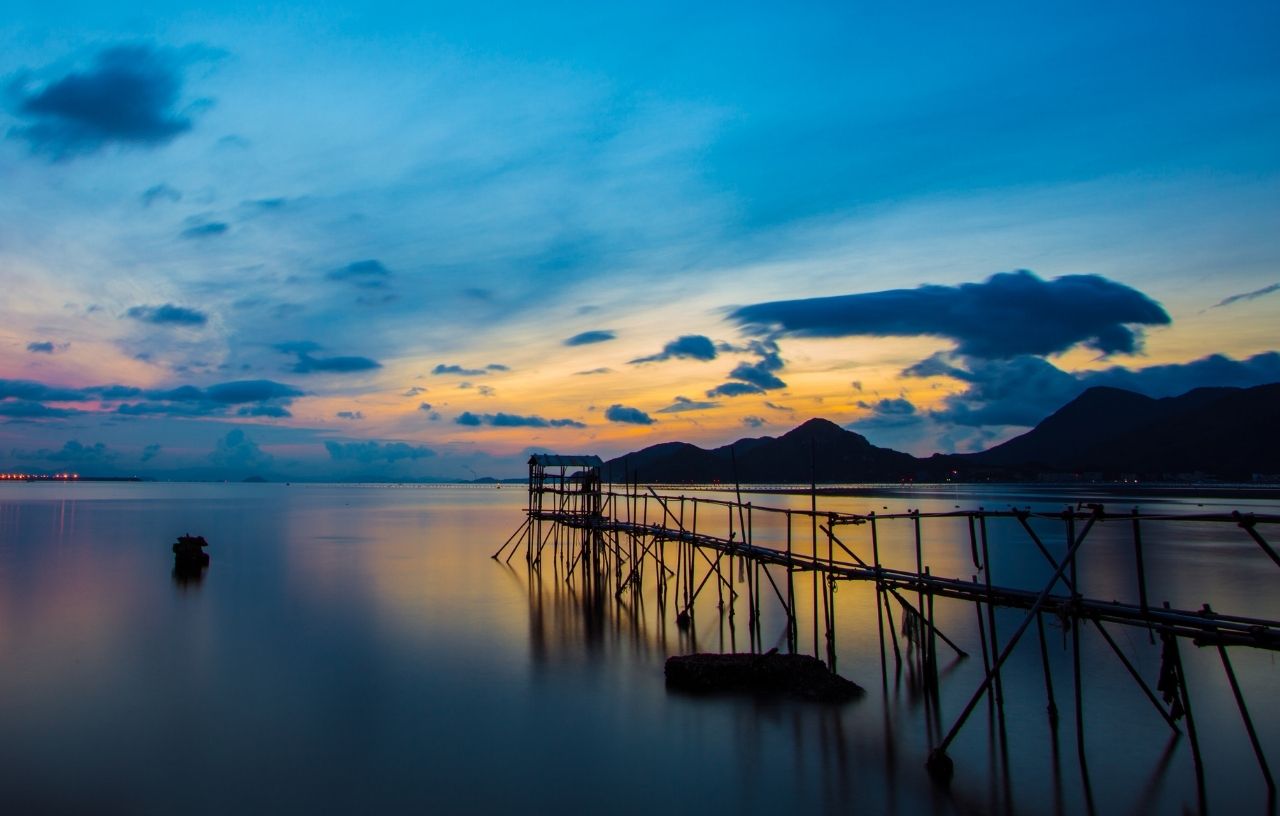
Image Source: Canva Images
Mid-morning and Mid-afternoon
Early morning and late afternoon sunlight are indeed great for outdoor photography, but have you ever shot photos during mid-morning and mid-afternoon? Mid-day light provides cold colors and vibrance to your photos.
If you want highly relaxing photos, then you would probably want to go out and catch the midday light. Midday light imparts colors, neutrality, and coldness in photos. If you also plan to take a headshot, then mid-day light can provide the best romantic and candid images.
You can also take medium shots during mid-morning and mid-afternoon to make your subject look more pleasant and balanced with natural colors.
There is also no need to worry about the sun since it will not directly affect your subject. Thus there won’t be any harsh shadows present. Compared to the warm, reddish color during sunset, photos taken during mid-morning and mid-morning will most likely match your skin tone.
CCloudy Day
Who says that you need to rely on sunlight when it comes to photography? Well, it is not entirely true because cloudy days also provide good opportunities to capture breathtaking photos. Cloudy weather doesn’t seem to be a hindrance in this type of outdoor photography.
The clouds will diffuse the sun, so the shadows from the sun’s rays won’t be a problem for you. The colors and textures of your photos will also be consistent. If you are creative enough, you can also add the clouds to your photos to make the shot even more appealing. Adjust your camera settings so in accordance with the available light during cloudy days.
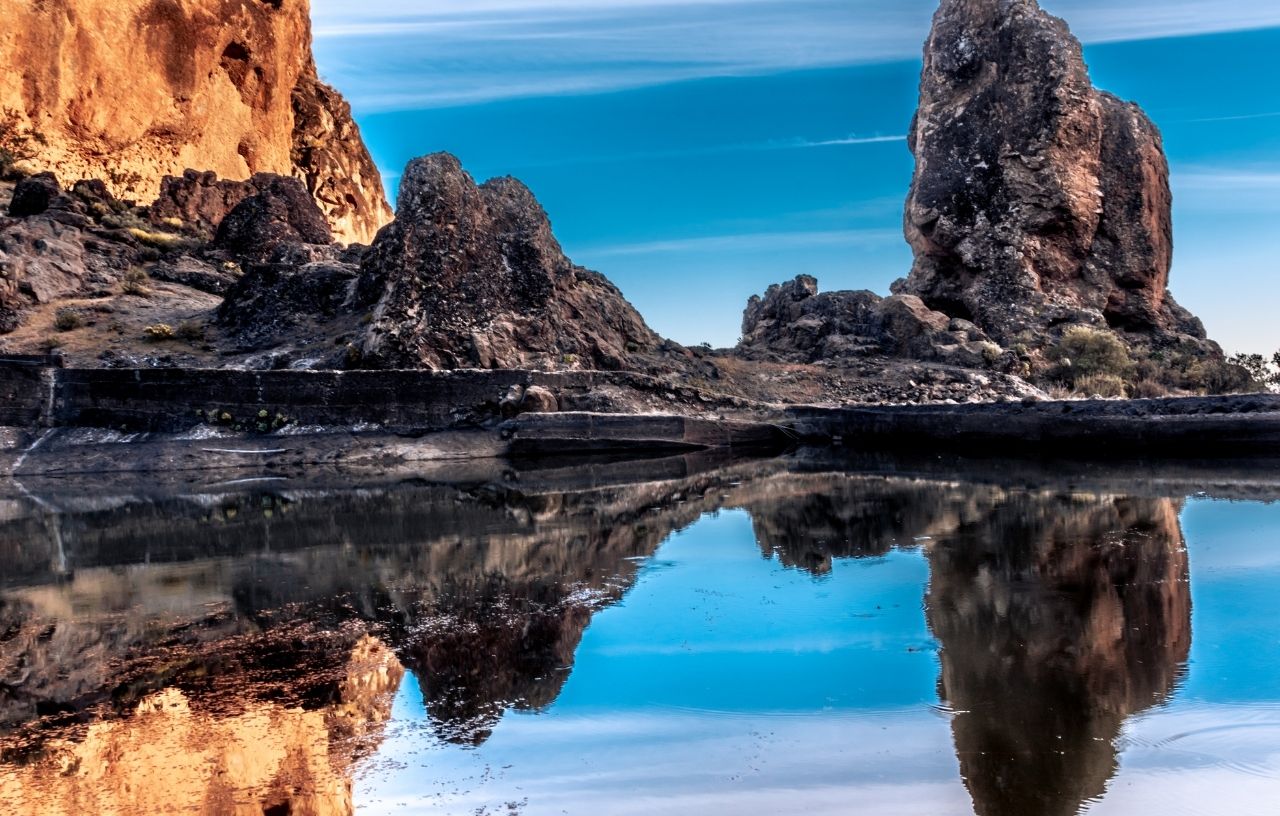
Image Source: Canva Images
Overcast
This type of photography is very suitable for landscapes, waterfalls, streams, forests, and any nature photos because it brings out the subject’s natural color. Overcast lays are also a decisive element if you want to prevent hotspots and unattractive glares.
Overcasts are simple yet captivating because it brings out the naturality of the subject. Because as everyone says, simplicity is beauty, and being natural brings out the best in you. Now, you can pretty much enjoy shooting outdoors because you don’t have to worry about adjusting your camera settings. All you have to do is to know the best angles for your photos.

Image Source: Canva Images
Bottom Line
No matter what happens, trial and error are inevitable in photography. There is no perfect photographer on the first try, but the experiences you have gained will turn you into an exceptional photographer. Indeed, it would be difficult for you to master all the techniques and obtain all the knowledge to produce beautiful photos, but the first thing you always need to do is believe in yourself before clicking.
Always be patient because outdoor photography would require you lots of adjustments. Be resourceful as always and plan ahead so natural occurrences will not compromise your shoot. Make sure to test your camera as well to avoid problems.


Excellent advice, particularly preventing the light from overshadowing the subject and the ideal time range for sunset shots.