photo by: Riccardo Chiarini’s
Chances are you’ve seen those amazing images before. Deep blue skies, with soft white clouds that seem to pop out from the background. Or images featuring beautifully saturated colors, especially those taken just after the rain.
There’s a good chance that those images were taken while using a polarizing filter!
A polarizing filter is one of the most useful tools you have at your disposal as a landscape photographer, and it pays to know how to use this valuable piece of kit.
If you’d like to capture images with deep blue skies, have the power to remove reflections or surface glare, and even gain the ability to see into the shallows when capturing your images, then you’ll want to get ahold of one of these tools.
Let’s read on to see what, exactly, you can do with a polarizer; and why you’ll want to incorporate one into your landscape photography toolkit.
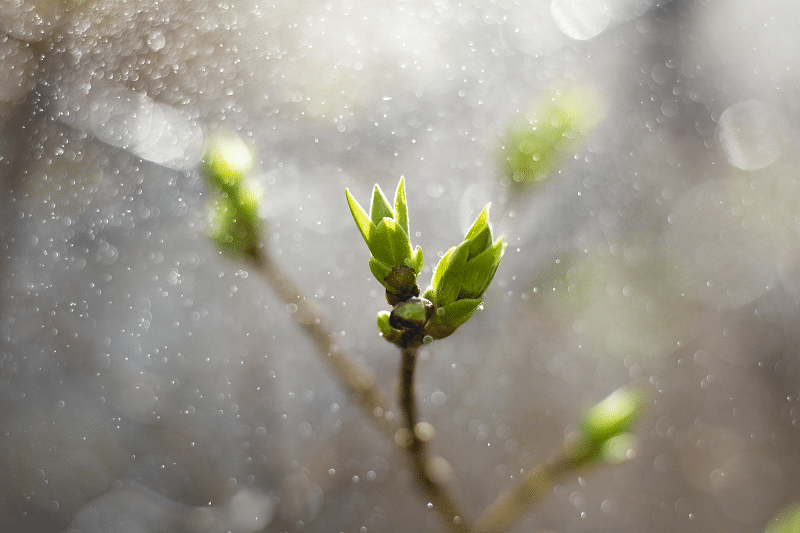
photo by: Jonas Kaiser
What is a Polarizer?
In short, a polarizing filter changes the way your camera sees, and processes incoming light.
By attaching it to the front of your lens, and rotating it to a specific angle, you’ll be able to cut out a great deal of reflected light in a scene. The results? Brighter, deeper, and more saturated colors.
Because a polarizer reduces reflected light, it can also help to reduce atmospheric haze. So if you are photographing the sky or a distant mountain range, a polarizer can cut through the haze, helping the mountain to appear closer, or the blue sky to appear deeper and more saturated as well.
While it’s true that you can add color in post-processing, for the most part, the effects of a polarizer cannot be replicated in post. When it comes to reducing reflections and haze –a polarizer’s effects just can’t be recreated!
Now, let’s look at a few areas where you will see the most impact from a polarizing filter:
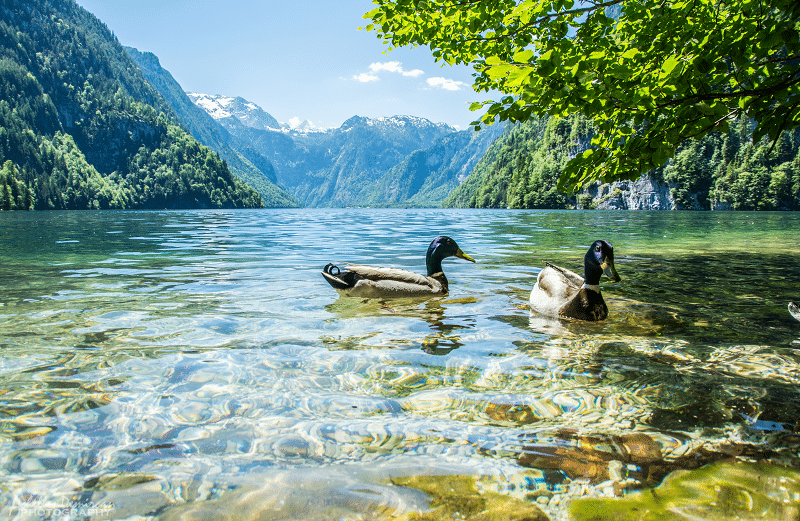
photo by: Achilles Demircan
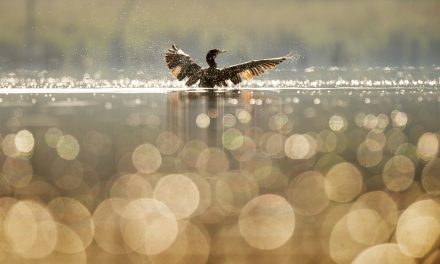
• Removing Reflections on the Water
Looking to reduce unwanted surface glare and reflections on the surface of the water? With a polarizer you can cut through the glare; allowing you to see into the shallows and capture images of the murky depths in a lake. If you’re photographing the sea, wait for a bright, sunny day and use a polarizer to capture images of the ocean floor found in the shallows.

photo by: Ed Leszczynskl
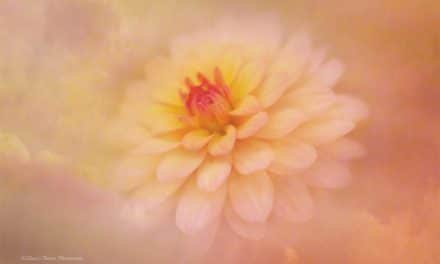
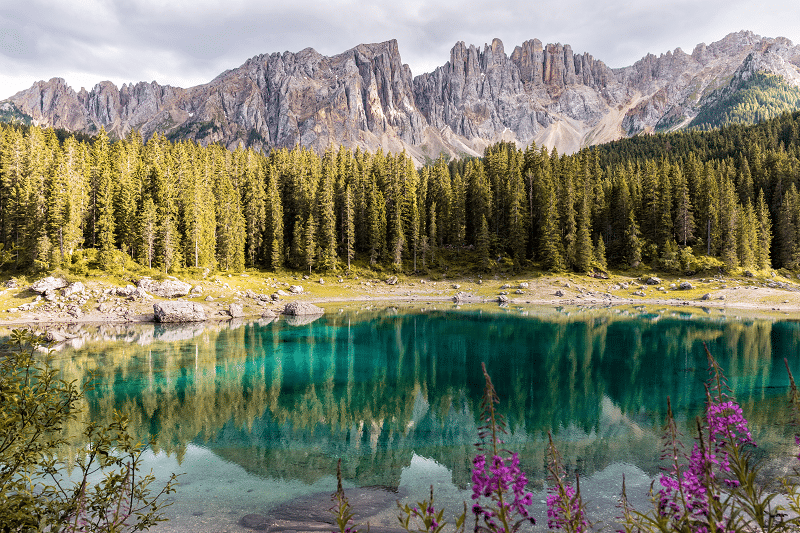
• Improve Color Saturation
You know how bright colors appear after the rain? Generally, the camera will render that silky, glassy surface as glare –overexposing it. Removing surface glare from the surface of leaves, foliage, or even wet, shiny rocks can result in deeper, more saturated colors. A polarizer can give you deeper, richer and brighter colors. Rows of bright red flowers, a forest of burnt orange trees or a sparkling blue lake can all benefit from a polarizing filter.
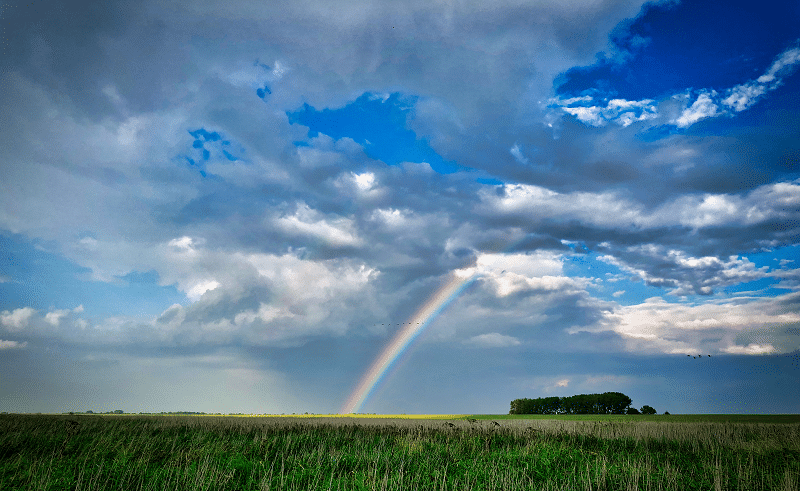
photo by: Leo Wieling
• Vibrant Rainbows
Using a polarizer for a rainbow? Yes! While rotating the polarizer too far will case the rainbow to disappear completely, rotating it just a bit will help the rainbow to appear bold and bright.
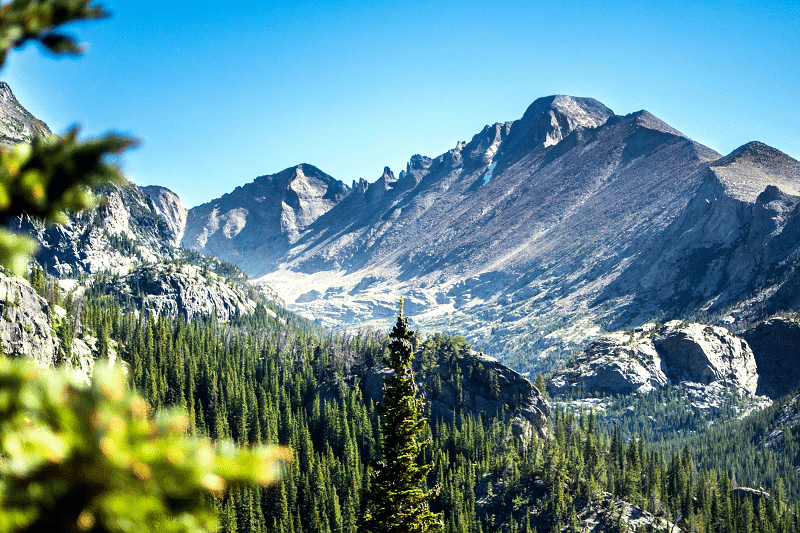
photo by: pixnio
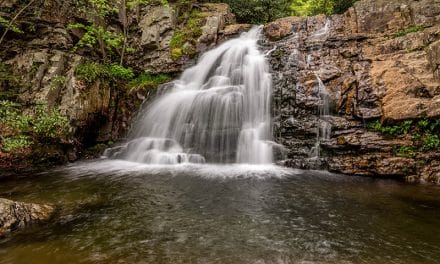
• Removing Atmospheric Haze
A polarizer can help to reduce atmospheric haze; allowing that distant mountain to appear closer, and more in-focus.
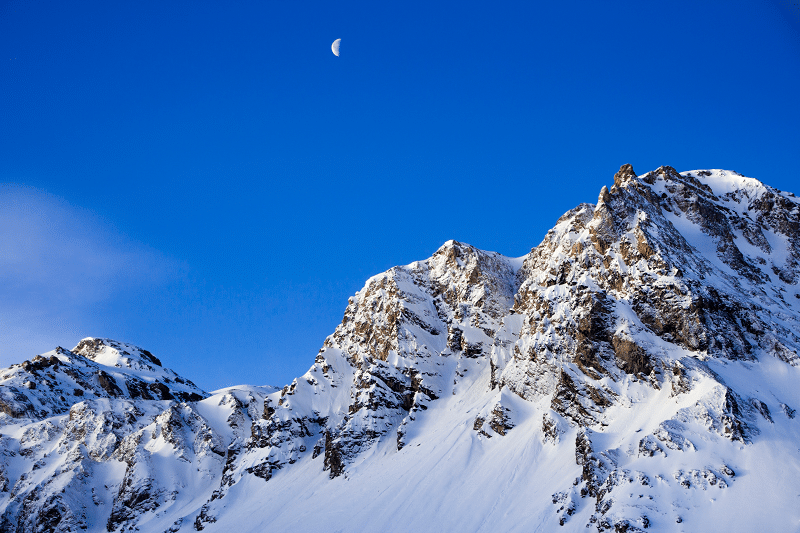
photo by: Xavi Garcia
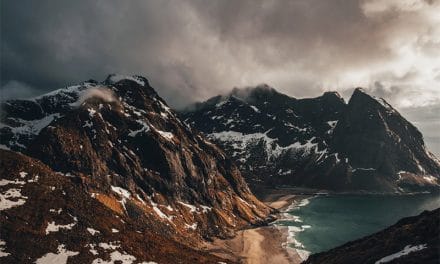
• Deep Blue Skies
Finally, and perhaps the best-known use of a polarizer. Use it to deepen a blue sky while drawing soft, fluffy clouds out as well.
Tips for Using a Polarizing Filter
While using a polarizing filter isn’t too complex, there are a few things that you should keep in mind to make the process easier; and help you get amazing results.
• The 90-Degree Rule
Perhaps the biggest challenge when using a polarizing filter is getting the angle right.
A polarizer works best when it’s used at a 90-degree angle to the sun. While this may sound complicated, there’s a simple trick to help you get the right angle, every time. Simply make a ‘gun shape’ with your index and thumb; pointing your index finger at the sun. Your thumb will point to areas where the polarizing filter will have the most benefit. Once your angle is right, simply rotate the front ring to watch the scene darken.
Or, simply put, try to avoid shooting directly into the sun, or when the light is directly behind you. During sunrise and sunset, for example, the effects of the polarizer will be minimal.
• A Polarizer Changes Your Exposure
Another important thing to keep in mind is that using a polarizer changes your required exposure. Since the filter is dark, less light will get through to your sensor, and you’ll need to adjust your settings accordingly. You can accomplish this by using a longer shutter speed or wider aperture to let more light in. Keep in mind that generally, the filter will change your exposure by 1-2 stops.
When to Avoid Using a Polarizer
While there are plenty of advantages to using a polarizing filter, there are also some situations where you’ll want to AVOID using a polarizer. Here’s a look at a few now:
• When Using a Wide-Angle
Using a polarizing filter on a wide-angle lens; generally, something that’s wider than 35mm can cause your skies to appear uneven, with a gradient effect. An uneven sky can be fixed easily enough during post-processing, though.
• During Sunrise or Sunset
Due to the fact that polarizers work best when used at a 90-degree angle to the sun, you’ll want to avoid using them when photographing a sunrise or sunset –when your camera is pointing directly at the sun.
• At Night
Because polarizers reduce available light, you’ll want to avoid using them after dark.
• When You’re Trying to Capture Reflections
Finally, it may sound obvious, but when you’re trying to capture a reflection, don’t forget to remove your polarizer first!
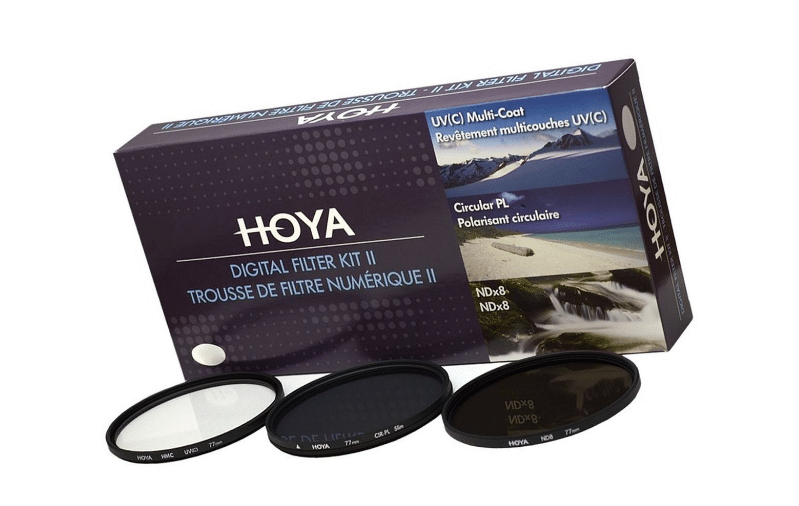
Finding the Right Polarizer
While there are plenty of options out there when it comes to polarizers, don’t let the range of options overwhelm you.
The first step when choosing a polarizer is to determine whether you’d like a circular polarizer or a linear option. While linear polarizers are cheaper, they’re difficult to use on cameras with autofocus. So unless you’re shooting with a 1970’s or earlier camera, or a view camera, you’ll probably want to opt for a circular polarizer.
(Source)
Next, you’ll want to find the right size polarizer for the lens that you’re planning to use it with. Check your lens’ diameter, is it 52mm or 58mm, for example. Then look for a polarizer that will fit.
Finally, comes the question of brand. If you can spring for it, consider a polarizer that’s rated highly. Nikon makes good polarizers; and Hoya, Tiffen, and B + W are other popular options.
At the end of the day, using a polarizing filter can make a tremendous difference in your work. Why not try one for yourself and see?
Do you use a polarizer? Do you find that it makes a difference in your work?