When I think of silhouettes, I remember the one’s my aunt had of her grandchildren in her hallway. They looked to be made of black, thick paper that were mounted and framed. They were absent of features inside the dark space. A silhouette in photography is the image of a person, scene, animal or other subject that appears as a solid dark or heavily shadowed shape against a lighter or contrasting background. Just like the vintage silhouettes, they have black or very dark lines that are clear and distinct making the subject identifiable.
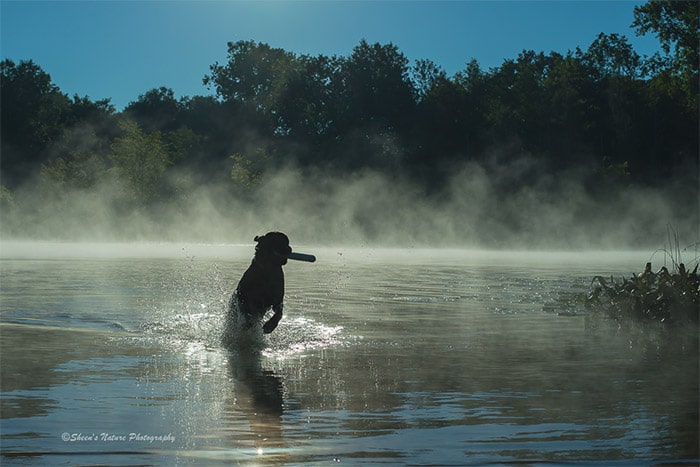
Almost by default the silhouetted subject is communicated simply as it consists of darkness and lines as in the retrieving labrador above.
In photography, silhouettes communicate feeling, mood and an overall story. From stillness to movement, from light to dark, they offer a different, non-traditional way to share a moment in time.
Here are four key silhouette photography tips:
Keep Composition Simple
The shape should be distinctive and recognizable. If it’s multiple people have them at distance apart so you can see each person’s outline. If it’s a single object, try to keep it isolated from touching or blending with subjects that would distract or hide the outlines.
The silhouetted photo of the active group below leaves the interpretation of who this group is up to the viewer. Are they friends? Co-workers? Family members? Regardless of who they are, they are hamming it up for the camera.
Use of Light/Backlight
The subject should be placed in front of the light source. The backlight may be completely behind or visible as long as you get the desired effect. The two photos from the Smokey Mountains in Tennessee show a complete silhouette of the mountains before and after sunset. Each has a different mood given the positioning of the sun combined with details of the mountains layers.
→ Related reading: Guide to Shooting Landscapes in Low Light
Dark Versus Shadows: How Does the Moment Feel?
How dark should you go with the silhouette? You as the artist decide at the snap of the shutter and in post processing.
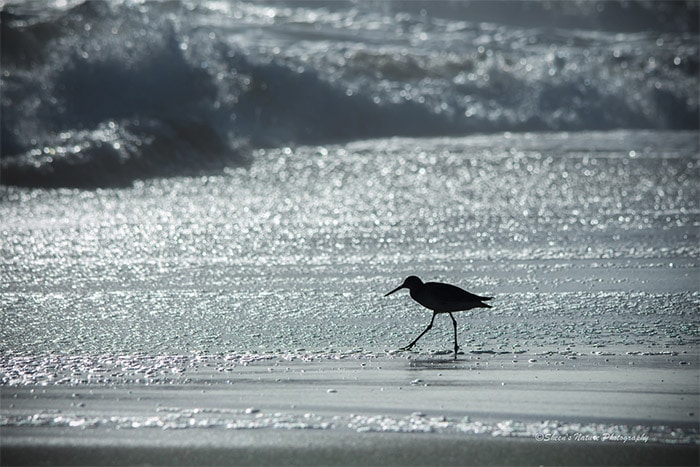
The bird (willet) on the beach was taken at sunrise. The ocean, water on the beach glistened as he danced along the waters edge. The birds surroundings may not have been quite as noticeable had more of the bird’s details been visible.
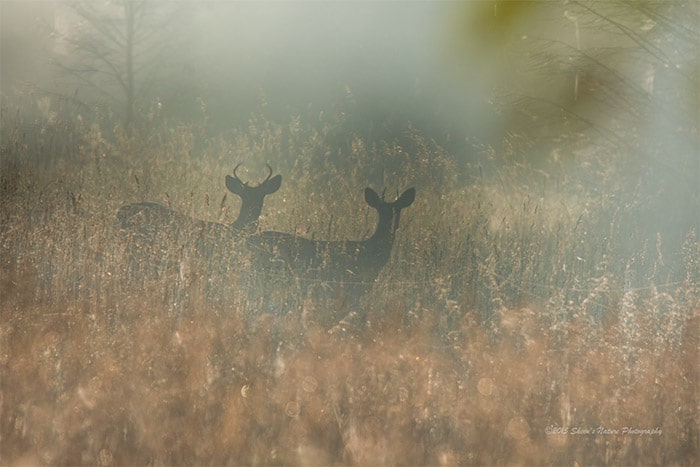
On a misty morning in the woods, the sun’s golden hues combined with the fast fading mist offered a soft backdrop for two deer in the distance. By having a slight bit of lighter color, it kept the overall image in sync with the moment. Using a dark, black shadow for the deer would have appeared too harsh. The gentle use of light gave the image a more three-dimensional perspective than the bird image above.
Creating the Photograph
To keep your subject sharp, try working with a smaller aperture (larger f/stop number) so that the depth of field is larger.
When focusing, setting the focus point on the edge of the subject, between the light and dark is an easy way to balance the lighting. Using matrix/Nikon or evaluative/Canon metering and our cameras will read the overall scene.
There is also the option go to manual mode and manually meter the bright area behind the subject. After you’ve set the exposure, recompose the photo with your subject. The manual process may take some practice to find your personal preferences. Since I work with a lot of moving subjects, using matrix metering combined with using Aperture Priority is my choice the majority of the time.
→ Related reading: Why Shoot in Aperture Priority Mode
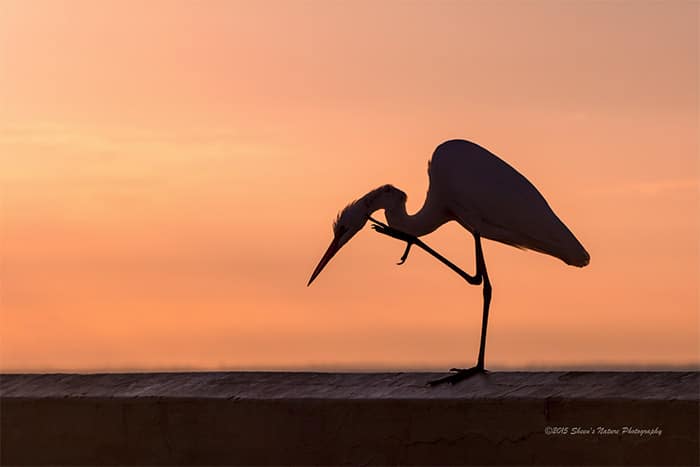
The egret at sunrise stood stoically in the light breeze. The combination of bright and orange hues served a backlit backdrop as she slowly preened and walked along the railing.
Seeking silhouettes expands our creativity in the use of lighting, our eye for lines and shapes in our day to day photography.
Photo license link: CC BY-ND 2.0

