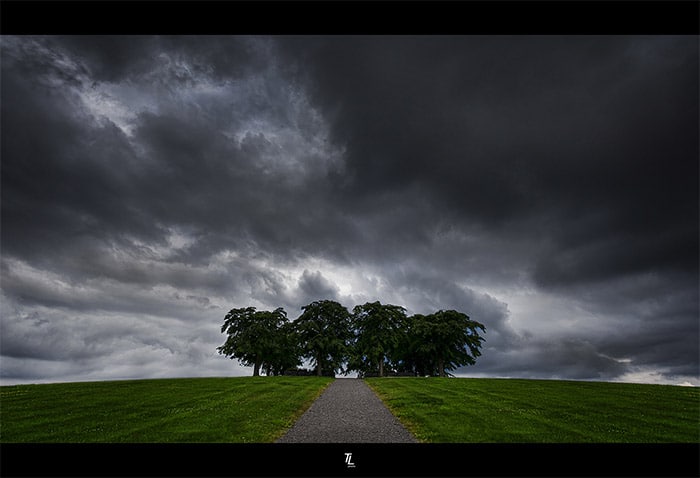
Storm clouds can add interest to a composition. Photo: The Pathway by Tobias Lindman / CC BY 2.0
If you’re trying to get started in landscape photography, but aren’t sure where to even start, fear not! Here’s seven essential tips for you to keep in mind when you’re out there practicing.
1. Use A Tripod
Sure, tripods are big, heavy, and no fun to carry around while you’re trying to get a remote shooting location, but it’s totally worth the effort. They’ll help you eliminate camera shake, provide you with the freedom to use long shutter speeds, and keep everything aligned if you want to take panoramic shots or try your hand out at bracketing. A bubble level is a great addition to any tripod–if your tripod doesn’t feature a level, you can get one that attaches to the hot shoe of your camera. They’re invaluable for keeping those horizons straight as an arrow!
2. Hyperfocal Distance
Ever notice how some photos are tack sharp in the foreground and the background? How do the pro’s do that? Most likely, they’re using a little trick called hyperfocal distance. Hyperfocal distance is a specific point in your composition, in which you can use to optimize your depth of field without having to compromise your f-stop setting. Of course, there’s a bit more to it than that and there is a learning curve involved in understanding how to calculate hyperfocal distance, but you can learn all about it this article I wrote a not too long ago. Alternatively, there are many different apps and online calculators that will do the heavy lifting for you, so feel free to download one of those to make things a little easier for you.
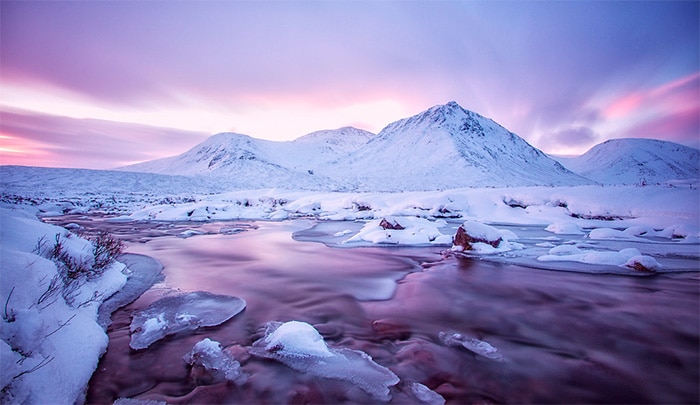
3. Pay Attention To The Weather
Chances are, you’re going to check the weather report before you head out to shoot–that’s a pretty smart thing to do. Rain in the forecast is usually a deterrent, but if it doesn’t look torrential, don’t rule out going to shoot. Approaching and departing storm clouds can make for interesting photos, so be sure to check the hourly report so you can time your photography adventure around the beginning or ending of a rain shower.
→ Related reading: Making the Most of Bad Weather
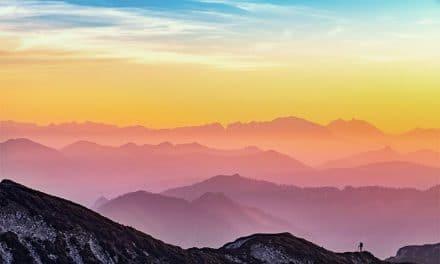
4. Know When Golden Hour Starts & Ends
And while you’re checking the weather, take not of sunrise and sunset times. The best time to shoot outside is typically during something called the golden hour. This magical time of day creates a flattering golden tone and helps limit the amount of shadows being cast since the sun isn’t shining down from directly overhead. Golden hour peaks during the first and last hours of sunrise. There are also a multitude of apps that tell you exactly when golden hour begins and ends based on your current location.
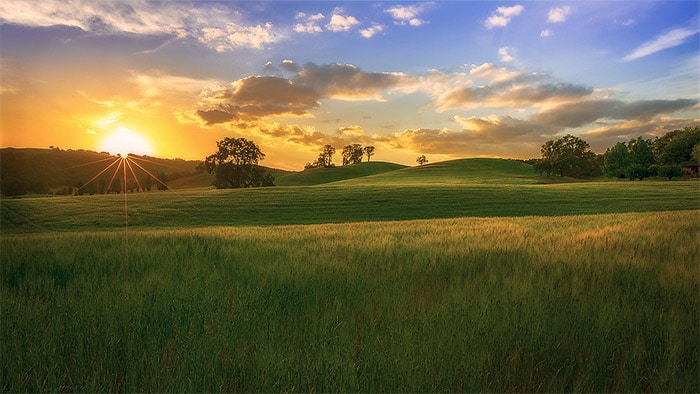
Photo: Peaceful Evening by Malcolm Carlaw / CC BY 2.0
5. Your Camera Is Secondary To Your Composition
It’s easy to think if we could purchased a nicer, more professional grade camera our photography will somehow magically improve. In reality, a good camera does little to improve a composition. And without an interesting composition, it doesn’t matter how many megapixels your sensor is or how much dynamic range it boasts. Master the fundamentals of exposure and composition, then consider upgrading your gear. You can get a suitable camera with just about any budget.
→ Related reading: Helpful Composition Rules for Landscape Photography
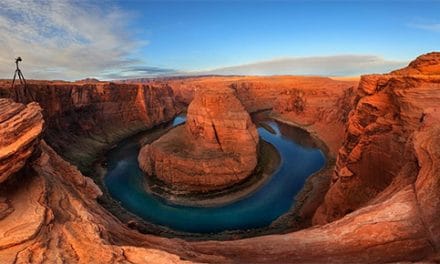
6. Break The Bigger Picture Down
As landscape photographers, we tend to look at the bigger picture. But, in order to get a photo where the big picture looks polished and perfect, we have to first break it down into three elements: the foreground, midground, and the background. When you’re scouting for locations and deciding on a composition, be mindful of all three of these things.
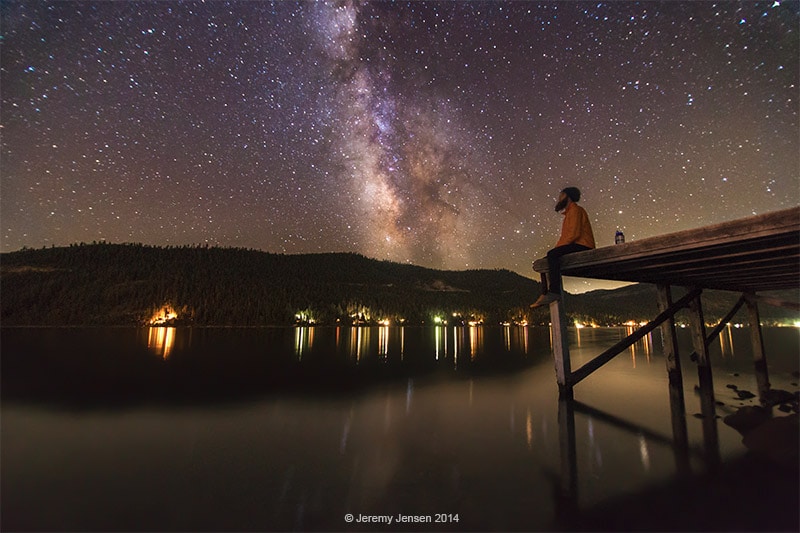
7. Know Which Filter To Use
Filters are a landscape photographers best friend. I’m a strong believer that every photographer should keep a circular polarizing filter in their gear bag. Polarizing filters keep the bad light out, while letting the good light through, which means your photos will have more vibrant color in addition to keeping reflections from glass and water at bay. Graduated neutral density filters are extremely helpful to expose for the landscape without overexposing the sky. Neutral density filters are also wonderful for blocking light so you can take long exposures of water for to achieve a soft, milky effect. For more info on selecting the right filter, you can read through this primer.
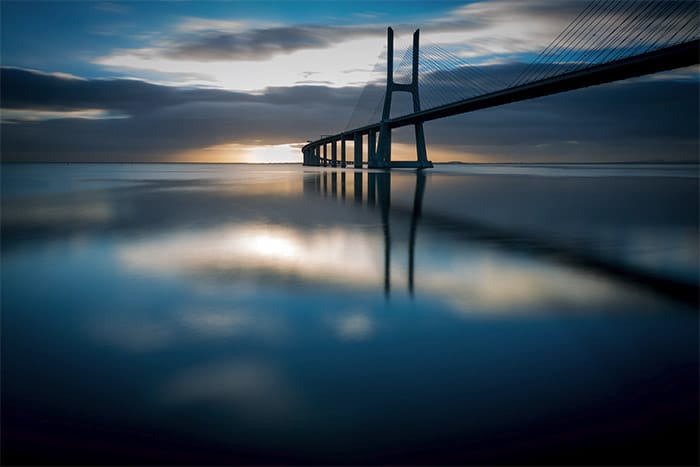
Photo: Sans Tire by Paulo Valdivieso / CC BY-SA 2.0
In closing, I think it’s important to mention that, yes, manual mode is awesome and being able to shoot in manual mode comfortably should be a goal of all photographers, but it’s not mandatory when you’re just starting out. I encourage everyone to practice and make an effort to take at least a handful of shots in manual mode on each outing, but if you’re not getting the results you want, there’s no shame in switching over to a priority mode for bit. After all, no one wants to spend hours out in the elements shooting pictures and not be able to get a great shot.
Photo license links: CC BY 2.0, CC BY-SA 2.0