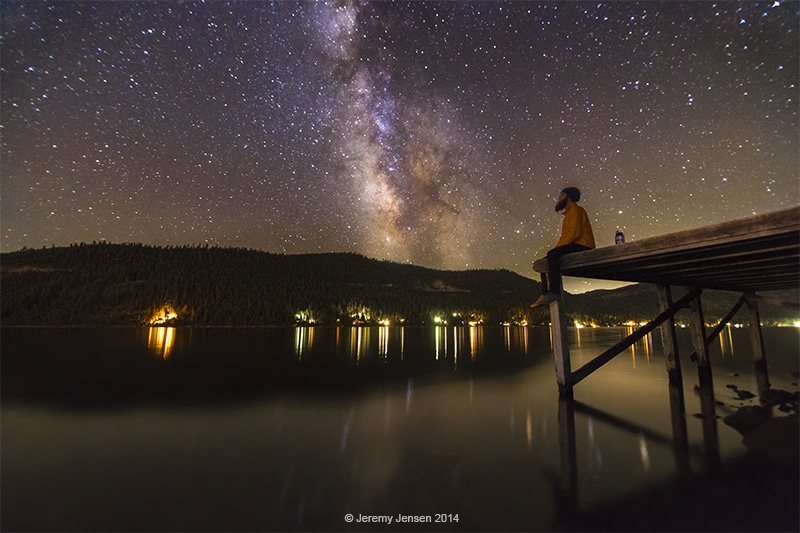
Shot on Donner Lake in Truckee, CA using Canon’s 6D and Tokina’s 11-16 2.8 lens.
In recent years, there has been an explosion of images capturing the night sky. While it may seem elusive and challenging to those of you just starting out, I assure you it’s much easier than you’re anticipating. Modern camera systems now have incredible ISO ratings allowing photographers to greatly increase the sensor’s sensitivity to light, bringing out the brightness of stars like never before.
In this tutorial, I’m going to discuss the kind of gear you’ll need, how to set your camera, along with a few additional tips relating to composition and light painting. If you’re ready to take your star photos to the next level, let’s get started!
→ Related reading: E-Book Review: Collier’s Guide to Night Photography in the Great Outdoors
What Kind Of Gear You’ll Need
At the most basic level, you’ll really only need a camera (DSLR, Mirrorless, Compact) capable of shooting in Manual mode, a wide-angle lens, and a tripod. However, most consumer-grade packages are only capable of so much in terms of producing dynamic long exposures.
In order to take stunning photos of the milky way, you’ll want to try and invest in a set-up close to the following:
→ Related reading: Gear and Resources for Night Photography
Camera
The best cameras on the market for capturing the night sky are those with full-frame sensors. This is because they’re capable of pushing their ISO beyond what you’d want to shoot with a typical consumer-grade body. The higher you push the ISO, the brighter the night sky becomes, therefore you want a camera that won’t completely fill your image with noise.
Some good recommendations would be:
- Canon: 5D Mark III, 6D
- Nikon: D810A, D750
- Sony: a7S
These recommendations are at the top of each brand, and they do cost a considerable amount, but you don’t need the best to produce great images. For instance, the photo below was shot on Sony’s DSC-RX100 which can now be purchased for under $500 on Amazon. The best way to select a body is by determining your budget, and going down the line from the top.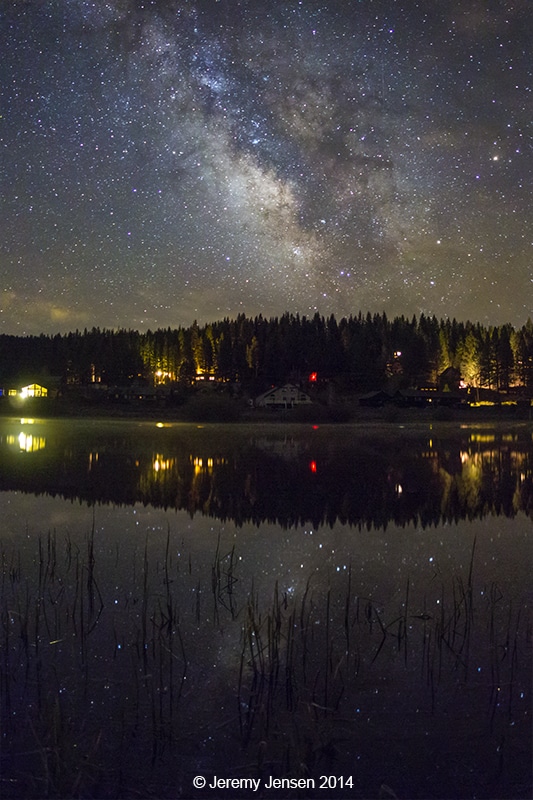
Lenses
Just like landscape photography, you’re going to want a wide-angle lens capable of capturing as much of the sky as possible. The faster the lens is, meaning the lower the f/stop rating (f/2.8 or lower is great), the lighter you’ll be able to let in while capturing a long exposure. My personal favorite is Tokina’s 11-16 f/2.8 (for cameras with APS-C sensors); for the cost, I love how crisp the photos turn out.
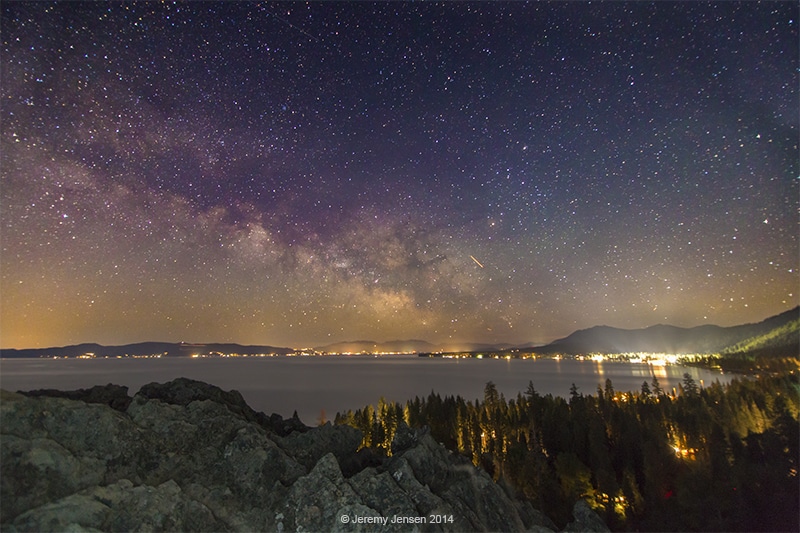
Shot from Eagle Rock in Lake Tahoe using Tokina’s 11-16 f/2.8 Camera settings: f/2.8, 25″, ISO 5000
Tripod
Long exposure is a key component of astrophotography, so a high-quality tripod is indispensable. Don’t cheap out, here – a high-quality tripod will stay with you for years, and provide you with a stable, reliable platform from which you can shoot.
This is all of the basic gear you need to take great shots of the night sky. Naturally, there are other things you can invest in – but those are for more specialized shoots, so you don’t need them if you’re just starting out. We’ll discuss those tools – like star trackers – later in this article, so keep reading if you’re curious!
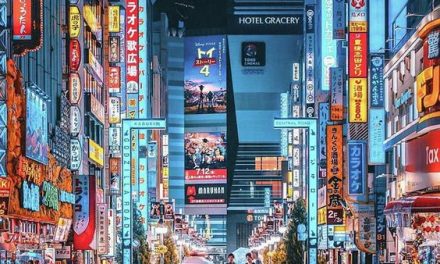
Get As Far Away From The City As You Can
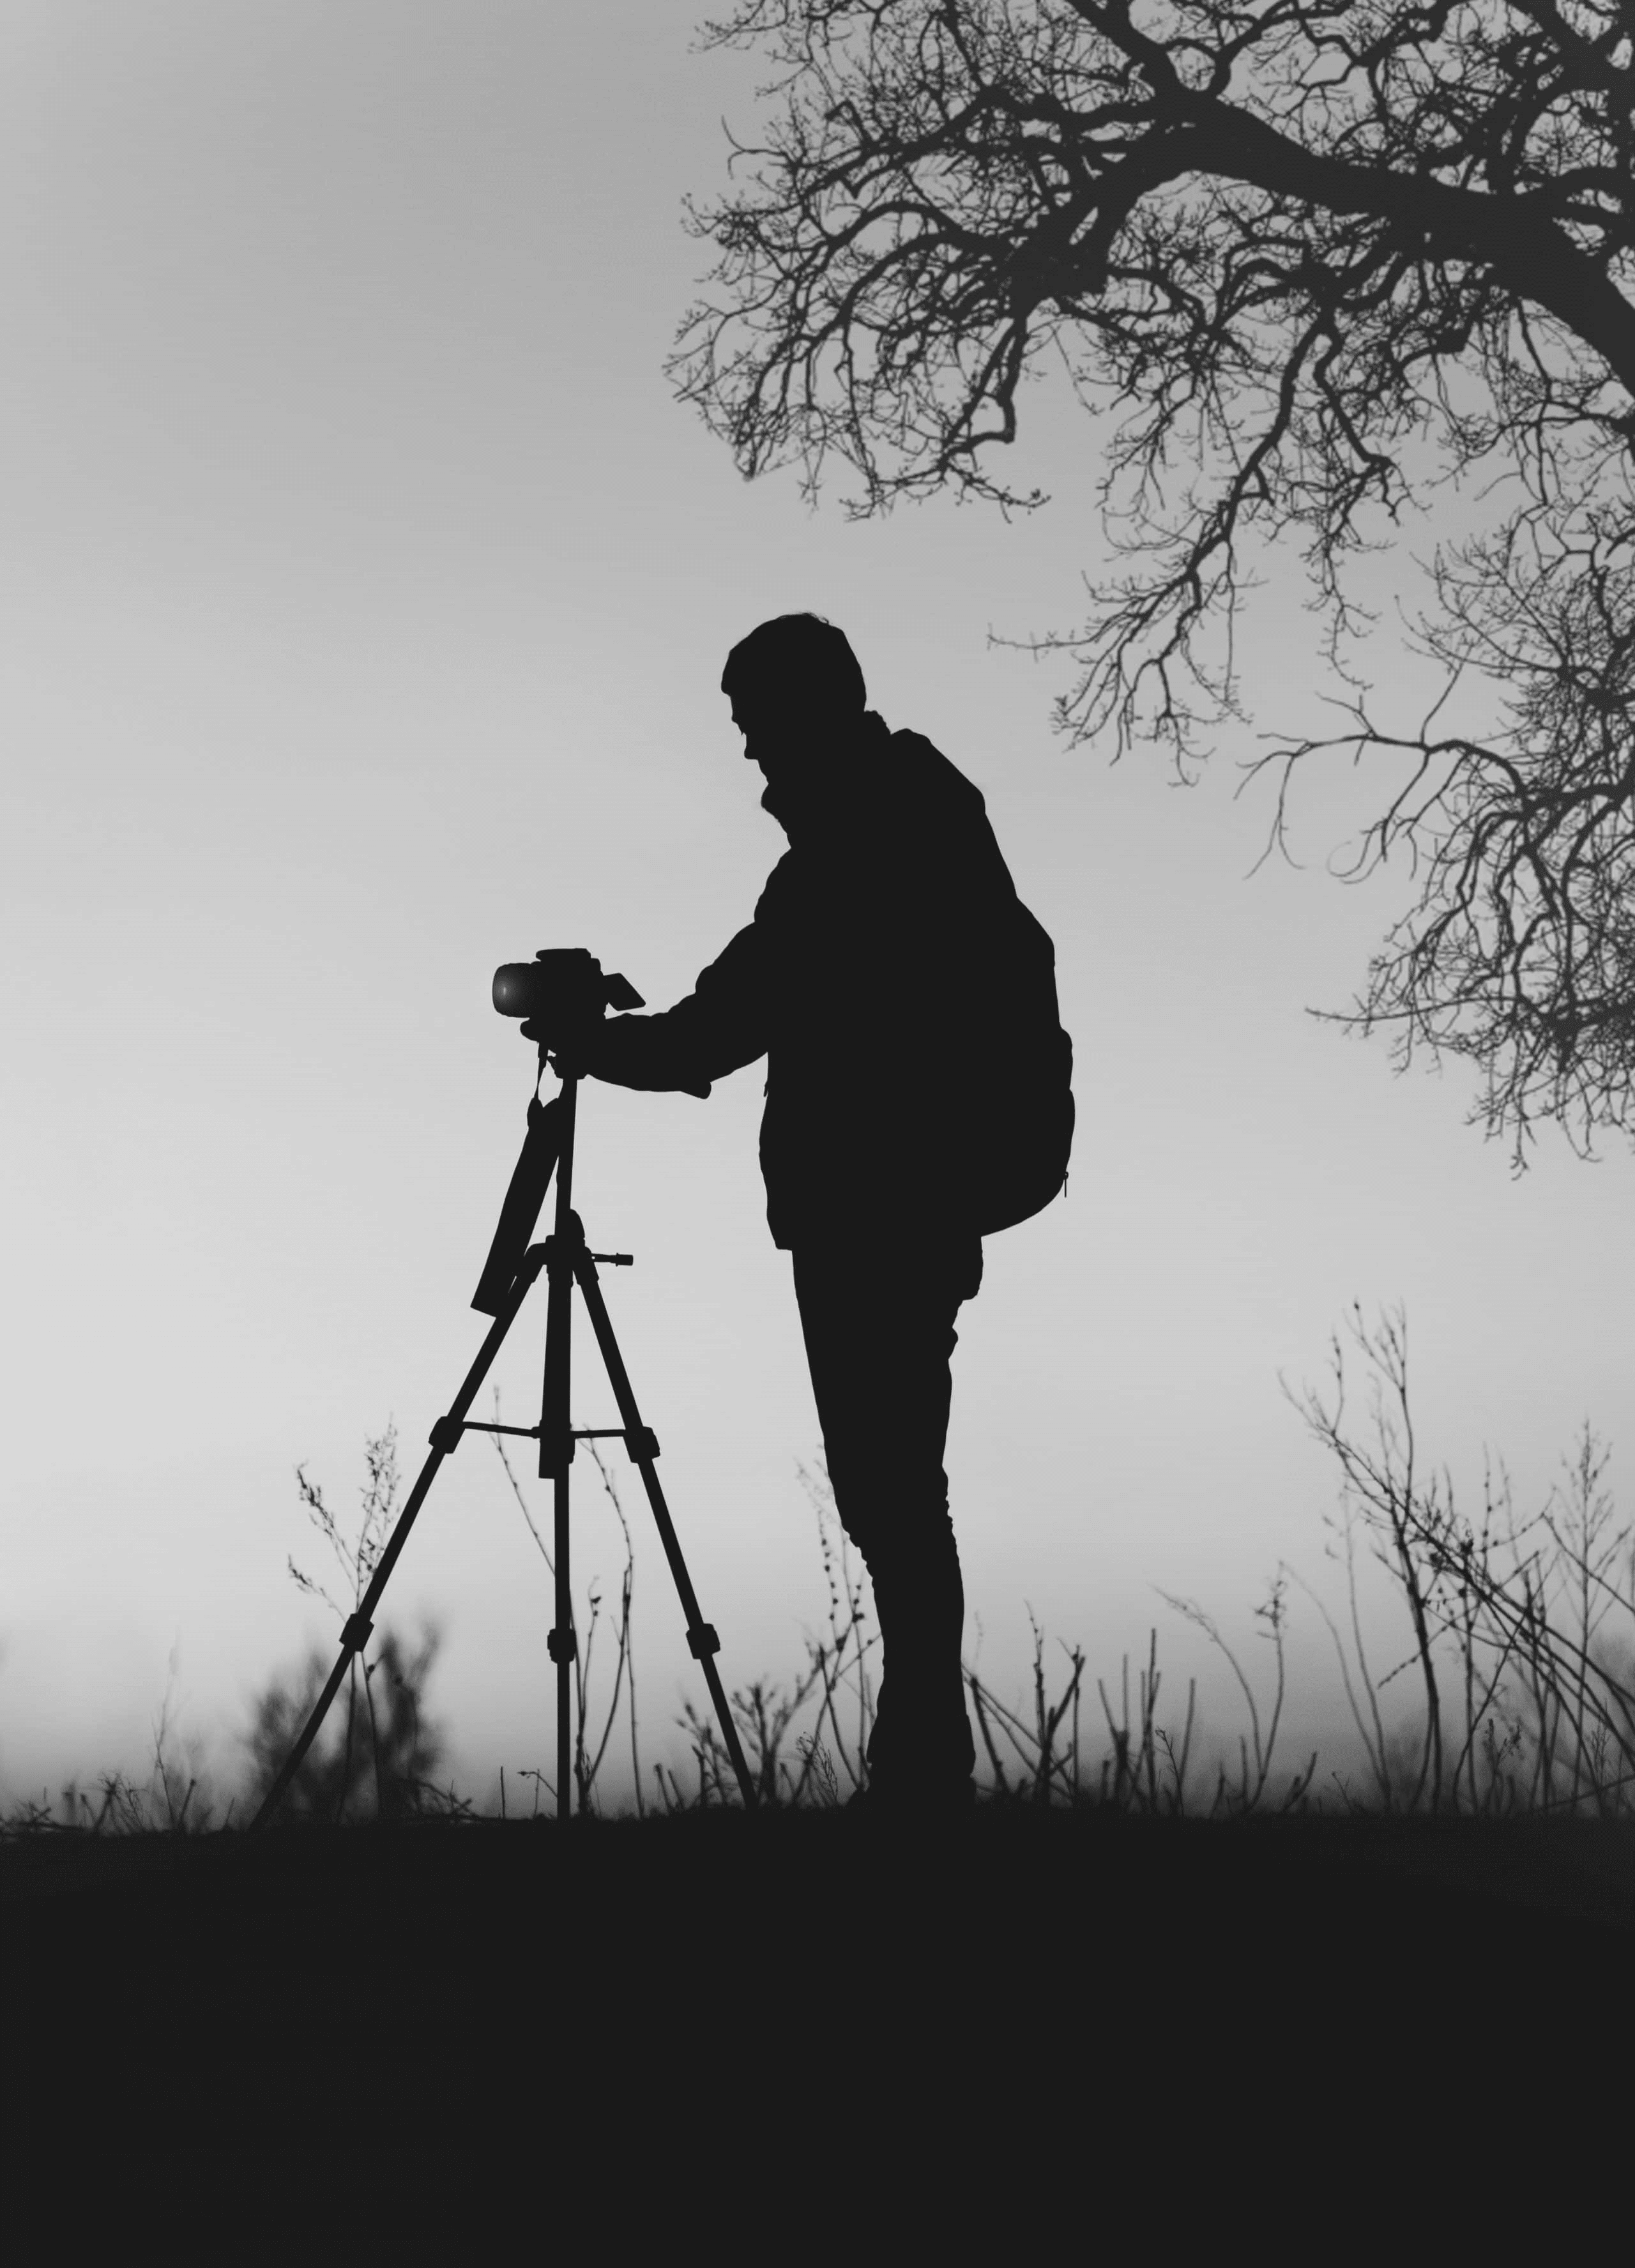
Photo by The Nigmatic | Unsplash License
When it comes to astrophotography, artificial light is your worst enemy. Even the light from a small town can completely blow out the stars in your photo during a long exposure, so you need to get as far away as you can from cities, towns, and suburbs. Your goal is to find an area with minimal light pollution – often a wilderness reserve or state park.
How can you find out where you should shoot? Light Pollution Map and Dark Site Finder are both very useful tools for doing so. These maps use geographical information overlaid with light pollution data. The darker, the better – so find a few sites that are within driving distance of your home, and have minimal light pollution.
Trust us, the results are well worth it.
Shoot During A New Moon (If You Can)
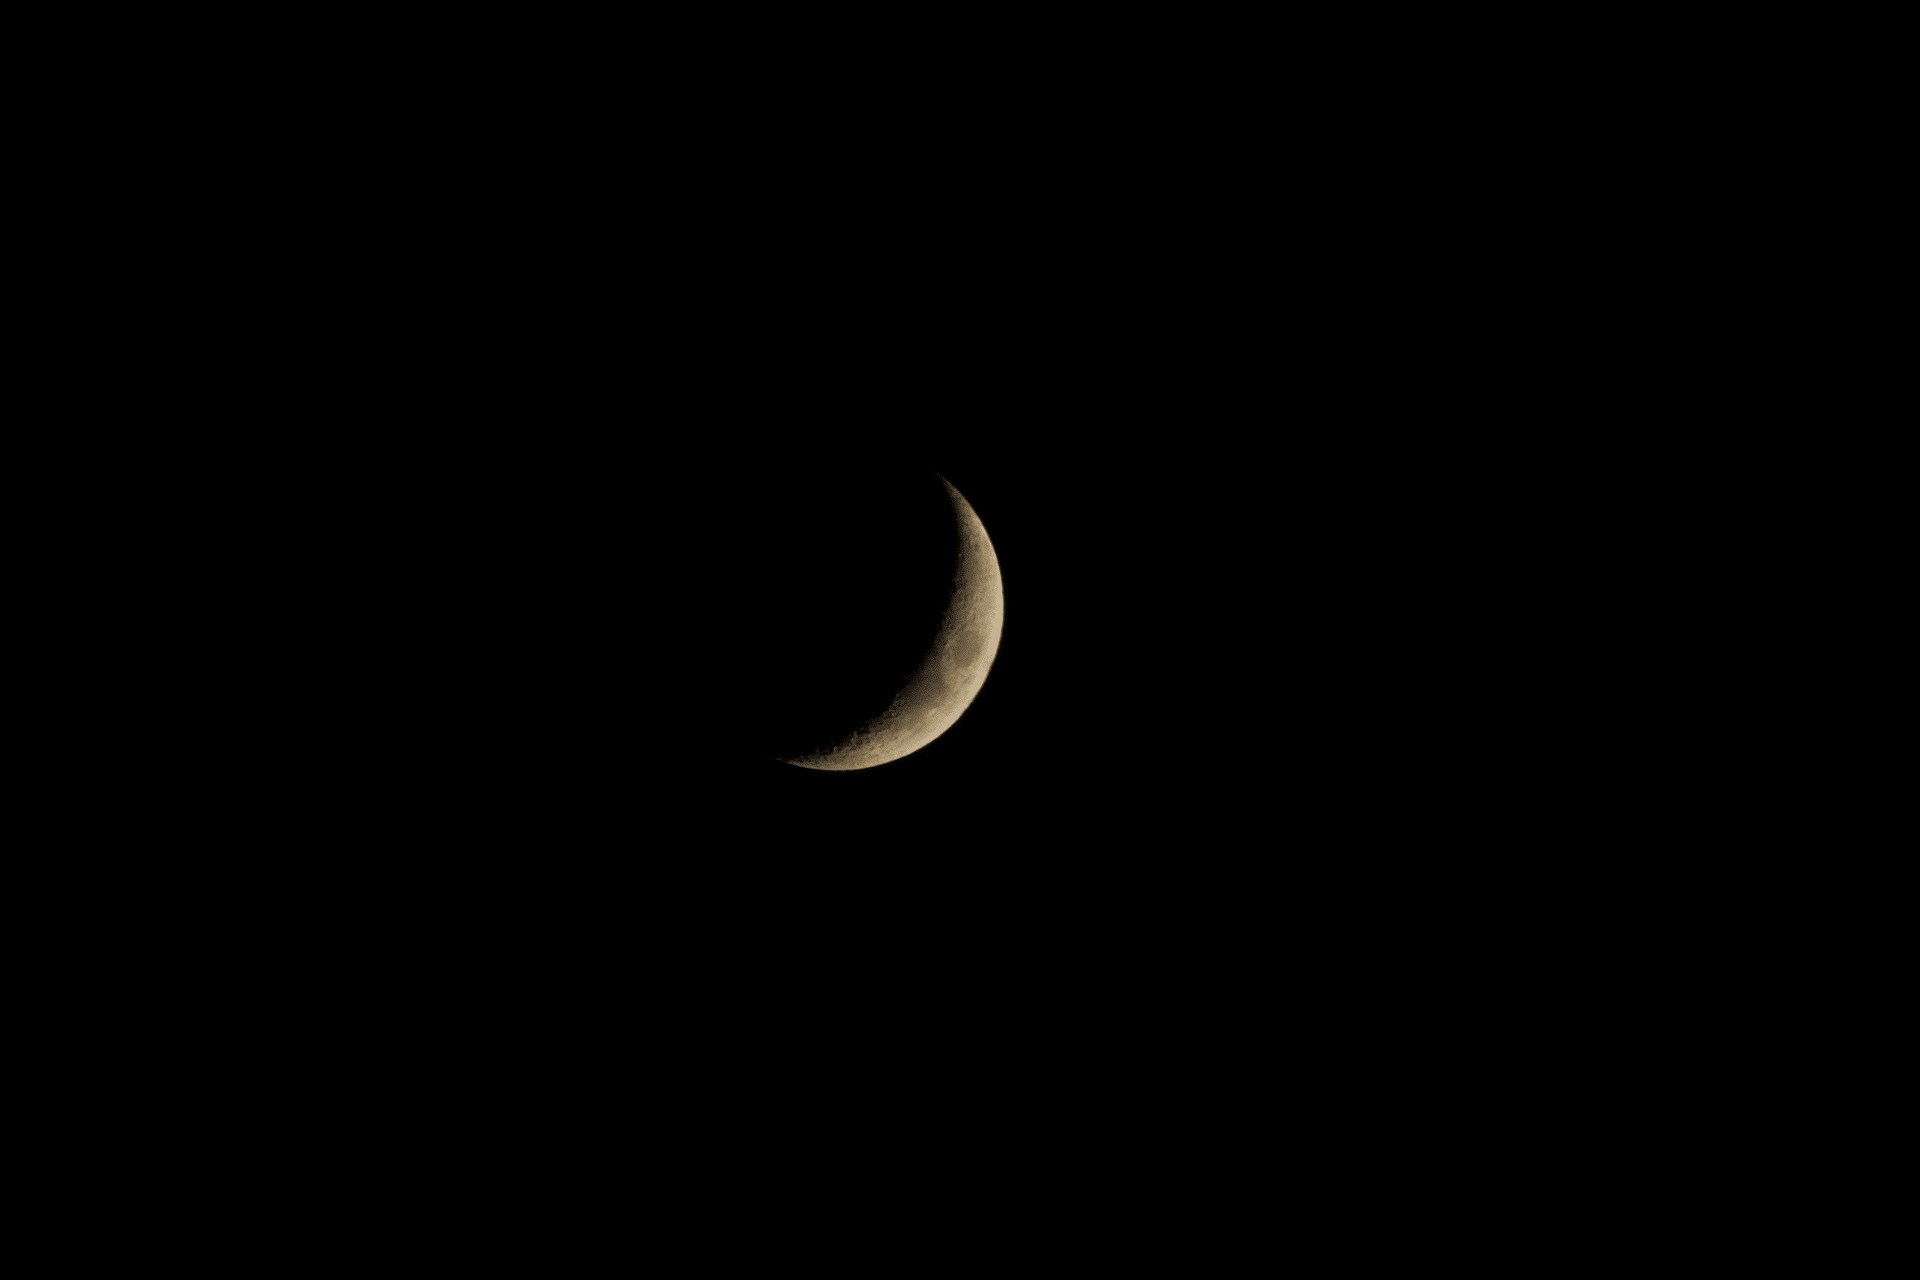
Photo by Khusen Rustamov | Pixabay License
The other best piece of advice we have when you’re shooting the stars is to try to schedule your shoot during a new moon – when the moon is completely invisible in the sky.
Why? Because the moon is extremely bright and will ruin your long exposures. The moon shines at a magnitude of -12.7. By means of comparison, Sirius is the brightest star in Earth’s sky and shines at a magnitude of -1.46.
If you can, do your best to shoot during a new moon. If you can’t do so, try to shoot as close to a new moon as possible, and shoot an area of the sky where the moon is not present.
Alternatively, you could make the moon the subject of your photo – in which case, you should aim to shoot as close as you can to a full moon.
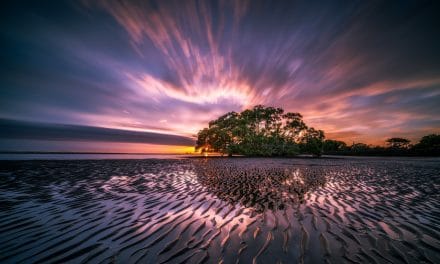
Strike A Balance Between The Stars And Foreground
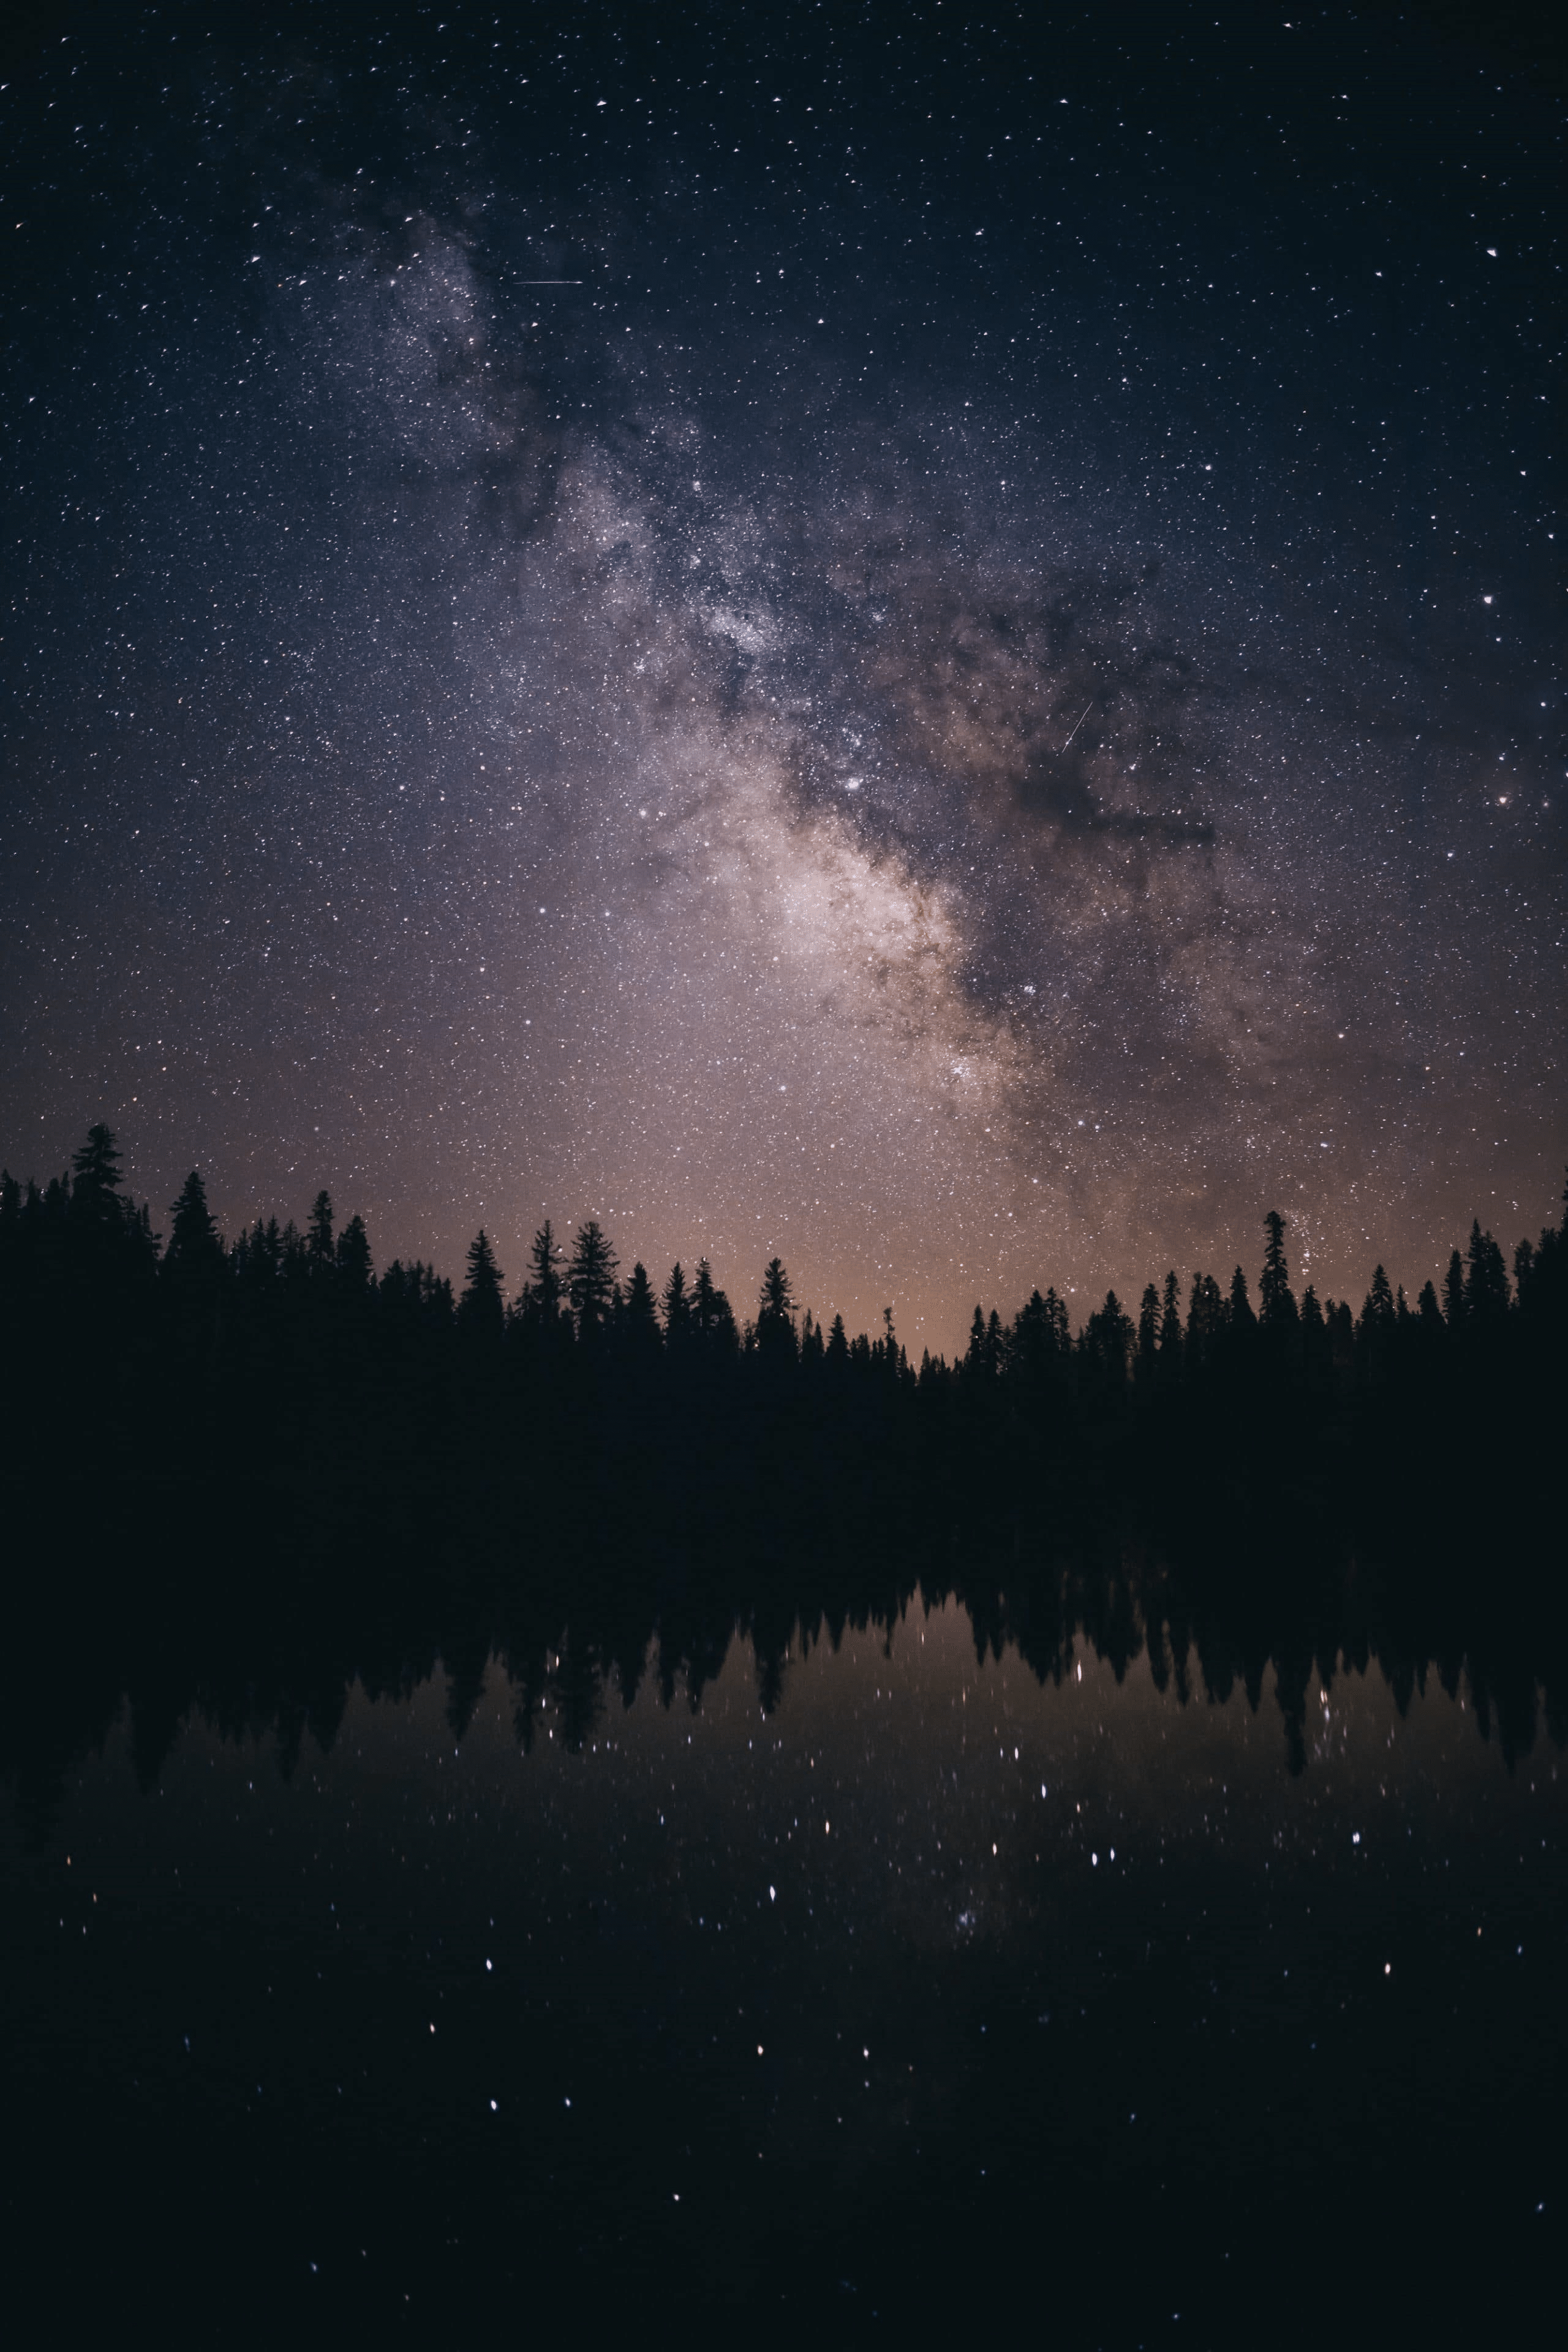
Photo by Thomas Ciszewski | Unsplash License
The best night sky photographs do not focus exclusively on the stars. Sure, a photo of the Milky Way is astonishing in its own right – but the effect is really boosted when there is a good balance between the stars and the foreground.
For example, shooting at a lake which reflects the stars can really make your photograph more interesting. Trees, mountains, and hills are all interesting foreground features, too. Silhouetting a cliff or a forest against the backdrop of the stars is a great way to provide your photograph with a bit more context and contrast.
You may also want to consider light painting your foreground, if you want it to be brighter than the sky, and bring out some of the detail.
Selecting Your Camera Settings
You’ll begin to notice that choosing settings for long exposures at night usually stays relatively the same. This is because the first rule of shooting the night sky is finding a location dark enough to cut out light pollution and allow the camera to pull as much light from the sky as possible; therefore, our camera’s settings are usually maxed out to create the best image.
Step number one: shoot in manual mode!
Selecting the aperture
Depth of field becomes much less prominent at night, and in order to pull as much light as possible make sure to keep your aperture wide open. This means an f/2.8 aperture for most high-quality DSLRs. If your camera does not go this high, you can try an f/4 aperture with a longer exposure time, but some detail may be lost, and you may get more photo artifacts.
Shutter Speed
This setting is highly important because for most lenses you’ll begin to notice star trails after a 25″ exposure. I’ve gotten away with 30″ before with no noticeable movement, but the shorter the exposure, the crisper the stars will look.
ISO
Selecting your camera’s ISO speed goes back to what camera you own, or are planning on buying. Sony’s a7S reportedly shoots clean exposures up to 12,000 ISO, while my Canon 6D can shoot up to 6400 with minimal noise than can be reduced in Lightroom. The whole idea of using a long exposure, wide aperture, and tripod is that you do not need a high ISO setting to get crisp, clear photos. Using a high ISO will result in unacceptable graininess, so we don’t recommend messing with this setting too much.
This is something you’re going to want to experiment with, but I would start by shooting at 3200 and seeing if your body will allow more, or if you need to reduce the ISO to avoid heavy noise.
If you don’t already have Lightroom you can download a free trial here.
Focus
One of the larger challenges I’ve seen people face is correctly focusing their images at night. Many lenses have what’s known as an “infinity focus” (using manual focus), which is the point at which the lens will focus at an infinite distance away. This is perfect for night photography as it’s often difficult to see what you’re focusing on in the dark.
White balance
We recommend between 2800°K-4000ºK. However, you should check the histogram after your first couple of shots, to make sure the photograph is being properly exposed. It can be difficult to balance the foreground and background properly without a bit of fine-tuning.
With these settings, you can get some great basic shots. As you gain more experience with astrophotography and night sky photography, you can make your own adjustments, and find the settings that are right for you. Don’t be afraid to experiment – that’s half the fun!
Composition and Light Painting
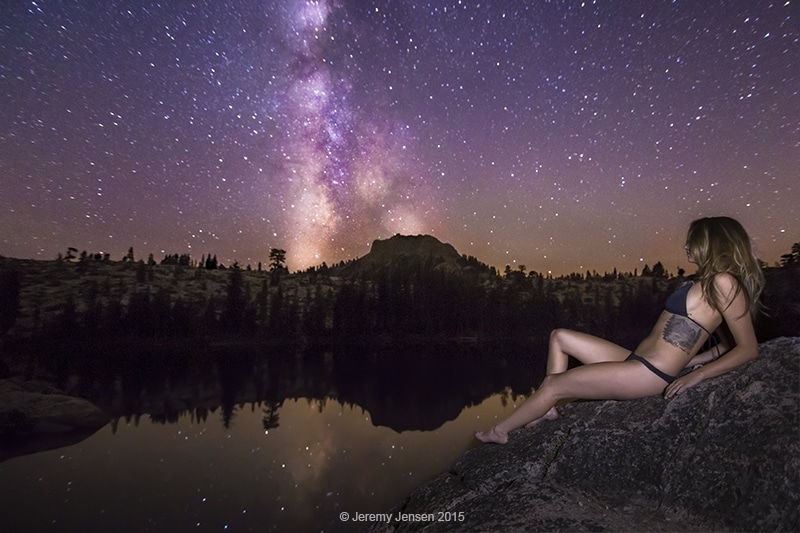
F/2.8, 25″, ISO 8000. Light painting was done with a Samsung cell phone.
Once you understand the mechanics behind creating your exposure, the fun part becomes creating dynamic compositions and using the technique of light painting to reveal subjects in the foreground.
Much like landscape photos, you want your viewers to feel as though they’re apart of the scene. While capturing only the stars can be great, I feel using the landscape in front of you makes the night sky look even more incredible. To do this, find a perspective that abides by the rule-of-thirds, and place a strong emphasis on a subject in the foreground.
Next, using a flashlight or even the screen on your cell phone, you can “paint” the subject you wish to appear lit. This only requires a few seconds of painting as reflected light can over-expose your foreground very quickly at night.
Tip: If you’re using a model, try and place them in complete darkness, or shoot a shorter exposure so they can remain still. You can always layer two exposures in the post to blend the different ranges of light.
Consider Investing In Specialized Gear

Photo by Vincent Guth | Unsplash License
If you really enjoy night sky photographs and astrophotography, you may want to invest in some specialized gear, which can really help take your photographs to the next level, such as:
- Light painting tools – As mentioned above, you can add light painting to the foreground of your photos, if you’d like to bring out more detail and brightness from a foreground object, like a tree, hill, or another such subject. You can use standard flashes with colored filters, or bring along a few different flashlights, and experiment to see which ones offer the best results. This is a good place to start if you’re on a budget because light painting tools like extra flashes and remote triggers are relatively inexpensive – and you may already have some!
- Fisheye lens – Fisheye lenses can take in an enormous amount of light, and provide spectacular results when used for night sky photography. Because the stars are so far away, they will not be warped, but objects in the foreground will be distorted – which can provide you with some interesting artistic effects and opportunities.
- Star tracker – If you really love taking photos of the night sky, a star tracker is a pricey – but essential – in addition to your photography kit. A star tracker does exactly what it says. It tracks the position of the stars, allowing for a more crisp, clear photograph. The Earth is constantly rotating, even during the 25-30 seconds that you are taking a photograph. That means that even a shorter exposure will become slightly blurred because the stars will move out of position slightly. A star tracker is a special mount that attaches to your tripod and rotates at the same speed as the Earth – but in the opposite direction. This allows you to take extremely precise images of the night sky, and to expose a photograph for minutes at a time without any blurring or shifting due to star movement.
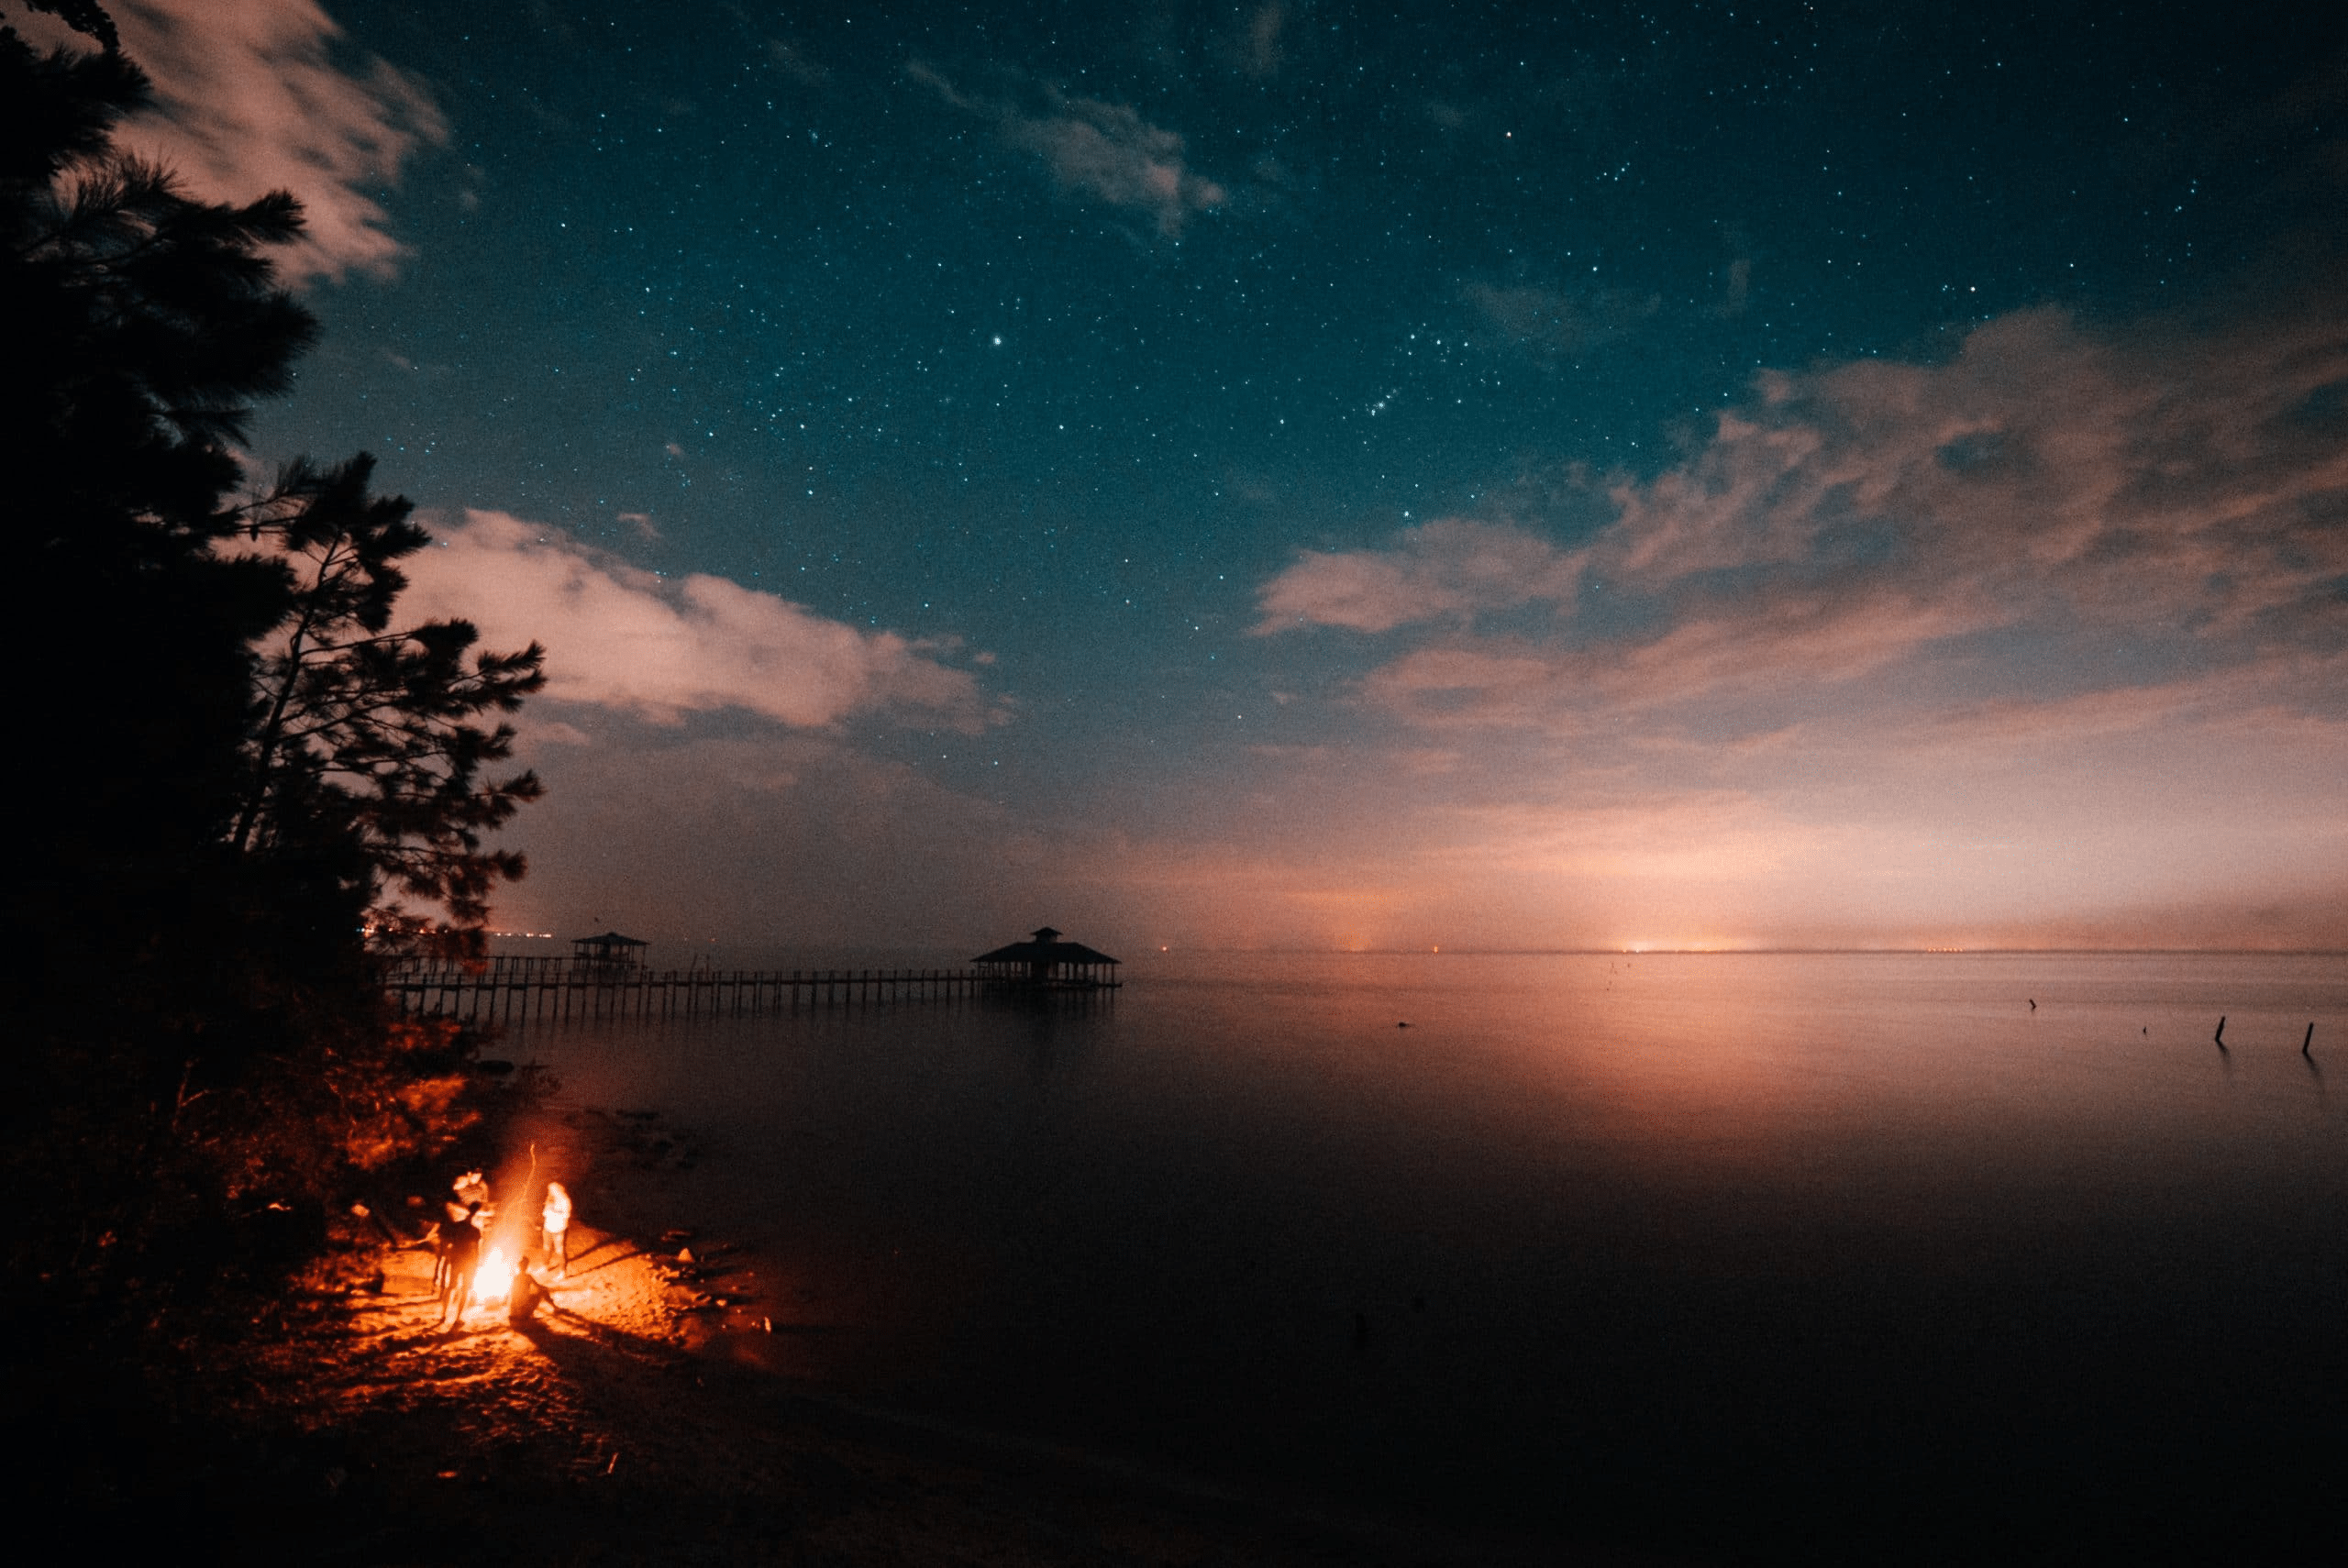
Photo by Rhand McCoy | Unsplash License
You don’t need these pieces of equipment to take night sky photographs, but if you’re passionate about astrophotography, you may want to think about expanding your gear budget and picking up one of the above items.
Follow These Tips – Improve Your Night Sky Photography!
Night sky photography is an art, and great art takes practice to perfect. But with these tips, you can make sure that you have the right gear and settings, and that you’re ready to start taking better night sky photographs. So think about what you’ve learned, and how you can use this advice next time you head out on a clear night to capture some gorgeous skies and landscapes!
What To Do After You Take The Photos
Edit them of course! Photos of the night sky change completely with even small enhancements to the whites and contrast. For almost every photo I take of the night sky, I will edit it twice (Once for the sky, and once for the foreground) and then blend them. Some photographers will use a remote to take an exposure far longer than the camera will allow, and use it for the foreground to bring out the shadows.
Ultimately have fun, and develop a style unique to your preferences. Coming home with photos of the stars is an incredible feeling!
Photo license links: Unsplash, Pixabay