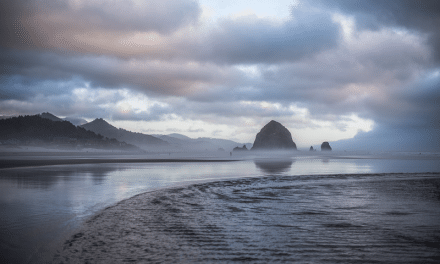
Manly By Nigel Howe / CC BY 2.0
There’s a lot to keep in mind when shooting panoramic images. Anytime you are trying to make one photo out of many, there’s more things that can go wrong if you’re not paying close attention to details. For example, you’ll want to make sure there is plenty of overlap between each frame to ensure you can get a good stitch once you bring the frames into your software of choice.
→ Related reading: How to Manually Blend and Stitch Panoramic Photos
1. Keep it Level
It’s not impossible to take a panoramic handheld if you’re only going to be stitching together a handful of shots. But, once you surpass five or six frames, using a sturdy tripod will greatly assist with ensuring the photos are all taken at the same level–this will help prevent distortion of objects during post production.
If you’re tripod has a bubble level, make sure you check it between each shot to make sure your camera is staying level.
2. Turn Off The Auto
Making sure your exposure settings are consistently the same for each frame in your panoramic is crucial to getting a usable image. The best way to do this is to shoot on manual everything including your exposure, white balance, focus, etc…And when shooting on manual, be sure to not to change any of the settings until you are finished shooting all the frames. Any inconsistency in settings will mean you have a frame (or frames) that do match the others. Once the frames are stitched together, it will be distracting and aesthetically unappealing to look at, as you can imagine.
3. Portrait Orientation
At first thought, it may seem to make sense to hold your camera in a landscape orientation when taking panoramic–you are, after all, trying to capture a wide, sweeping view. But, it’s actually best to hold your camera in portrait orientation. This will help prevent unsightly edge distortion in your stitched image and give you a little extra room at the top and bottom of the image to make sure you can get the perfect crop in post.

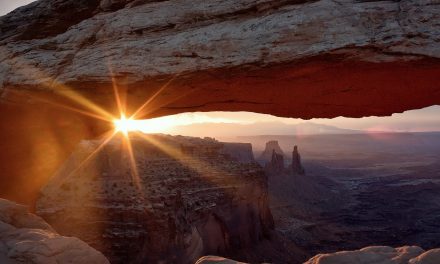
Snowmass by Jeremy Swanson / CC BY-ND 2.0
4. Don’t Shoot Wide
This is another tip that may seem counterproductive at first, but it’s best to avoid shooting panoramic with wide angle lenses. The reason being distortion. Typically, the wider the lens, the more distortion it will create, making it pain–if not impossible–to stitch together. Even though a wide angle will allow you to capture more of scene with fewer shots, it’s actually better to use a longer lens, even a 50mm, and capture more frames to fit everything in.
5. Pan At An Even Speed
As you’re shooting and panning from one direction to another, make sure you’re moving at nice steady speed–not too fast or too slow. Panning too quickly may result in not capturing enough overlap between frames, and if that happens, you won’t be able stitch them together properly. Whereas, panning to slowly may result in capturing too many frames. Too many frames isn’t a deal breaker, but may make it harder for your computer process, especially when the file size is excessively large.
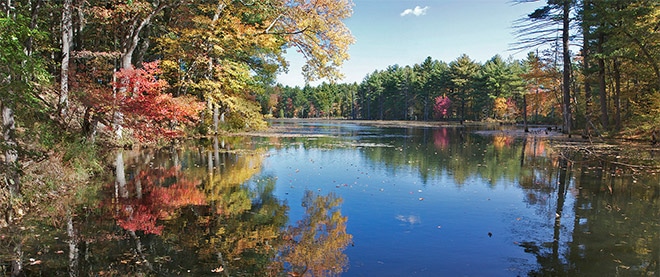
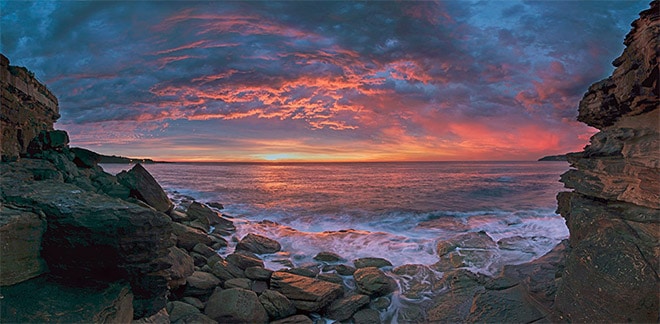
Eldrige Pond by Liz West / CC BY 2.0
If you’re new to shooting panoramic photos, it’s best to start small. Try capturing a pano using about five or so frames. As you get more practice in, however, you can start shooting more and more frames–just remember, the files sizes tend to get pretty large so make sure you have the computer processing power to handle it. Lastly, more advanced shooters may enjoy experimenting by making several left to right passes, moving the camera slightly up or down between each pass to capture a “taller” image. And don’t limit yourself to horizontal panos, vertical panos can compelling, too!
Photo license links: CC BY 2.0, CC BY-ND 2.0