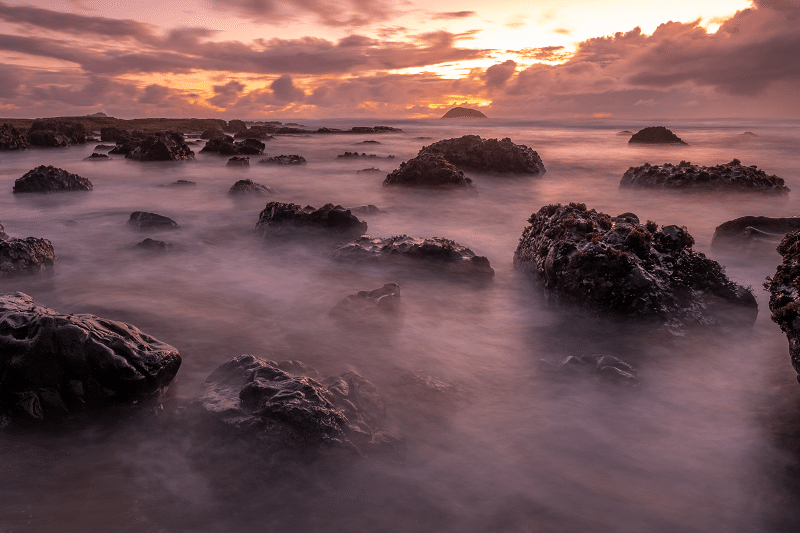
Photo by: Alex Green | Unsplash License
Don’t believe the rumors –ND filters are not becoming obsolete!
These filters can be a great tool for any landscape photographer –allowing you to capture striking images in lighting conditions where long exposures wouldn’t normally be possible.
ND filters can help control the exposure in your photography, allowing you to shoot with a higher aperture, or slower shutter speed, without risking an under or overexposed image. That’s not something that can be replicated in post-processing!
Here’s a look at your main options when it comes to ND filters:
- Neutral Density (ND) Filters
An ND filter reduces or modifies the amount of light that hits your sensor. ND filters can be thought of as sunglasses for your camera, they don’t affect the colors in your images -they simply allow you to capture what you see, with the correct exposure. - Graduated Neutral Density (GND) Filters
A GND filter is split –with half the filter being an ND filter and half being clear, allowing you to apply the filter to the area of the image that needs to be properly exposed. Often GND filters are used to help correct the exposure in the sky, while allowing the rest of the image to remain natural. These filters come in handy when capturing images where the scene requires two different exposures. - Variable Neutral Density Filters
With a variable ND filter, you can adjust the strength of the filter by twisting it. These filters tend to be more costly than the other options.
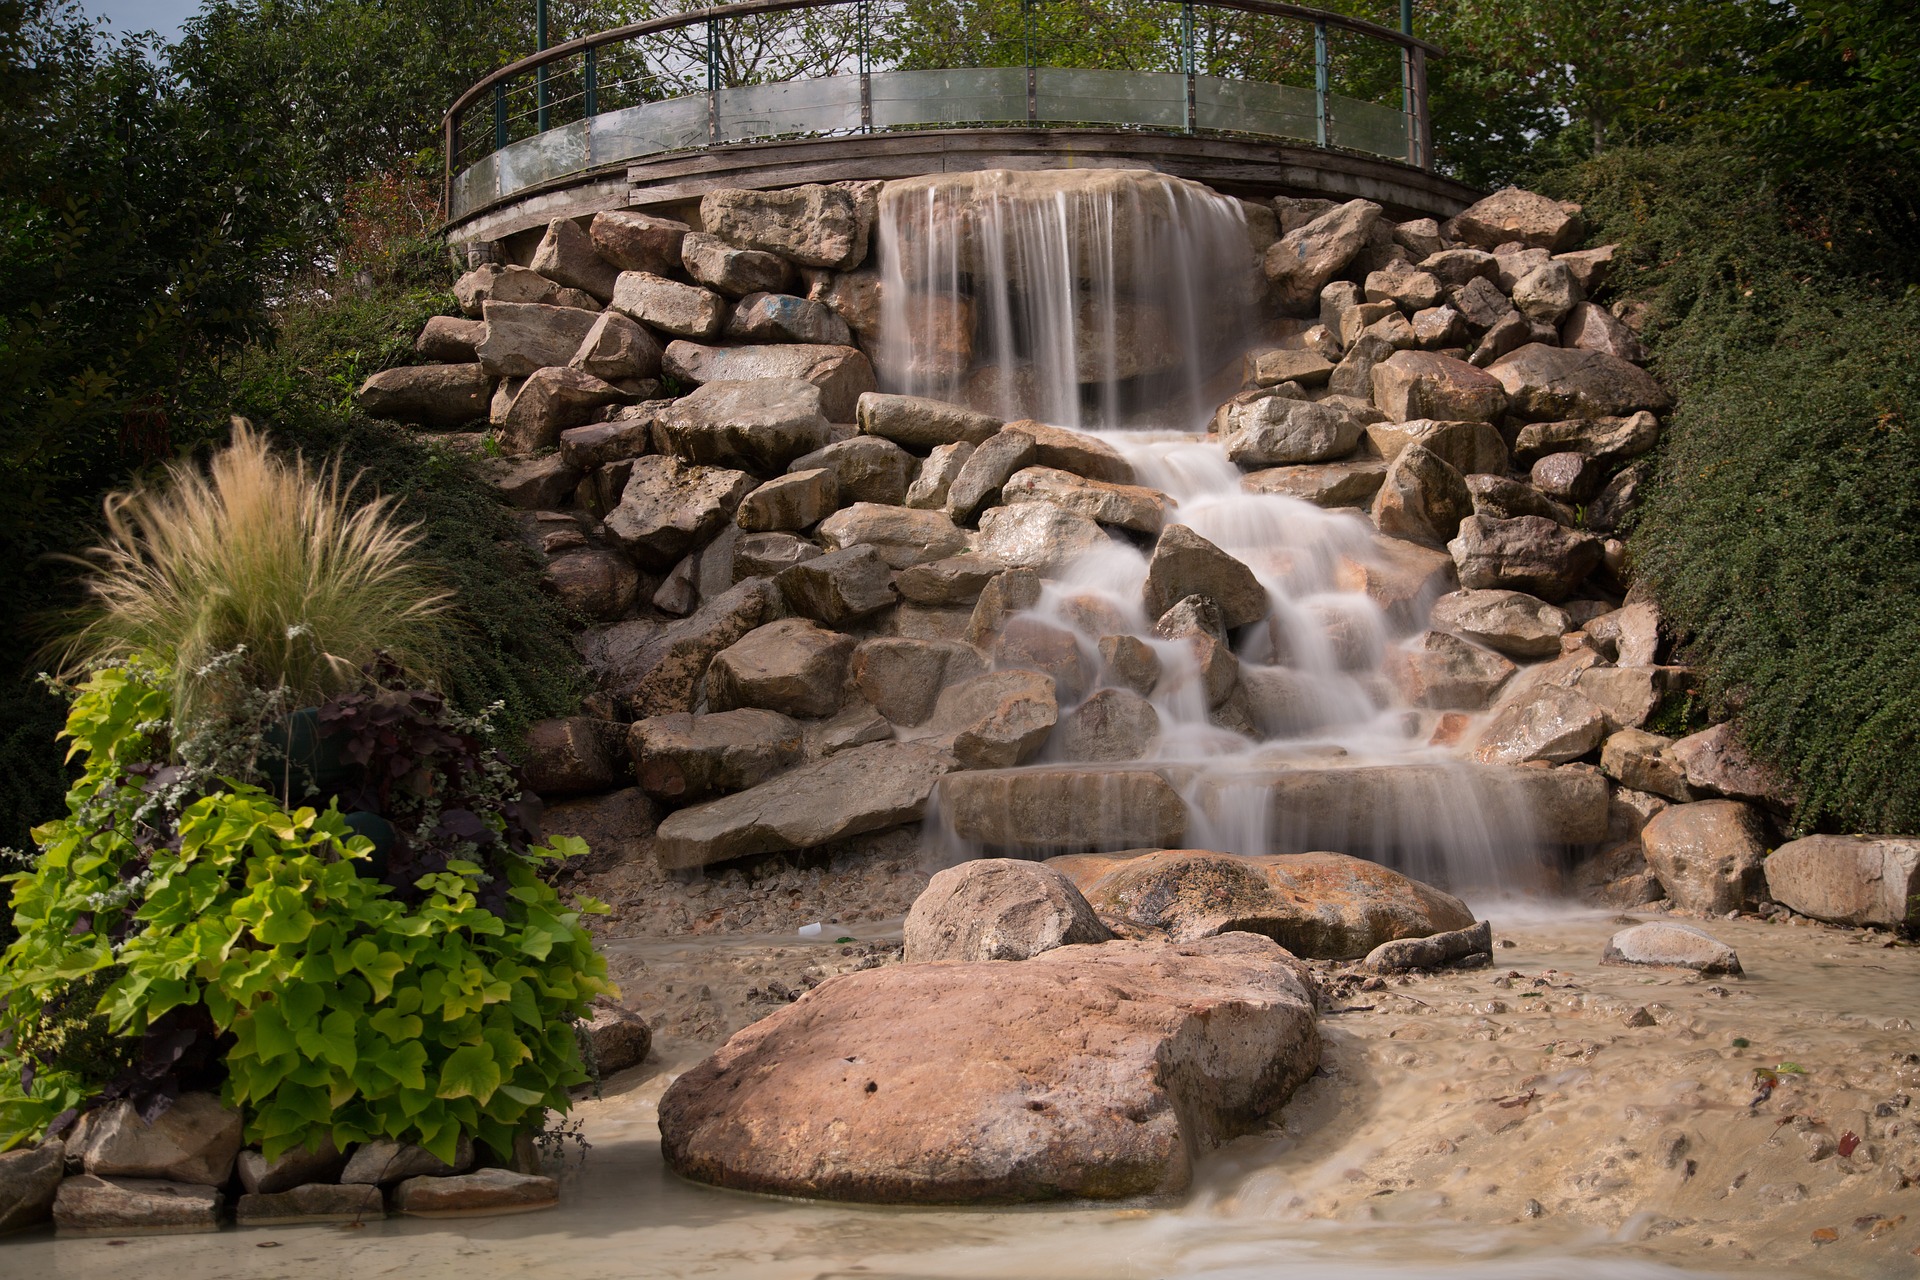
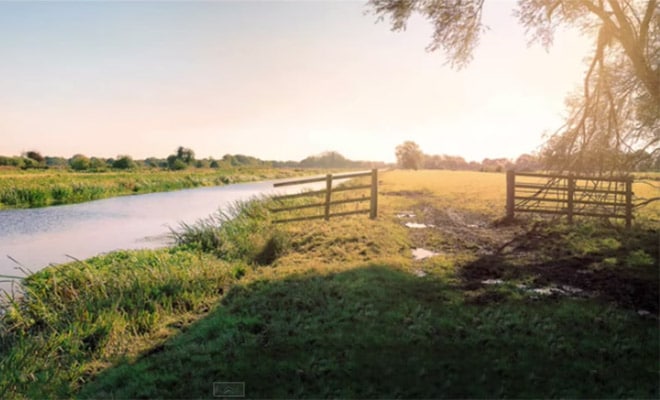
Photo by Bilit72 | Pixabay License
ND filters vary in terms of optical density, so you’ll want to choose an option that’s best for you and the type of photography that you generally do. If you shoot landscapes, you’ll want to consider a strong 6-stop filter. If you’re planning to do exposures during bright lighting conditions, you’ll need something even more powerful, such as a 10-stop filter.
With this in mind, let’s unpack a little more on what you can use an ND filter for:
- Blurring Motion: Gently blur the sea, moving clouds, or water
- Reducing Depth of Field in Bright Lighting Conditions: An ND filter allows you to use a wide aperture –even in bright lighting conditions
- Reducing the Visibility of Moving Objects: Use an ND filter to capture long exposures, ideal for “removing” unwanted subjects from your compositions
- Balancing the Exposure in the Foreground and Background: Use a GND to balance different aspects of a scene that require different exposures
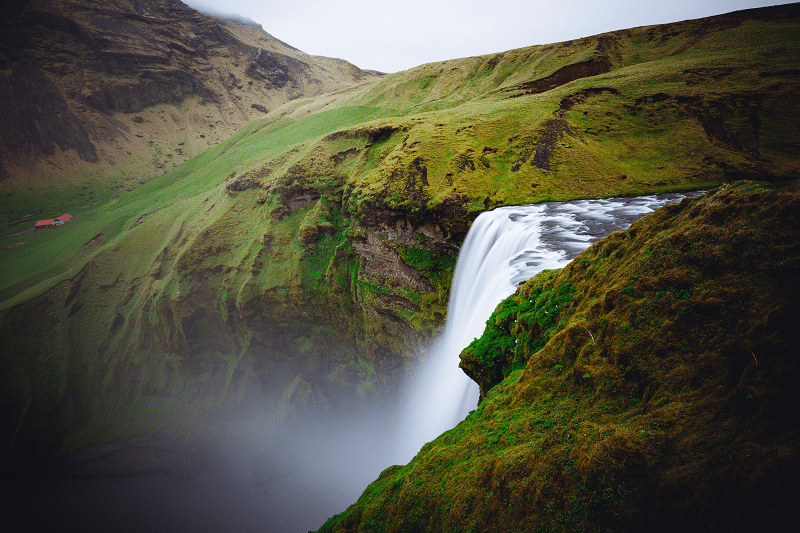
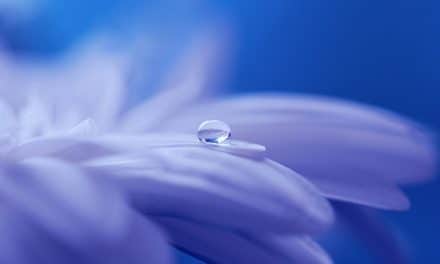
Photo by: Denys Nevozhai | Unsplash License
Consider Taking a Test Shot First
Often, it’s a good idea to compose your image before applying the filter. Get everything all lined up, and then take a practice shot without any filters. Then check the sharpness or accuracy of your image. What areas are exposed correctly? What areas could use some help? Doing this will give you a base for your settings and show you whether this image is a prime candidate for an ND filter.
Add Your Filter
Once you have your base shot, you’ll be able to tell if you should add filters to your lens. If you notice that the sky is overexposed and the highlights are blown out, for example, then you’ll want to reach for your GND filter. Add your filter, and take the image again, adjusting your camera settings accordingly.
The strength and type of ND filter you choose will be a process of experimenting to determine which ones work best and what strength you need.
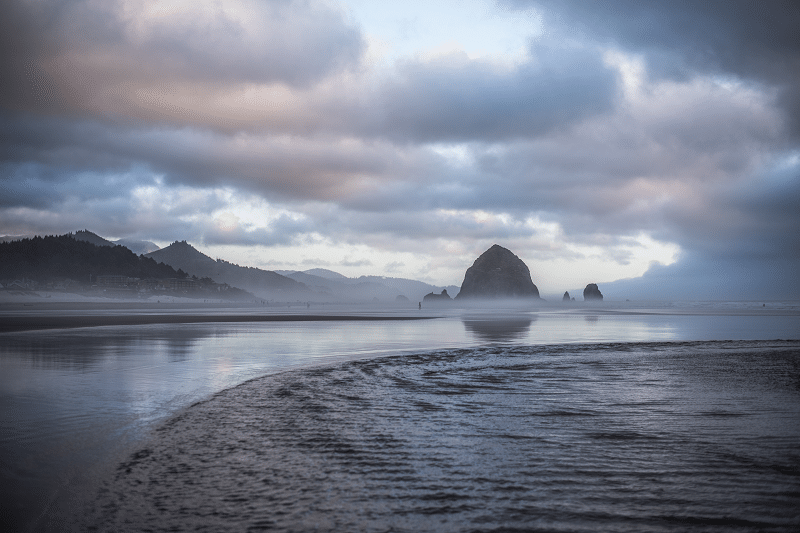
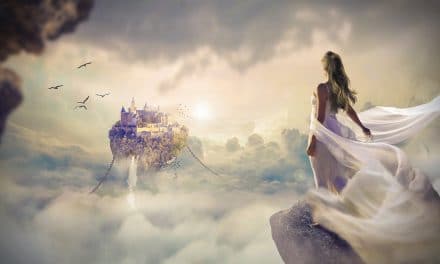
Photo by: Justin Luebke | Unsplash License
Adjust Your Settings
Now that you have your filters selected and your image composed, it is time to adjust your settings accordingly. ND filters come in different strengths such as 3 stops, 6 stops, 10 stops, and so on. Each stop reduces the amount of light that the sensor is exposed to, by half. When the light is cut in half you will need to double your shutter speed to ensure the exposure is accurate.
You can also add multiple filters to decrease the amount of light that is coming in; just remember for each stop, you’ll want to double your shutter speed. You should also keep in mind that the more you stack, the more layers of glass the light has to go through, which can reduce the quality of your images, so in most cases, you’ll want to try to keep the number of filters that you use to a minimum.
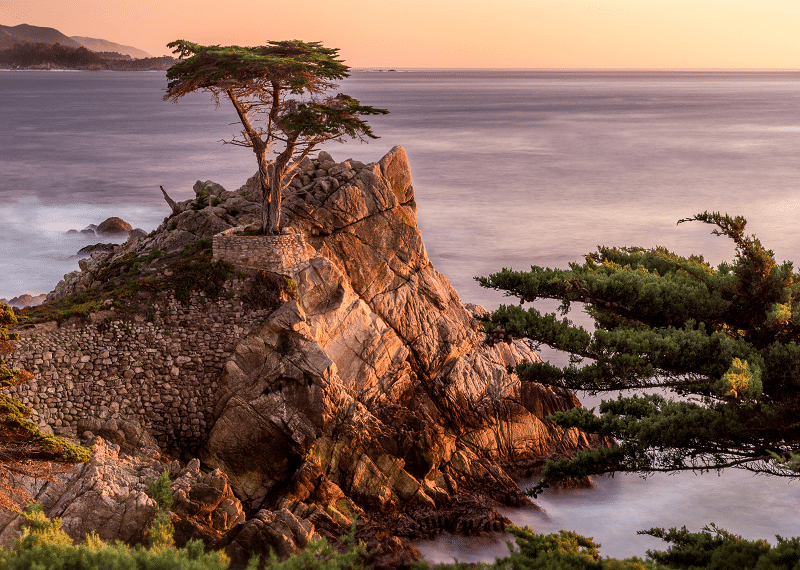
Photo by: Rodrigo Soares | Unsplash License
Final Tips
While using ND filters can be a challenge at first, they’re not too hard to get used to –and of course, the more you use them the easier it’ll become!
Here are some tips for using ND filters:
- Keep your filters clean
- Bring a tripod – to stabilize your camera during longer exposures
- Use a remote shutter release – for extra camera stability
- Practice, practice, practice!
While a good set of ND filters can be pricey, they’re worth investing in, especially if you’re serious about landscape photography. Using ND filters can reward you with some amazing images and great results. Once you’ve mastered the basics, you’ll be looking out for those situations where your images could use a bit more help –and will be able to use your ND filters to balance out those exposures, and take your images up a notch.
Have you used ND filters in your photography? What tips can you share?
Photo license links: Unsplash, Pixabay


“That’s not something that can be replicated in post-processing!”
Yes it can. Just take a series of photos at your slowest possible shutter speed and then blend the moving parts in post. An ND filter is easier but this works. This way also allows you to keep crisp parts crisp (moving tree leaves, etc.) and still blend for motion in the water or whatever it is you want slow speed effect on. https://flic.kr/p/ZKFmns