A solar eclipse is a rare and stunning phenomenon, and can be very exciting to witness. As a photographer, you may be keen to capture it for yourself – especially if you can do so alongside a dramatic landscape or as part of your wider portfolio.
However, there are lots of difficulties involved with photographing anything to do with the sun. You don’t want to damage either your eyes or your equipment, and what’s more, the eclipse only lasts for a short time. If you miss it because you were not properly prepared, you will end up really kicking yourself.
Here are some tips that will help you to capture the event when it happens, so that you have a lasting memento of the moment.
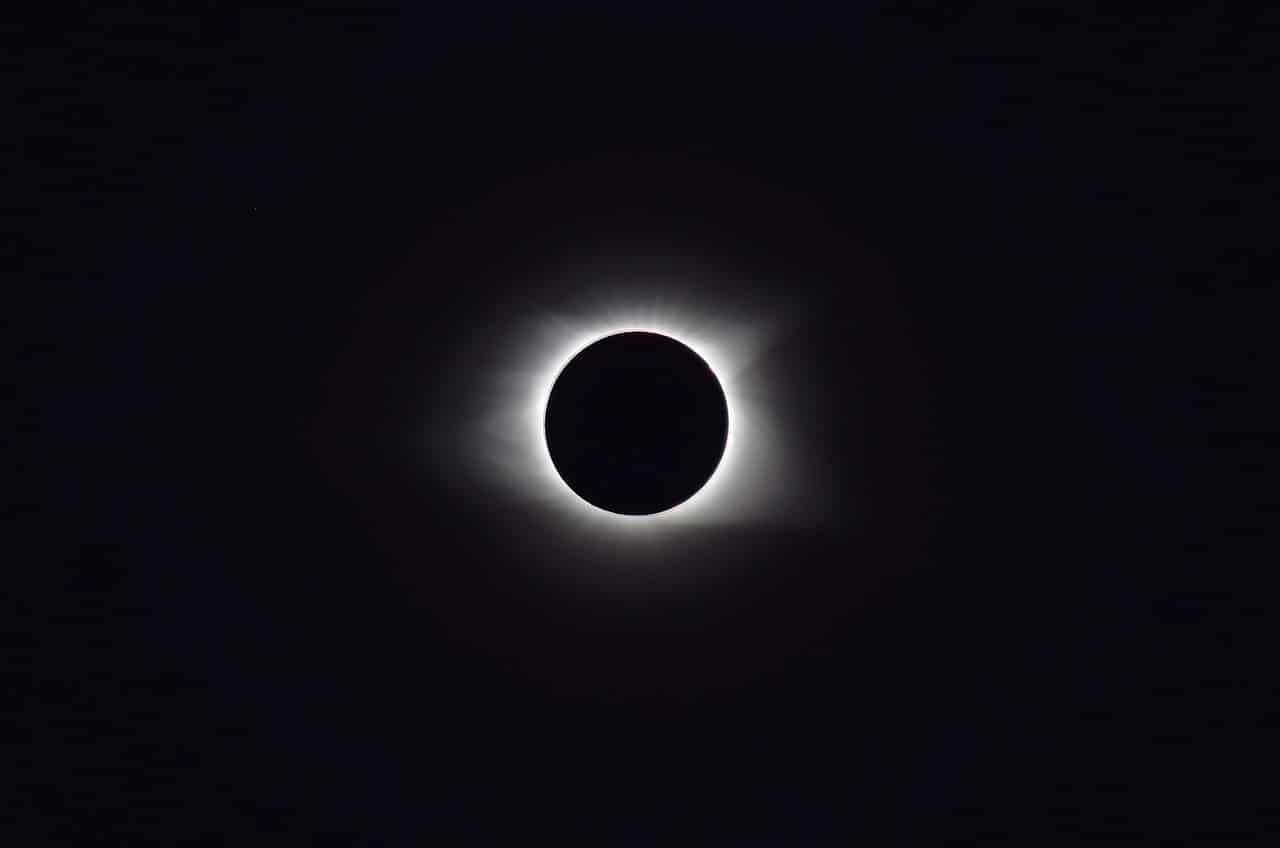
Image by Jan Haerer | Pixabay License
Solar Eclipses 101
First of all, let’s take a look at what solar eclipses are and what to expect. You may witness either a full or a partial eclipse, where the moon moves in between the earth and the sun. This blocks the sun’s rays, either fully or to a smaller extent, and casts a shadow over the earth because the sun’s light is not getting through.
There must be a new moon at exactly the right moment when it aligns with both the sun and the earth, which is why it doesn’t happen often. Then, according to the arrangement of the three objects in space and how close they are to one another, you might see only a partial eclipse. This makes a total eclipse a very special event indeed.
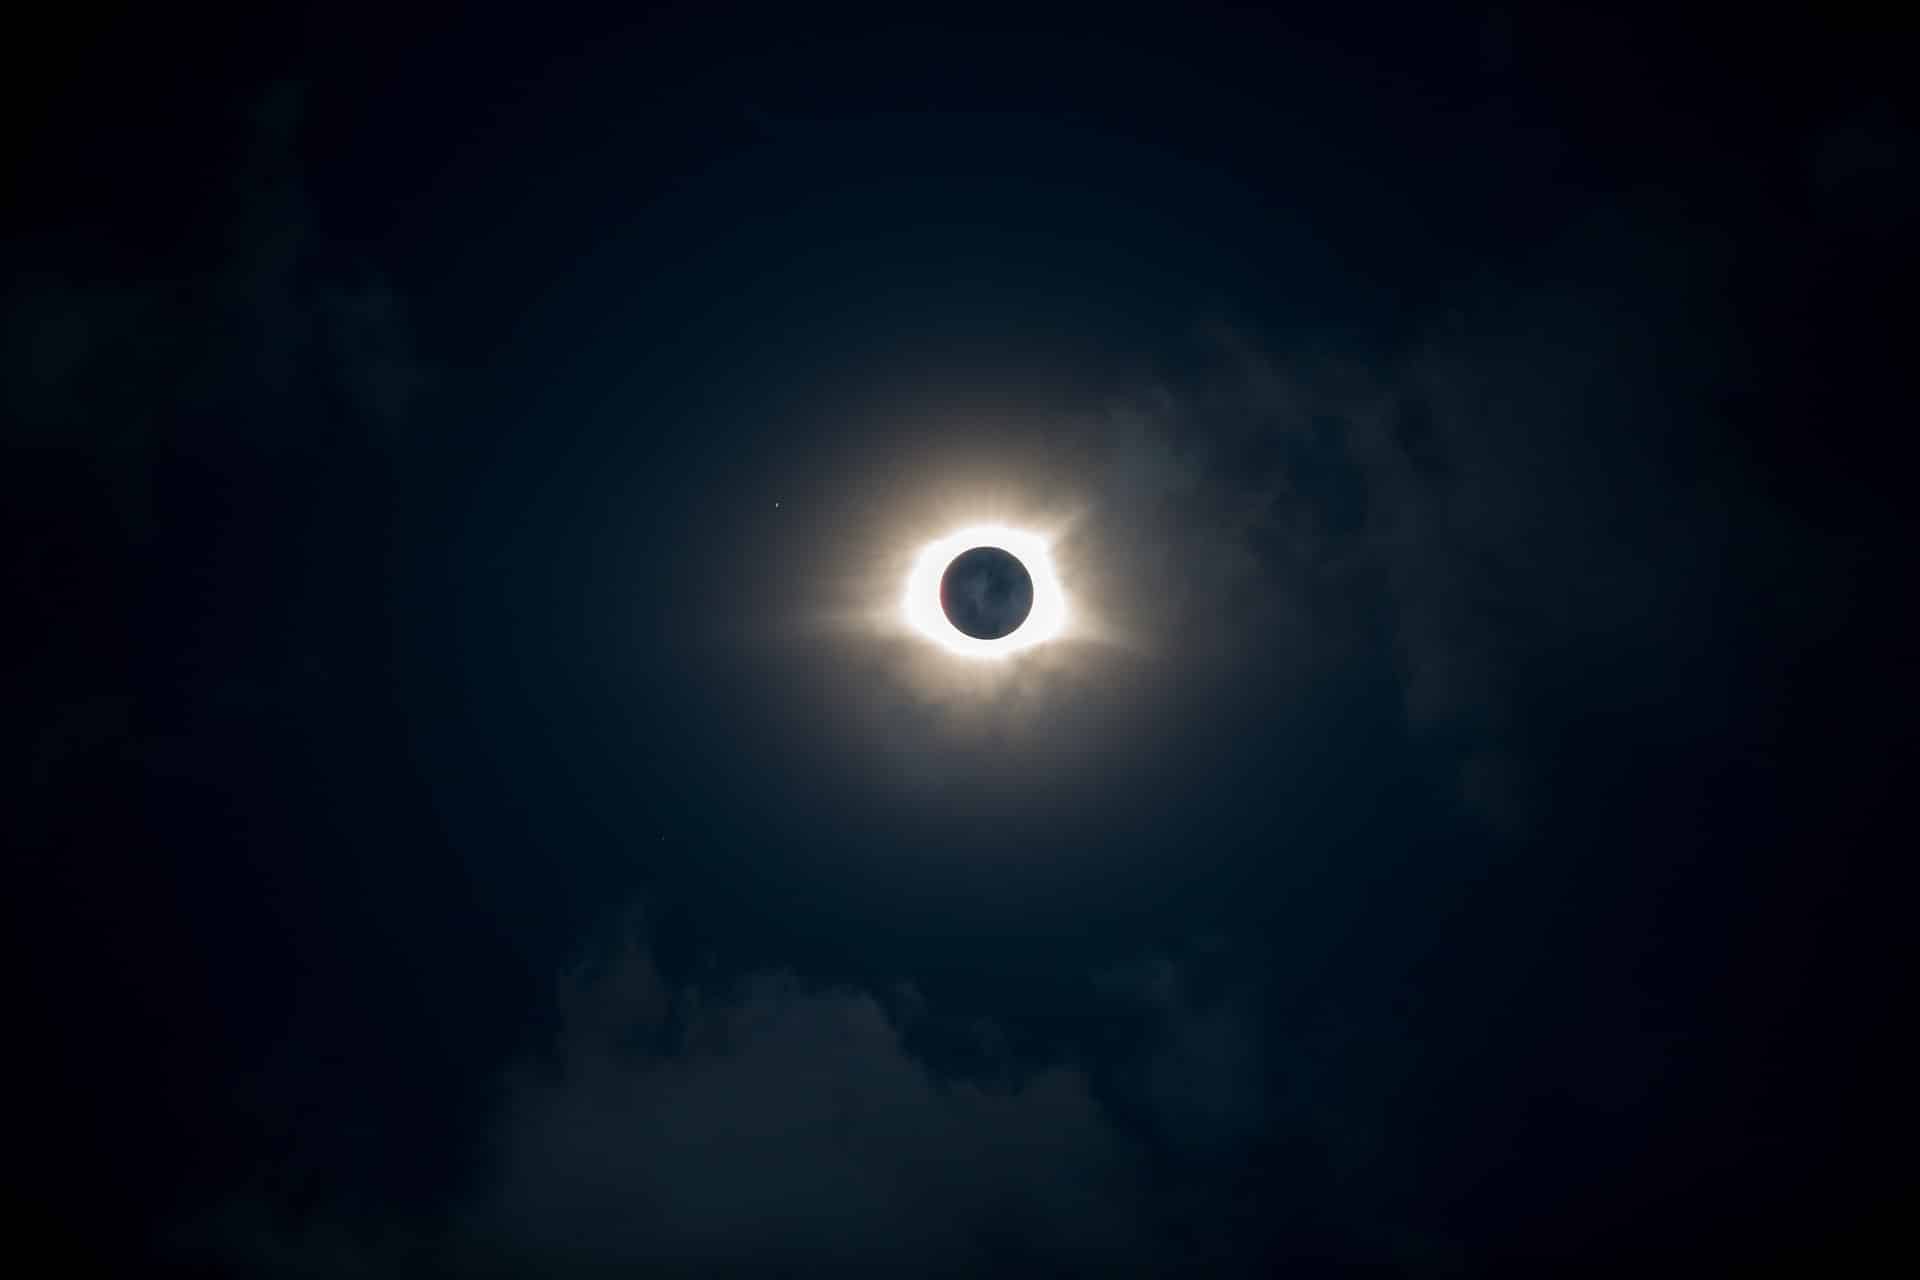
Photo by bdabney | Pixabay License
Add to this the fact that you also have to be in exactly the right place to see the total eclipse. You need a clear sky without too many clouds, and you need to be within the centre area of the moon’s shadow to see it properly.
When you do manage to meet all of these requirements, you will see a ring of fire around the moon – this is called a corona, as light blazes out from behind a dark circle. This is different from an annular eclipse, in which the moon does not cover the whole sun and so there is a wider ring of light around the moon, and a partial eclipse, in which you will see a crescent on one side.
→ Related reading: Practical Guide to Photographing the Moon
Choose your location
Now, let’s set up your shot. You need to be in the right location, but the great news is that NASA and other scientific agencies will put out maps explaining where the total eclipse will be visible from. You can follow the track of the moon across the sky so that you can see where it will line up on the ground, giving you a range of locations to choose from.

Photo by Steven Coffey | Unsplash License
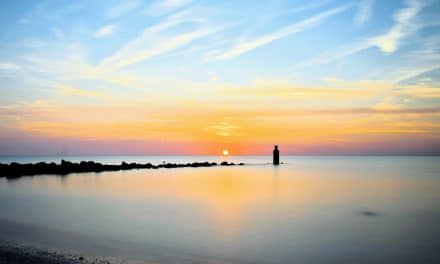
Within this range, you will want to choose a location with the right surroundings and atmosphere. It’s a good idea to scout locations the day before if you can, taking some shots of the landscape with normal lighting, so that you can imagine how it would look with the dark circle in the sky.
Make back-up plans just in case. If you look at the weather forecast on the day and discover it will be overcast and raining in the place you had originally planned, it would be a better idea to drive further out to a place where the sky will be clear.
Think about how you will frame the sun in the sky, and how it will look against the landscape. It’s likely to take up only a small portion of your frame if you include your surroundings, so you want to make sure it has a good impact through composition.
Safety concerns
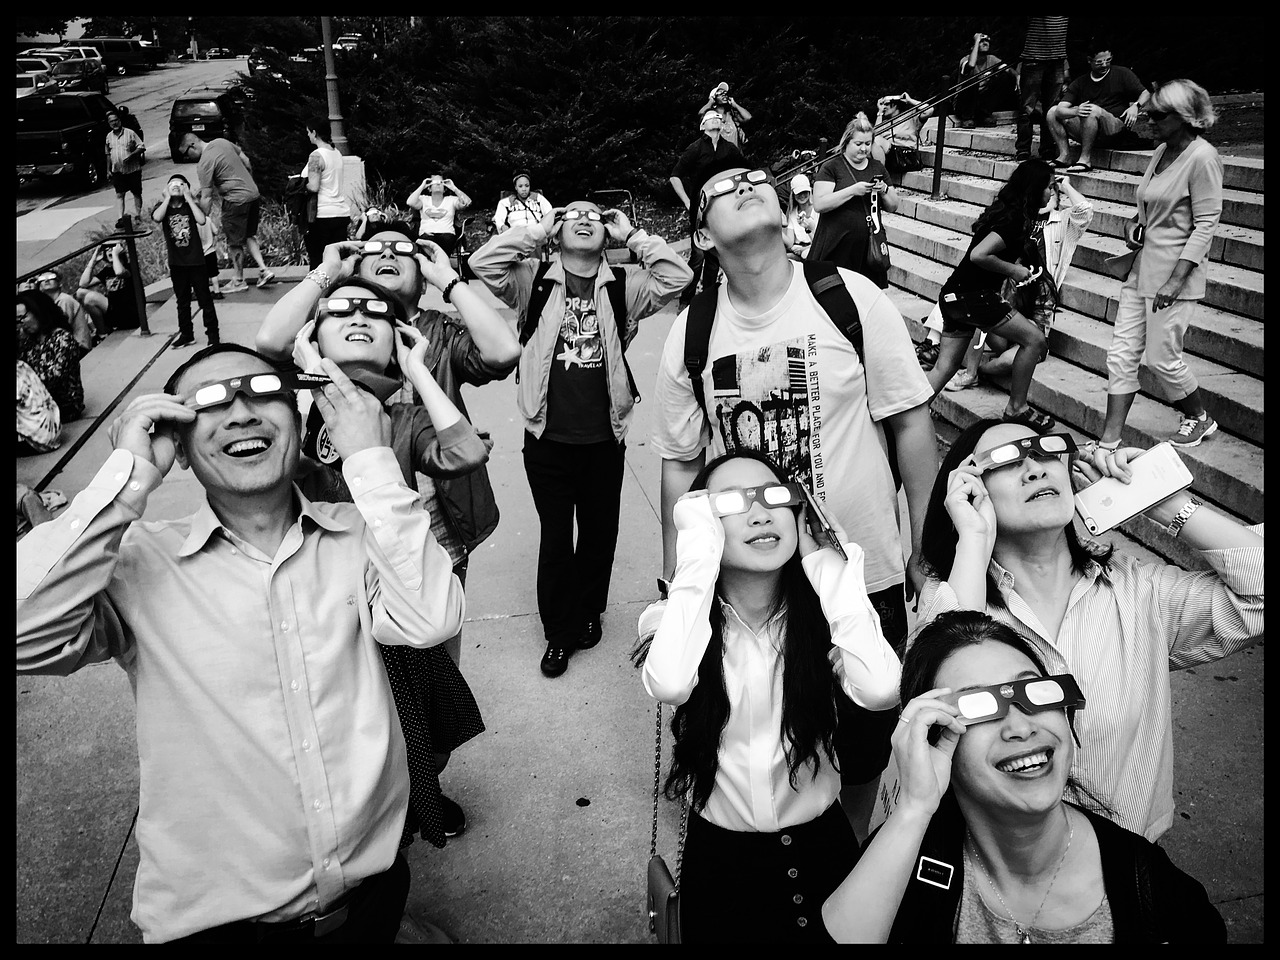
Image by Dave Davidson | Pixabay License
Make sure to remain safe when viewing or photographing any kind of eclipse. As we all know, looking directly at the sun can cause permanent damage to your eyes, which can be even worse when you adjust to darkness only to have it burst out from behind the moon again.
If you’re using a telephoto lens, looking directly at the sun can be more dangerous again, because everything is magnified. Eclipse glasses are recommended for watching the eclipse with your own eyes, and these are pretty cheap to buy, so you shouldn’t have any excuse for not protecting your sight. Bear in mind that regular sunglasses are not strong enough to protect you.
→ Related reading: Reviews of the Best Telephoto Lenses for Canon DSLRs and Reviews of the Best Telephoto Lenses for Nikon DSLRs.
Solar telescopes and solar binoculars are also available if you want to up your game a bit. These are great if you think you may pursue more eclipses in the future. You could even add a solar filter to an existing telescope.
When photographing, however, you will want to fit your camera with a solar ND filter. This will protect you when you are looking through the viewfinder, so that you don’t end up burning your retinas that way. It will also protect your camera from damage as well. You should do this even if you are thinking of using liveview on an LCD screen while shooting the eclipse.
Take two shots
Next, let’s consider how you will photograph the eclipse itself. A good recommendation would be to photograph it at least twice: once with a super telephoto lens to get a close-up of the event, and one as a wide-angle view of the scene including your landscape composition. Using a tripod is definitely recommended in order to get the sharpest possible image and to support the weight of the lens.
Because the sun is a certain distance away, it’s possible to know ahead of time what length of lens you should be using. At 200mm on a full-frame camera, your sun will be a tiny dot in the frame – better for your landscape overview. At 2000mm, however, the sun will fill almost the entire frame. The range around 800mm – 1200mm is a lot more comfortable for most purposes.
Don’t forget that you will complicate things greatly if you are using a cropped sensor! For example, a crop factor of 2.7x would mean that you could get the right viewpoint with a 300mm lens, which is a lot more doable for most people. You can also use teleconverters to increase the zoom further.
Taking the shots
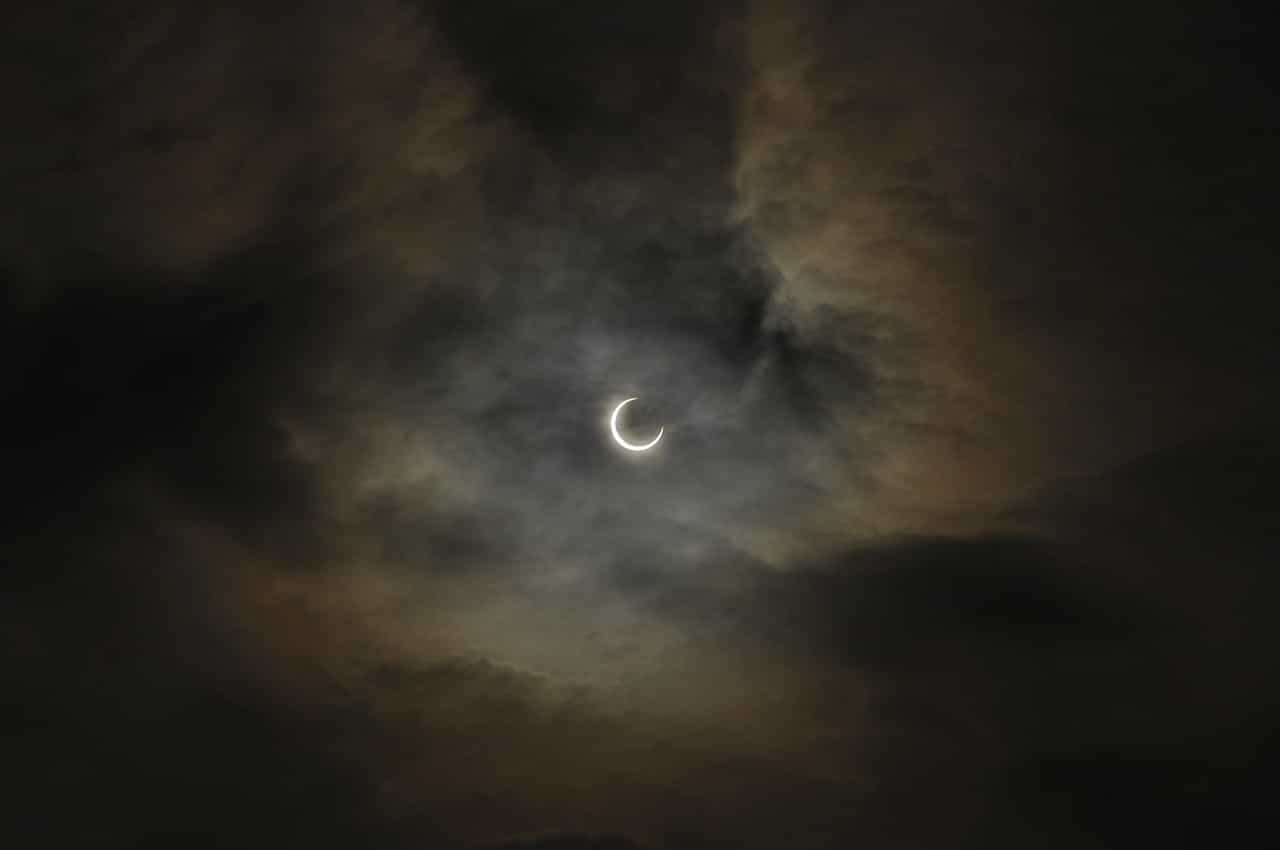
Photo by opapaty | Pixabay License
If you want to make things easier for yourself rather than having to switch back and forth between lenses, you would be better off setting up two cameras on two different tripods – one with a telephoto and one with a wide-angle.
→ Related reading: The Best Lenses for Landscape Photography
A great way to do it would be to set one of them on a timer, once you have your settings sorted and your frame in place. Timelapse settings will be good for this – you know that it will take a certain number of images throughout the eclipse, so you don’t need to go back and check on it again. This leaves you free to focus on the other camera. I would recommend that your landscape shot is on timelapse, and you use the telephoto manually to ensure that you keep the eclipse centred in the frame.
For your settings, choose the lowest possible ISO and set your camera mode to manual, as it will not be able to handle automatic exposure accurately. Put your shutter speed up to the fastest possible value and then use this as a base point to adjust from, depending on which ND filter you have chosen. You should also select the sweet spot for your particular lens in terms of aperture, which is generally between f/5.6 and f/8 (though you can find guidance about this by searching your particular lens model online).
→ Related reading: Intro to Manual Mode and When to Use It
Switch off your autofocus and focus on the moon in the sky before the eclipse starts. This will ensure that you have the right settings when it does get underway, so that your images will be sharp and focused.
Once the eclipse is underway, your shutter speed will need to drop dramatically. You may also need to remove your ND filter in the middle just to get a high enough speed, as everything will be dark! At this point, you will want to take steps such as using a remote shutter release cable to reduce the risk of camera shake.
If you do remove your ND filter, do not look through the viewfinder at the sun – it will still be too bright. As soon as the totality, when the eclipse is complete, is over, put the ND filter back on. This will ensure that you continue to avoid damage to your eyes and camera.
Don’t worry too much about framing on your close-ups with the telephoto, as you can easily re-crop the shots later on – the sky around the eclipse will simply appear black.
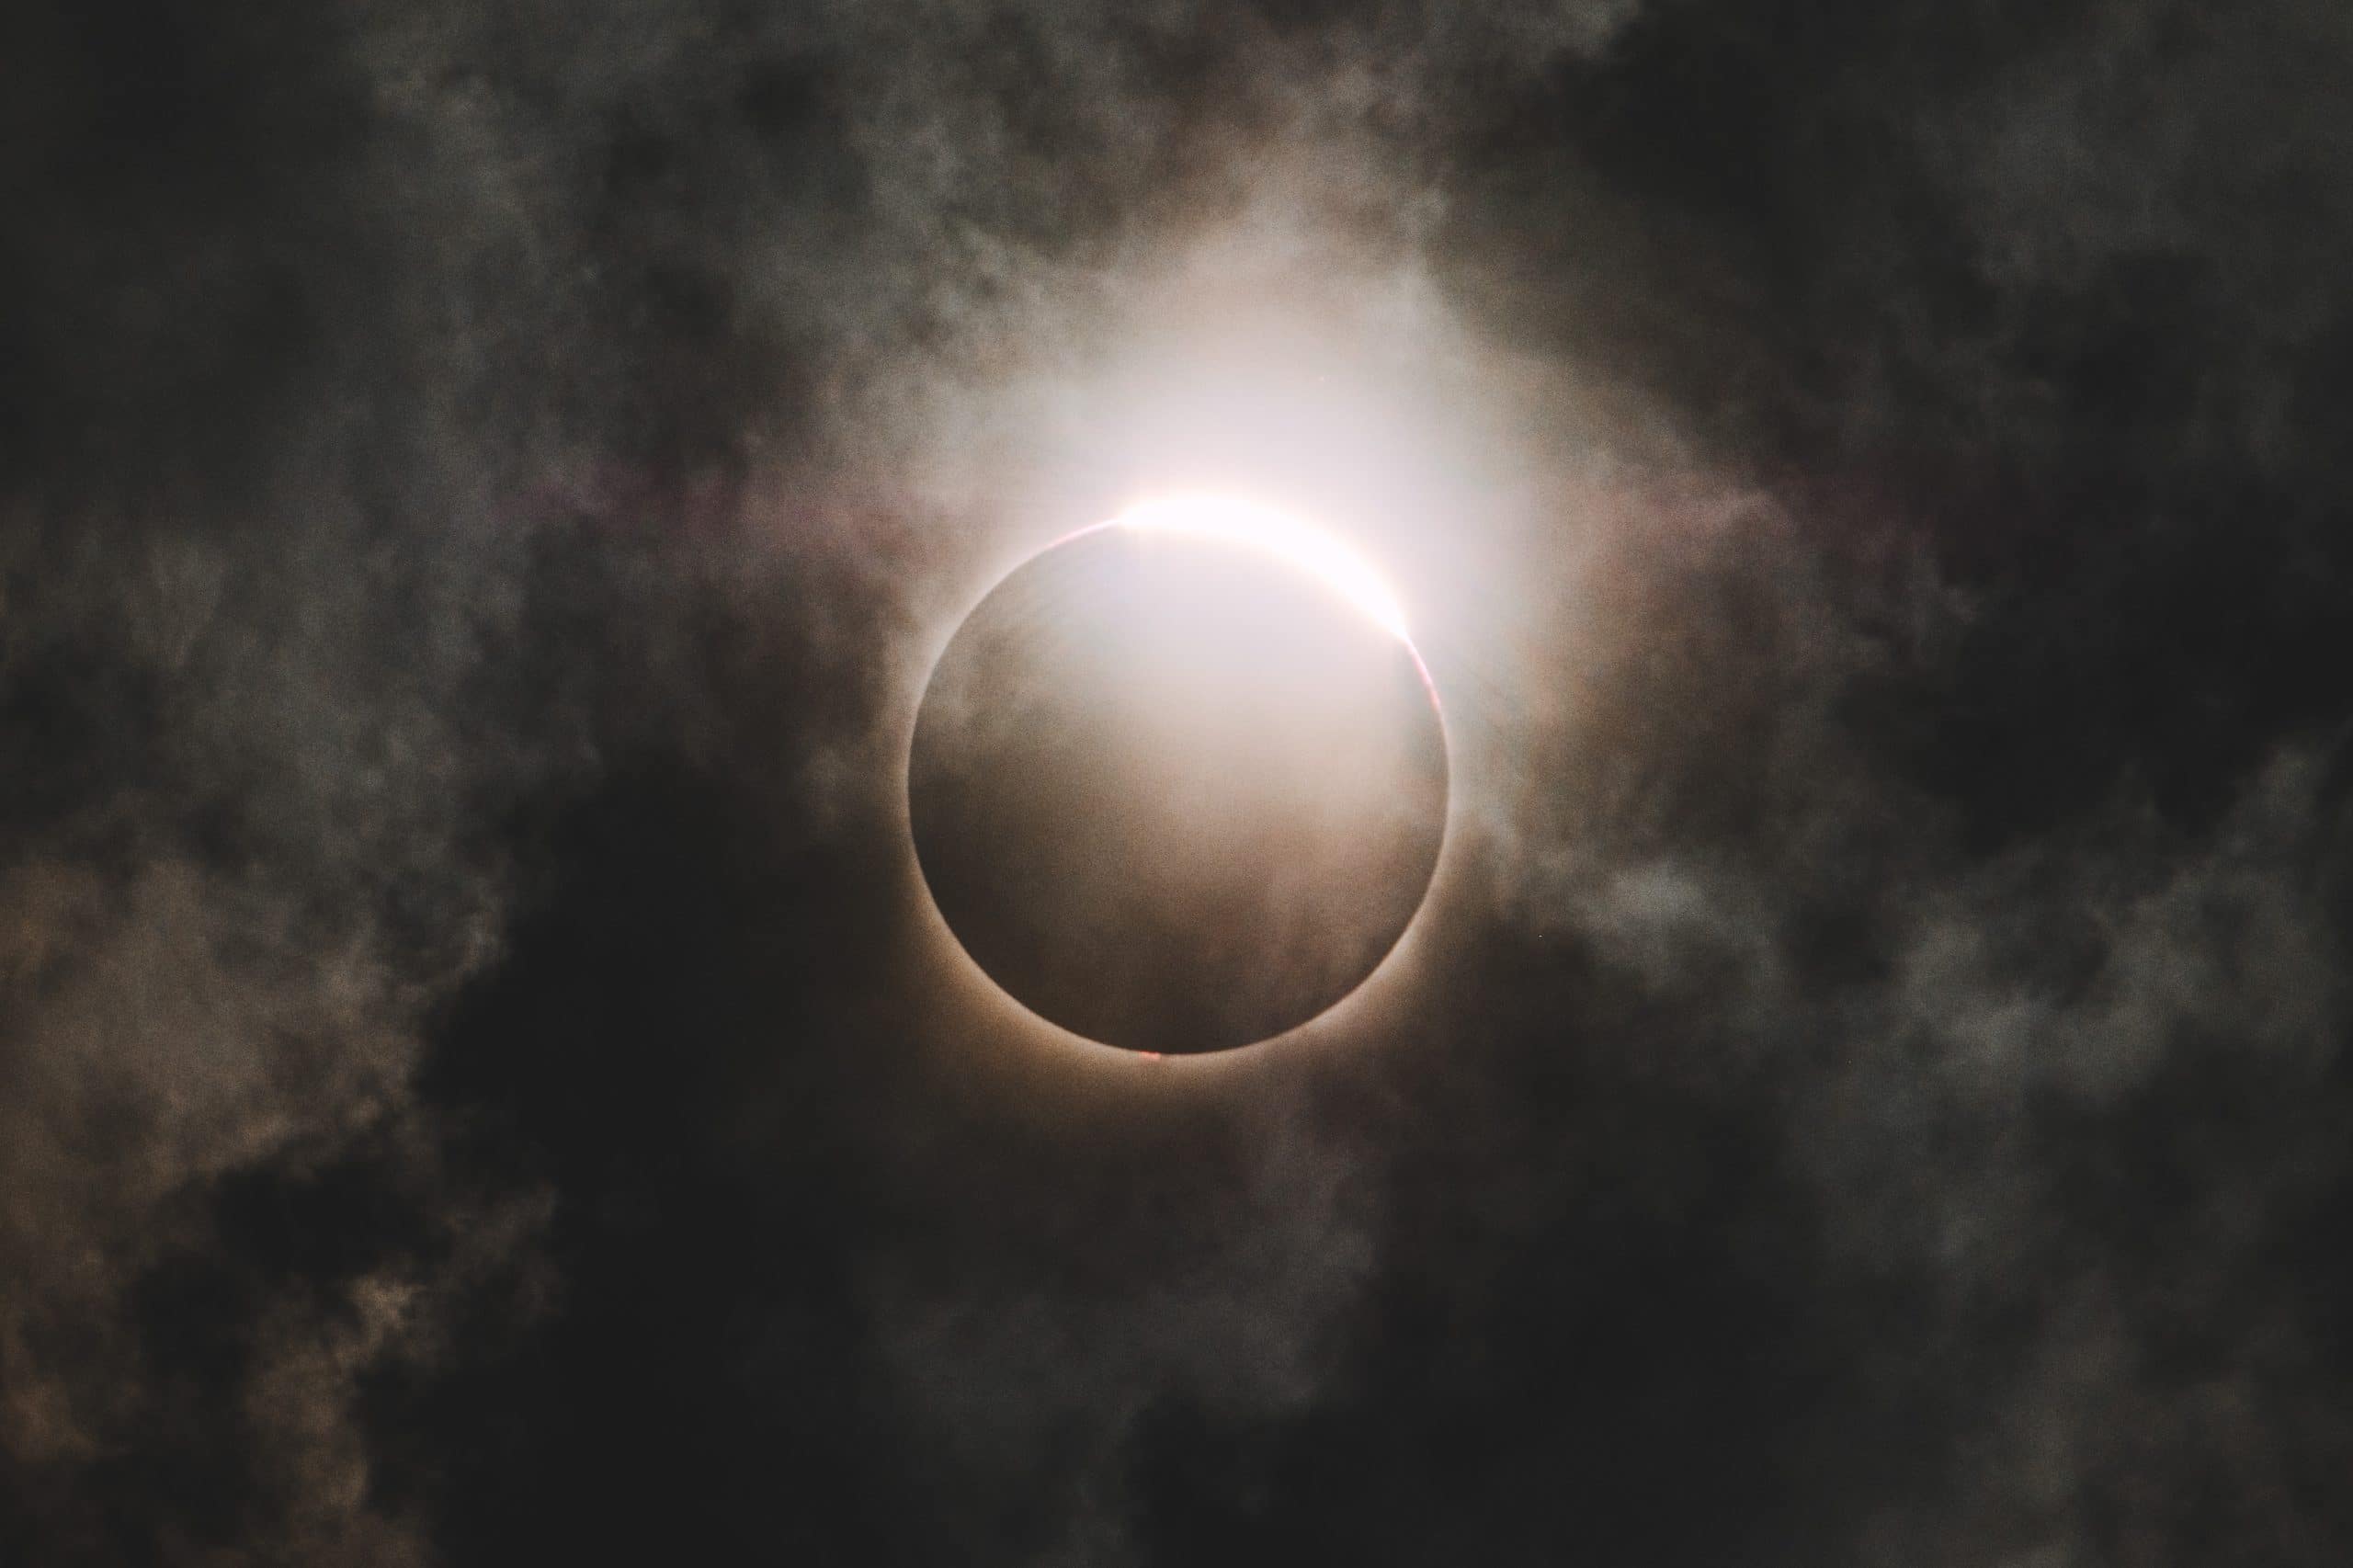
Photo by Bryan Minear | Unsplash License
These tips will help you to enjoy the experience of photographing the eclipse, as well as getting great shots. The excitement of the moment should not be ignored – this can be such a rare opportunity, so embrace it and admire the beauty of nature’s processes while they are happening in front of you!
Photo license links: Unsplash, Pixabay


Ore details regarding the two upcoming solar eclipses for 2019 may be found here – http://eclipsewise.com/oh/ec2019.html#SE2019Jul02T