by Sheen’s Nature Photography
To capture the wild in wildlife, it’s a combo pack of timing, skill, patience and taking many shots. Birds, bears, wolves and other animals are not perfect posers. In most cases we have just a few quick moments to fire a few snaps. We have to think and react quickly. At the same time, we need to be thinking ahead of our subject.
We’ll explore how to make our wildlife photos sing, roar and soar using a variety of skills and techniques that connect the subject with you and the viewer. These techniques include 1) Connecting with your subject – eyes and/or emotion, 2) Authenticity of their environment and 3) Processing your work.
→ Related reading: 11 of the Best Places to Photograph Wildlife in the U.S.
1. How to Connect Your Subject to You and Your Viewers
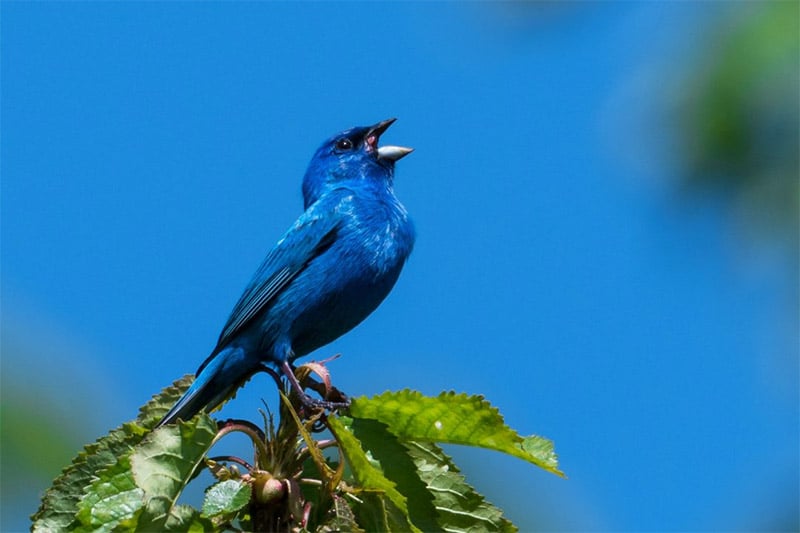
Be in their World – It’s not unusual to walk in a park, on a sidewalk and see birds flitting about on the ground. It’s also quite common to see birds up high in the tree. If we take photos from these perspectives, more than likely it will not ignite excitement in post processing or with your viewer. The reason? It’s the normal, expected view.
Connect at eye level or from a different perspective than what’s normally observed. If it’s a bird or animal that’s moving on the ground or low in the shrubs, try to get low or even with the bird. Instead of photographing the animal’s face and body, go for a profile shot for a closer view of the facial features.
by Sheen’s Nature Photography
Some of our best animal opportunities occur in areas where animals are used to seeing people. Protected forests, wetlands, beaches, nature preserves, large parks and resorts with diverse habitats are good spotting areas.
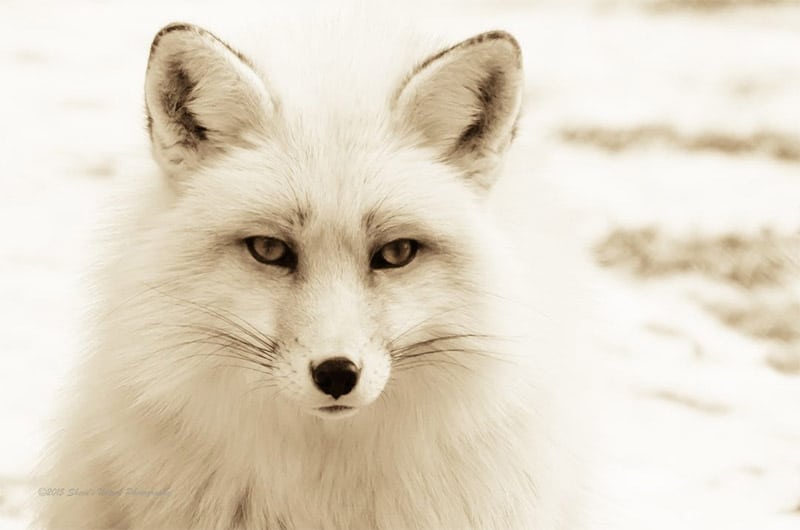
The eyes have it – We naturally connect with others and animals by establishing eye contact. The eyes should be sharp, clear, and in focus.
Select single point focus on your camera and focus on the eyes. When the eyes are sharp, the overall image feels sharp even when working with a shallow depth of field. When the eyes are blurred or slightly soft, that can carry over in the overall feeling of the image.
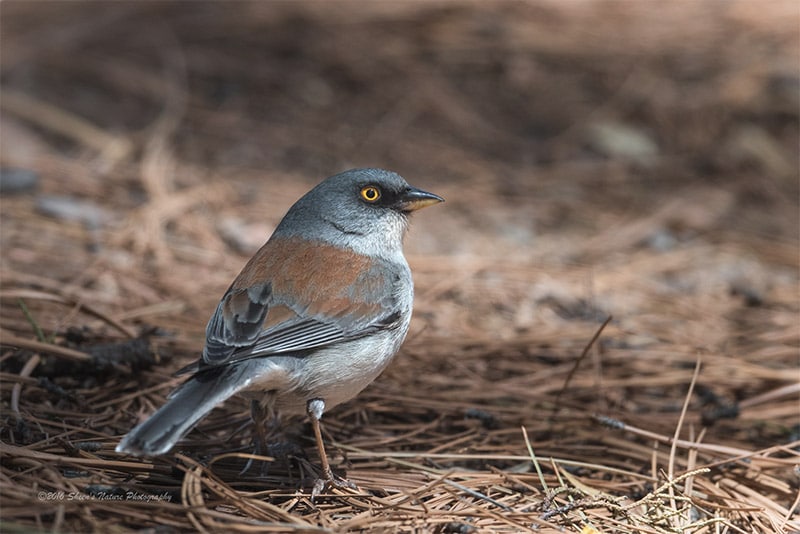
Let’s take a look at the yellow-eyed junco pictured below. What do you notice about the eyes, the overall bird and the surroundings?
by Sheen’s Nature Photography
Is the eye sharp? How do the details of the feathers and features appear? Are the surroundings complimentary or a distraction?
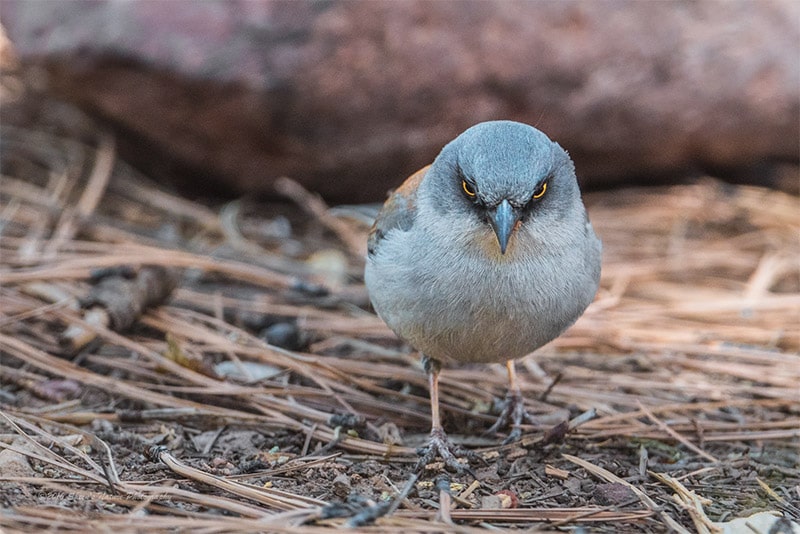
Wildlife attitude may outshine sharpness – Conversely, there are images that may not be quite as sharp as others but connect more with the viewers. That connection is emotion and attitude! Here’s another moment with the yellow-eyed junco.
by Sheen’s Nature Photography
His expression and actions convey something completely different than the first image. Which image would you potentially use in a bird identification article? Which one would make you smile?
Stick with your subject – Stay with your subject as they move about, munch on an insect, chase their prey and fly. By sticking with your subject, you are more likely to capture their personality and behaviors. Returning home with multiple images will give you more to choose from technically and artistically. Take a moment to inspect your images on the playback screen for composition and lighting while you work. Even if it looks tack sharp in playback mode, it’s not a sure-fire guarantee of how it will look in post processing. Hence, the reason for taking many photos of the same subject.
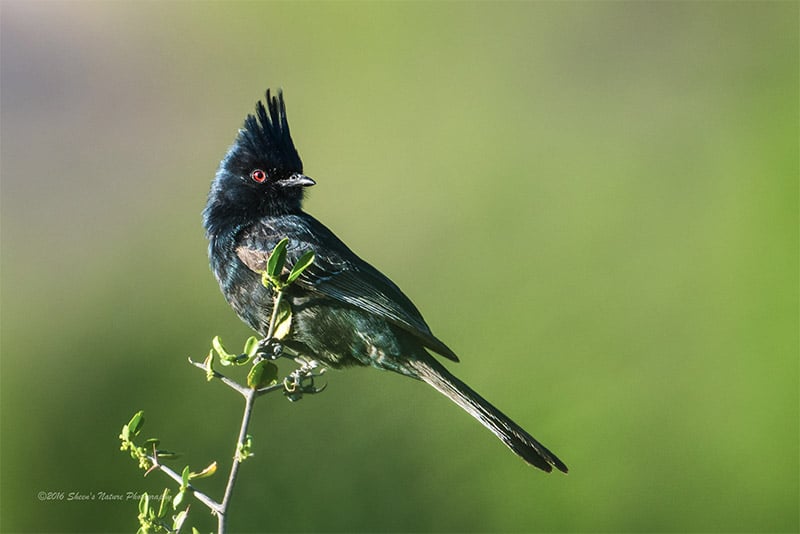
Eye Direction & Space: Using the Rule of Thirds – When composing a wildlife image in the field or in post processing, how we use space can complement or detract from your subject. Eye direction is a good guide of where to compose the image at the time of capture or in post processing.
Let the direction of their gaze influence the use of space. The juvenile Phainopepla glanced over his shoulder to keep an eye on his parents. Even though his body was facing one direction, the space was larger on the side he was facing. Using the “rule of thirds” draws the attention to the bird while using space for eye direction.
by Sheen’s Nature Photography
Centering – This Mexican Wolf that was photographed at the Wildlife Desert Museum in Tucson, Arizona. He was busy walking, pacing, running but at all times he had his eyes cast in my direction.
There was a brief moment when watching me, he laid on the ground and just stared. His golden eyes and almost pet-like face took center stage in the image. In this case, I chose to center the face, the eyes in the frame to pull the viewer directly to his eyes.

by Sheen’s Nature Photography
2. Authenticity of the Wildlife Environment
Searching for our subjects in the wild, in their natural habitat is enjoyable, challenging and personally rewarding. Local wildlife can be as close as your own back yard or a drive into the country.
Time, travel costs and personal demands may not allow us to travel to our desired destinations (Alaska is on my bucket list some day!). In addition to photographing local wildlife, taking a trip to your local zoo or wildlife rescue organization (call ahead to confirm if photographing their animals is an option) can offer rewarding photographic moments.
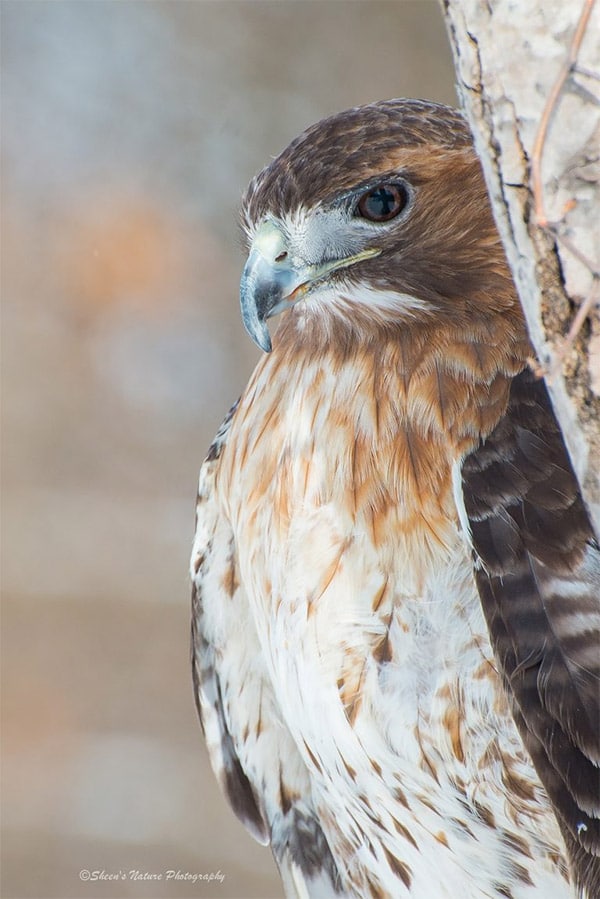
When photographing animals in the wild or captivity, avoid the ‘hand of man’ distractions in the background such as fences, feeding bowls and gates. When posting your images taken these locations it is a good practice to note that it was a captive animal. Including the name of the organization that was providing care and shelter is encouraged. The recognition of their work will be appreciated.
The female red tailed hawk is a rescued raptor that is being cared for by the Howell, Michigan Nature Center. This was taken a few years ago at a scheduled photography workshop (limited seating) where the the workshop fees went to the nature center.
by Sheen’s Nature Photography
3. Processing Your Wildlife Work
You’ve been in the field and had a great day of shooting. It’s time to download, review and process your favorite files. While doing a quick review of the downloaded images, I immediately delete those files that I’ll never use due to image quality. The three criteria I use before diving in to full post processing are:
- Histogram to ensure highlights have not been blown out.
- Eye sharpness and the detail around the eye, face
- Composition. With wildlife photography, cropping for composition may be required versus landscape.
When processing wildlife photography, our personal post processing style is as individual as our photographer’s eye. It’s easy to get caught up in using the same post processing techniques time and time again.
Before executing your standard steps, consider what makes the image special or potentially special? How will you process to show off the animal’s beauty, uniqueness and personality?


I tried ‘munching on an insect’ but it didn’t help me stick with my subject. 😉
Patrick – that’s really getting to know your subject – 🙂