Time-lapse photography is a technique that anyone can easily master. The popularity of this photography style has increased for the past few years. It captures a series of motions which can last for hours to days (even months). The end product is comprised of compress all the changes in motion – compressed into a short video.
To put it simply, time-lapse is done by capturing tons of photos within a specific interval (which is a slower rate compared to its playback). With time-lapse photography, time seems to pass more quickly. You can also say that time-lapse is the counterpart of slow motion. The images are played at specific frames per second, and the end product is viewed as a video.

Image Source: Pexels in Pixabay
Many photographers are getting hooked to time-lapse because it does not need an expensive camera or several equipments. You only need a few gadgets, patience, and this guide to start exploring the beauty of time-lapse photography. Through this guide, you will learn all the basics, the best cameras, and applications that you can use. At the end of this article, you will certainly be ready to show the world your time-lapse masterpiece.
What is Time-Lapse Photography Used for?
We see time-lapse videos everywhere on our social media. It is one of the most shared videos that fascinates its viewers because of the progress shown within a short period. Aside from art and entertainment, time-lapse photography plays several roles in different sectors in the industry.
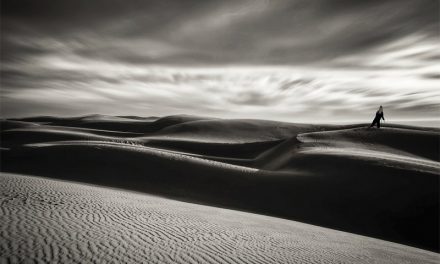
In movies, time-lapse is mostly used as a time compressor. This allows the producer to speed up the passage of time without bypassing scenes or locations. Aside from brevity, time-lapse in movies are also used for artistic reasons; it enables the audience a longer view of the subject.

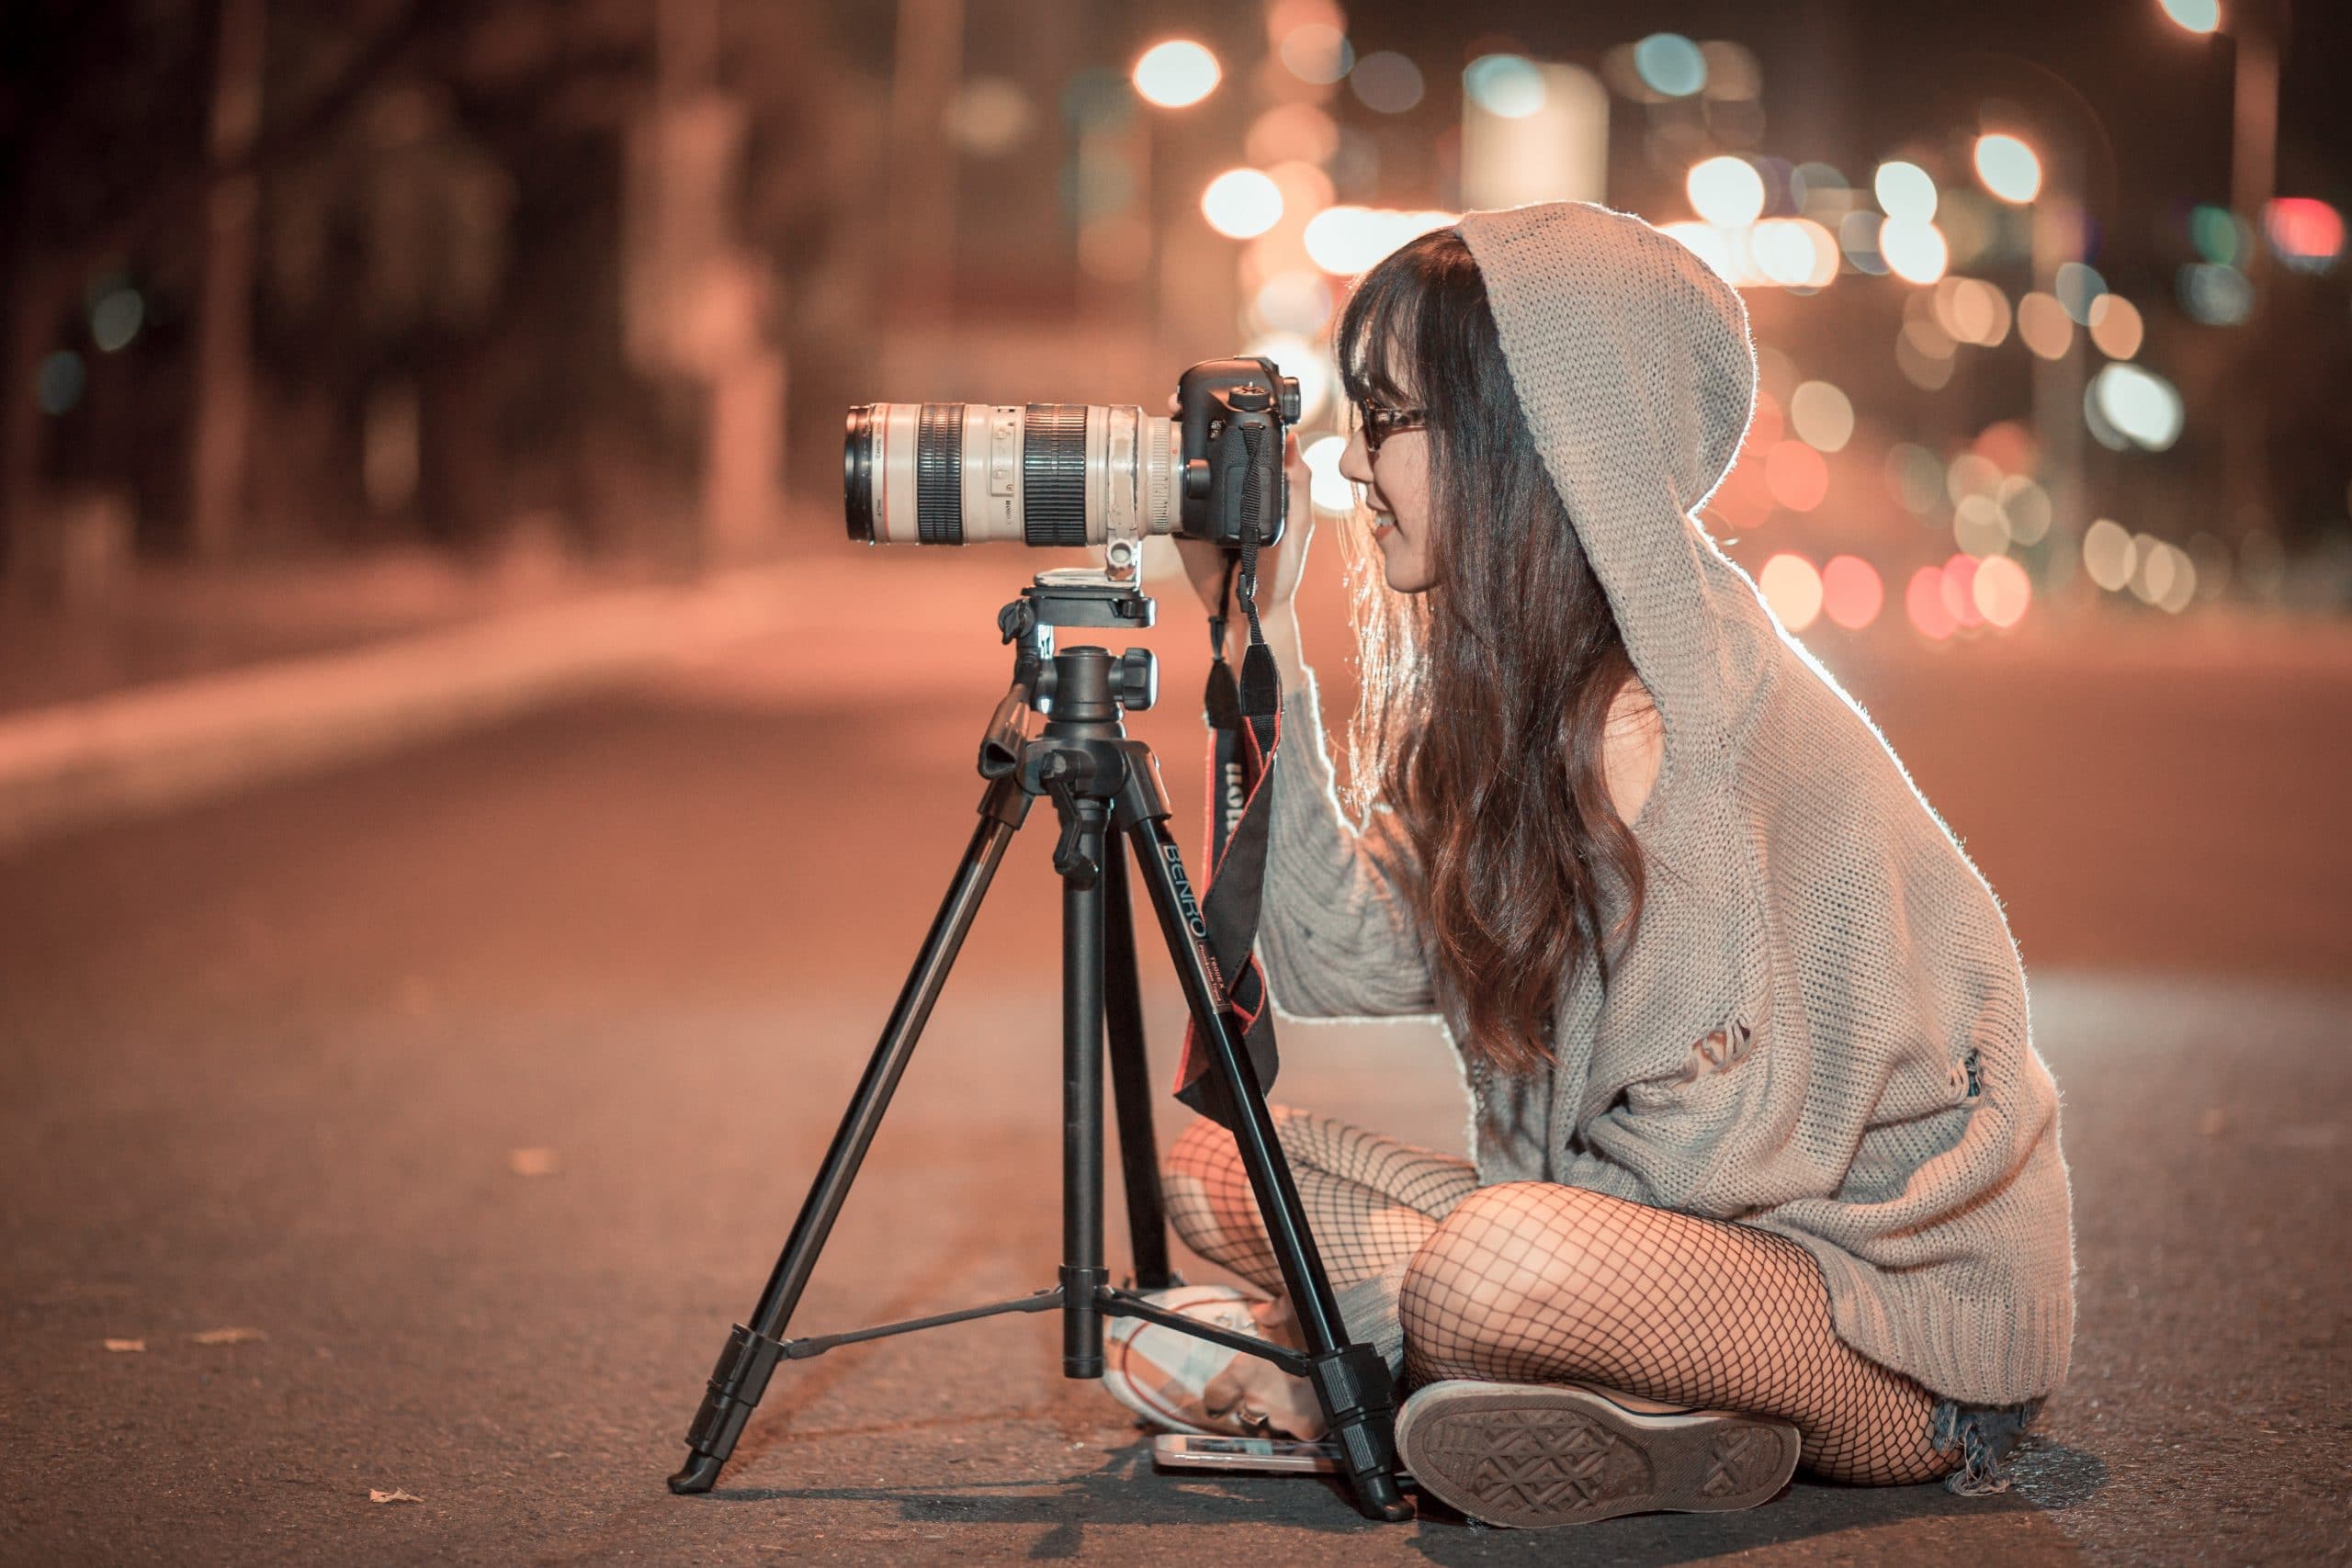
Image Source: Adege in Pixabay
One of the industries where time-lapse is widely used is in construction and demolition. This allows the contractor to capture changes, growth, deliveries, and progress. It allows construction companies to share their progress with their investors and the public.
Through the years, time-lapse photography in construction has earned its place in the industry due to its popularity and demand. It has now become a part of the construction sites’ daily system.
Time-lapse photography is also used in leisure and events. It works in both internal and external environments such as concerts and other special one-time events. Time-lapse provides coverage to different phases of work in these activities.
One industry that you would not be expecting to be using time-lapse is sports. Time-lapse is an alternative method for the coverage of the stadiums and other venues; it effectively shows high levels of public interest. Many huge sports events also use time-lapse for the coverage of back-stage preparations, filling of stadiums, and movement of the crowd.
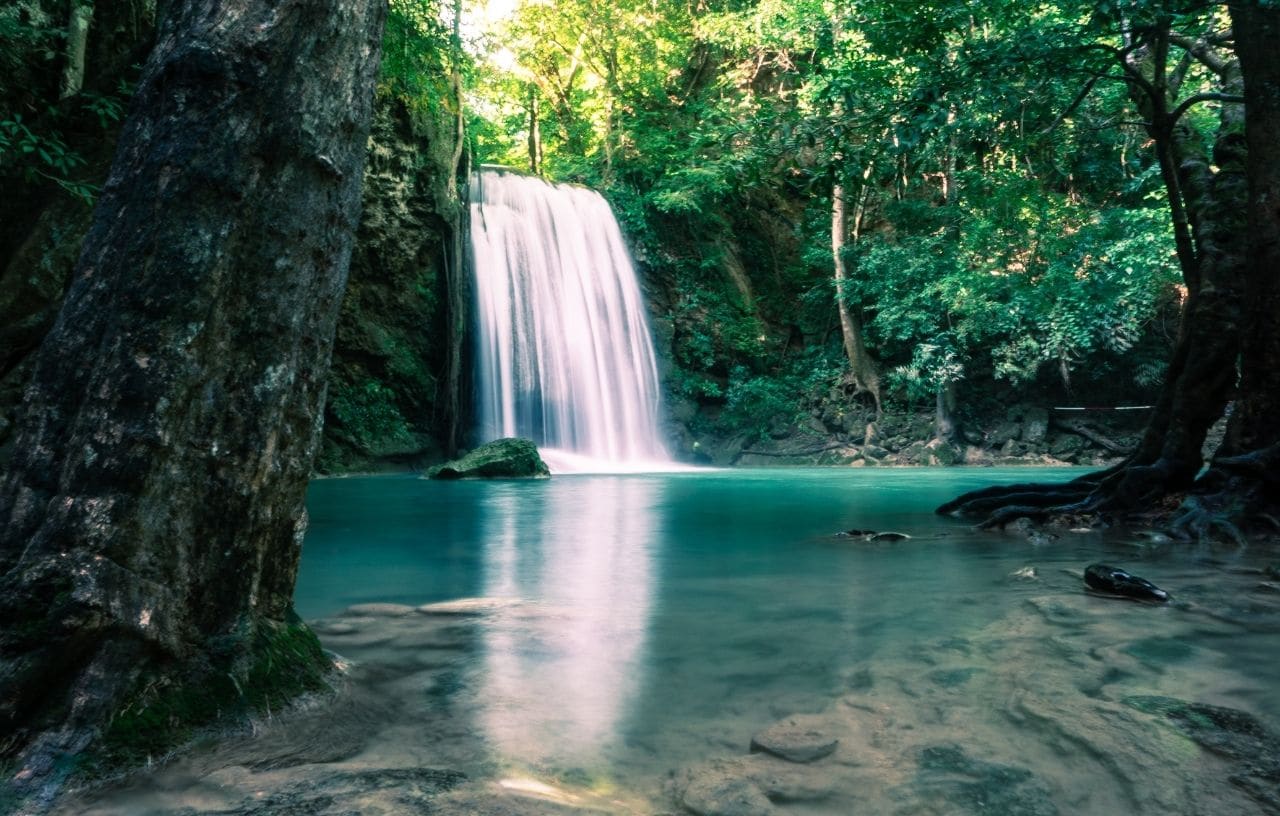
Image Source: Canva Images
What Kind of Cameras Can Be Used for Time-Lapse Photography?
Time-lapse photography can be done using any camera, it can even be done using the latest mobile phones. However, to produce a high-quality time-lapse video, your camera must have a high-resolution sensor. Also, it needs to have the capacity to work in subdued light and shoot RAW photos.
Most of the cameras nowadays have a built-in time-lapse mode. You need to acquire a camera that will enable you to adjust the exposure manually even on time-lapse mode. Before we discuss the cameras, you should get familiarized with the basic time-lapse gear first.
Here are the essential gear in time-lapse photography:
- Tripod: The key to a good time-lapse video is a stabilizer. This is as important as the camera itself.
- Intervalometer: This is an automated trigger for your camera. You can program this device to capture a series of photos within a specific time interval. Most cameras have a built-in intervalometer. In case you don’t have one (or you do not want to purchase), you can download third-party apps that work just like an intervalometer.
- Camera: There are tons of cameras that you can use to capture time-lapse photos. The question is, which is the best one? This will be discussed in further detail below.
- ND Filters: This is kind of optional. It also depends on the type of environment where you will shoot your time-lapse photo. This accessory acts like sunglasses for your camera; it allows you to capture all the colors. This is suitable when you are shooting in an open area or bright environment.

Image Source: Canva Images
Are there any excellent time-lapse cameras? The answer is yes. There are cameras on the market that are specially made for time-lapse photography. However, before deciding to purchase one, there are a few things you need to consider. You need to ask yourself these questions first:
- Where do you see yourself in photography? 4k? Video? Time-lapse?
- What is your long-term goal in photography? What do you want to do with your camera?
- Are you planning to take photography as your source of income? Is it just a hobby? A weekend thing?
- What is your budget?
- Are there any special features available on the camera? Built-in intervalometer, high speed, low light, mega resolution?
Once you have answered these questions, you still need to do further research considering that there are many cameras in the market right now. We have created a list for you so you can narrow down your choices.
Best Mirrorless Cameras for Time-lapse
Panasonic Lumix G7 Mirrorless Camera
The Lumix G7 is one of the budget-friendly cameras. It has a 16-MP resolution sensor and enables you to shoot RAW images for easy post-processing. This camera is very handy and well-built; this is perfect if you do not like bulky equipment.
One of its best features is Panasonic’s DFD (Depth from Defocus) technology. It continuously tracks the subject and focuses accordingly, which helps create clean and detailed photos.
Lumix G7 works very well under low light. It has a special mode called low light autofocus. This helps to focus the subject even in low-light settings. It is very useful in night time-lapse photography.
Olympus OM-D E-M10 Mark II Mirrorless Camera
This mirrorless camera has a very classy design and is built for time-lapse situations. However, it weighs a little heavy with the lens on. It may be too bulky for some, but this camera will not disappoint as long as weight is not a big deal for you. Carrying a tripod or a slider will also do the trick.
We love the live MOS sensors of this camera. It can capture up to 60 frames per second, and its ISO sensitivity is up to 25600. To add up to its perks, it has five internal stabilization axes. This helps in shooting sharp time-lapse videos with almost no blur or shaking.
The touch-based autofocus system is swift which keeps the photos sharp and clear even with a shaky camera and a moving subject.
Sony A7 III Alpha Mirrorless Camera
This mirrorless camera from Sony is more compact than other cameras. If you hate bulky types of equipment, this is your best choice. This slick camera possesses a 24.3 megapixel full-frame CMOS image sensor, resulting in better and clearer RAW images.
Sony A7 has an ISO of up to 25600, making it suitable even in low light conditions. This camera also has WiFi connectivity that allows you to easily export and import your photos in no time. You may also use a downloadable app as an intervalometer to shoot your time-lapse video.
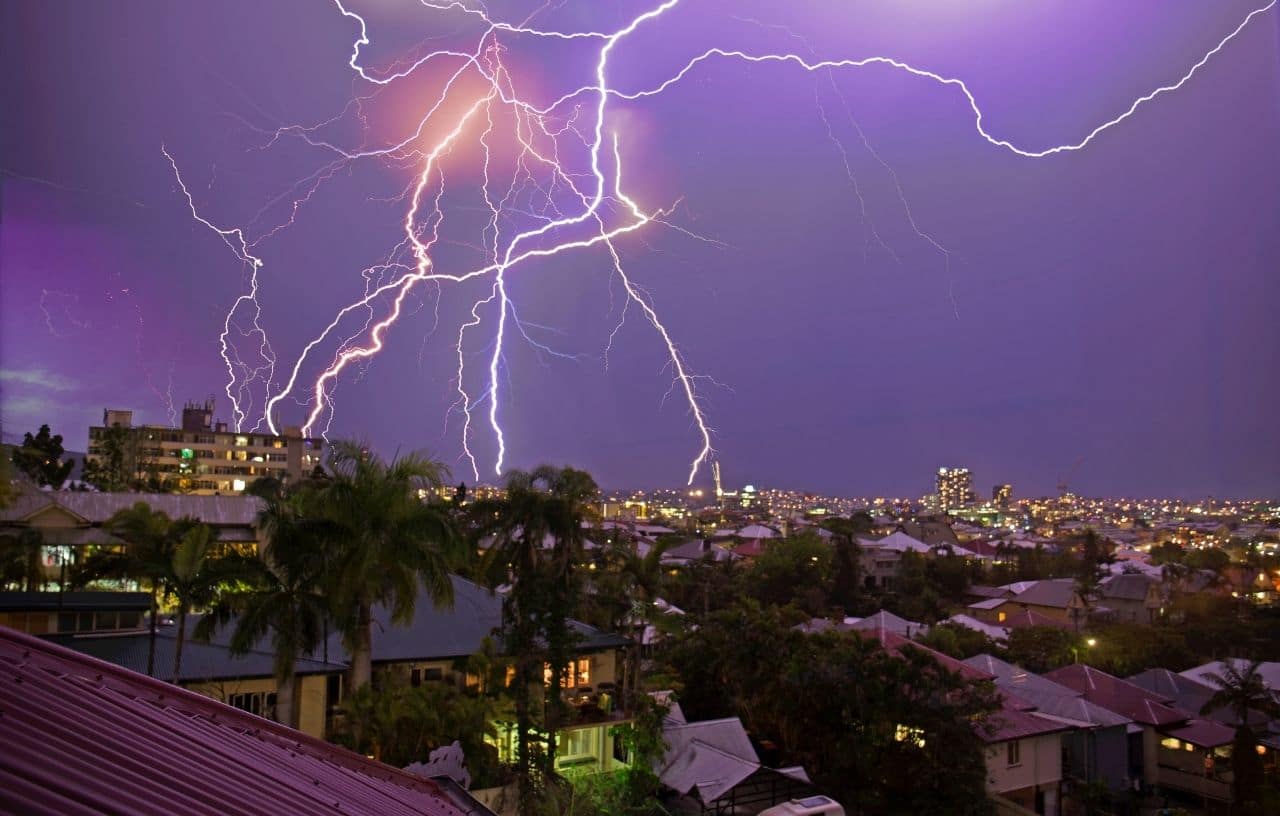
Image Source: Canva Images
The Best DSLR Cameras for Time-Lapse Photography
Canon Rebel T7i 24.2MP Digital SLR Camera
This is the best camera to use if you are planning to shoot your time-lapse outdoors. The Canon Rebel T7i has a weather-sealed body that looks premium and sturdy. Having Canon’s Dual Pixel autofocus technology and a 24.4-MP sensor is great for sharper RAW images.
This camera has a built-in image stabilization function with five axes, making sure that your images show no blur from shaking. Also, it has a subject-specific tracking technology from its 45 AF points, thus ensuring that your subject is focused and sharp throughout your time-lapse video.
Nikon D850 Digital SLR Camera
This camera from Nikon can do more than just the time-lapse. It is typically used by professional photographers that know their way around the manual mode of the camera. Nikon D850 is best when it comes to levels of image control. 51-point autofocus enables your subject to stay sharp and focused even in a moving background.
The high-end technology of Nikon allows you to record in silent mode. It bypasses shutter movements, enabling you to have longer battery life.
Nikon D7500 20.9MP Digital SLR Camera
This is another weather-proof camera from Nikon. The Nikon D7500 is said to be shockproof, which prolongs the camera’s lifespan. It has a continuous shooting mode that can shoot a light trail; even the movement of the stars can be captured easily.
With this camera, you can take control of all of your images. It has a 3.2-inch tilting touch screen monitor that lets you work from any angle. This camera’s longer battery life enables you to shoot for a full day without the need for a battery change.
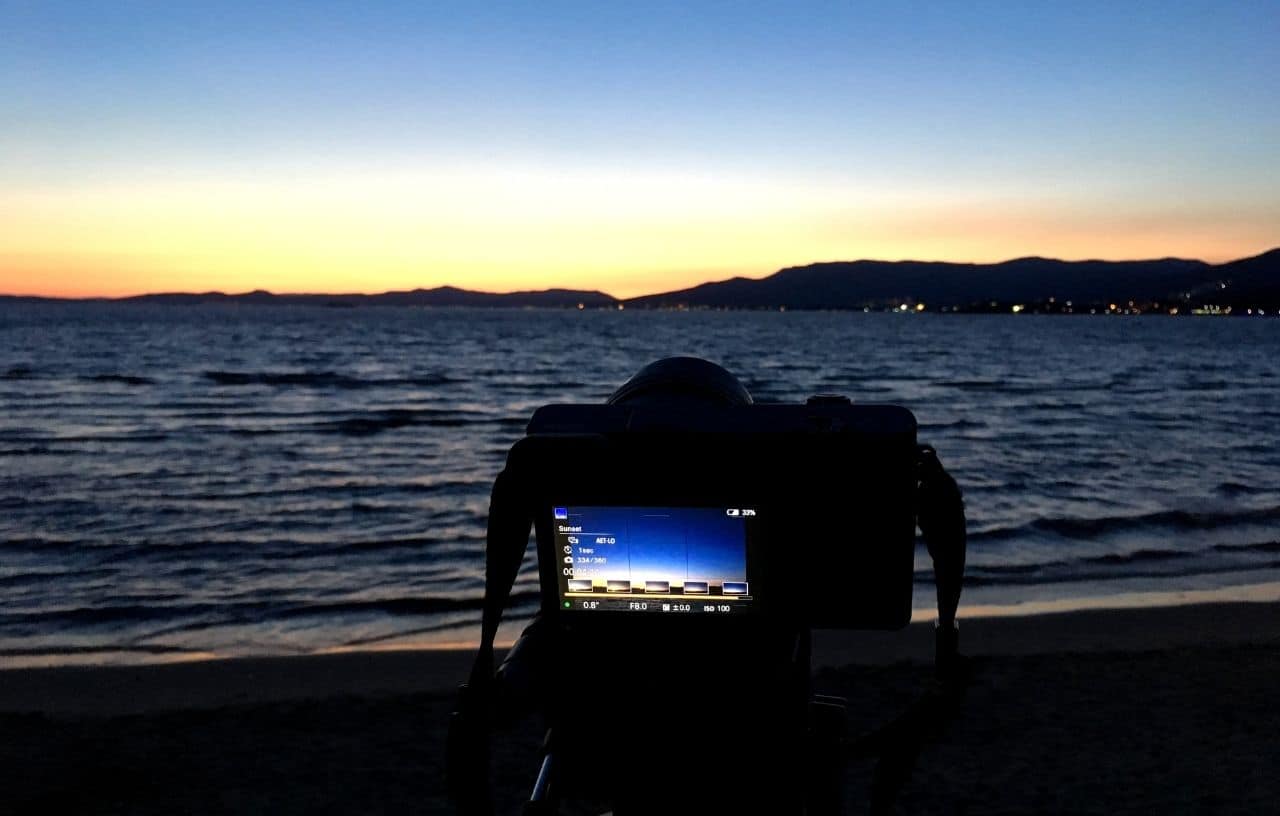
Image Source: Canva Images
The Best Dedicated Cameras for Time-lapse Photography
Brinno Empower TLC2020
This camera is made specifically for time-lapse photography. This is not the first time-lapse camera from Brinno but this model offers more features than previous models. Empower TLC can shoot up to 82 days worth of photos, one every five seconds. This comes with a waterproof casing and is best used outdoors.
This is the best camera for long-term projects like in construction. It also has an indoor mode that adjusts the light exposure. The camera interface is also pretty simple. The only downside to this camera is that the videos are saved in a single format (.avi). The maximum video recording resolution is quite high – up to 1080 pixels.
Brinno TLC2020 Pro
Brinno TLC2020 Pro comes with an interchangeable lens (up to 110 degrees). This device is recommended if you are just starting to explore time-lapse photography. The camera is also budget-friendly. However, it has a smaller screen size of 1.4 inches but still does the job thoroughly.
This entry-level time-lapse camera has a battery that can record up to 40 days’ worth of images. The slight setback to this camera is that the maximum video resolution is only 720 pixels.
Afidus ATL-200 HD
This camera from Afidus has a weather-proof rating of IP65, making it perfect for shooting in an outdoor setting, such as in construction. It also comes with a motion detector, zoom, and HDR settings. The camera sensors possess a 1080-pixel resolution.
This camera provides convenience with its app which allows you to control the camera via WiFi. You can set the time intervals using the app and export it directly to your social media networks.

What are the Best Time-Lapse Apps?
Nowadays, technology enables us to capture time-lapse photography even on our smartphones. This allows us the convenience to shoot time-lapse photos anytime and anywhere. Some mobile phones have a built-in time-lapse camera setting. If yours does not have it, here are some of the best applications that you can use to capture time-lapse photos or videos.
Microsoft Hyperlapse Mobile
Hyperlapse is a time-lapse application from Microsoft. It is available for Android and Windows users; it is free to download from Google Play Store or Microsoft’s website. It has a friendly user interface and you can easily import videos and convert them to time-lapse using this app.
Hyperlapse gives you an option to adjust the video speed anywhere between 1x to 32x. The small downside is that the stabilization feature is only available at 1x speed. However, using a tripod and making sure your phone is stable while recording will remedy this problem.
Hyperlapse lets you choose your preferred video resolution – 720p or 1080p. It also enables you to save your work on your local library or export it directly to social media sites.
Lapse It
This might be one of the best mobile apps for shooting time-lapse photos. This app lets you record in both auto and manual settings (from ISO, white balance, exposure, focus, to the interval of each shut). You can even change your settings while recording in manual mode. Lapse gives you full control of your time-lapse photos.
The app also allows you to import your recorded videos and transform them to time-lapse. You can easily export your video to social media networks (with a UHD 4k resolution). The only drawback of this app is that most of the features are only available in the pro version. You can buy it from the App Store ($2.99) and Google Play Store.

Image Source: Framelapse Pro APK
Framelapse
This application is available for smartphone users with Android 4.0 and higher. Framelapse lets you adjust the interval for each photo, apply filters, and change the video orientation. One of its best features is the built-in calculator, where you can see the duration of your video.
To add up to its features, Framelapse allows you to adjust the camera settings manually. You have total control of the white balance and exposure of your time-lapse photos. The built-in timer is also a plus to this application. It will automatically stop recording depending on your preferred video duration.
Additional features can be purchased using the pro version — features such as adding music to your time-lapse video and removal of ads from the app.
Superlapse
Superlapse is available to download for free for android users. It is a time-lapse camera application that lets you record professional time-lapse videos using a simple user interface. It allows you to set the video time rate and adjust the video speed and frame interval. You can create stunning videos by adding color filters and background music.
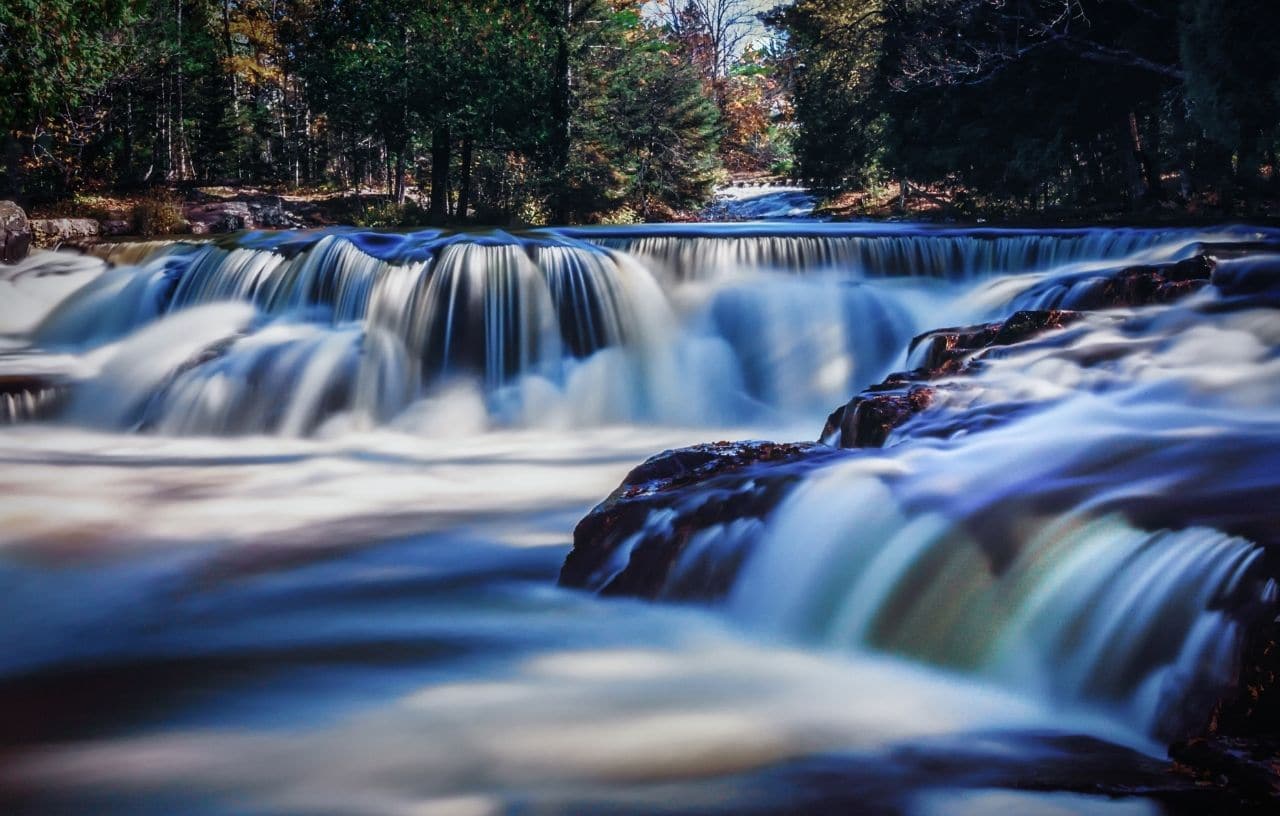
Image Source: Canva Images
This mobile app also has zoom and auto-focus options. You can also adjust the white balance and exposure compensation, and add color effects to your video. You may choose between two video resolutions – either 720p or 1080p. It also allows you to easily save HD mp4 videos and export them to your gallery or social media networks.
iMotion
iMotion is one of the best time-lapse applications for iOS users. This is available to download for free in the App Store (with some in-app purchases). You can either make time-lapse or stop motion videos. You can easily save and export your videos to your device or YouTube.
Like the other apps mentioned here, iMotion also lets you adjust the camera settings. You can take control of the focus, exposure, and white balance. The app’s best feature is the ultra-speed shooting of up to 10fps. One of its perks is remotely controlling the app using your apple watch; the video preview can also be shown on your Apple Watch.
Timelapse
This app is also only available for Apple users; you can purchase it at $4.99 from the App Store. It’s a bit expensive compared to the other time-lapse application, but its features are worth the price. Timelapse is very flexible and easy to set up.
You can adjust the camera settings manually, including the contrast, saturation, and brightness. It also has a smart exposure that ensures that there will be no time-lapse flicker on your video. You can capture your videos to RAW photos for easy post-processing. This app also lets you edit frame by frame for easy zoom and virtual pan.
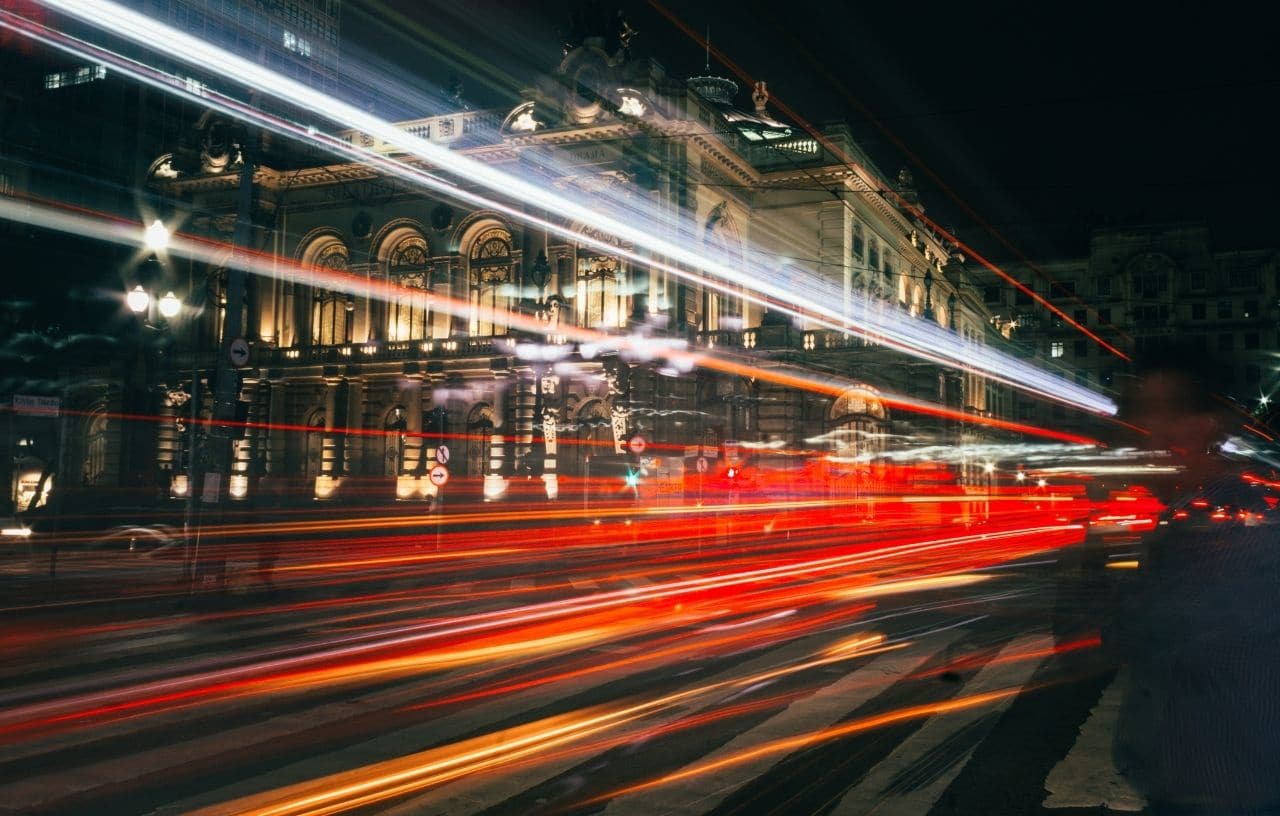
Image Source: Canva Images
Hyperlapse
Hyperlapse is one of the most straightforward time-lapse app that you will encounter on the market. This app is from Instagram; fortunately, you will not be required to have an Instagram account to be able to use it. One of its best features is Instagram’s in-house stabilization. It allows you to obtain smooth videos without the need for any expensive equipment or a tripod.
Hyperlapse lets you adjust your video speed to 12x from the original. The app itself is pretty simple. The interface is only the camera with the speed adjustment at the bottom. If you only need a minimalistic time-lapse application that gets the job done, then Hyperlapse is the one you are looking for.
What is the Recommended Time Lapse Setting?
The setting depends on the scenery you are planning to shoot. It also depends on the equipment that you are using. It is recommended for your camera to be on manual settings to capture the best cinematic time-lapse photographs.
Image Source: Canva Images
It sounds a little scary, especially if you are a beginner at manual camera settings. However, you just need to understand the aspects and importance of each setting. To help you out, below are some recommended settings for time-lapse photography that you might want to take a look at.
Time-lapse Interval
This is one of the most important settings you have to consider to be able to produce a smooth time-lapse photo. You have to consider the speed of your subject to choose the correct intervals. The faster your subject is, the shorter your interval will be. Using a longer interval for a fast-moving subject will result in skipping images.
You also need to consider the length of the final time-lapse video and the number of frames per second. You can use an additional attachment to your camera called an intervalometer. This device remotely controls your shutter, time interval, and the duration of the time-lapse photo. It requires a lot of practice to learn how to choose the best interval.
Here are some sample intervals with their corresponding subjects:
- 1-second interval
- Traffic
- Fast-moving clouds
- Animals in motion
- 2-3 seconds interval
- slower-moving clouds
- sunrise or sunset
- moonrise or moonset
- using a telephoto lens
- moving people
- 15 seconds interval
- stars
- construction
- flowers
Shutter Speed
The sharpness of your time-lapse photos depends on the shutter speed that you will use. The look you want to achieve for your time-lapse video also depends on your shutter speed. As a general rule, the shutter speed for a stunning time-lapse should be double your frame rate.
Suppose you want to capture sharp images of a moving subject, set your shutter speed to 1/100 or higher. However, your photos will likely look shaky or choppy as a result. To achieve a cinematic time-lapse, you can experiment with slower shutter speeds like 1/50 or lower. This will shoot smooth images in motion with a blur along their path.
ISO
The ISO setting depends on the available amount of light. Time-lapse photography, however, works best in a low ISO setting. This reduces the graininess and photographic noise. A low ISO setting requires a higher light source. It is always best to adjust your ISO to control the total exposure of your images.
Focus
Always set your focus to manual rather than auto. This will maintain the focus on your subject in each shot. The autofocus mode will result in your camera refocusing on another moving subject.
White Balance
Do not use the auto-on white balance. Adjust it to the appropriate white balance setting and leave it on. You can easily adjust the brightness of your photos during post-processing, especially when using RAW files.

Image Source: Canva Images
Time-Lapse Photography Techniques You Should Remember
In the end, it doesn’t matter if you are using a dedicated equipment camera for time-lapse photography. You just need to take note of some of these technical considerations to create a stunning time-lapse.
- Plan it out. Before shooting your time-lapse, you must plan it ahead of time. You must figure out how long you want your final video to be. A good time-lapse video has a frame rate between 24-30 frames per second.
- Consider the subject’s speed. The length of the interval depends on the speed of your subject. The faster your subject is, the shorter the time interval. This is best to avoid blurry time-lapse photos.
- RAW OR JPEG. Decide on which file you would like to use on your video. This also depends on the resolution you want to achieve. A RAW photo will show more details and will allow you to crop or zoom from the original photo. It will also give you more flexibility once you reach the editing stage.
- Test it first. Do test shots to see if you are in the right frame or if your camera exposure settings are right. You also need to check first if you picked the right interval for your subject. It is recommended to set your settings manually. This is to have full control over the photo outcome.
- Tripod is a must. One of the keys to stunning time-lapse photos is a steady camera. This is where the tripod comes in. It will also help you reduce your time in adjusting the level during the post-processing stage. This is an essential gear to shooting time-lapse videos. There’s a lot of pretty good tripods in the market that are also budget-friendly. You will never regret purchasing one. Also, do not forget to tighten the knobs of your tripod. Make sure that it is standing in a stable position before leaving it out. Strap your camera and intervalometer if you must. Avoid stretching out the middle of your tripod.
- Fully charged batteries. Before heading out to shoot your time-lapse, make sure that your camera’s batteries are fully charged. Also, bring spare batteries with you to avoid delays on your production because you ran out of juice in between.
- Background music. If you plan to add background music to your time-lapse video, choose first before you start. This will allow you to know the final video duration and calculate the number of frames you need for the whole project.
- Add motion. This may sound a little crazy but as an additional effect to your time-lapse, add a little motion. Try moving the camera while shooting your time-lapse video, and this will surely level up the effects on your final output. You can do this by using motorized equipment, like a slider. This will move your camera slowly while staying focused on your subject.
- Disable Auto Power Off. Most cameras nowadays have auto power offsetting. Time-lapse needs long shooting durations. Do not forget to turn off this setting before shooting. This is to avoid your camera from turning off automatically after a certain period. You don’t want to go back to a turned-off camera and a cut version of your time-lapse video.
The beauty of time-lapse photography is getting more seen these days. More people are starting to get hooked with time-lapse since it is easy to do and does not need a lot of equipment. It is possible to record your own time-lapse without the need to purchase an additional camera. Your mobile phone and tripod are enough if you just want a simple one.
In the end, it does not matter how expensive your camera is in shooting time-lapse photography. The most important thing is to learn how to properly set the exposure to produce better-looking images. It is always important to consider your subject’s speed to create a smooth transition between your time-lapse images.
You might be using time-lapse photography in your profession or just as a hobby, it does not matter. What matters is that you enjoy what you are doing. Always practice shooting in different shutter speeds and intervals until you get the hang of how each subject differs from the others. We’re hoping that you found this article helpful and that it will help you start your time-lapse photography journey.