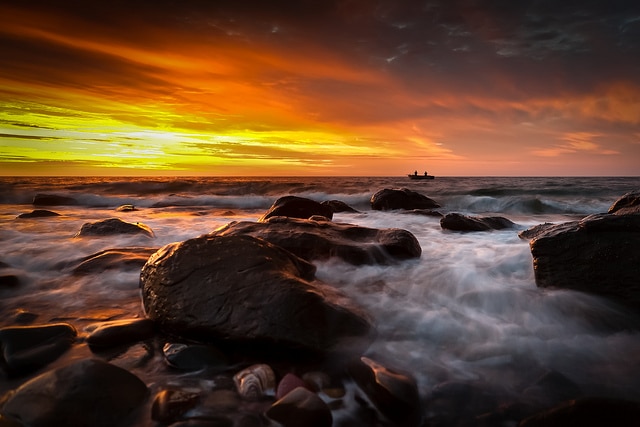
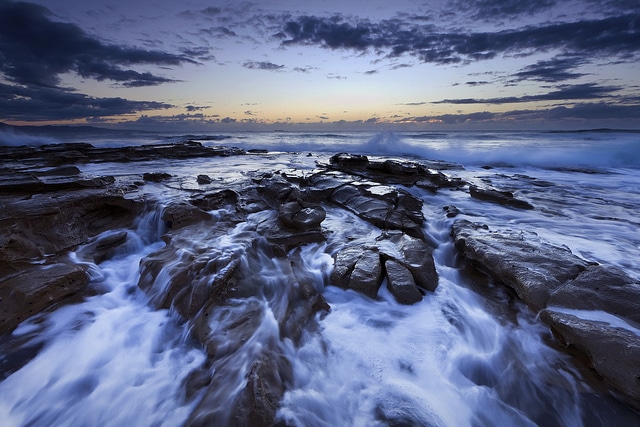
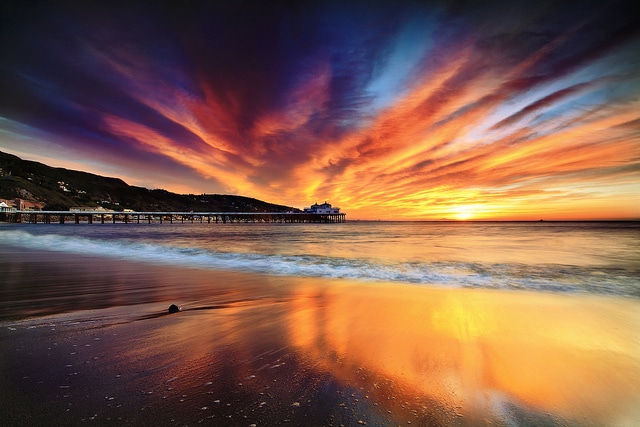
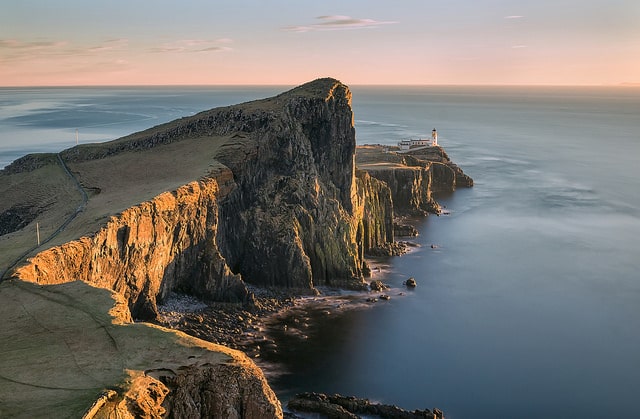
Seascape photography is one of the most loved and fascinating types of landscape photography, and for good reason.
The beautiful ever-changing sky, the waves crashing on the shore, the reflections that can be found in the tide pools and shallows all combine to create some spectacular scenery –and an ideal chance to capture some breathtaking images.
But while seascape photography can be beautiful, there are a number of challenges that can make it tricky to capture those eye-catching images that you’re after. Capturing ocean scenes often involves carefully considering the elements which are constantly shifting, and may not always be in your favor. In most cases, it also involves careful planning to ensure that the sky and the tide are at the right places, and to make sure the weather cooperates too. It also means knowing how to use your camera settings, and gear, to ensure that you get the results that you’re after.
All in all, though, the end result will speak for itself. There’s a reason that the sea is one of the most photographed subjects for landscape photographers. If you’d like to take your ocean-side photography up a notch, and capture some images that will stand out from the crowd, here are some tips that will get you off to a great start.
1. Watch the Tides
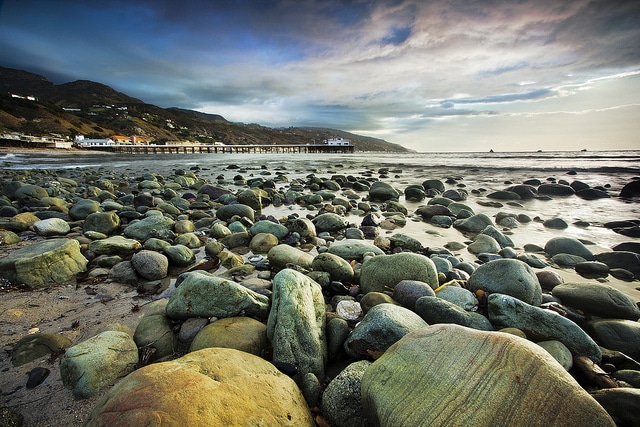
The tides are important when it comes to seascape photography, and both high and low tides have something different to offer. At low tide, you’ll be able to include details such as shells, seaweed, and interesting rock formations. At high tide the beach will be smooth and clean. The best option depends on what you’re hoping to capture. Just remember to be aware of tides that are coming in, to ensure that you don’t end up stranded on a sandbar.
2. It’s All About Timing
You can’t control the weather, the setting, or the waves –but you can control when you show up! Timing is important with seascape images, and you’ll want to time your shoots around the tides, as well as the weather, and time of day.
Some of the best times for seascape photography include early morning and evening, during sunrise and sunset, and during the afternoon, when the sun is a bit lower in the sky. During a break in the storm, or just before, or after a storm are also great times for capturing a dramatic sky.
→ Related reading: Photographing Landscapes in All Weather
3. Find a Focal Point
Finding a focal point and building your image around it is a great way to create a strong image. At the coast, there are often a number of different elements that you can use for focal points, such as birds, piers, lighthouses, and even rocks.
If you’re faced with a wide open coastline, without too much detail –consider adding some human interest to the composition –adding people to your images can provide a great focal point, while also adding a sense of scale to an image.
4. Include Foreground Interest
While the sea can make an exciting subject –don’t forget about the foreground. Including some foreground interest in your images can help to set the stage, adding some context to the composition while also helping to lead your eye into the image. You can include smooth, wet rocks, driftwood, or even smaller details such as shells, pebbles, or seagrass in your foregrounds.
→ Related reading: How to Use Foreground Elements in Your Composition
5. Look for Reflections
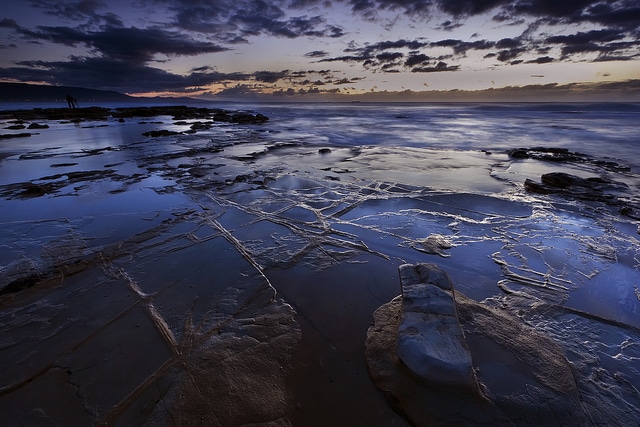
The seaside is a perfect place to capture beautiful reflections that are often found in the shallows, tide pools, or even in the wet sand at the beach. Looking to include reflections in your images can help to add an interesting dynamic to your photos. Low, direct lighting often creates the best conditions for capturing reflections, and sunrise or sunset are also good times for creating beautiful images of vibrant colors reflecting off the water. You’ll also want to choose a day where there’s minimal wind in order to capture glass-like mirror images. Finally, be sure to focus on the water to ensure the reflection is clear and in-focus.
→ Related reading: Using Reflections in Landscape Photography
6. Adjust Your Shutter Speeds
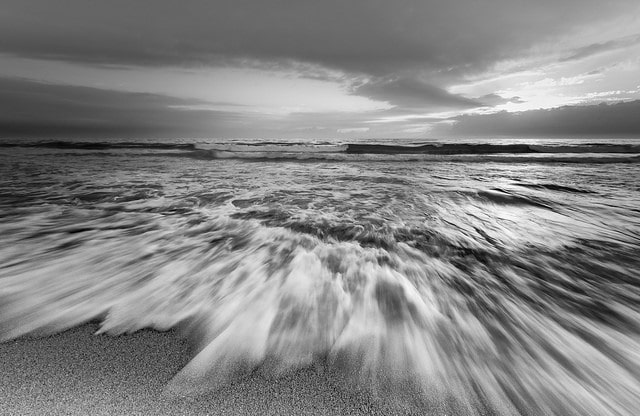
How you capture the water will have a big impact on the overall mood of the resulting images. Fast shutter speeds will allow you to capture the motion of the water, adding excitement and drama to your shots as you freeze the waves and splashes, while a slower shutter speed of a few seconds will gently blur the water, conveying a feeling of movement. Longer exposures of 20-30 seconds will create a white, misty effect –especially if the water’s choppy. Determining which type of water will suit the rest of the image best will help you to create some breathtaking images.
7. Use a Filter
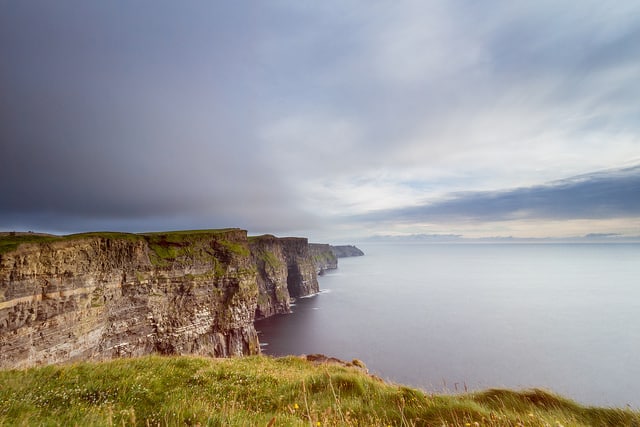
Using a graduated neutral density (ND) filter can help to balance out the exposure, allowing you to capture the sea and the sky in one image where the foreground and the bright sky are both exposed properly. A polarizer can also be useful for seaside photography since it can help to improve color saturation; especially in the sky. Just remember that polarizers tend to cut through the glare, so you’ll want to leave it off if you’re hoping to photograph reflections on the water, or if you’re looking to capture the wet, shiny sheen on the rocks.
→ Related reading: An Intro to Filters for the Landscape Photographer
8. Protect Your Camera
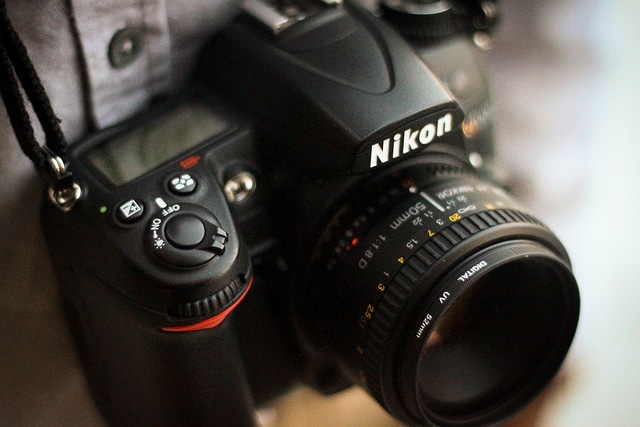
You’ll also want to ensure that your camera is safe from the elements. The salty sea air can wreak havoc on your camera, so ensure that you keep it safe inside a protective cover –a plastic bag can also work in a pinch. You’ll also want to protect your lens with a clear protective lens filter. Finally, be sure to clean your camera thoroughly when you’re finished.
The best seascape images rarely happen by chance; instead, they’re the result of careful planning, diligence, work, and lots of practice! Don’t feel discouraged if your first seascape photos don’t turn out how you were expecting, with practice and hard work, you’ll soon be capturing breathtakingly beautiful images.
How about you? Do you enjoy seascape photography? Share your tips with us!
Photo license links: CC BY-ND 2.0, CC BY 2.0, CC BY-SA 2.0

