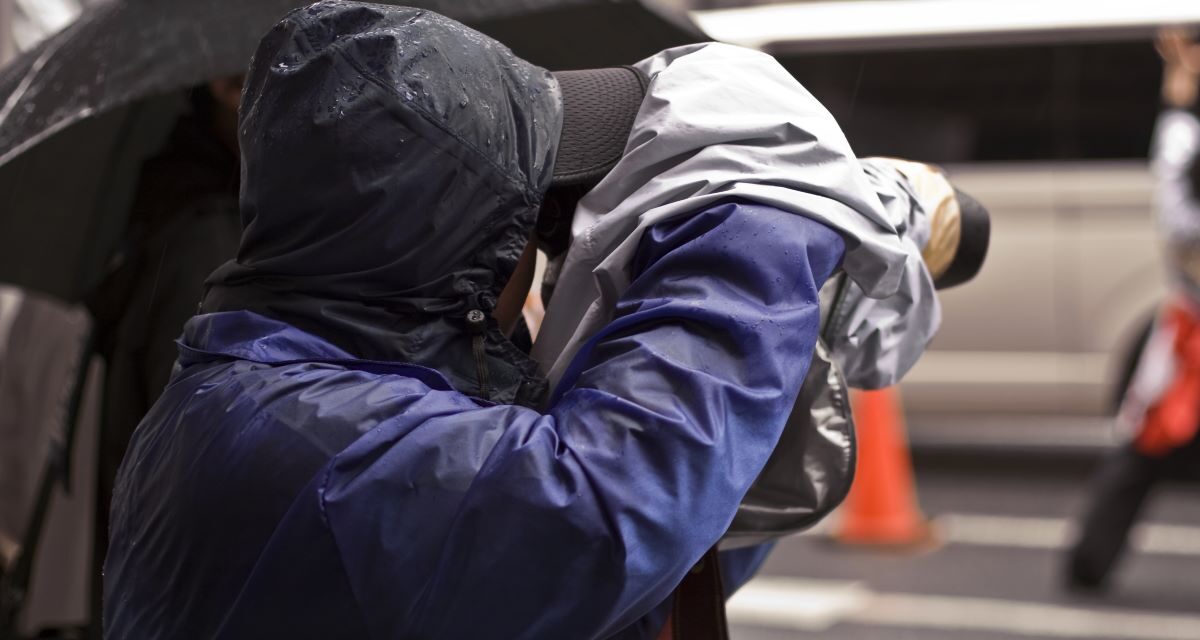
The weather can be unpredictable, even in the most temperate of climates. Rainy days can make for a great photo shoot opportunity, but if you’re unprepared and don’t have the right gear, it could also mean some costly repairs for your camera.
Protect your camera from bad weather by investing in high-quality rain protection gear, covers, rain sleeves, waterproof backpacks, and UV filters.
Whether you’re shooting in the rain, snow, or extreme heat, there are steps you can take to ensure that your camera stays safe and functional:
Quick Navigation
- 16 Tips for Weatherproofing Your Camera
- 1. Invest in a Camera Rain Cover
- 2. Use a UV Filter
- 3. Change your Lens Cap for a Tulip Hood
- 4. Use a Rain Sleeve on your Camera
- 5. Keep your Camera Away from Direct Water Contact
- 6. Carry Dry Bags with you
- 7. Shoot in RAW format
- 8. Buy a Waterproof Backpack to Protect your Gear
- 9. Keep an Extra Camera Battery Handy
- 10. Protect your Camera from Heat and Humidity
- 11. Carry a Microfiber Cloth
- 12. Avoid Changing Lenses in Bad Weather
- 13. Use a Lens Hood
- 14. Avoid Shooting in Extreme Heat
- 15. Use a Dry Box or Silica Gel Packets
- 16. Use a Tripod in Windy Conditions
- Takeaway
16 Tips for Weatherproofing Your Camera
1. Invest in a Camera Rain Cover
A camera rain cover is the first line of defense against rainy conditions, and it’s a must-have for any serious outdoor photographer.
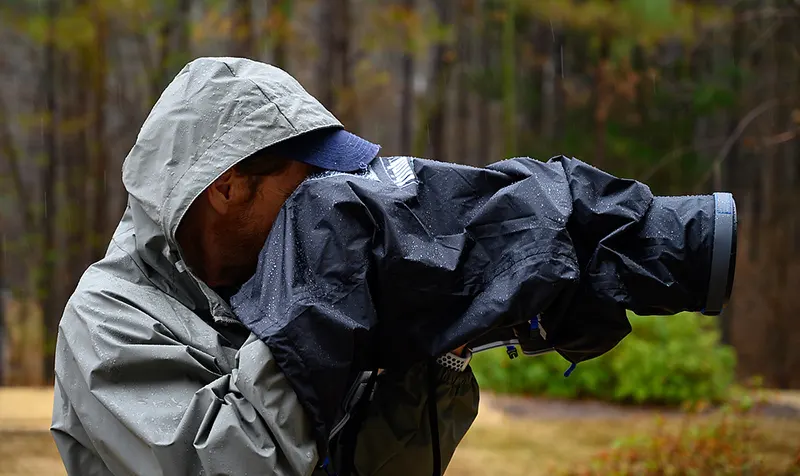
It is a simple and effective way to protect your camera from the elements. It fits over your camera and lens, creating a barrier between the camera and the rain.
A good rain cover will protect your camera from rain, snow and sand—and can also be used to shield it from the sun’s UV rays. Rain covers attach to your camera using hook-and-loop fasteners (a type of adhesive), allowing you to easily remove or reposition the cover as needed.
2. Use a UV Filter
For those who don’t know, UV filters are basically clear pieces of glass that fit in front of your camera lens to protect it from scratches and damage. So why would you want one?
Well, they’ll help keep dust out of your camera and prevent moisture from getting inside. Aside from that, they help reduce the amount of UV light that enters the lens, which can cause lens flare and other problems. A UV filter also provides an extra layer of protection for your lens.
They’re also easy to clean when they do get dirty while you’re working outside with your camera! These filters come in all shapes and sizes – we recommend purchasing one with just a bit wider diameter than the front element on your lens so that it can easily slide into place without having to worry about vignetting (light falloff).
3. Change your Lens Cap for a Tulip Hood
To protect your camera from the elements, you can use a tulip hood. A tulip hood is an alternative to using a lens cap that will save you time and money. The benefits of using a tulip hood are:
- It’s easy to attach and remove from your camera.
- There is no need to remove it every time you want to take pictures.
- It protects both sides of the lens at once—the front and back sides of the lens are equally protected by this cover!
4. Use a Rain Sleeve on your Camera
You can also use a rain sleeve as an additional protection for your camera gear. A rain sleeve is a protective cover for your camera that helps keep it dry and protected from the elements, including dirt, dust and water.
Rainsleeves come in several sizes: some are designed for specific models like DSLRs or mirrorless cameras; others are universal and will fit any size device.
If you’ve got multiple lenses that need protection but don’t want to buy multiple covers, consider buying an ultralight backpack instead of individual bags—many backpacks have built-in lens cases that can be opened with one hand while shooting!
A good quality rain sleeve will have an adjustable strap to attach it securely around your DSLR or mirrorless camera body. It should also be made from high-quality material with waterproof zippers so that it doesn’t let any water in when you open the case up after using it in inclement weather conditions like heavy rain, light rain or snowfall.
If you don’t want to buy one of these sleeves for every time you go out shooting photos outdoors during bad weather conditions then consider investing in a lightweight plastic bag instead (or even just zip lock bags).
This way you can keep them as spares when photographing outdoors so that if something does happen with your gear while taking photos outside during rainy days then there’s always an extra layer protecting their expensive equipment!
5. Keep your Camera Away from Direct Water Contact
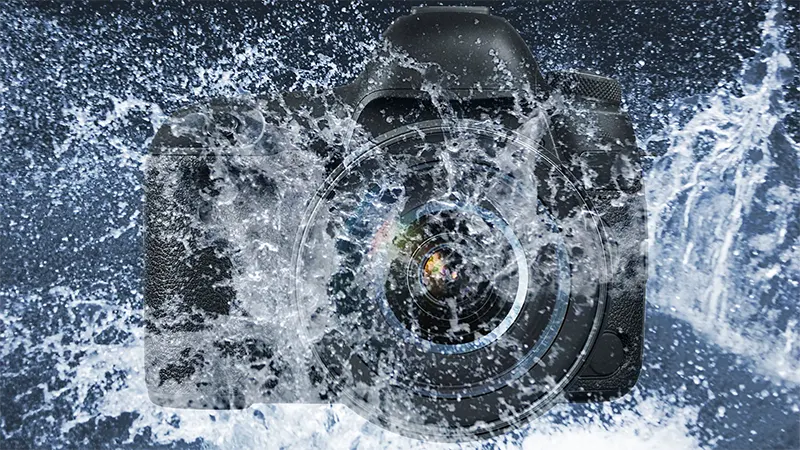
The last thing you want is for your camera to get wet, so make sure you take precautions before heading out on your next adventure. If there’s even a chance of rain, keep your camera gear safe in a waterproof camera housing, bag or case for better protection. You must always be ready with weather-sealed cameras.
And if it’s too late and the weather has already turned against you, try taking the battery out and bringing just that part inside.
If a storm happens while you’re out in nature, quickly seek shelter under some trees or rocks until it passes—but don’t risk getting lost by trying to find shelter outside! If all else fails, consider changing plans altogether and rescheduling them for another time when it won’t be raining as hard (or at all).
6. Carry Dry Bags with you
Keep your camera inside a dry, protective bag. Dry bags are waterproof and can protect your camera from the elements.
A camera bag with a weather-resistant exterior can help protect your camera gear safe from the rain and other elements. It’s also a good idea to store your camera in a dry place when it’s not in use for better protection.
They come in all shapes and sizes, so you can choose one that fits your needs. Make sure the zippers are strong enough to keep all the water out and make sure there’s a way for air to escape if it does get inside (don’t buy a dry bag with just a single valve).
You can also use them to keep any other electronics you’re carrying dry. You can typically fit your photo gear, waterproof camera housing, a phone, wallet, passport, etc. in one of these small bags and just throw it into your bag or backpack.
7. Shoot in RAW format
Shooting in RAW format is one of the best ways to protect your camera from bad weather. Unlike JPEG files, which are compressed and have their colors reduced, RAW files are not processed by your camera settings until you open them on your computer.
This means that they contain all of the information captured by the camera’s sensor—uncompressed, high-resolution images with more detail than JPEGs can ever hope for.
8. Buy a Waterproof Backpack to Protect your Gear
You may want to invest in a good waterproof backpack to keep your camera dry. Even if you are confident that your camera and lenses can stand up against wet conditions and the elements, it’s always better to get added protection and to be safe than sorry.
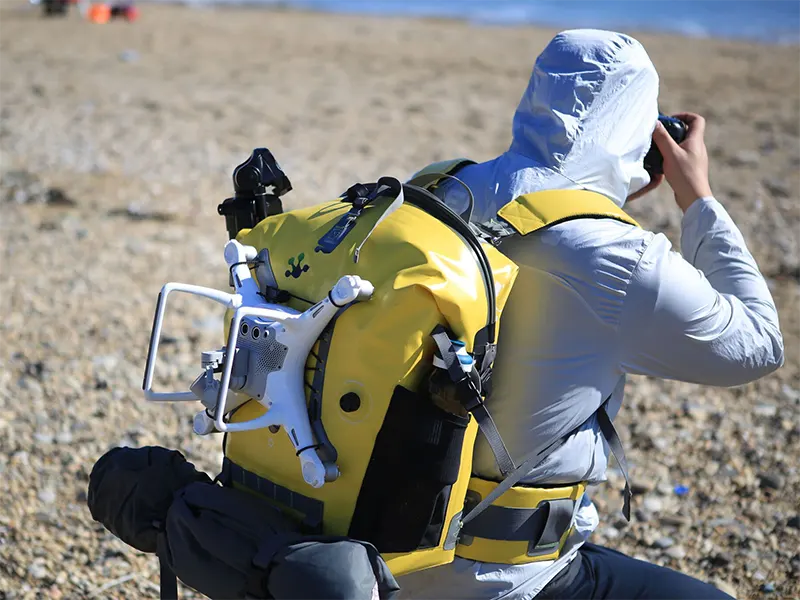
Look for one that has been designed specifically with photographers in mind. It should feature an internal memory card slot, multiple accessory pockets and dividers for organizing equipment. It also needs to have padded straps to comfortably keep your camera inside during long hikes or treks through the city streets.
The additional cost is worth it to protect your cameras and gear and keep them safe from the rain, cold, and other extreme conditions.
9. Keep an Extra Camera Battery Handy
The weather is not going to care if you are shooting a wedding or just trying to get that perfect shot of the sunset. You need to be prepared, as your camera’s battery life will be affected by all sorts of things, including temperature and humidity.
As with human batteries (iPhones), the amount of charge left in your camera’s battery will decrease over time. If you use your camera often, then you should consider replacing the original battery with an extra one.
10. Protect your Camera from Heat and Humidity
If you store your camera for long periods of time, make sure it is dry and cool. Do not leave your camera in a car or on any surface that might get hot from sunlight or indoor heating.
For extra protection, keep the lens cap on when not in use to prevent dust accumulation on the surface of the lens. If you’re going to be putting your cameras away for a while, consider storing it in a temperature-controlled environment (such as an air-conditioned room) or climate-controlled storage facility.
11. Carry a Microfiber Cloth
A microfiber cloth can be used to wipe away any excess moisture or dirt that gets on your camera. It’s a good idea to keep one in your camera bag at all times.
12. Avoid Changing Lenses in Bad Weather
If you need to change lenses, try to do it in a covered area to protect your camera from the elements. If you must change lenses in the rain, turn your camera off and cover the body and lens with a rain cover or umbrella to minimize the amount of moisture that gets inside.
13. Use a Lens Hood
A lens hood is a piece of plastic or metal that attaches to the front of your lens. It helps to shield the lens from heavy rain, snow, and other elements. It also helps to reduce lens flare and improve image quality.
14. Avoid Shooting in Extreme Heat
If you’re shooting in very hot conditions, try to keep your camera in a cool, shaded area as much as possible. Avoid leaving it in a hot car or direct sunlight for extended periods of time, as this can cause damage to the camera and its batteries.
15. Use a Dry Box or Silica Gel Packets
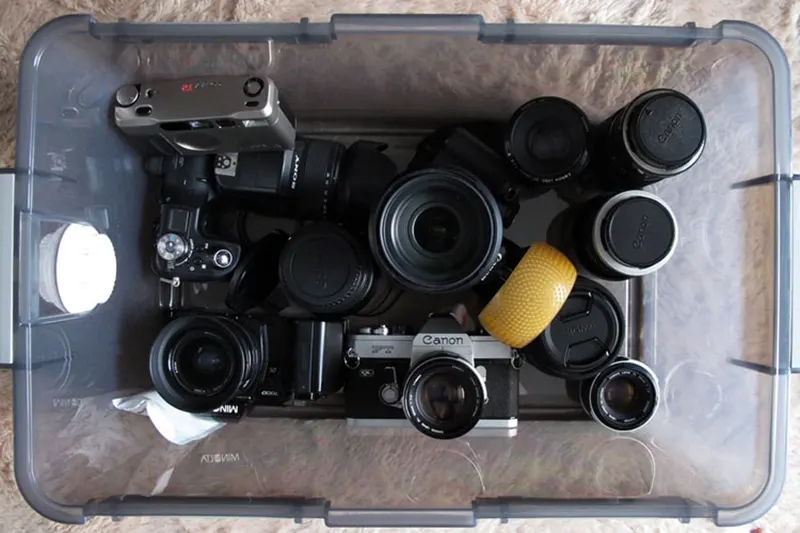
If you’re traveling to a humid location, consider using a dry box or silica gel packets to protect your camera and lenses from moisture. A dry box is a small, airtight container that absorbs moisture, while silica gel packets absorb moisture and help to keep your gear dry.
16. Use a Tripod in Windy Conditions
If you’re shooting in windy conditions, a tripod can help to keep your camera steady and prevent it from being blown over. It’s also a good idea to use a cable release or self-timer to minimize camera shake
Takeaway
The takeaway from this article is that you need to be aware of the weather conditions and keep your camera safe when you are outdoors. You should also take precautions before heading outside.
If it looks like it will rain or snow, keep your camera weather sealed, stay indoors, and wait for the storm to pass. Be sure to wipe off any moisture on your camera if it gets wet in the rain or snow, and make sure you keep it dry when indoors so that moisture doesn’t build up inside of it and damage its internal parts.
The most important thing is to not let yourself get frustrated or discouraged when things don’t go as planned. Remember that there will always be beautiful days for photography.
It’s impossible to keep the bad weather completely out of the picture. Tips, we shared can help you protect your camera from bad weather, and ensure that it stays in good working order, and takes better photos for years to come. Happy shooting!

