Looking back at your own work and thinking about it in a critical way is very difficult for most people. The reason behind this is that we’re often simply too close to the images to be able to see them like an impartial outsider. However, there are ways that you can successfully analyse your work, training yourself to see what is good about it and what could be improved. Here are some tips to use to look at your work in a new light.
photo by: pixabay.com / CC0
Get technical
The easiest way to start looking at your work is to remove opinion from the matter entirely. Instead, start by looking at the technical side of things. We should note that technical perfection is not always the most important thing in a photograph: particularly if you work in a fine art field and want to see your landscape photographs displayed in art galleries or museums, some technical imperfections can even be prized. However, you can get more choosy about which rules you follow and which you don’t when you’re more used to analysing your own work!
You can look at checks such as whether or not your focus is sharp, whether you have areas which are lost in shadow, whether you have blown-out highlights, and whether your colours seem reasonably true to life. These factors can help you to identify problems with your photography early on, so that you learn how to control contrast, correct colour balance, and get a sharper focus for your photographs later. These technical abilities will stand you in good stead, even if you choose to ignore them in favour of more artistic styles later.
You can also evaluate your photograph based on any particular style you have gone for. If you used motion blur, did you blur the right thing? Is it blurred enough? Does it give an impression of movement, or simply make the scene harder to understand?
Use the rules

photo by: Bret Vogel from flickr / CC0
Next up, think about the rules of composition as they are often applied to photography. Again, there may well be times when you can ignore these rules – but you must do so in a deliberate fashion, so that the impact is a strong one, rather than simply having poor composition.
The rule of thirds is easy to check – you can do it manually, whether you have images on your screen, the back of your camera, or printed in front of you. First, take some tracing paper or clear plastic which you can cut down to the size of the images you are looking at. Now, using a ruler and a dark pen, draw out lines which cut your template exactly into thirds, both vertically and horizontally. Hold it up over your image, and you will see where the thirds lie in your composition. Stronger frames tend to have important components just off from the centre square, with lines or important elements positioned along the lines themselves. For example, the straight line of a tree trunk might be a great way to use the rule of thirds to control your composition. Or you could place the peak of a mountain at the first horizontal line that indicates a third section, so that the composition flows differently to if it was placed directly in the middle.
Another rule to look at is the frame itself: is there anything distracting around the edges of the image that shouldn’t be there? Perhaps you have too much of a frame actually crowding around the outside of the image and taking over the centre, which should have been the focus? Maybe you have no frame at all and this leaves the image feeling unfinished or unremarkable?
Look, too, at your aspect ratio and your choice of landscape vs portrait styles. You don’t have to stick to horizontal images just because you’re shooting landscapes – though it may be a rule, it doesn’t always provide the best image. Would you have more impact if you had shot that tower or mountain in portrait?
Leading lines are a great rule to look out for. The eye follows lines, so when you use them to send the viewer’s eye to a certain point, they can be very powerful. On the other hand, however, they can also distract, sending the viewer to the wrong place.
Clean it up
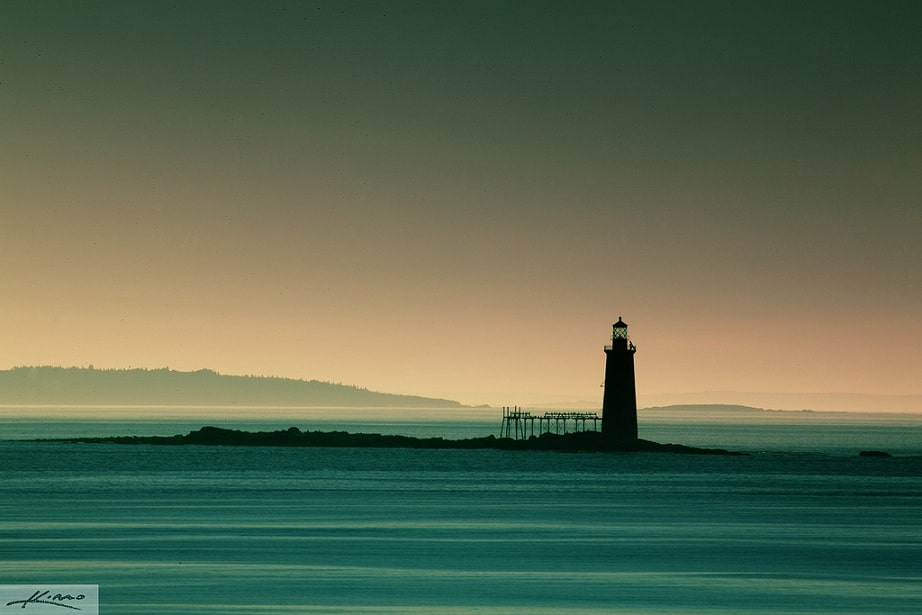
photo by: Kim Seng from flickr / CC0
Once you’ve analyzed the technical side of things and looked at common photographic rules, there’s another way to see your photograph: as if you were a graphic designer. A famous mantra for this design field is that perfection is achieved not when there is nothing else to add, but when there is nothing else to take away. Simplicity can often work best, and this is a huge problem for landscape photographs, where there may be many confusing elements grabbing the eye.
Look out for things like random bystanders and tourists, as well as manmade objects and buildings that ruin the lines and the message of your landscape shots. This is not to say that you should never include those things in your shots, but that you should consider carefully whether they add to your image or whether they take away. Of course, it’s not always possible to remove elements from the frame in real life, and you might not want to Photoshop real things away. However, analyzing images in this way will help you to understand more about how to frame your images when you are shooting in the future.
Feel it out
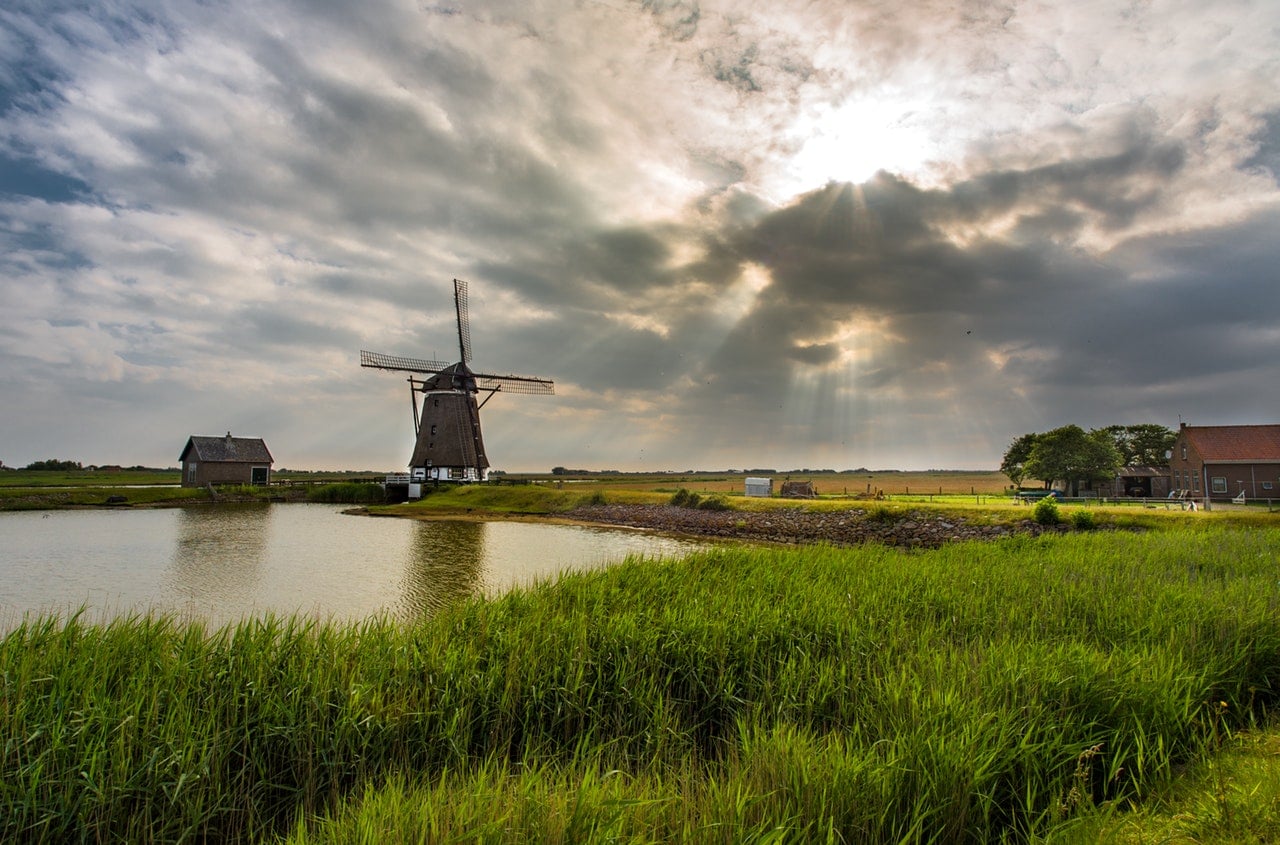
photo by: pexels.com / CC0
Finally, you should have some idea of whether your image could be considered good on a technical basis. But that’s only part of the story, and there’s something else to consider as well – the way that it makes you feel. Sometimes, composition that breaks the rules can be just as strong, and perhaps even more emotionally powerful, than a photograph that is technically perfect.
So, how does the image make you feel? It’s hard as a photographer to remove all the background noise: the way you feel about the subject itself, the experience you had while taking the photograph, the thoughts that led to you taking it in the first place. But try hard to remove those things, and look at it first subjectively, then as if you were seeing it for the first time.
Finally, if you can’t manage to separate feelings from the equation, maybe it’s better to ask someone else to look. Choose someone who looks at images, but is not necessarily an image maker – they will be better at seeing the image for itself, rather than noticing technical concerns.
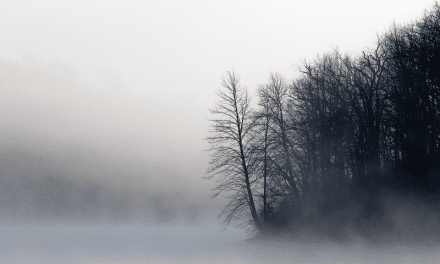
Carry it forward
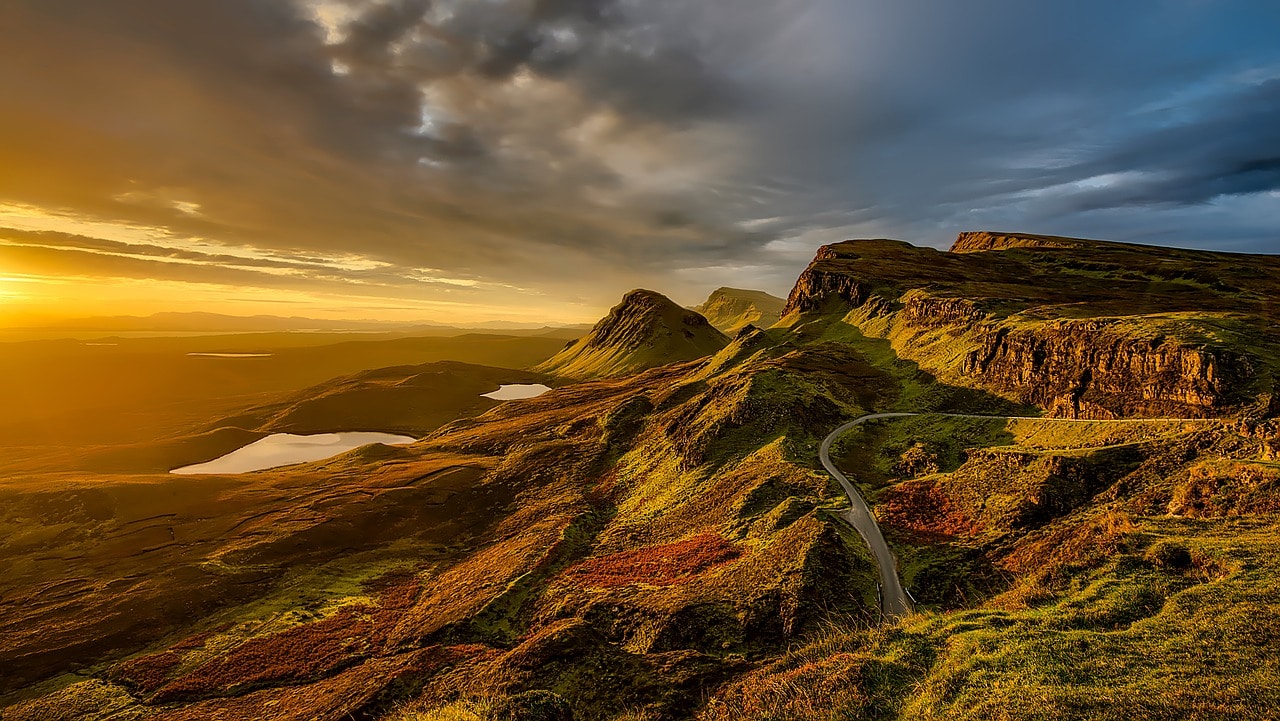
photo by: pixabay.com / CC0
Once you have analyzed your image, what next? You should have come to a conclusion about what is good about it, and what could be improved. You should also have a feel for where it sits in your body of work: is it worthy of your portfolio, or just a snap to be filed away?
You can also now start to put improvements into place for the next time you shoot, whether you do so deliberately or as a consequence of thinking about it more. The problems that you have noticed which were holding your photograph back from being great will be on your mind the next time you get out your camera, and you will be able to avoid them that time.
You will also hopefully get a feel for your own style and purpose as a photographer. It’s important to be able to articulate this because it will help you to present or pitch your work to galleries, magazines, potential clients, and so on. Even if you’re just doing photography as a hobby, for now, you might still need to be able to define your style later!
Analyzing your own work is hard, but the results are very rewarding. You’ll strengthen your portfolio, improve your work, and also be able to select the right images for the job every time.