Ghosting and lens flare are artefacts that may appear in your images when you are shooting directly towards the sun, or when it is positioned at a particular angle. It can be affected by a large number of variables, such as the type of lens and filter you are using, whether you have a lens hood, the time of day, the settings on your camera, the angle of the sun, your focal length, and even whether or not you have dust on or inside your lens.
It sounds like a lot to think about, and it really can be. Here is a breakdown of everything you need to know about ghosting and lens flare, and what to do about them when taking photographs.

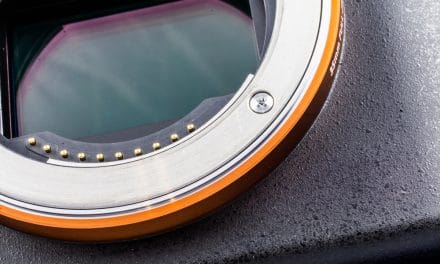
Image by Free-Photos on Pixabay
Do I want lens flare?
These effects are sometimes used to make a scene look more realistic. In video and filmmaking, some people will actually add in false versions of them in order to give that feeling that light is coming from a certain source. Some people like it, others don’t. It’s really a matter of taste and opinion as to whether you should be adding them or taking them away.
Whatever you choose to do, you should probably have a reason behind it. Some photographers feel that lens flare looks ugly and can distract from the landscape. Others enjoy the effect and think that it adds depth and realism. It’s completely down to you, though you should also take into account the purpose for which your images will be used. Most stock images are better off without lens flare or ghosting as this makes them more suitable for a wider range of clients, for example.
Plus, you can always add in these effects with Photoshop later on if you feel like there is something missing from the shot. Another option is to shoot with lens flare and then shoot without it, so you can make a decision on which you like best later on.
Factors that will reduce the effect of ghosting
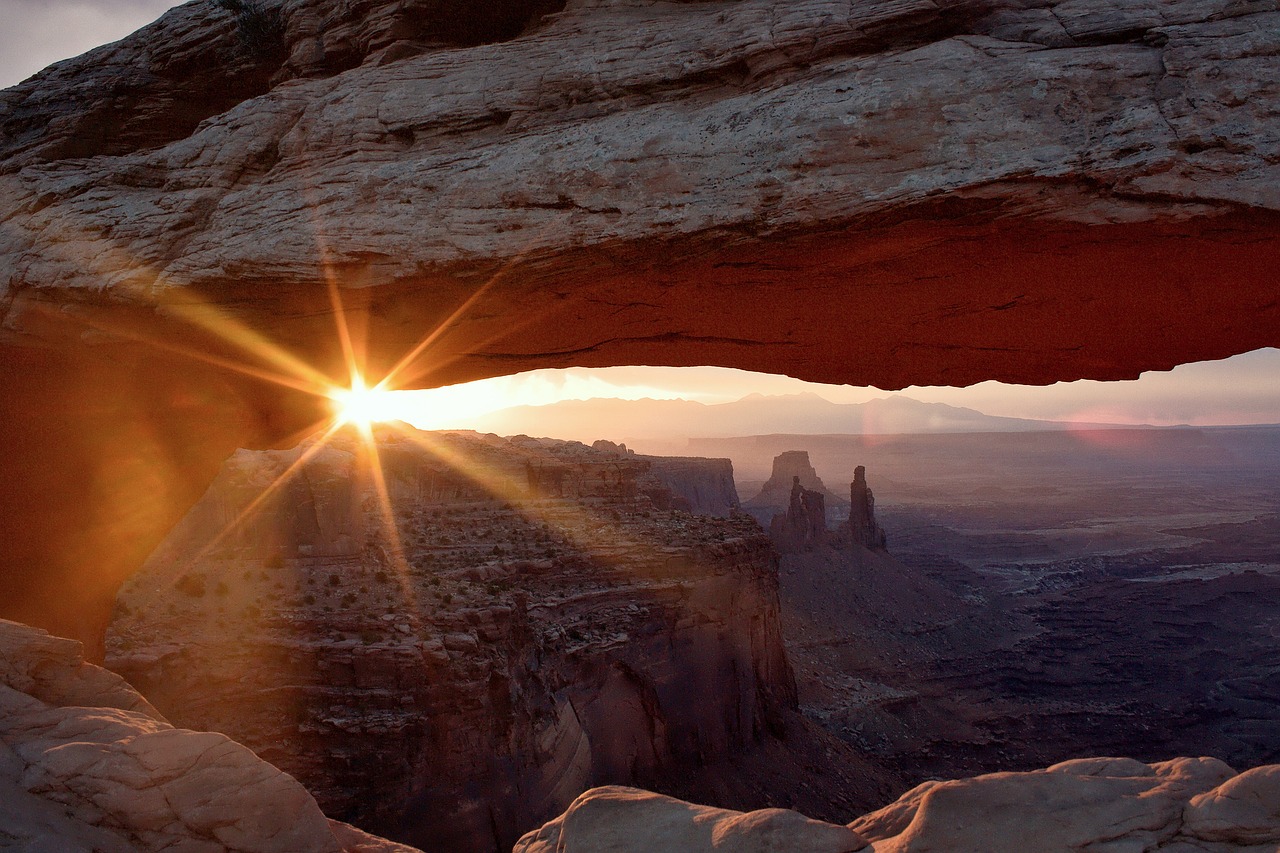
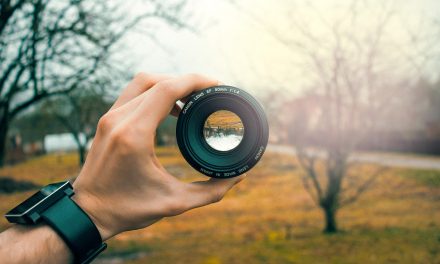
Image by MatthiasCooper on Pixabay
Ghosting is often less desirable than lens flare itself. With the right settings, you can create a sunburst effect which many people feel is quite attractive, turning the sun into a blazing star. Picture a child’s drawing and you won’t be far off! Ghosting, however, can take various shapes and even introduce strange colours into the scene because of the way the camera is reacting to the light.
To minimise your ghosting, one important factor is to use a short focal length. Longer lengths will increase the effects, so you don’t want to do that. A wide-angle lens will also minimise the impact as the light source will be taking up a small part of the frame. A fisheye lens will normally be able to capture a sunburst quite well, even at longer focal lengths, without doing much destruction to the rest of the image.
Using a high-quality prime lens will also reduce the impact of ghosting. It will have a more advanced optical formula as well as the latest coating technology, both of which are factors in getting that higher quality image. These lenses are tested and created in order to make sure that your images are as accurate as possible, so the more advanced they are, the better chance you have of avoiding unwanted flares.
Usually, stopping down your f-stop will also increase the appearance of any ghosting. Therefore, stopping up will normally reduce it. In a sense, this is just visual trickery: it reduces or increases the total area of the frame which will be affected by the light, so it makes the ghosting look more or less obvious in contrast.
Finally, consider where you are placing the sun within your frame. If you move the sun to the edges of your composition, you will normally see ghosts coming up on the opposite side. Keep this in mind while you are shooting so that you can assess on the spot whether you have any ghosting that you want to get rid of. Look to the opposite portion of the frame – if you are only focused on the appearance of the sun, you might miss your ghosting until you get the images onto your computer later.
How can I reduce ghosting and lens flare while shooting?
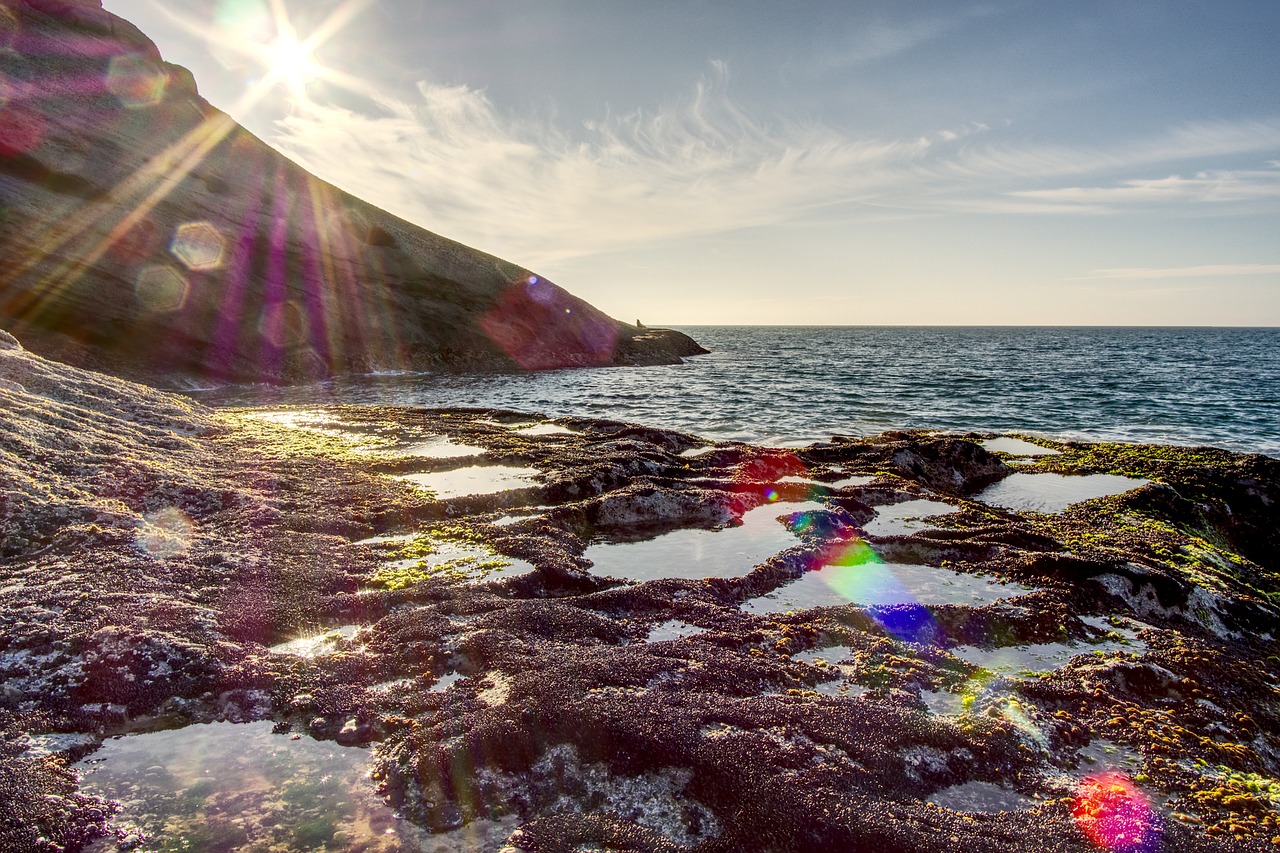
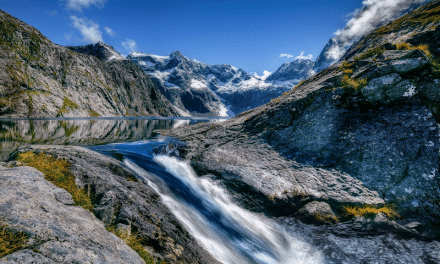
Image by Ken-Lecoq on Pixabay
One technique that you can use in the field is very simple, but can also be very effective. You might even consider it primitive! Here it is: just hold your finger over the part of the frame which contains the sun so that the light is blocked out.
Stupidly simple, right? You will have to experiment with angles in order to get yourself into a position where you block only the sun and nothing else. If there are cloud formations in the sky, or something else like birds or aircraft, you might have difficulty with avoiding blocking those. However, if you can do it cleanly, then it’s a very easy fix.
It’s advisable to use a tripod so that you don’t have any difficulty with both holding the camera and blocking the sun. You will also want to set your camera into a manual mode so that blocking the sun does not change the appearance of the scene, due to your camera automatically changing your settings.
You can then go forward in one of two directions. The first is to avoid ghosting but to keep that sunburst pattern. To do this, you take one shot with your finger in place, then remove it and take a second shot.
Put the two images into Photoshop together, and layer them so that they are in the exact same positions. Line up every visible point that you can see to ensure that they are level – you can do this by lowering the opacity of the top layer.
Once they are aligned well, take your eraser brush and remove your finger from the image. The sunburst will appear from behind it, but the ghosting will be left covered by the top image. This is a great technique for preserving some of the effects but removing others.
The second direction you could take is to get rid of all light effects completely, which will actually require you to lose the sun. For this method, you only have to take one photograph. When you go into Photoshop with this image, you can use the cloning tool or patch tool to remove the finger and replace it with blue sky that looks undisturbed. As before, this only works if you have no other items in the sky, such as clouds or birds.
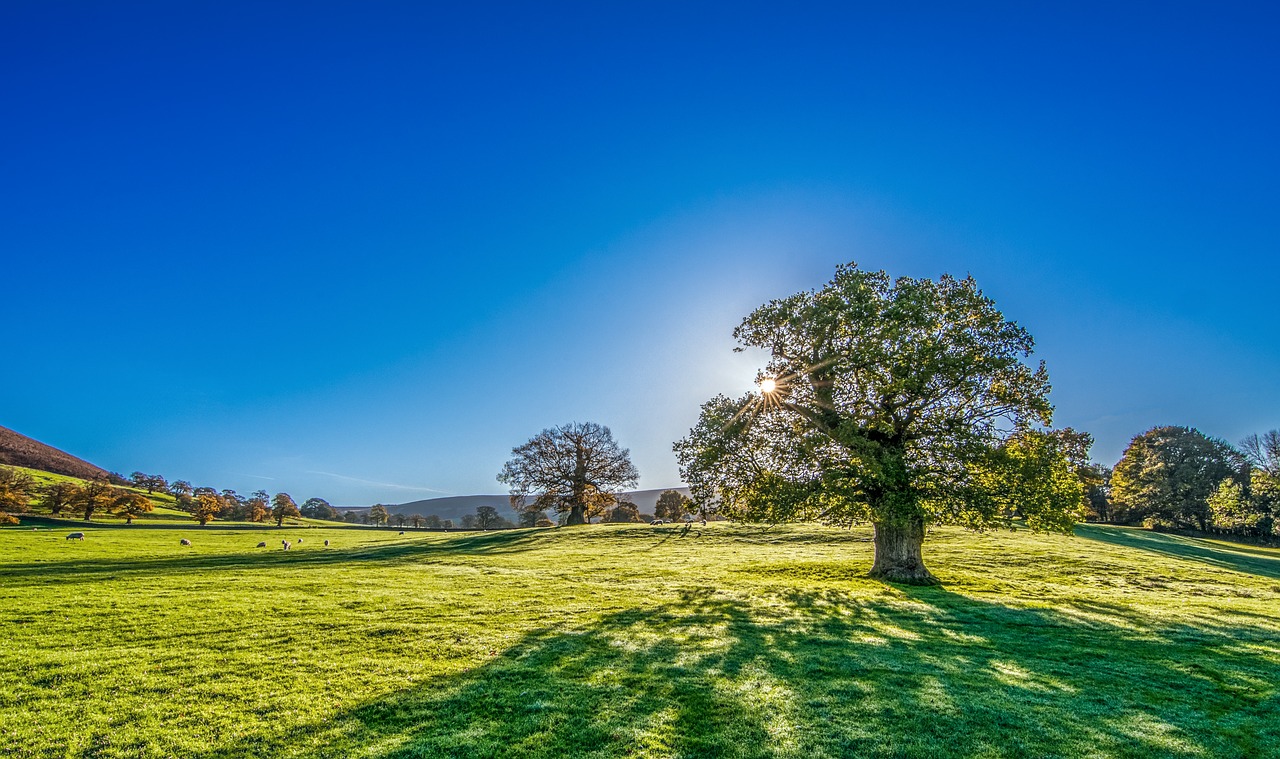
Image of Tim Hill on Pixabay
What if I missed it?
If you get home and check your images only to find that you had some lens flare or ghosting you did not notice on location, there are still a few options for removing them. Those cloning or patch tools in Photoshop will be your friend here, as they will often be able to get rid of ghosts that are not in areas with complex patterns.
You can also recrop the image if your ghosting is to the side of the frame. This will require a change in your composition, and so may not be ideal if you had carefully planned your shot! However, if the other tools don’t work, this could be your only option.
Finally, if nothing seems to work, you could just try to remove as much emphasis as possible and make the ghosting less noticeable. You can use the dodge and burn tools to reduce the brightness of the flare or ghost and increase the brightness of the background. You can also use selective colour selection to isolate some of the unusual colours in the ghost and then turn these down with the hue control panel.
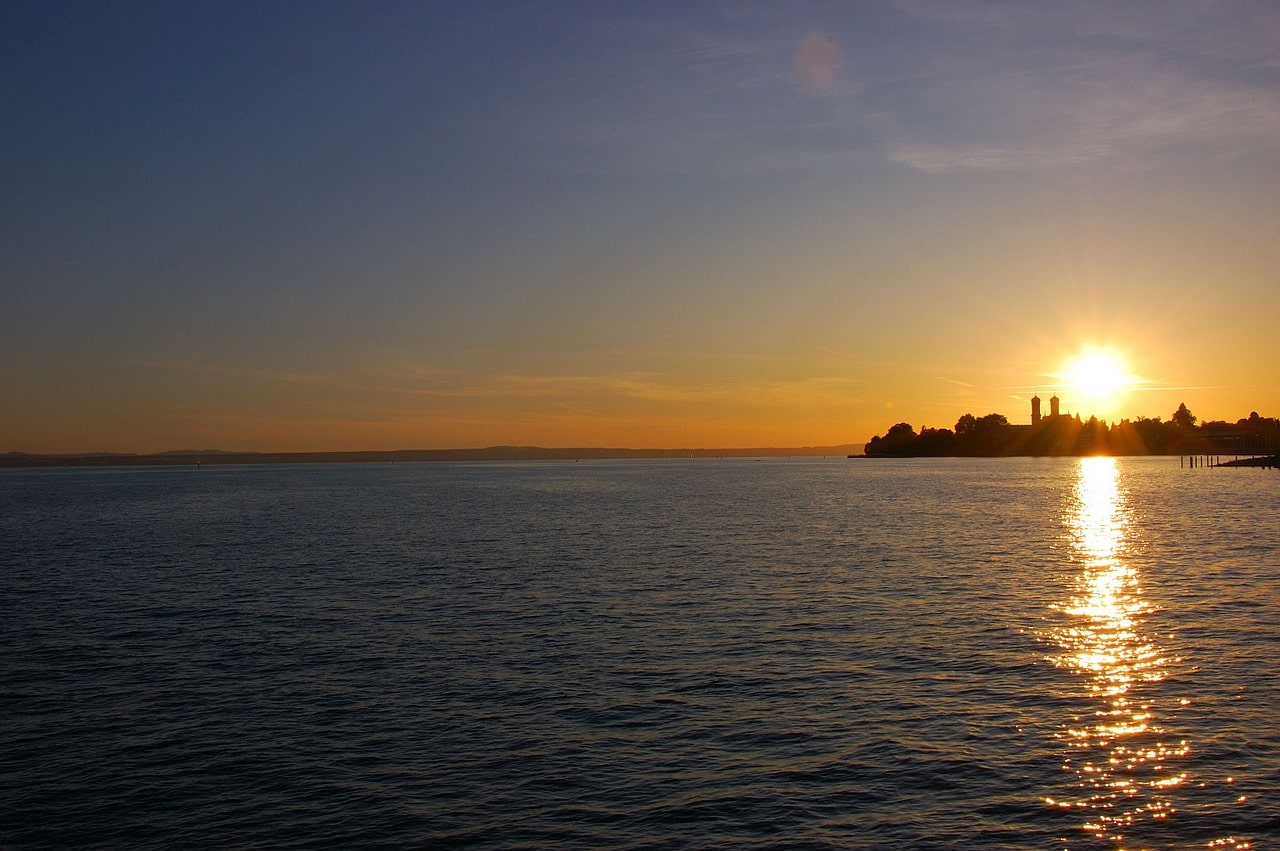
Image by Joergelman on Pixabay
There’s not a lot you can do to stop the sun from existing, but you can certainly stop it from having an adverse effect on your photographs. If you can’t avoid shooting into the sun or having it within your frame, then these techniques will help you reduce your lens flare and ghosting. And if you still can’t get rid of them – well, it may be time to embrace them as a stylistic element! You might even find that you prefer the finished image with these lighting effects, so don’t discount them off-hand without trying all the options first.