If you do things the same way as everyone else, you aren’t likely to stand out from the crowd. But if you can do things in a new, unexpected way, you will make much more of a mark – and when it comes to photography, having a special technique could allow you to hugely expand your client base and see more work coming in.
While there are many defined and established styles of photography, mixing them up together can have much more interesting and unusual results. One idea is to take landscape photographs as if you were taking a portrait instead. Using portraiture techniques on landscapes without human presence can take some getting your head around, but if you try out these exercises, you should be able to see what a difference it makes.
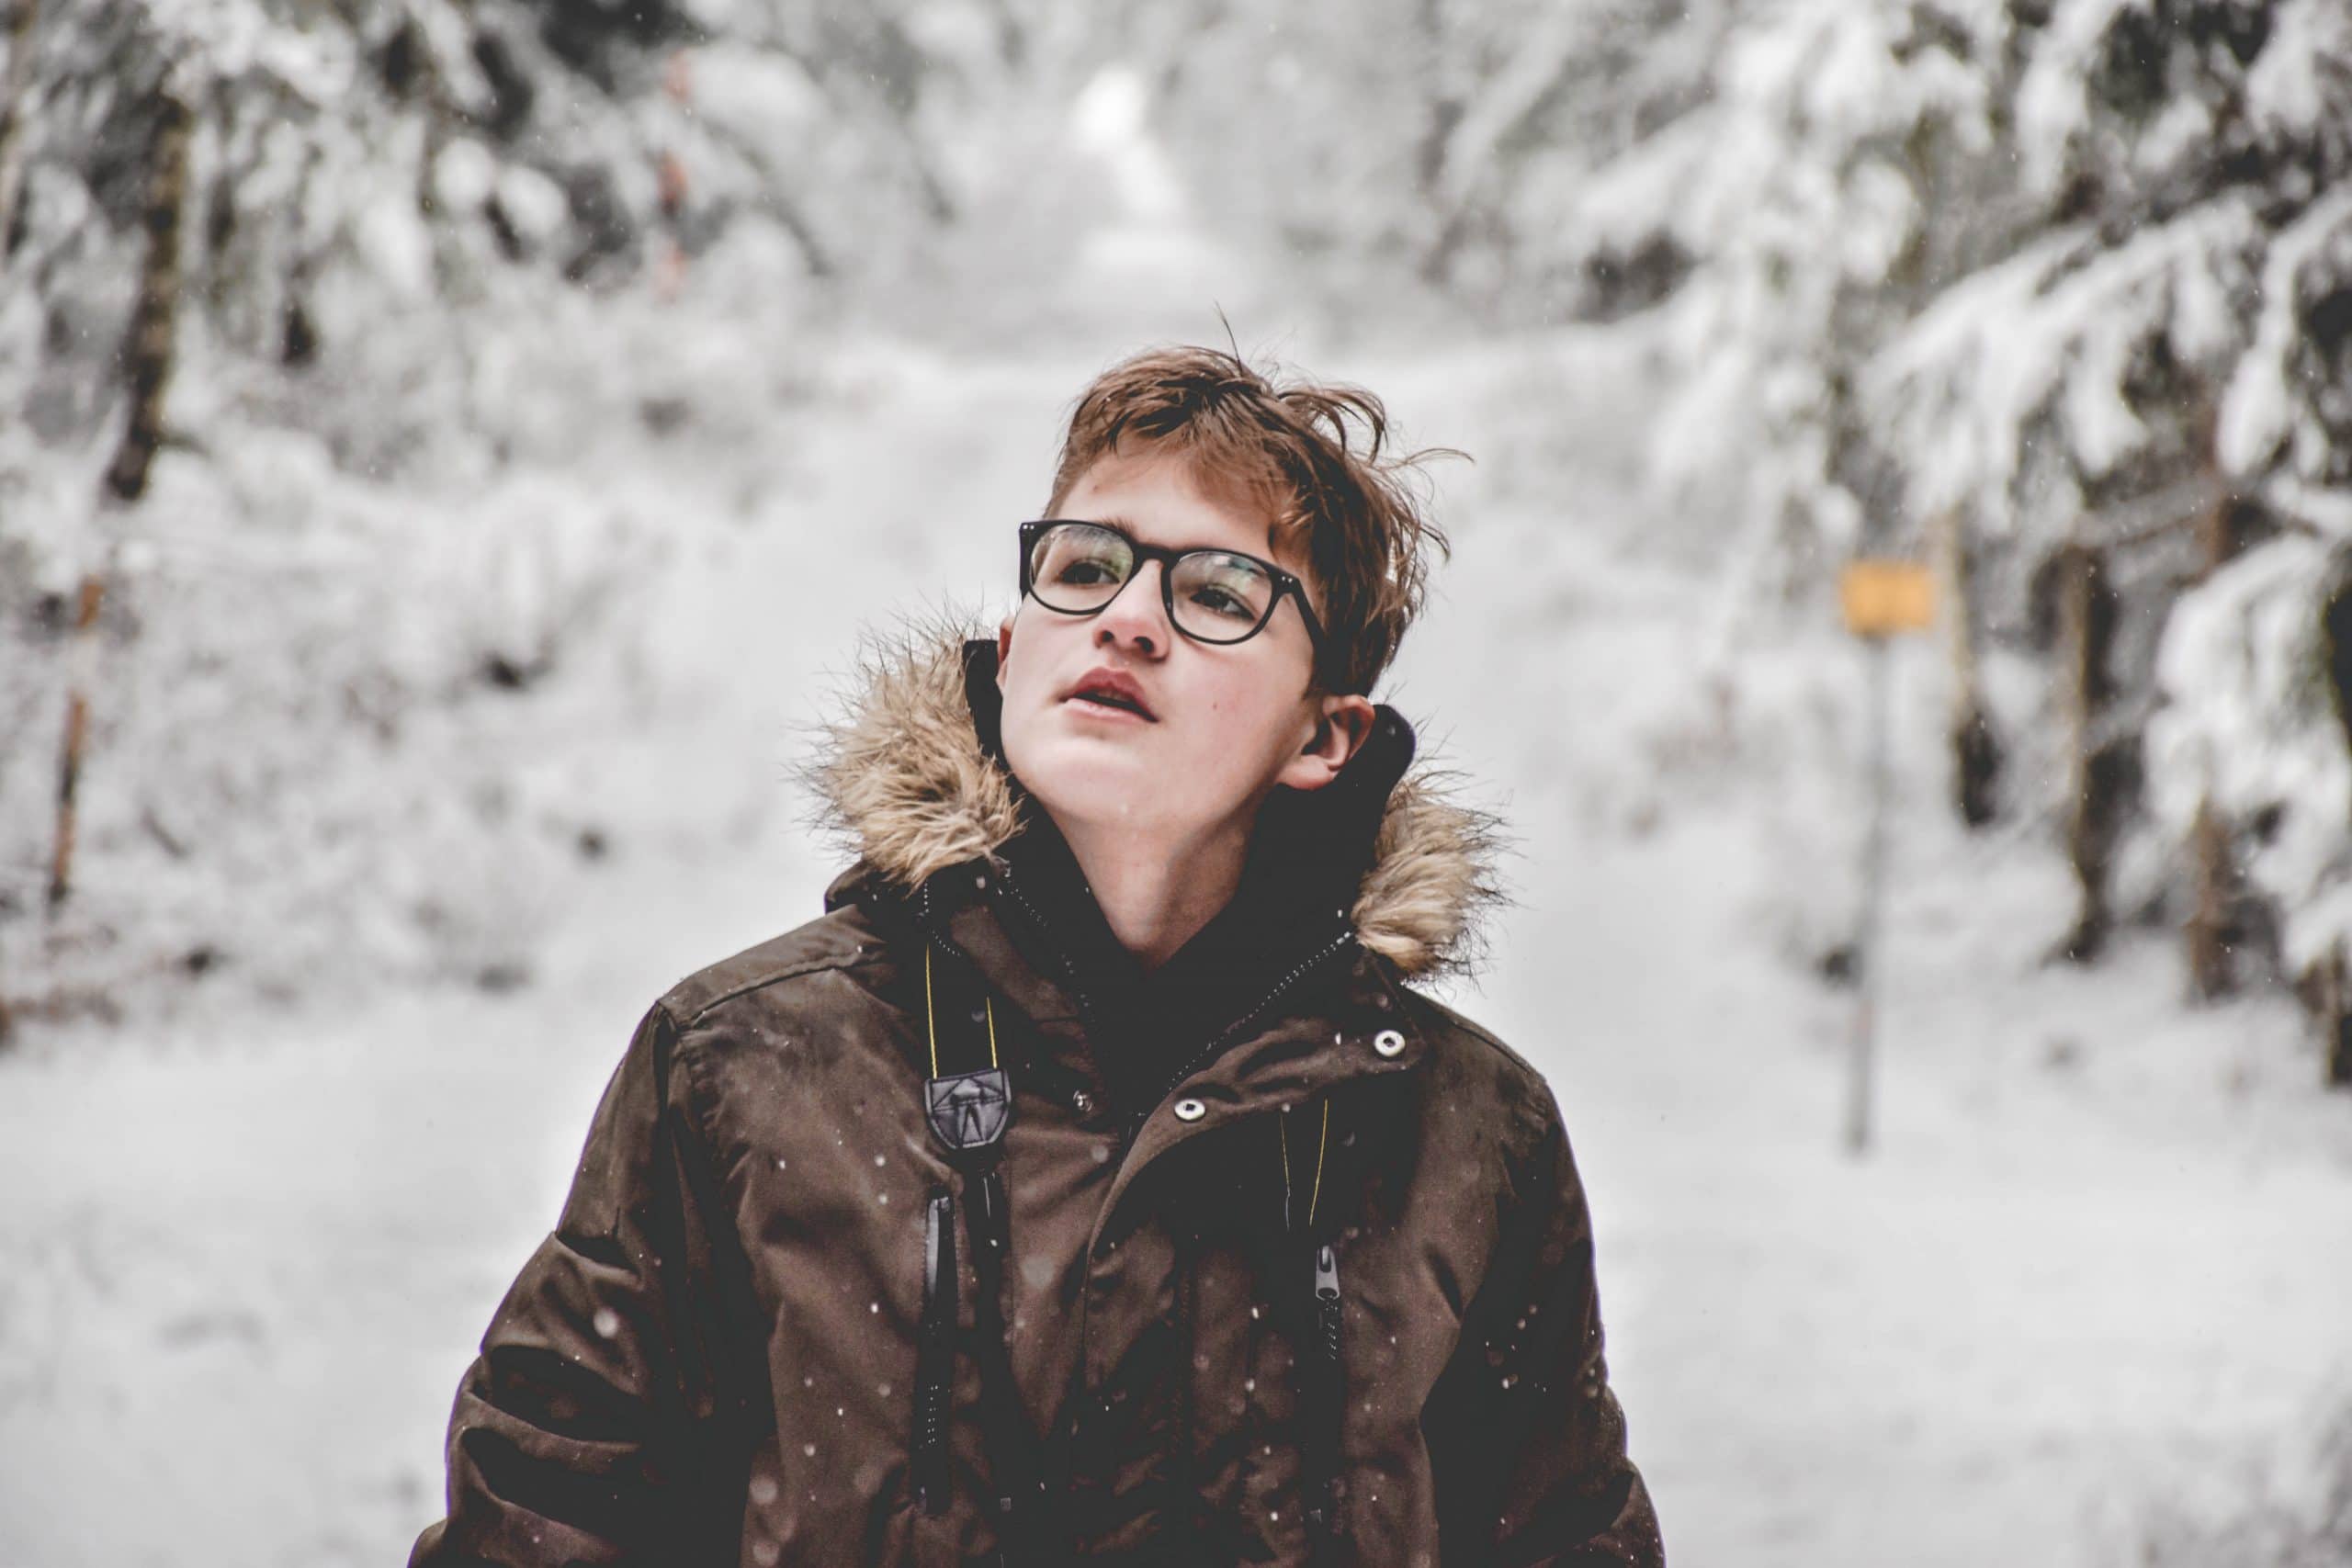
photo by: Miroslav Škopek from Unsplash
Focus on the eyes
When taking portraits, one hugely important rule of thumb is to ensure good focus on the eyes. Like all great rules, it is possible to break it successfully, but more often than not, poor focus on the eyes can ruin a photograph.
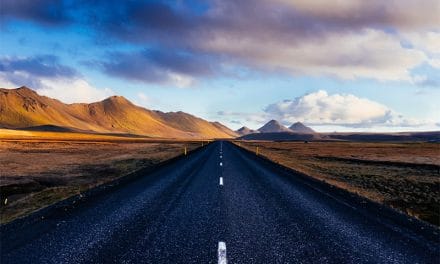
But how do you apply this to landscape photography? In essence, you need to find the focal point, the one thing that people will be drawn to the most. This could really be anything – it’s down to figuring out what it is in your particular frame. Is it a tiny detail, like a cabin lost halfway up a giant mountain? Is it a centre point of the image, where everything converges into one place? Could it even be something that looks like an eye, to trick the viewer into looking closer?
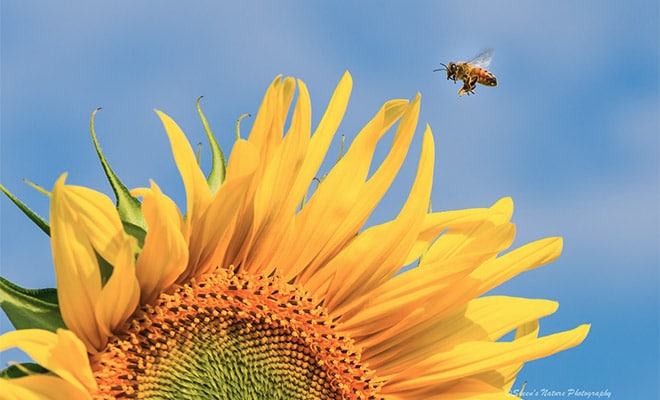
Animals, plant life, rocks, – any feature that stands out in your composition could be your ‘eye’. Once you have it lined up with great focus, you can also take it one step further. If your ‘eye’ was really in a face, how would you compose the rest of the frame? Think about this, and you may come up with some surprising compositions that you would not otherwise have tried.
Get level
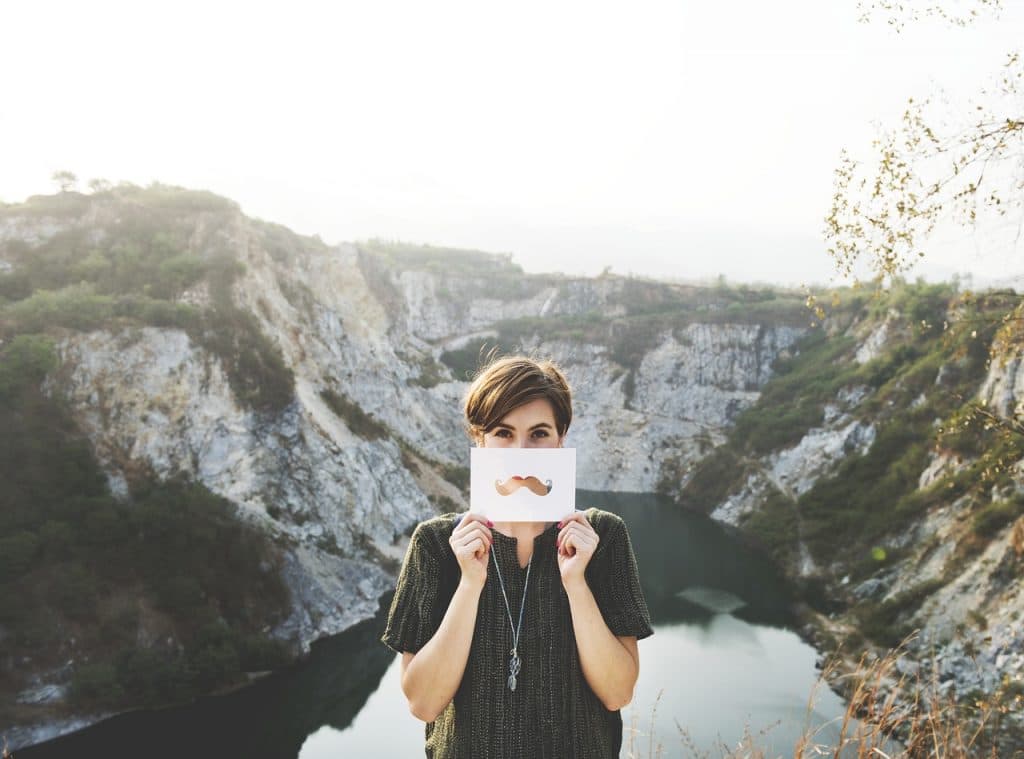
photo by: pixabay.com / CC0
One key portrait technique is to get level with the face of your subject, thus putting yourself directing in their eyeline (and they in yours). This gives a pleasing result because we see them directly on. Photographers can manipulate this level to create different effects – and the same can be done once you apply it to landscape compositions – but let’s start with the basic idea.
If you were level on a portrait, that would been being at the same height as the person’s face – again, the focal point of the image. So, what’s the focal point in your landscape? Is it a particular point on a mountain slope? The tops of the trees? A sign by the side of the road?
Coming up with your focal point should be easy enough, but getting level with it will be more of a challenge. This may require you to learn some climbing skills! If you are travelling around, you could achieve height by climbing to the top of your car, hiking up a hill or mountain, or going to the top of a building. Of course, the important thing is to remain safe, as well as getting a great shot.
When you find your ideal height to match your focal point, take a shot and compare it with how your image would have looked from normal ground height. What you will notice is that the landscape visibly changes, as your perspective is so very different. By taking that extra step to change your viewpoint, you could create an image with a unique point of view that no one else has pursued before. That’s pretty exciting!
Frame the sitter
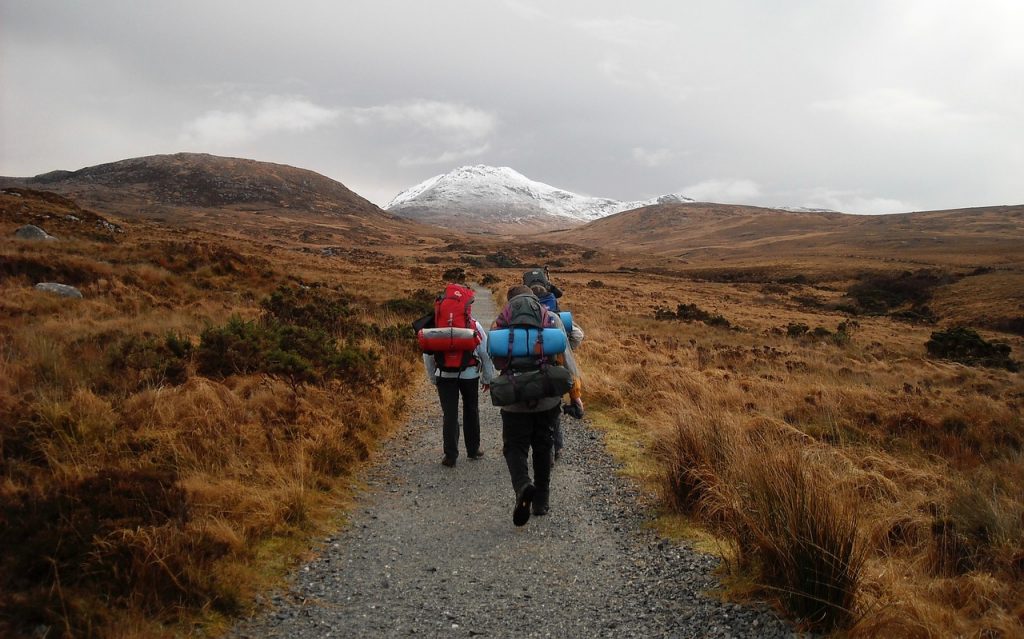
photo by: pixabay.com / CC0
When taking a portrait, the photographer will frame the sitter very carefully. There are two ways to do this. The first is to crop close to the sitter, bringing them into the main focus of the image and removing any distractions. The second is to bring a wider view, where you can gain some context of the person’s life and their story. For example, you could photograph a baker close up to showcase the person themselves. However, if you want to tell a story about their work in the bakery, you would more likely frame them within their kitchen, surrounded by floury countertops and balls of dough.
The same applies when you look at a landscape. Again, find your focal point – your star of the show. You should be familiar with it by now! Next, look at the scenery around it. What kind of context does it give you? If our baker was standing in a busy street, the background noise of people walking by would give us no extra beneficial details to the story – it would only be confusing to the reader. Similarly, there may be elements around your focal point that would disturb or confuse the narrative you are trying to give if they were positioned in frame.
Let’s give a working example so that you can understand this one better. Let’s say you are taking a photograph of a mountain range, with one particular peak as your focal point, and you want to create an image which tells of the beauty of wild nature. You could focus in on this one peak to make a specific point about it. If you bring your frame out and include other peaks from the same range, then you tell a slightly different story. If you move out far enough that you now include the ski slopes, the huts and chalets, and the lights of the ski lift, you are suddenly telling a different narrative indeed – one about man working with the mountain, and using it for entertainment or commerce.
By choosing your frame for your landscape as carefully as you would a portrait subject, you can control the narrative more easily, giving your images more impact overall. This is a key skill to learn, particularly for commercial photographers.
There are lots of ways to cross genres, but this is definitely an exciting place to start. Give it a try, and see what comes up in front of your lens – you may be surprised at what happens when you start treating elements of the landscape as if they were characters in your story. This way, you will also prompt yourself to think more about the way you present the scenery in front of you, and even about the kind of narrative you want to tell with your photographs – something that even landscape photographers do have to think about!


