
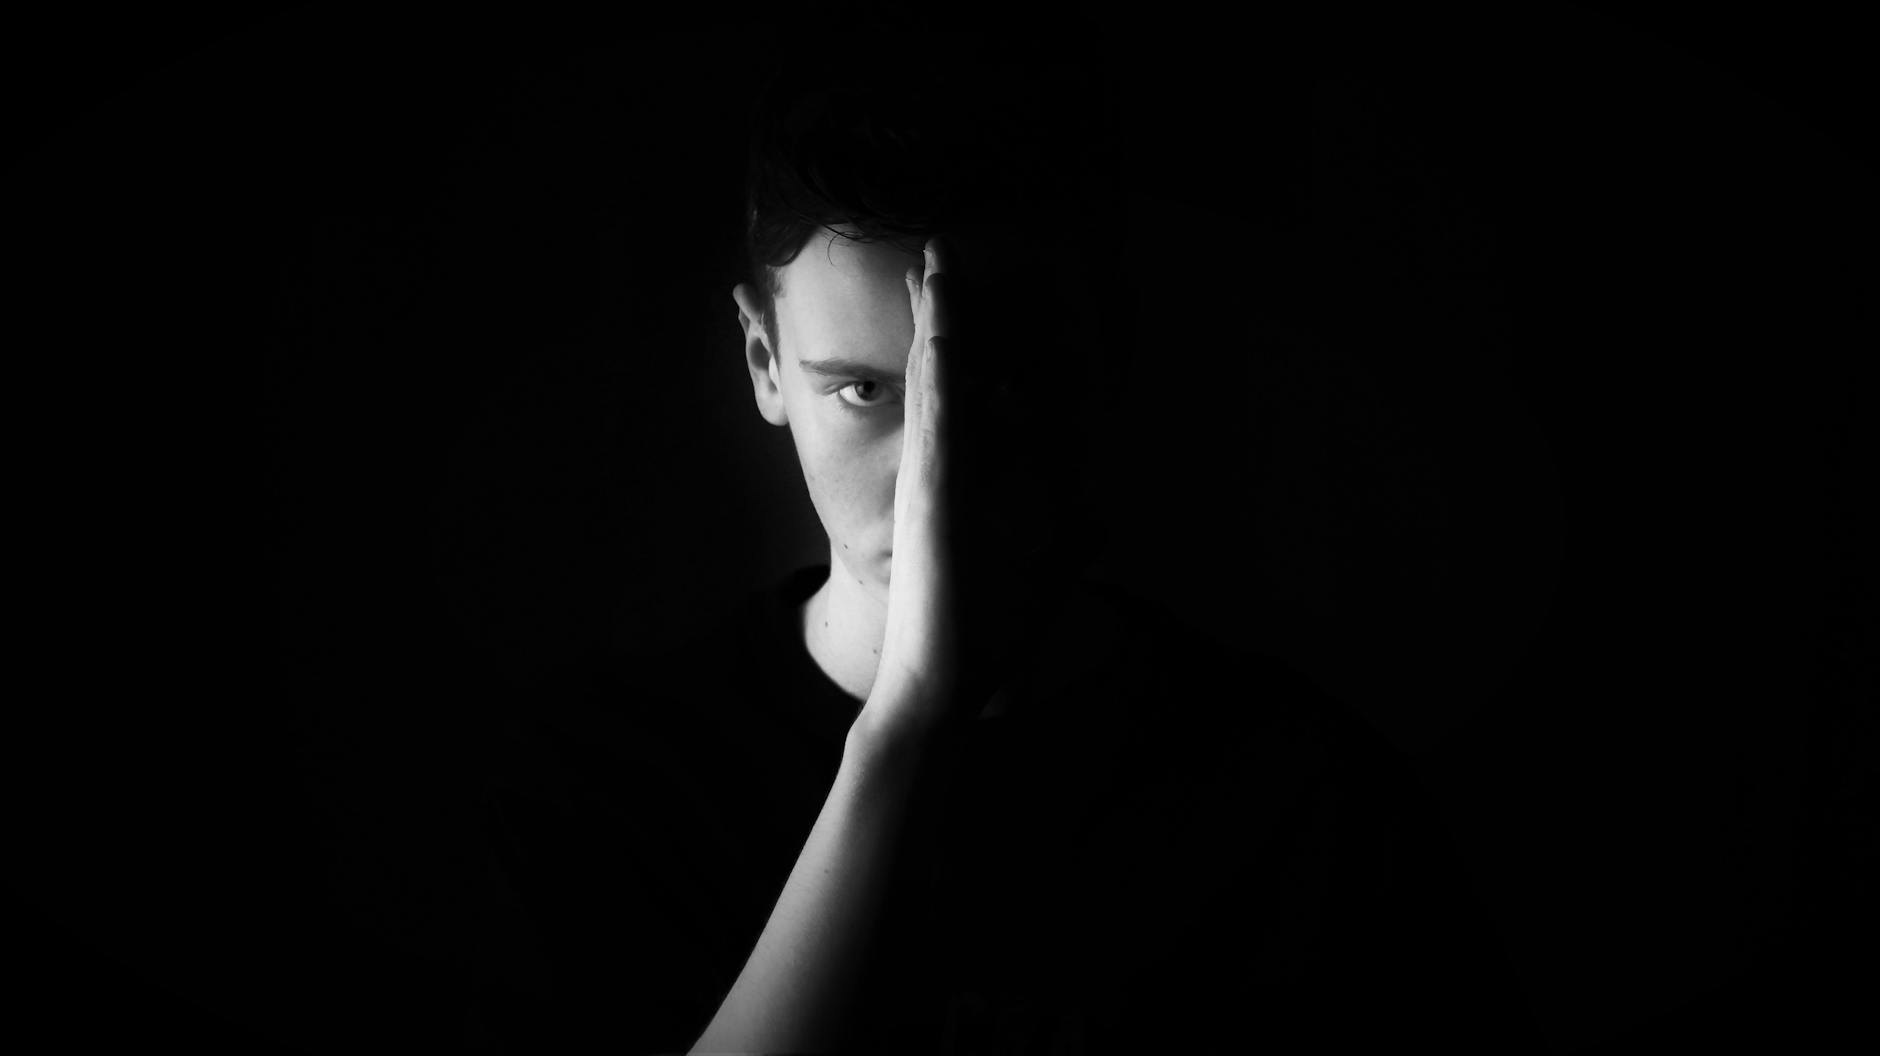
Shadow photography have become immensely popular these past few years. This type of photography is known for its capability to transform a plain image into something extraordinary. Shadows can serve as a tool to improve texture, balance, and contrast (with little effort).
If you’re unfamiliar with how shadow photography works, then you’re in for a treat – let us unveil the magic behind shadow photography. This post is a guide on the basics of shadow photography – how shadow photography differs from silhouette, how it can enhance a photo, how to add and remove shadows in Photoshop, plus some tips to remember during a shadow photography photo session.
[table id=5 /]
What Is Shadow Photography?
First things first, let’s define the terms involved in shadow photography. A shadow is defined as a contour of an object that forms due to the blockage of a light source. The shape of a shadow changes depending on the position of an object and light source. The form, scale, and intensity of a shadow rely on the angle, distance, and size of the light source and the object.
Shadow photography is also defined as the manipulation of the light source, exposure of the shadow to add or remove darkness from the image, and the increased dramatic depth of a photo.
What is Light and Shadow Photography?
Light and shadow photography uses strong sources of lights and shadows of objects and people. Light and shadow photography aims to create patterns, abstracts, and a combination of silhouettes.
There is no limit on the ideas you can implement in light and shadow photography. You can use the sun as a natural source of light or you can use artificial lights (e.g., spotlight, streetlight). You can even use harsh lights – you’d be surprised of the outcome.
Your output can be monochrome or multi-colored depending on the scene you’re going for. There is no limit to your creativity with light and shadow photography, the dramatic effects will always turn out amazing.

Shadow Photography vs. Silhouettes
There might be a bit of confusion about the difference between shadows and silhouettes. Yes, both of them use light to produce dramatic images, but they are not the same thing.
With silhouette photography, the light covers the object; thus, the background will be lighter, and the object of the photo will be darker. Think of it as an “against the light photo,” where the object is seen as a silhouette only.
On the other hand, a shadow is created if the object is placed directly in front of the source of light. This causes the light to get clustered behind or in front of the object, creating an ‘angled-duplicate.’
These methods differ from each other, but they can be combined in one photo. The outcome from using both silhouettes and shadows in a single image is quite breathtaking.

How Do Shadows Enhance a Photo?
Expert photographers use shadows to enhance photos in many ways. It depends on the subject, scene, and the goal or objective of the photographer. The shadow is used as the focal point or a complimenting detail in a photo; it showcases the photographer’s avant-garde talent and approach.
Here are the reasons why a shadow can enhance your photos:
- Shadows may not be used as the focal point; it is used as a subtle and accentuating detail.
- Shadows add contrast, dimension, composition, and a sense of balance to a photo.
- Shadows create an excellent contrast for black and white photos. Monochrome photos will look less dull when accentuating shadows are present behind the subject.
- If a shadow is cast directly on the subject, the appearance gets altered. As a result, the photographer can experiment with pattern, texture, and emotion.
- For visual aesthetics, a shadow has a deliberate and significant importance.
- Shadows, as a focal point in the photo, has a life of its own.

How to Add Shadow in Photoshop
Thanks to advancements in photo editing software, even shadows can now be aesthetically added in images. There are photos with shadow details that are mind-boggling in the sense that when it’s added, it’s obviously not a natural component of the picture.
In photoshop, this is referred to as adding a drop shadow or cast shadow. Here is a step-by-step guide on how to add a drop shadow on any image.
- Your first task is to decide which subject or part of the photo you would want to place a shadow. Remove that subject from the background and create a new layer.
- At the bottom, there are options for the ‘Layer Style.’ Select ‘Drop Shadow.’
- Next, you’ll need to change the color of the shadow to make it more realistic. In the Drop Shadow dialog box, click the blend mode, then a color palette will appear. Realistically, shadow colors range from grey to black.
- Change the size of the shadow to match other shadows in the image and the overall softness.
- When making a cast shadow, separate the layer style, so the shadow has its own layer. Then right-click on the letter ‘f’ on the Layers panel. On the drop-down menu, click the ‘Create Layer’ option.
- When the layer has split into two, you will see the shadow move into its own layer, just directly underneath the original drop shadow.
- The next step is to distort the shape of the cast shadow to make it look realistic. Click Ctrl+T, and the free transform tool will appear. Right-click on the object you want to shadow in and select the ‘Distort’ option from the menu.
- A bounding box with eight little squares will appear, and then you can reposition the shadow by dragging the middlebox. Drag and click the handles (found in the top right square) until the shadow blends well to the picture.
- To make the shadow more realistic, the goal would be to create that faded look as the shadow gets further away. That is why the shadow must lose darkness (or intensity) and must soften. You can create this effect by duplicating the shadow layer and dragging into a new layer icon. Then, it would be best if you turn off the visibility settings of the bottom shadow.
- Blend the two shadows by choosing the Gaussian Blur. The more blur added to the two shadows, the softer the outcome.
- After you’re satisfied with the blur, use the gradient tool, and set the black and white colors. Choose the linear background to foreground.
- The last step is to choose multiply mode for both shadows. Set the top shadow’s opacity to 50-75%, and the bottom shadow to 30% maximum.
Always make sure that the outcome of your edits look realistic. There should be an increase or decrease in the shadow’s height or direction, depending on the distance to the light.
There will also be changes if the object is closer or farther away. There is also a change depending on the surface (matte or reflective surface). The secret to achieving all this is by observing the shadows you see every day.
Observing your surroundings will give you ideas. You must have a keen eye for detail in order to be an excellent photographer. You must be able to envision taking pictures of stunning images and how to add more life during the post-process editing.
How to Remove Shadows in Photoshop
If you can add a shadow to any image, of course, you can remove shadows too. You can always remove them if you feel like the shadows are disturbing your subject on the photo or the harsh lighting is taking away all the dramatic effect. Here are the tools used in photo editing software to help you remove unwanted shadows in your photos.
Content-Aware Fill
If you want to remove a simple shadow, the content-aware fill tool, especially the ‘Patch tool,’ is the best option. This also works best if the shadow you want to remove has clear lines and a well-defined background.
Clone Tool
If you want to have more control when removing shadows in your photos, you can try a clone tool. The clone tool is best used if you’re going to remove shaded sections of the face. It can also be used for other types of shadows as well.
Dodge Tool + Burn Tool
The goal of the dodge tool and burn tool combined is to darken or lighten specific areas of an image. Both tools are based on darkroom techniques when creating exposure with certain areas of the photo. The process of dodging involves lightening or darkening an area with exposure.
The dodge and burn tool is easy to use when removing a shadow. You just need to paint over the area where you want the shadow to be removed. In this case, you must lighten that area.

Tips for Light and Shadow Photography
Now that you’re aware of the post-processing tips in removing or adding shadows, it’s time for you to know more about taking stunning shadow photographs. It’s nice to know the basics and follow some shadow photography tips, but your best teacher will always be your experience. As your photographer mentors will always say, practice makes perfect.
Here are some tips that you can use as a guide during your practice shoots. If you have any suggestions, feel free to share it with your fellow photographers in the comment box
below.
Colors
In real life, shadows appear black, but this doesn’t mean that all photos in shadow photography have to be black and white. You can use transparent and translucent objects to create this effect while taking a photo.
Experiment with colored lights or lights covered with cellophane paper. Have fun with church window glass, gummy bears, or create that colored shadow effect during post edits. Its RGB dramatic effect is playful to the eye but still conveys a certain strength.
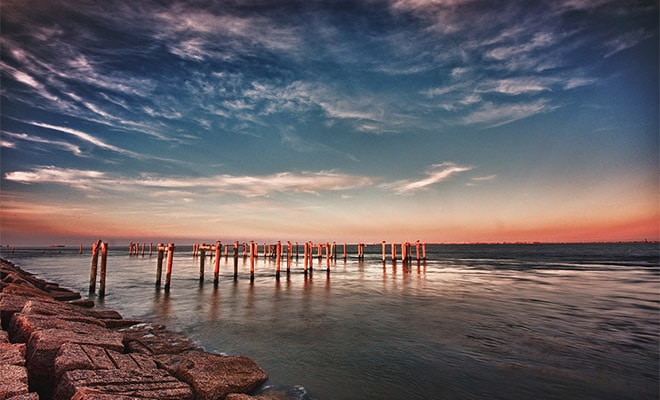
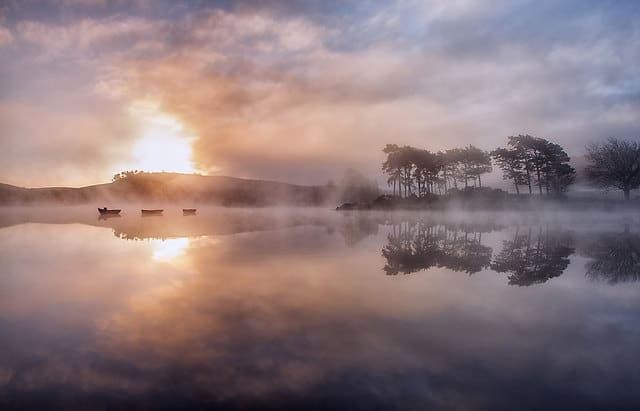
Reflections
Shadows work best in combination with reflection. Wet puddles on the road or a body of water nearby? Go for it. Mirror shot or wet pavements? That would be a great shot.
The reflection in combination with shadow photography can enhance the drama and depth of an image. These minor details appeal to all audiences; the uniqueness of reflections and shadows creates a different vibe.
Different Source of Lights
You can’t create shadows if you do not have a source of light directly in front of the photo’s object. If your light source is not enough (when the sun is not out), you can always use artificial lighting.
Say, for example, a night shadow can be formed with only street lights as the light source. That is why photo studios are filled with kelly lights, fill lights, or hair lights to create that additional source of light indoors.
Patterns
Another tip you can use in shadow photography is to look for patterns. These patterns can be created by existing objects in the surroundings such as shadows of windows, stair railings, or window blinds.
You can always create your own pattern. Some photographers use leaves, translucent cloth with patterns, even kitchenwares to create the patterns. For example, they place a kitchen strainer near the light source to produce wonderful patterns. There is no limit to what you can use for this.
Harsh Lighting
In shadow photography, harsh lighting is your friend. The intense light and this kind of contrast create shadows for more dramatic images. That is why sunsets are always the best time for shadow photography, it’s because of the harsh lighting.
Are you excited for your next photoshoot?
Are you now convinced of how helpful shadows are in changing the mood of your photo? As a photographer, these little details will make a great impact on your masterpiece.
Just remember that you need lots of practice; keep observing your surroundings. Every day you will encounter picture-worthy shadows, and when you see one, use it as a source of inspiration for your next photoshoot.


I bought a venetian blind for this sort of photography. Very cheap and all you need is something to hang it from and then you have a lot of scope for some creative photos.