Some photographers struggle with understanding portrait vs landscape photography. If you feel like this topic is unfamiliar to you or uncertain what it really means, read up and let this sink in for your next photo session.
Whether you’re an amateur or expert photographer, it’s better to have clarity between portrait and landscape photography. In this post, we will also learn about the best camera settings, the preferred aperture and desired lighting for the two camera orientations.
[table id=6 /]
Know the Difference Between Portrait vs Landscape Photography
When we talk about portrait vs landscape orientation, it refers to the page orientation of the photograph. Also, it is used to describe the camera mode and genre of photography when capturing photos.
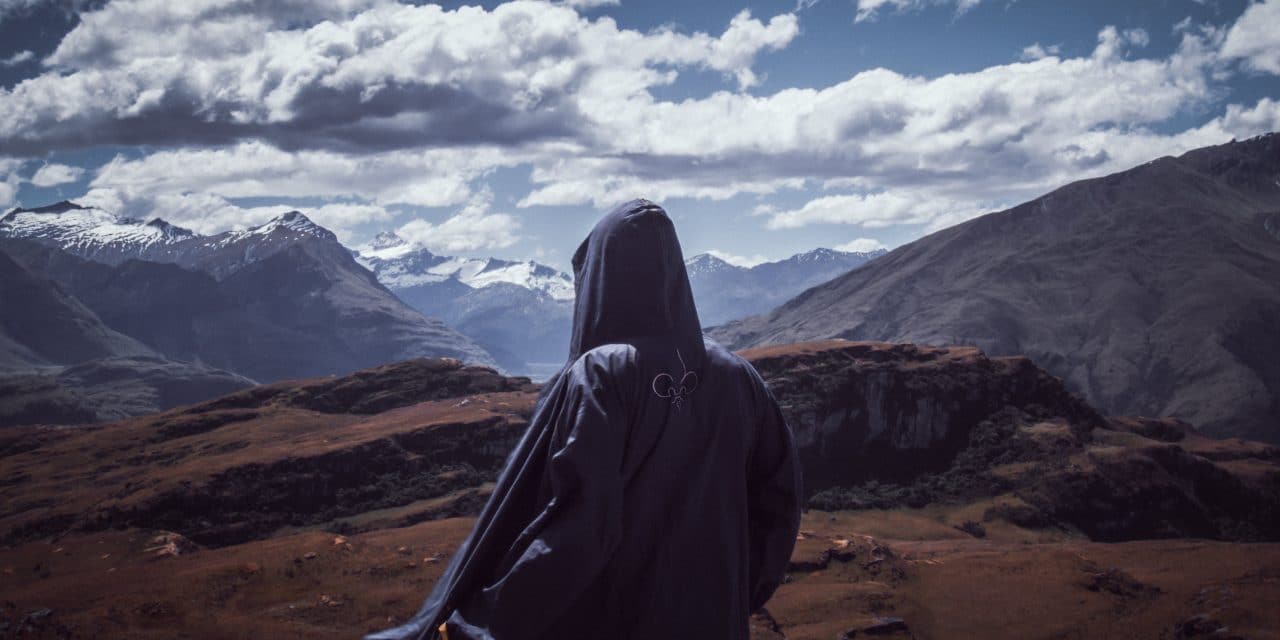
By technical definition, a landscape image is wider or shot in a horizontal layout. On the other hand, a portrait image is captured in a vertical layout, and it is taller than wider.
The Subject, Scene and Purpose
Now that you know the difference between portrait vs landscape orientation, the question is: what is the best orientation to use? No one can answer this but you.
As a photographer, you must be able to discern on what kind of photo you want to create, the scene you want to capture, and the emotions you want to reflect. When choosing between portrait vs landscape orientation, here are three factors you should consider: SUBJET, SCENE, and PURPOSE.
- Subject: The subject of the photo is the contents you want to include and to exclude in an image. The subject is what the photograph is all about, like the characteristics, pattern or the objects. Once you decide on the subject of the photo, you will have a more explicit option on whether to choose portrait or landscape orientation.
- Scene: The scene of the photograph refers to the background and the extent of the background elements you want to include in the photo.
- Purpose: They say a picture speaks a thousand words, and this is what the purpose of the photo is all about. A photo is used as a tool of communication, to share a message or how you want others to understand your photo.
These three fundamentals are what will make you decide whether to use portrait or landscape in your photo. In addition, also learn how to emphasize the elements in your photo, how to tone down the elements, create harmony, and balance the visual tension. No matter what you decide on, it is best to practice, practice, practice!
When to Use Portrait Orientation?
Portrait photography includes headshots of a person, a one person or one object photo, or graduation photos. The face and head will sit more naturally with portrait orientation, and the subject is taller, not looking wider.
Amateur photographers know that this is the accepted practice. But do not let the norm limit your eye for creativity. Portrait orientation is also used to capture a full-body image like in fashion photoshoots.
When you take close-up pictures of tall buildings or big trees, the portrait orientation can give that dynamic feel as if the structure towers over you.
Portrait Composition
The portrait composition depends on your subject’s positioning: whether it’s vertical or horizontal. For example, if you photograph a horizontal object, like a tall building, using portrait composition will require a certain dynamic.
The tall building must be photographed at nearby proximity, and expect to include only parts of the building, not the whole. Doing otherwise will create space on either side of the building, and this will make the object vulnerable and small in the picture.
Portrait Orientation
The portrait or vertical orientation can completely transform the emotions of one photo, but of the same scene. It can draw more attention, bring the objects closer, and at the same time larger.
The portrait orientation also completely elongates the depth of field of an image. This gives a broader angle-feel of the view, even if the same focal length and the point-and-shoot camera is used. The advantage of using the portrait orientation in portrait photography is it focuses the viewer’s eye on the photo’s subject.
Portrait Background Elements
With portrait orientation, expect to have less space on its background elements. So if the subject of your photo focuses more on the object alone, and the background does not need much emphasis, the portrait mode will bring more context.
This is proven by the automatic features of some camera phones. This is especially true for the Portrait mode of iPhones where the background automatically blurs.
When to Use Landscape Orientation?
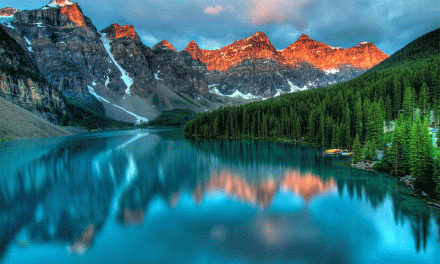
Landscape photography is popularly used for landscape photography, panorama landscapes, nature or group photos. The primary reason to use the landscape orientation is when you want to include many elements in the image.
This means that the purpose of your photo is to capture the object as a whole, like skies, lake or mountain ranges. The goal of landscape orientation is to create an exciting and dramatic image.
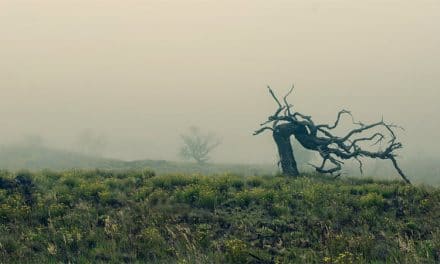
But the question is: can you use the portrait format for landscape scenes? Of course, you can, as long as you pick the right composition. Say, for example, you’re taking a photo of a large object like a boulder or giant trees, and portrait orientation will create a more dramatic feel.
In summary, landscape orientation is best used for:
- Landscape photography
- Nature photos
- Street photography
- Group shots
- Events or occasions
For those who are starting in the field of photography, remembering when to use portrait vs landscape orientation will guide you to the basics. If you’re starting out, this is okay, but do not forget to try other tips and tricks.
You can explore a different orientation for other types of photo composition to create a masterpiece. Photography is about trial and error, and thankfully we are not in the era where you have to go to a photo studio and have your film developed before you can see the product of your trial and error.
Imagine the photographers from 20 years ago on how much money they spent with their practice photography, right? Thankfully we live in the era of digital photography, where trial and error does not cost much.
Landscape Composition
The composition of landscape orientation is all about space. When you take a landscape image, it feels spacious or has enough room to breathe.
If you capture the same subject from the same position, compare the landscape and portrait format. In landscape orientation, you would see less of the subject as there will be more space in the image.
If you feel that there are many empty and meaningless spaces on the image, you can step in closer to the subject to capture lesser elements. The overall feel of the image would be less powerful, less imposing, yet more vulnerable and more regal.
Here are some tips in capturing a vertical subject for landscape orientation:
- Use the rule of thirds and rule of space when framing the subject. This will help underline the feeling of a wider space.
- Strategically create enough distance between the viewer and the subject.
- You can step away further to include more space or elements on the picture.
- If you want less space and elements in the photo, step a little closer to the image.
Landscape Orientation
The landscape orientation tends to create more space. But can you use the landscape orientation for close up photography? Yes, you can, and this can be used in creating photographic art. The space, may it be lesser or more, can create an entirely different feel.
With landscape orientation, you can take photos of wide-open spaces like the sea, a mountain range, and clouds. The dramatic feel comes from the different elements that will feast the eye of your viewers.
Landscape Background Elements
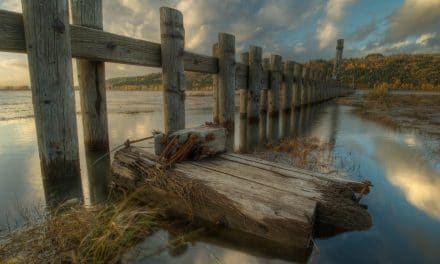
Landscape orientation affects the background elements through the horizontal lines. It gives that feeling of balance and security in the image. When you photograph vertically, you cut off horizontal lines in the scene which removes that secure and restful feeling.
Using the landscape orientation will allow you to capture the object of the photo, while the background elements will tell a lot of stories.
Panorama Landscapes
When it comes to panorama landscapes, of course, you have to use the landscape orientation. Panorama landscapes can be created as wide as you want, more detail, have a higher resolution, and minimized lens vignetting when it comes to capturing panoramas use as many manual settings as possible.
Letting the camera make decisions for you will not produce a consistent outcome. Panorama landscapes require a manual shooting mode so it can capture multiple images. The automatic mode may change its capture settings in a split second, and the whole panorama will be different.
Best Lighting: Portrait vs Landscape
Lighting will always affect the final output of portrait vs landscape orientation. Seasoned photographers know how the light can form a dramatic effect on the object of the photo. In the next sections, you will learn the types of lighting, and which are best for portrait vs landscape orientation.
Best Lighting for Portrait Photography
Lighting pattern defines how the shadow and light play across face to face to create the illusion of different shapes. There are four common types of portrait lighting patterns:
- Split Lighting: This pattern of lightning splits the object into equal half. The one side is bright and filled with light, while the other side features the shadow only. This dramatic portrait lighting effect is best for portrait photography or capturing a person’s face. The moody sense of lighting is also known as the comic villain lighting style, and the secret is to place lighting on the side of the portrait that you wanted to be lit up.
- Loop Lighting: Another best type of portrait lighting is loop lighting. With loop lighting, the photographer creates minimal shadows within the image (e.g. the cheeks or nose of the person’s face). You must create a light source a little higher than the eye level. The camera should be about 30-45 degrees distance.
- Butterfly Lighting: In butterfly portrait lighting, the shadow is shaped like a butterfly. The shadow is placed under the nose, so the light source must be above and behind the camera.
- Broad Lighting: This lighting pattern emphasizes on the broad side of the face. The broad side is facing towards the camera, and it has an abundant source of light.
- Short Lighting: This classic portrait lighting aims to place more light on the part of the person’s face farthest from the camera.
Best Lighting for Landscape Photography
There are some challenges when it comes to controlling the light in landscape photography. Unlike portrait photography, where you can use artificial sources of light, in landscape photography, you have to depend on the sun as your source of light.
Few photographers know that the lighting principles used in portrait photography can actually help with capturing that dramatic effect. Here are some light effects photographer’s use with landscape orientation.
- Light and Shadow: With landscape photography, the shadows are as important as the light. The shadows should balance out with the light to create depth, reveal shapes and emphasise textures.
- Dodging and Burning: This is the post-process lighting effect used in most landscape photography. It is used to manipulate the exposure, darkening and producing shadows in the areas of a photo.
Camera Settings: Portrait vs Landscape
There are different camera settings in digital cameras nowadays. In portrait and landscape orientation, you can use different camera modes, and it can produce various outcomes.
Best Camera Settings for Portraits
With a portrait orientation, your camera will automatically think that you are shooting a person if it’s not in manual mode. You will usually have a person’s profile icon, and depth of field is usually narrow. You may want to choose well lit and bright camera settings for portraits.
Best Camera Settings for Landscape Photography
When it comes to landscape camera mode, the camera automatically thinks that you are shooting a scene. If the camera is not in manual mode, the depth of field automatically goes wider, usually a smaller aperture.
You will usually see a mountain icon, and these are excellent options for occasional shooters. Yes, this is the desired camera settings for landscape photography, but it will still depend on the subject, scene and purpose of the image.
Do not rely on the automatic camera settings, and get used in manipulating your camera. The beauty of photography flourishes when you can produce an image with the mix-and-match of your unusual combination of camera settings.
Best Aperture for Portrait vs Landscape Photography
Aperture is the opening of a camera lens, and it will define the amount of light that enters through the camera. You can shrink or enlarge the aperture size of your camera to control how much light goes in.
Best Aperture for Portrait Photography
As for portraits, wide apertures are best used so you can capture a narrow depth of field. It is best to use apertures f/2.8-f/5.6 to achieve that blurry background, and so the subject of the photo stands out better.
There are special portrait lenses that have wider maximum apertures. In this case, portrait photographers use f/1.4 to f/2.8 for a blurrier background and emphasized subject.
Best Aperture for Landscape Photography
As for landscape orientation and you want to include all the elements in the photo, you might want to use narrow apertures. For landscape photography, f/8 and higher are used to have a sharper shot.
Portrait vs Landscape: Which is better?
So which is better? Which orientation has more advantages? If you practice more, and figure out which works best, you will know the answer.
The truth is, there may be a recommended orientation for particular scenery. If you follow these, you are safe, and you will more likely capture a great shot. But is a great shot enough? Or do you want to go out of your comfort zone and produce a one of a kind masterpiece?
The bottom line is how you envision the outcome of the image, and what is that you want to achieve. The conventional rules are there to guide you, but your unique eye and talent will make you stand out.
So whether you’re into panorama landscapes or you’re not quite sure of the best portrait lighting to use, all you need to do is to practice. Experience is the best teacher you can have in the world of photography.