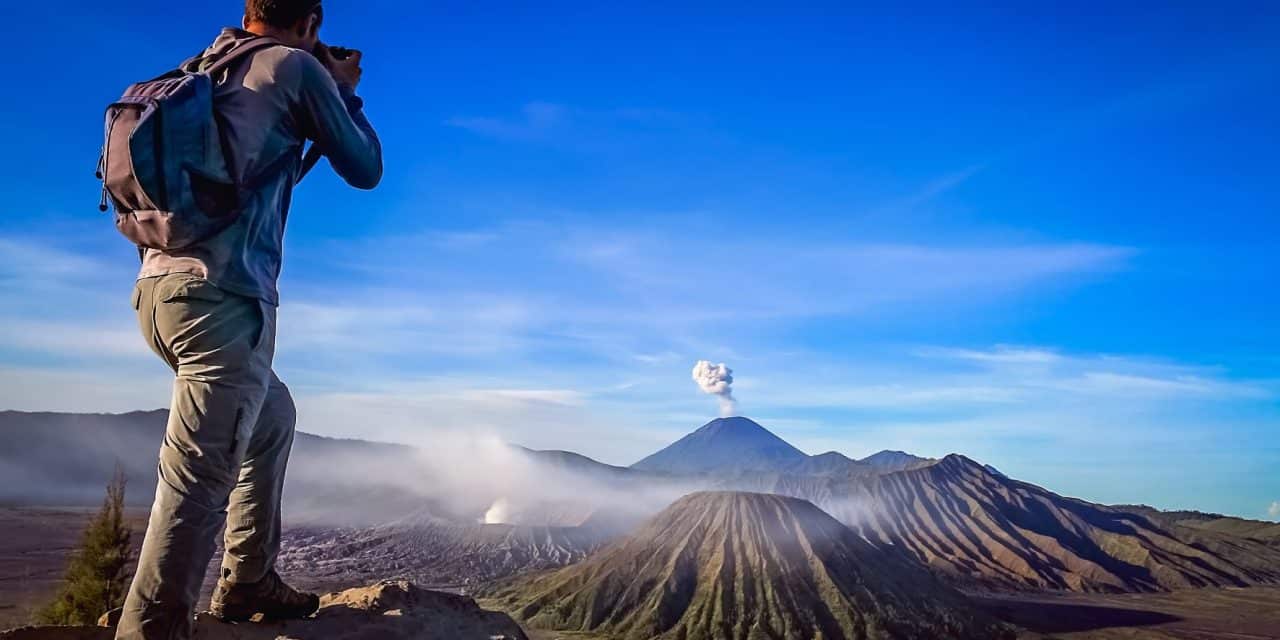
Volcano photography is an enriching hobby. Even though a lot of work goes into the process of capturing the best volcano pictures, the experience makes everything worth it. Yes, it’s risky but it’s an experience like no other.
To photograph a volcano, you’ll need a quick shutter speed to freeze any motion. Set your speed to 1/1000th, then change your ISO and aperture as necessary. Shooting volcanoes from the air, ground, or sea captures dramatically different outcomes and a better view of the lava source.
Read on to learn the best tips on photographing volcanoes and how to do it safely.
[table id=34 /]
Best Ways to Locate Vantage Points
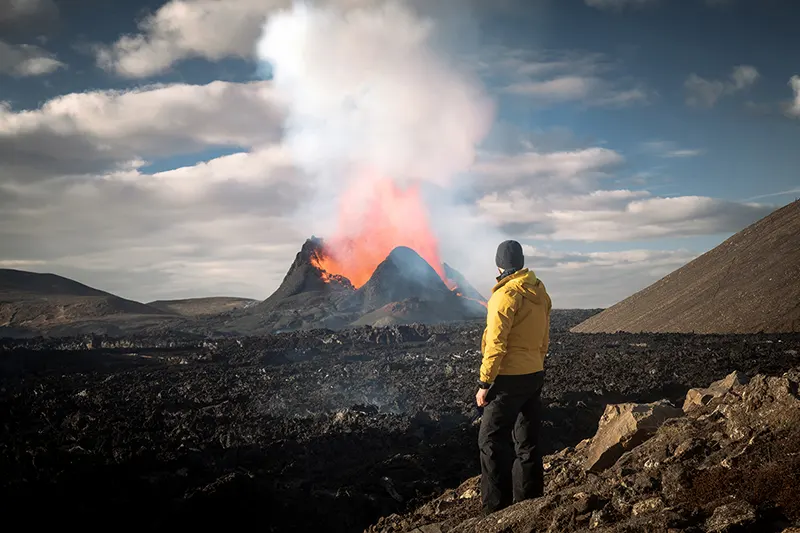
If you want to make the process a lot faster, you can ask a local to take you to the best vantage points. When photographing volcanoes, it’s not enough to see the areas in photographs or hear stories from other people. You’ll need to visit them and see them for yourself. Just don’t forget to take the appropriate lens for each possible viewpoint.
When you go to an erupting volcano, take some time to observe the explosion from a safe distance. Determine the eruption’s strength and the direction in which the hot lava is moving for your safety. As we all know, it’s not safe to get near an erupting volcano.
Photographing Tips During the Day
You can catch the most powerful volcanic eruptions and ash clouds by shooting photos of volcanic explosions throughout the day. Shooting lava is an option as well. Your most probable lens will be a 24-105mm lens. A long lens is ideal if you are far away.
You may either try to freeze the motion in daylight photography or create some motion blur.
- Freeze the motion: You will need quick shutter speeds to freeze falling lava bombs, or pyroclastic flows captured on camera. Set your speed to 1/1000th, then change your ISO and aperture as necessary. The ISO is probably at or over 1000. You should typically use an aperture of f/8 while taking landscape photography. You may need to use a bigger aperture as it grows darker.
- Motion blur: Slower shutter speeds, which may blur motion, are at the other extreme of the shutter speed continuum. Shutter speeds of 1/20th are required to capture the appearance of action. Use this with ash clouds if you can. Shutter speeds of one second or longer are perfect for recording lava movement. Use an ISO of 100 and a narrower aperture to obtain slower shutter speeds. Add a graded neutral density filter if necessary.
Photographing Tips At Night
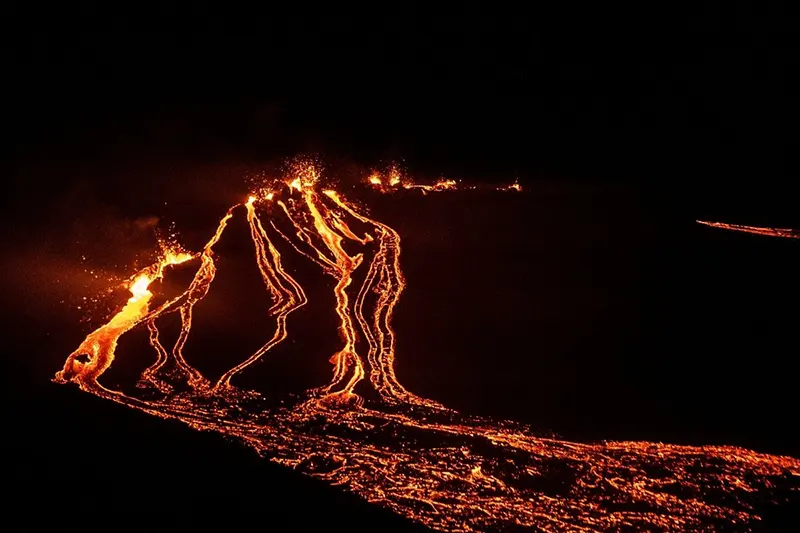
Nighttime is one of the loveliest periods to try taking photos of lava. You will be able to detect the glowing lava much better.
The ideal time to take photos is during the late blue hour. You have a higher chance of detecting the volcano’s foreground features. The lava will seem brighter in the picture the later you go into the blue hour. The rocks will become shadows against the lava once wholly dark.
For this reason, you need to try to take pictures while the moon is full. Bring a powerful flashlight so you can illuminate molten rock during the exposure. Look to expose for up to 10 seconds if you want to get the lava streaks.
ND filters are also valuable for blue-hour situations. You may shoot the volcano with prolonged exposure and six- to eight-stop neutral density filters.
Use the same general procedures as when shooting a typical landscape. When feasible, bracket your shots and shoot in RAW. Exercise delicate processing to guarantee that the image you capture is as accurate as possible. Make sure your lava has a red and orange gradient and lessen the brightness.
Protecting Yourself and Your Gear
You will need gear to protect yourself and your photography equipment before anything else.
Safety Gear
Volcanoes pose a wide range of hazards, particularly if you want to approach a volcano or lava flow up close. Most photographers covering volcanoes have a few specific things in their gear.
- Helmet: Falling rock is one of the main risks around volcanoes (or lava bombs).
- Heat-resistant clothes: Wear heat-resistant clothes since it might be dangerous to approach the lava.
- Gas masks: The area surrounding volcanoes may contain deadly gases.
Note: None of these items will shield you from pyroclastic flows.
Photography Gear
The following are the camera gear you need for taking volcano pictures.
- Camera body: A must-have is a sturdy camera body and weather and dust-sealed.
- Lens: You must carry a wide-angle lens while taking landscape photos, especially for dormant volcanoes. Mid and long focal lengths are preferable for an active volcano.
- Tripod: Make sure the tripod is robust and heat-resistant.
- UV filter: A UV filter protects from different debris present in an extreme environment.
- Camera blowers or towels for cleaning
Hiking Gear
Some volcanoes are located in very rugged terrain. That suggests you also need the following on top of the appropriate safety gear.
- Hiking boots
- Walking poles
- Water and rations
- Tent or sleeping gear
- First aid kit
Dormant Volcanoes Photography
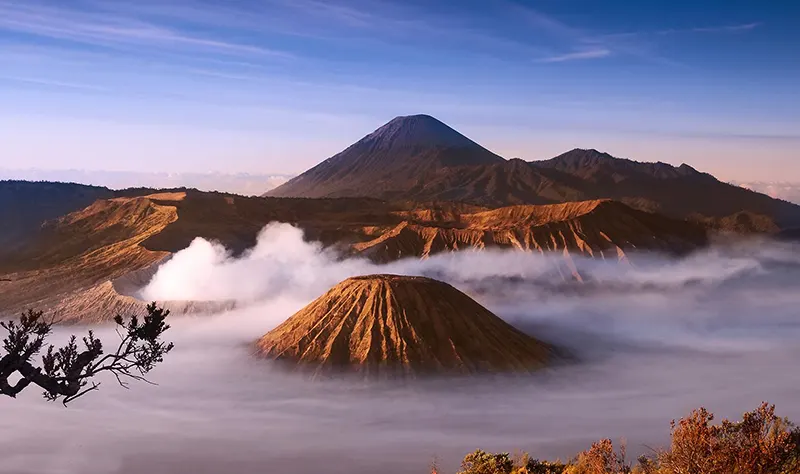
Even when they are not erupting, volcanoes are breathtakingly gorgeous. They are excellent photographic subjects because of their rough geology and features like crater rims. For times when the lava isn’t flowing, here are some other photographic locations:
- Trekking up the volcano: It’s advantageous to climb a volcano when it’s dormant. Deep ravines and leaking gas will still provide challenges. Though even when it is not an active volcano, there are safety risks.
- Acid lakes: Acid lakes form when escaping sulfur gas combines with a crater lake. These lakes are highly picturesque and have an odd, otherworldly sense.
- Geysers: Geysers are nature’s fountains and make excellent picture subjects.
- Sulfur mines: Sulfur mines also make for a compelling photo.
Photographing From The Ground
Photographing from the ground is challenging and poses some particular difficulties. First, it takes a lot of frames and a little luck to get all parts to line up at once.
Don’t forget to get wide and detailed shots when shooting from the ground. Photograph between 14mm and 500mm, and be sure to have all your lenses on hand and keep an eye out for various compositions.
Examine several shutter speeds to determine which effect you like. A 1-second exposure often produces the most remarkable results.
When the blue hour is winding down, there is a perfect balance of light for 15 to 30 minutes. Because it moves quickly, you must be sure that you have chosen the best composition for the excursion at that point.
It’s feasible for your tripod and camera equipment to melt while taking close-up photos with a wide-angle lens. Surprisingly far, lava flows transmit heat.
Photographing From The Air
Since many volcanoes are unreachable by land, it is better to have a broad notion of capturing the volcano and setting up your camera correctly in advance.
When the shutter speed is less than 1/500th of a second, vibrating aircraft like piston-engined helicopters tend to produce blurry images. If possible, set shutter speeds to 1/750th or even 1/1000th of a second; however, you may get away with 1/500th if your lenses have image stabilization.
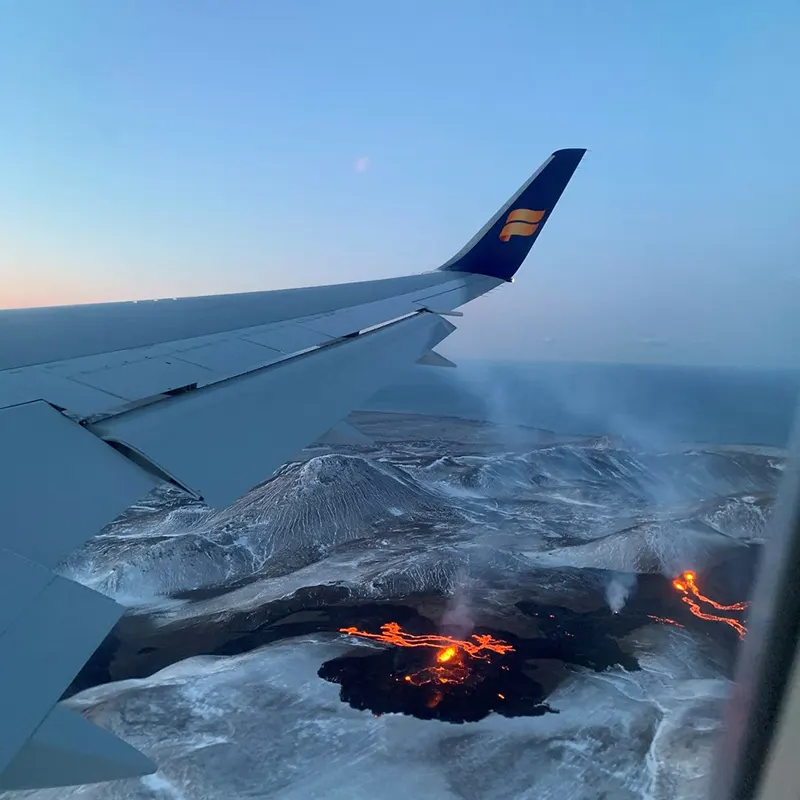
A fast (f/2.8) lens is advantageous in this situation since you can often shoot wide open and still have everything in focus because the explosive eruptions are far away.
ISO is the only setting you have to work with to get the proper exposure with a wide-open aperture and 1/750th of a second – this is where your camera’s “auto ISO” feature comes in useful.
The last factor is ensuring that the camera chooses the appropriate exposure for you. Use “highlight-weighted metering” if your DSLR has it. Volcanic photography in dark regions is easy to work in a frame with better exposure.
For helicopter safety, do not switch lenses while the plane is in the air. In light of this, keep two camera bodies: one with a 24-70mm lens and the other with a 70-200mm or 80-400mm lens. Keep the camera’s strap connected, and wear them around your neck the whole trip.
Photographing From The Sea
You should certainly see the lava from a boat to get a close-up view while it is entering the water. It is a fantastic view position that makes for a very immersive experience.
A 70-200mm lens (full frame) is ideal for capturing the hot lava trickling into the water in fine detail. A shutter speed of at least 1/250 second was necessary to freeze the motion due to the rocking boat and splashing waves.
Where Are the Best Volcanoes to Capture?
Most of the world’s volcanoes are in tectonically active regions, such as in the country of New Zealand, the Philippines, Japan, Kamchatka, Alaska, and the western coasts of North and South America.
Indonesia, Italy, Iceland, Hawaii, and other places in Africa also have incredibly beautiful volcanoes.
Before going, look at the volcanic eruption history and ask locals about the actual eruption. Consider hiring a guide to accompany you as well.
Find out whether the volcano generates potentially harmful pyroclastic flows. If so, find out which way they often travel.
Conclusion
Taking images of volcanoes is a ton of fun, and the results will blow you away! If you are interested in volcano photography, ensure you have the right gear and a good guide who knows the area well to get some great images.

