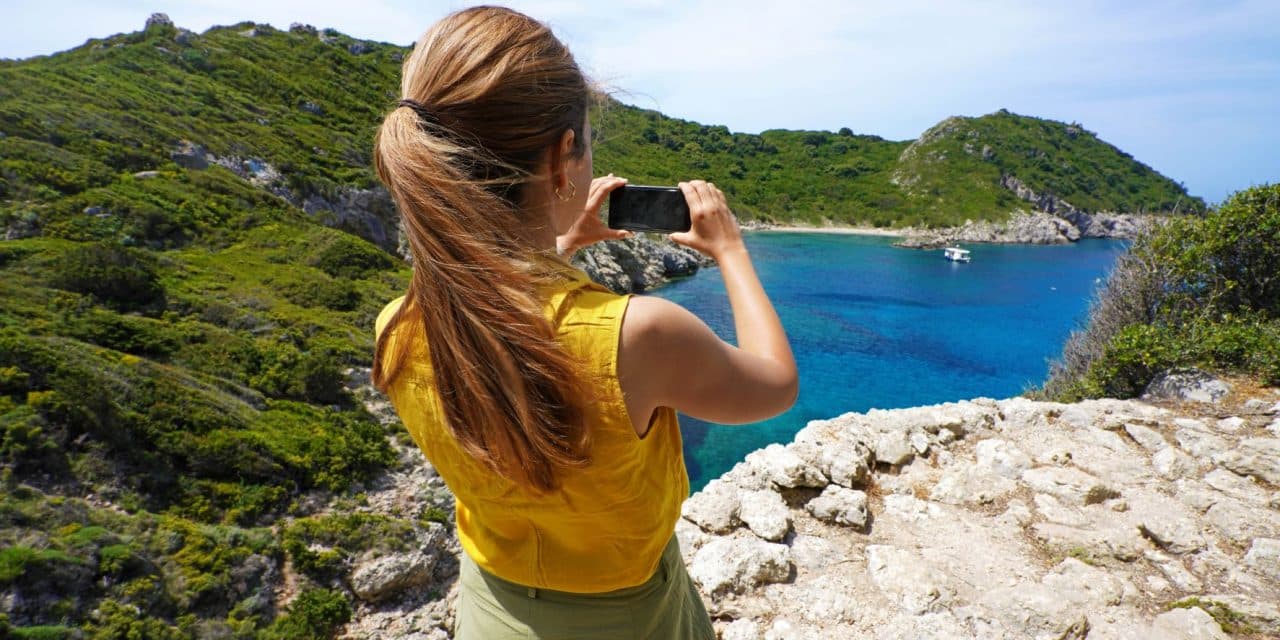
When you’re traveling, it’s always a good idea to travel light. The fewer things you’re carrying, the easier it is for you to move around. However, when you’re a photographer, it can be quite challenging since DSLR cameras are quite heavy and bulky.
A smartphone can be all you need for your next landscape photography adventures. You just need to know how to find the best exposure along with other tips and you should be able to produce really great images.
In this guide, you’ll learn about the 15 best smartphone landscape photography tips for your next nature travel!
Tips for Landscape Photography Using Smartphone
Ready to get started?
Make sure to take note of the following tips. They’ll help you get the best landscape photos using just your smartphone.
1. Finding the Best Exposure
Sometimes when you shoot during the sun’s peak time, the exposure levels may be too much. You must do more than tap, focus, and shoot to have the best landscape images. iPhone users need to slide up or down the screen to adjust exposure levels. On an android phone camera phone like Samsung, find a light bulb at the bottom part and slide left to right to change the exposure.
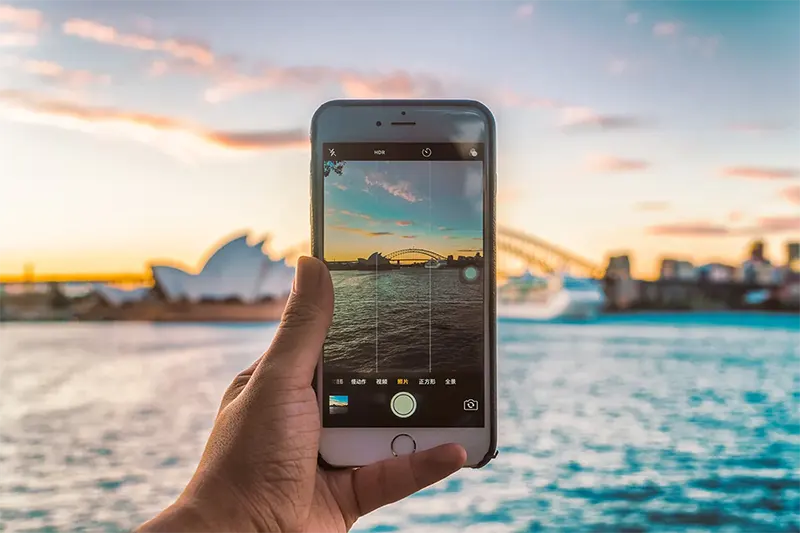
2. Use the Rule of Thirds
The next thing to do is to compose your shot. It would be better if you put a horizon line on your screen. Try searching on your settings app or directly within the camera app to add grid lines.
It would be best if you focused on your subject to make the rule of thirds. For instance, you want to take a flower with a landscape scene in the background. Often, we want to put the flower or the object at the center. However, in the rule of thirds, it will be more pleasing when the things are in the left-most or right-most quadrants of the grid lines.
Reading from left to right is ideal for putting your subject on the left vertical line. By doing this, your eye will be given a flow, which also conveys movement and direction.
3. Ensure a Straight Horizon
Aside from using the grid line feature for the rule of thirds, you can also use it to make sure to get the horizon straight.
As a landscape photographer, do this one right so you will save time in straightening up your smartphone images in the post-production.
4. Check Camera Settings
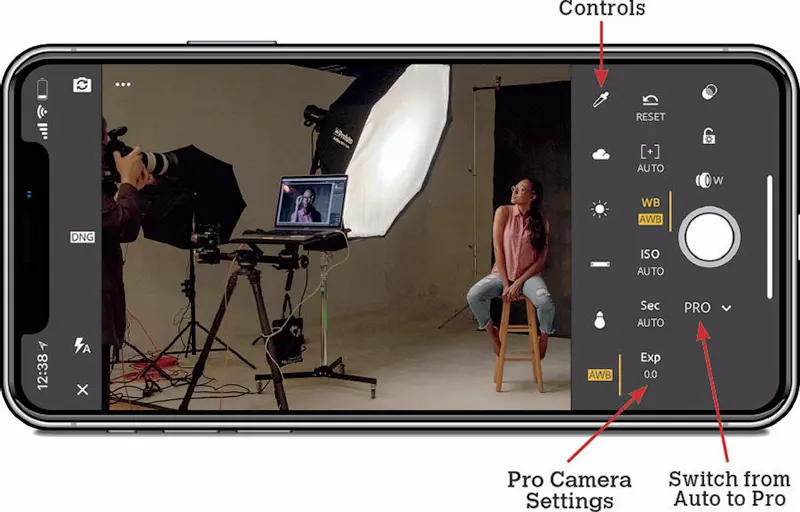
Your phone can undoubtedly take a great landscape photo in its automatic settings, but let’s push things a little further.
Change into the “pro” mode on your phone if it allows you to adjust settings manually. If it doesn’t, you can modify settings like ISO, shutter speed, and white balance using an app like Moment, Lightroom, or MuseCam.
In landscapes, altering the white balance is often crucial. Being able to tone down some of the highlights from a bright sky or bring up the shadows in the foreground is essential. You also need to know how to alter your white balance after you have taken the shot.
It will give you much more flexibility in your editing (particularly on occasions when you want to warm up the tones in a beautiful sunset, for example).
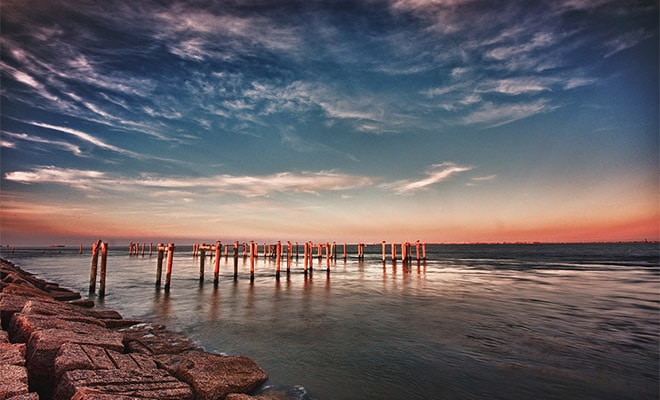
5. Shoot Too Early or Too Late
The time of the day is a significant factor in landscape photography. No, it is EVERYTHING! I suggest you check the night before what time the sunrise and sunset will be. Then, set your alarm to capture the sunlight slowly rising. Also, ensure you are in a gorgeous location on top of a mountain, near bodies of water, or by the beach.
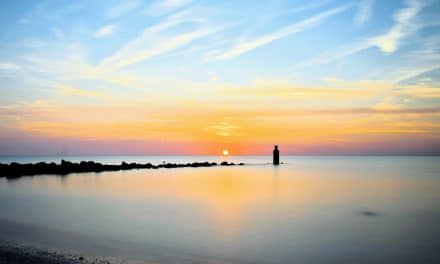
On the other hand, you can also stay out late. You will witness shades of yellow and orange when you wait for the golden hour. Note that midday is not a good time to shoot in raw format due to the shadows created by the overhead light.
6. Use the Autofocus or Auto Exposure Lock Feat
New smartphone cameras have the capability to autofocus subjects with every move of the lens same goes for the exposure. You can do manual control by tapping on the object you want to focus on, and the rest of the background will blur.
Long press the screen to lock in the amount of exposure and focus of your preference. This feature works well for iPhone mobile photography.
7. Try Wide and Zoom Lenses
You can also buy different interchangeable lenses available online or in tech shops to enhance your camera phone. Wide lenses enable you to widen and double the field of view. Meanwhile, telephoto lenses allow you to have a digital zoom without making the landscape photos pixelated.
Do not be afraid to experiment with your wide and zoom lenses in taking photos. Give it a try, especially since some smartphone cameras do not have a wide camera mode.
8. Post Edit Landscape Photos
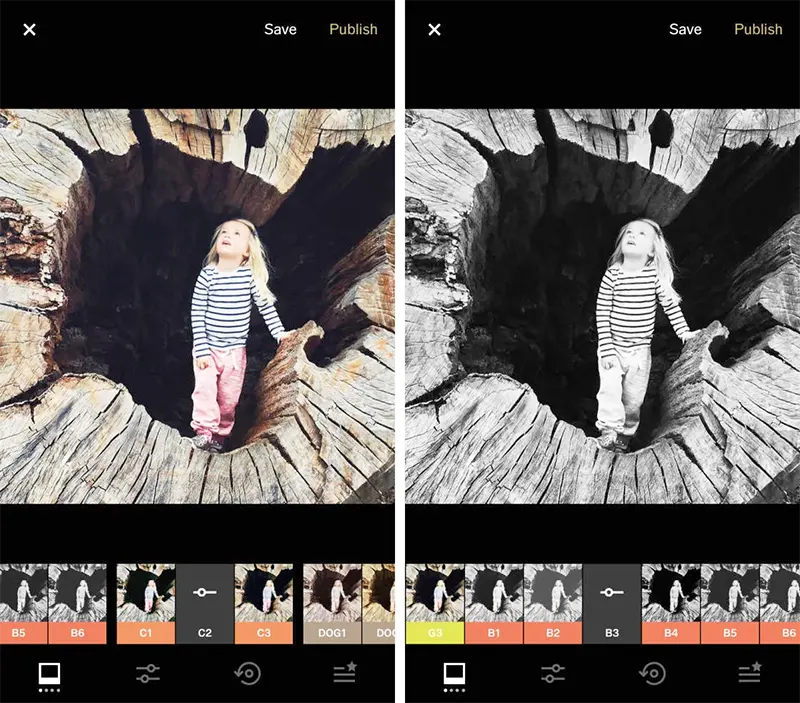
The debate about whether to shoot in raw and leave it as is or use editing apps has gone on for years. Some people would want to maintain the landscape photos they took without processing them afterward. However, did you know that you can enhance the scene’s colors when you post-edit the pictures?
There are free and low-cost editing apps available to install, like Snapseed and VSCO, with decent presets for landscape photography. VSCO is best used for minor adjustments like brightness, contrast, and sharpness. It will also let you adjust the filter intensity. You can opt for paid editing apps to enjoy more editing features.
Lightroom and Photoshop can help you remove distracting elements. You can use these editing tools using your phone and computer.
Therefore, you’ll need to load your images onto your computer anytime you need to make adjustments that demand more processing power, such as removing rocks, adding a dramatic sky, or making other changes.
9. Get Low
Since most mobile phones have wide-angle lenses, going close to the topic can make it much more intriguing. Your foreground will appear longer and more fascinating in your photos if you get down low. They will notice features that previously would not have stood out, like shrubs, flowers, and rock faces.
You may give your image a lovely balance by having the foreground and background meet in the bottom third. Mobile phones frequently include a thirds overlay that will help you do this more evenly while also assisting you in maintaining the alignment of the images.
The pictures don’t look all that attractive from above. However, the images seem more unique and intimate when you look at them directly down on your knees. It’s comparable to bending to take a child’s picture.
10. Use a Tripod or a Stabilizer
Did you know that a DSLR camera has a more prominent camera shake than a smartphone one?
On the market, most mobile phones offer built-in image stabilization. However, if your phone has a high-megapixel sensor, it tends to be very sensitive to motion blur. And it can give your sharp photos. However, this won’t eliminate motion blur if you utilize long exposures, time lapses, or other features.
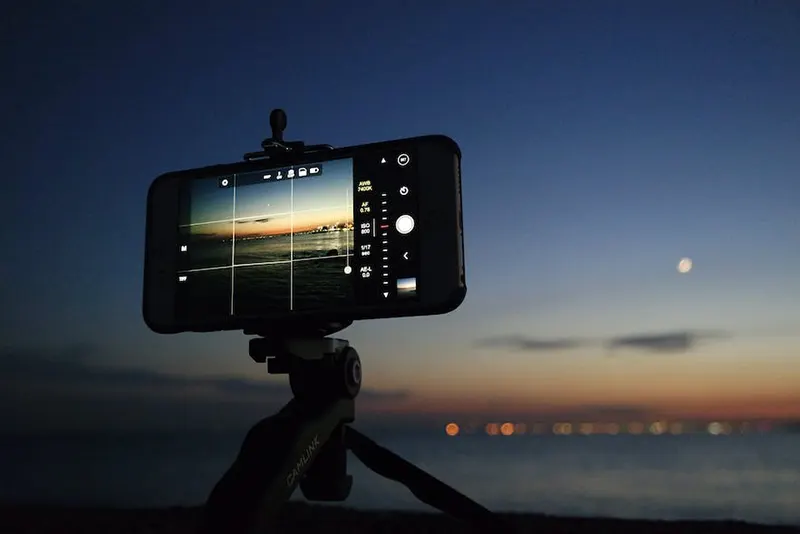
Invest in a good tripod or stabilizer. The ones for smartphones do not cost a fortune. Make sure they are also handy and not bulky for your light travels.
11. Try Timelapse
This type of shot is quite simple, thanks to built-in smartphone stabilization and computational photography, which eliminates all the arithmetic and post-production work. With the help of time-lapse photography, you may view the passage of time in precise seconds. You can observe patterns and waves in the sky in even a minute-long clip that are too sluggish to be visible with the bare eyes.
A tripod or phone stabilizer will be essential for creating excellent time-lapses. Set it up, pick the recording speed, then allow the phone to record for however long it is necessary.
Tips for using timelapse for your smartphone landscape photography:
5x Speed – capturing people and their emotions
10x Speed – when the photographer is on the move, like walking, running, on car rides, and even on planes.
30x Speed – works well when using a tripod to record motion in a city or other setting. Excellent for recording weather for 10 to 30 minutes. A 15-second video is produced after 7.5 minutes of recording.
120x Speed – for dramatic weather changes and fluctuating light conditions. Imagine converting a downpour into a beautiful evening. Thirty minutes of the recording are needed to create a 15-second video at this Speed,
12. Feature a Strong Foreground
Spend a few minutes looking around for something you can include in your shot to help the area come to life when you’re shooting your photograph at the top of the hill. In your scenes, look for foreground interest. In landscape photography, you can use things like tree stumps, moss-covered boulders, and even some gorgeous wildflowers to draw attention to a location.
13. Flip Your Phone to Get Close to the Water
This trick will leave you completely astounded. You need to come up close to the surface to see reflections in puddles. When you look down at them, all you will see is the sky, not the scene that is taking place in front of you. But if you don’t want to immerse the bottom half of your phone in water, the way we hold our phones naturally makes finding the puddles challenging.
So, to get around this, simply flip your phone over and start taking pictures! I also employ this technique when photographing tiny flowers, fungi, or other difficult-to-approach subjects.
14. Play with Distance in Smartphone Photography
Note: If your subject is a wild animal, disregard this advice. It would be best if you kept animals at a safe distance. If your background is dull, dimly lit, or very distracting, approach near and allow your subject takes up most of the screen.
Try to back up to a medium distance for dynamic action photos. Be in a position just far enough to fit your subject’s entire height in the frame.
Try backing up even more and using a person, animal, or item in the middle distance to produce a sense of enormous scale to highlight a beautiful background.
15. Try Burst in Moving Objects
When you have a moving objects like animals or vehicles in your smartphone photography, try using burst mode to capture them. It will give you a varied range of photo options.
Using the burst mode will reduce your chance of the camera shaking because you only need to touch the shutter when you start and stop taking pictures. As a result, you’ll be able to quickly shoot a series of photos that you may evaluate afterward to select the best and most precise ones.
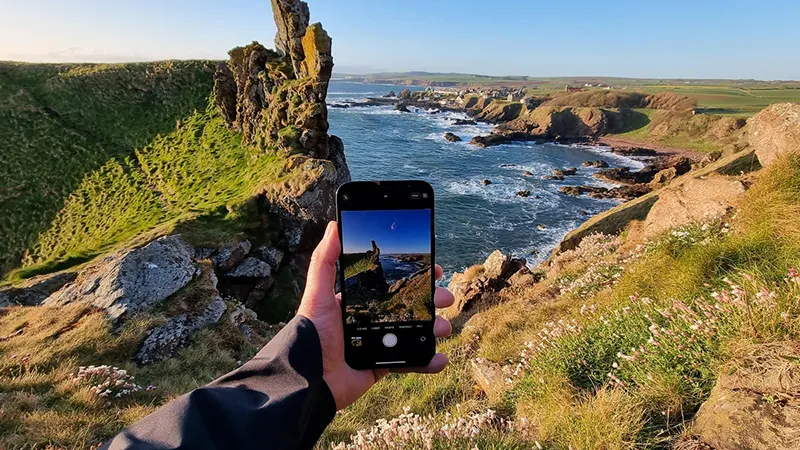
Know Your Smart Camera Phone
For all these tips to work, you need to know your phone. Smartphones have different camera settings and features. Most of the time, quality precedes price.
Although most cameras on the market have built-in stabilization, this won’t be sufficient to prevent motion blur when capturing long exposure photos, such as time-lapses and other similar photographs. Perhaps the best investment you can make to steady your smartphone and save time is to purchase a small, affordable phone stand or tripod.
Smartphone landscape photography
Using smartphone cameras in landscape photography is a very convenient way of taking photos. However, if you plan to do this often, make sure to have enough phone memory or storage for your editing apps and pictures.
Also, remember that the key to getting great photos lies in your camera sensor size. The quality of your images will improve as the sensor size increases. It would also be nice if your camera phone had a great night mode feature, even in dark scenes and low-light places.