In this article we’ll walk through the process of editing a sample sunset photo in Lightroom with the help of the workflow presets from the Landscape Legend Lightroom Presets. Landscape Legend is our extensive collection of presets for quickly processing your landscape and nature photos. The set includes 100 one-click presets for quick results, as well as a comprehensive collection of stackable workflow presets that give you endless possibilities while still helping you to speed up your workflow. Through this tutorial I’ll show how the workflow presets can help you to edit your photos in just a few clicks.
Want to learn step-by-step how to effectively process your landscape photos in Lightroom? See more about our video training course Lightroom for Landscapes.
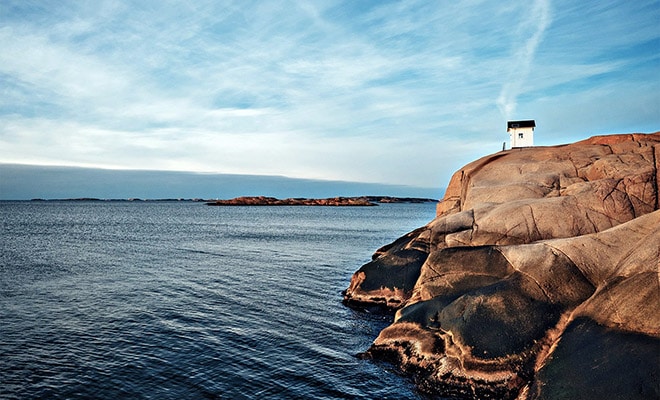
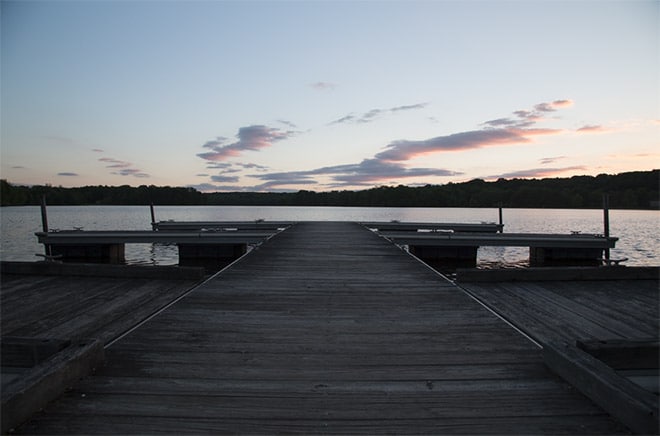
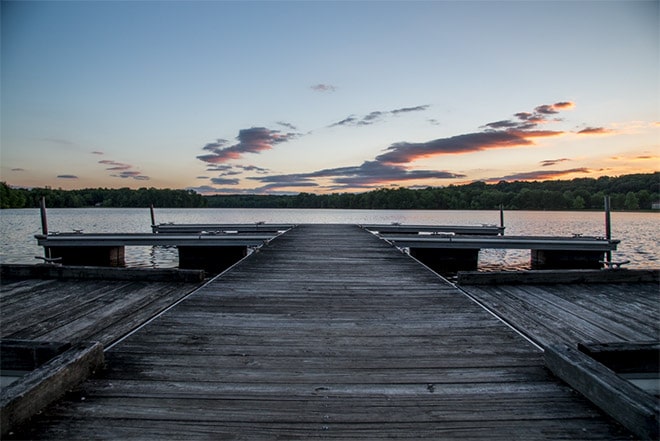
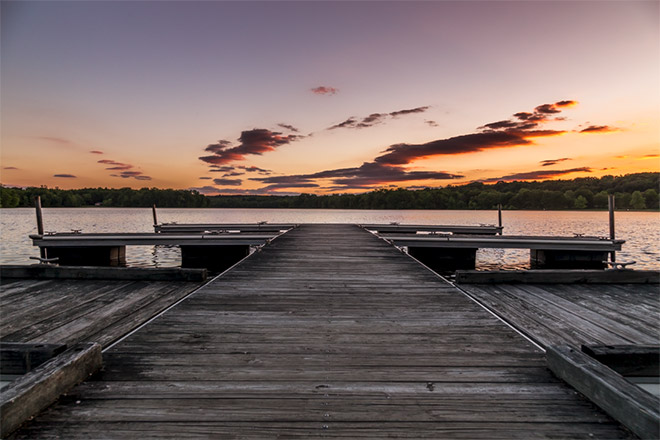
Here is a look at the before version of the photo.
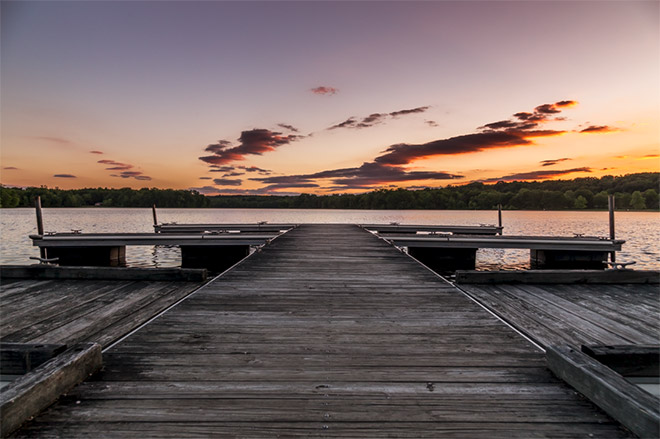
And here is a sneak peak at how the photo will look once we are done.
→ Related reading: How to Easily Boost a Blue Sky in Lightroom
Video Version
The video below shows the process, or you can keep reading the text version of the tutorial below the video.
After using the presets the photo is a lot more interesting and colorful. Let’s get started!
If you’re not familiar with the workflow presets from Landscape Legend, they are broken down into different sections, and the presets will only impact settings in their specific section. This allows you to “stack” them on top of each other, mix and match to get the best look for your photo.
→ Related reading: How to Process a Sunrise Photo in Lightroom
Step 1: Highlights, Shadows, Whites, and Blacks
For this photo we’ll actually skip each of the first three sections: black & white conversion, white balance, and exposure. We will leave all of those sections untouched and start by making a change in the fourth section, which is for tones.
The tones presets impact the settings for highlights, shadows, whites, and blacks. This photo is very dark in the shadows, so I definitely want to open up the shadows a lot. After trying the different presets that are available in the tones section I settle on the “bold HDR tones” preset, which really helps to increase the dynamic range and lighten those dark shadow areas.
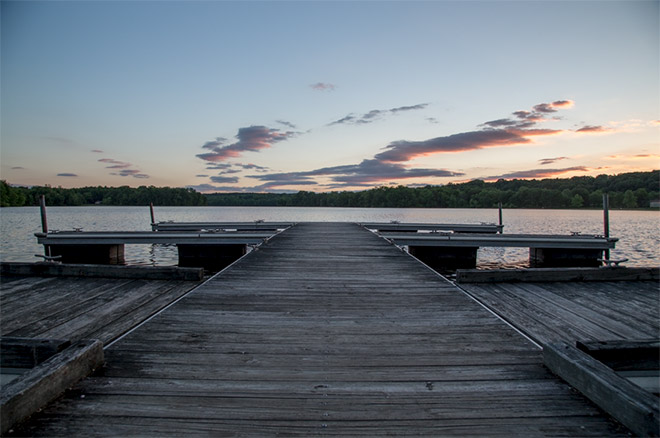
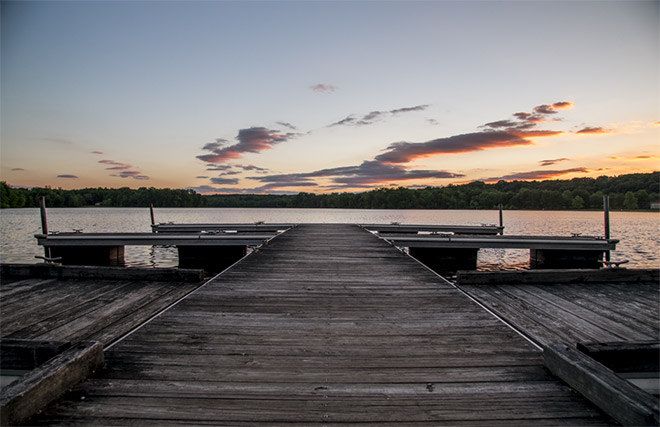
Here is the photo after the bold HDR tones preset.
Step 2: Contrast
Next, I’ll give the photo a slight contrast boost by using the preset “contrast boost – low”.
Step 3: Clarity
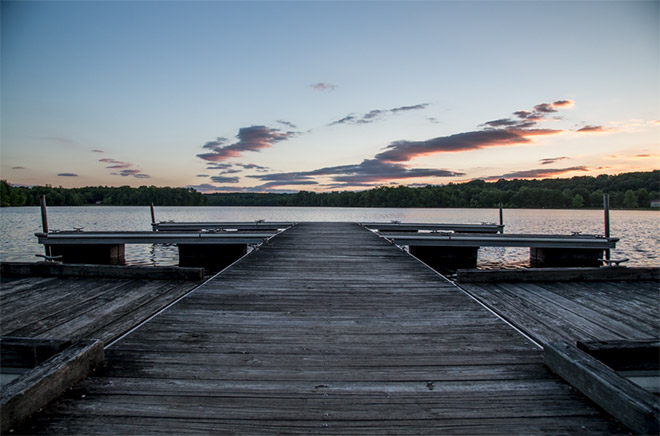
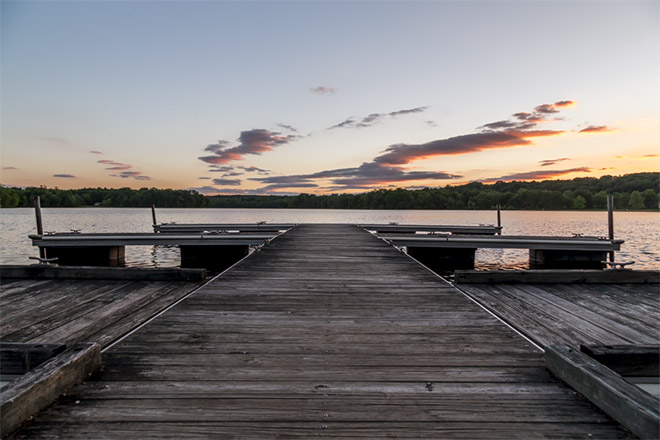
Moving on to the next section for clarity, I’ll use the preset “clarity boost – small”. This will give the photo a bit of a sharpened look without going to an extreme. At this stage the photo looks like this.
Step 4: Color Adjustments
I’m going to skip the preset sections for vibrance & saturation and curves because I don’t want to make any changes to those settings. That brings me to the section for color adjustments. The color adjustment presets are really useful for boosting specific colors in your photos. In this case, the color of the sunset could use a boost. The photo doesn’t accurately show the orange color that was starting to take over the sky during that sunset. I’m going to use the preset “autumn colors – soft”. Although this isn’t an autumn photo, the autumn preset will give a boost to the orange. That orange boost gives the effect I want for that sunset. After this change the photo looks like this.
Step 5: Split Toning
I’m going to use one of the split toning presets to warm up the photo a bit. This can help with the sunset. I’m using the preset “warming filter – light.” Now the photo looks like this.
Step 6: Sharpening and Noise Reduction
The next section of presets is for sharpening. I will use the preset “light sharpening”, which will add a small amount of sharpening, but nothing drastic. Moving on to the next section for noise reduction I will use the preset “light noise reduction”. Both of these presets are pretty subtle.
Step 7: Lens Corrections
In the lens corrections section I will click on both the “lens profile correction” and the “remove chromatic aberration” presets. The lens profile correction will fix a little bit of distortion and vignetting from the image. Removing chromatic aberration isn’t necessary with most photos, but using it doesn’t hurt. I typically apply the preset just in case the photo does have some chromatic aberration. Now the photo looks like this.
That completes my work with the workflow presets. I will now move on to the graduated filter presets for the finishing touches.
Step 8: Graduated Filters
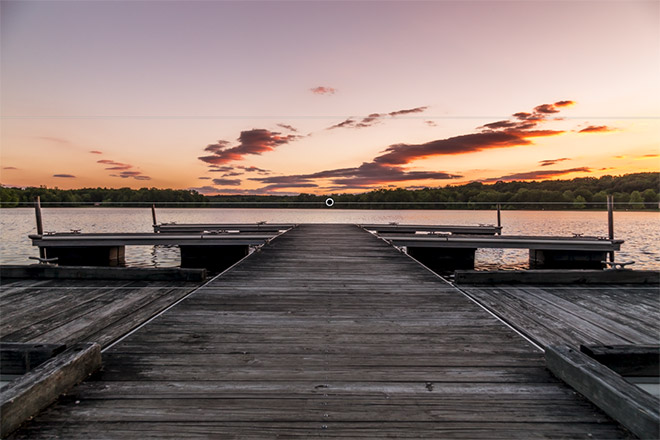
The graduated filter presets are really helpful for enhancing skies. That is exactly what I want to do with this sunset photo. There are several different presets included for improving sunrises and sunsets. I will try those different options and see what looks best. After seeing how they all look on the photo I decide on the “sunset orange – dramatic” preset. It really adds some orange to the sky, and adds drama by increasing contrast in the sky.
I’ll select the graduated filter tool (keyboard shortcut “M”) and move the center pin to line up with the horizon.
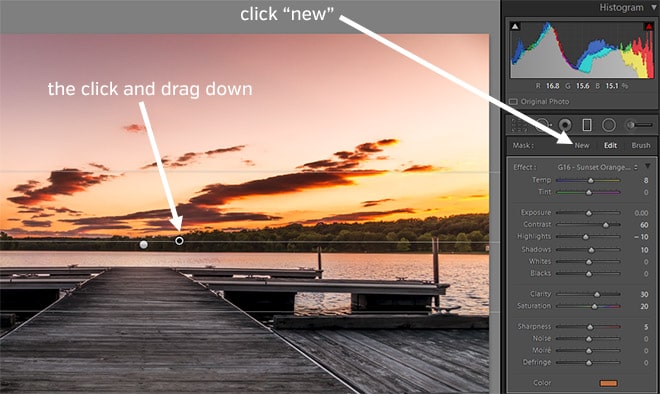
Next, I want to also use the graduated filter to add some blue to the sky. The graduated filter presets will only allow you to add one graduated filter, so I’ll have to add the second filter manually and then apply a preset to it. I’ll click on “new” to add a new graduated filter. Then I’ll click on the photo and drag down to create the filter. Then I’ll grab the center pin and align it to the horizon.
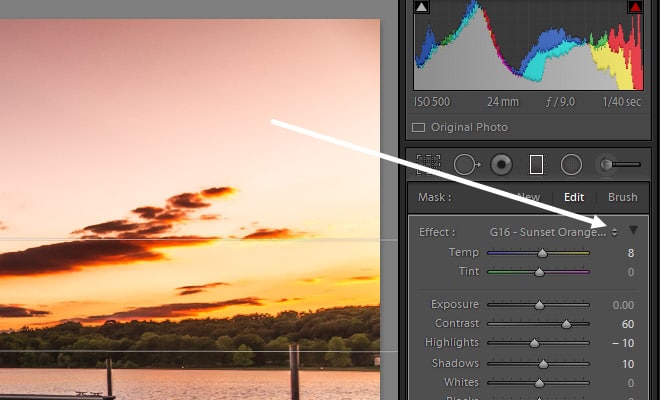
Now, when I added the 2nd graduated filter Lightrooom automatically applied the settings for the orange sunset preset to this filter as well, so I will need to change that. I’ll click on the arrow shown below to bring up the preset options. Then I’ll select the preset called “blue sky – light”.
After that change the completed photo looks like this.
In just a few minutes, with a small number of clicks, and without messing with Lightroom’s sliders I was able to completely process this landscape sunset photo with the Landscape Legend Lightroom Presets. If you’re interested in seeing more about the presets and how they can help you, please go here.