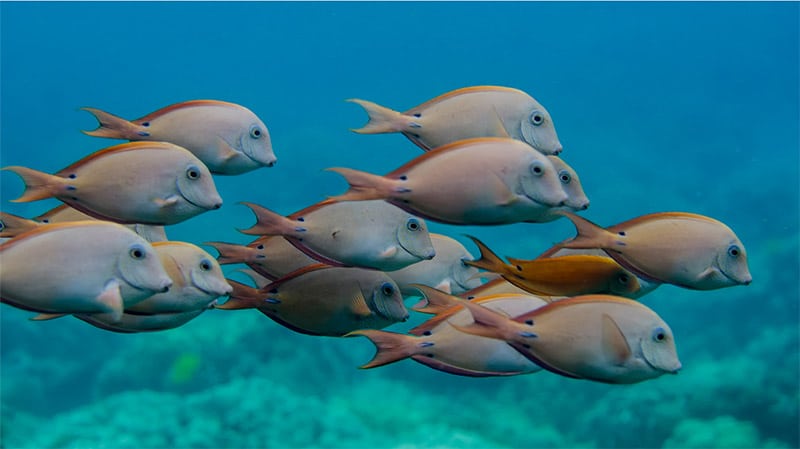
School of fish in Hawaii. Photo by Tiffany Mueller
Enjoying a nice afternoon snorkeling in crystal clear water may sound like a fun, relaxing activity to do and, in fact, it is. That is until you decide to introduce your camera into the equation. Then, all of the sudden, your easy breezy day paddling around in the ocean becomes more of a technical task that requires an entirely different set of specialized skills. Luckily, we’re photographers–the challenge is all part of the fun!
If underwater photography has piqued your interest, awesome. To help inspire you, I want to share some tips along with some of the things I wish I had known when I first started in underwater photography. You can use it to avoid some common mistakes and pitfalls, making sure your introduction to underwater photography goes swimmingly. (Sorry, I couldn’t resist…)
Get Insurance. Period.
This is the one thing I learned the hard expensive way. After drowning my first expensive DSLR due to a leaky and poorly made housing (more on that next), I vowed to never be without insurance on my underwater gear again. It’s a minor investment in comparison to the amount of money it takes to replace an entire underwater rig out of pocket.
A quick Google search will yield plenty of results for insurance companies–shop around and find one that works for you and is in your price range. Do some independent research on the companies to make sure they are reputable. You should also check your homeowner’s insurance policy, as it may be possible your camera will be covered in it.
Regardless of who is insuring your gear, go out of your way to ensure the policy specifically covers “flooding”. That is, water seeping into the housing and flooding your camera. Some policies don’t, which almost negates the point of having insurance if the camera will be used in or around water.
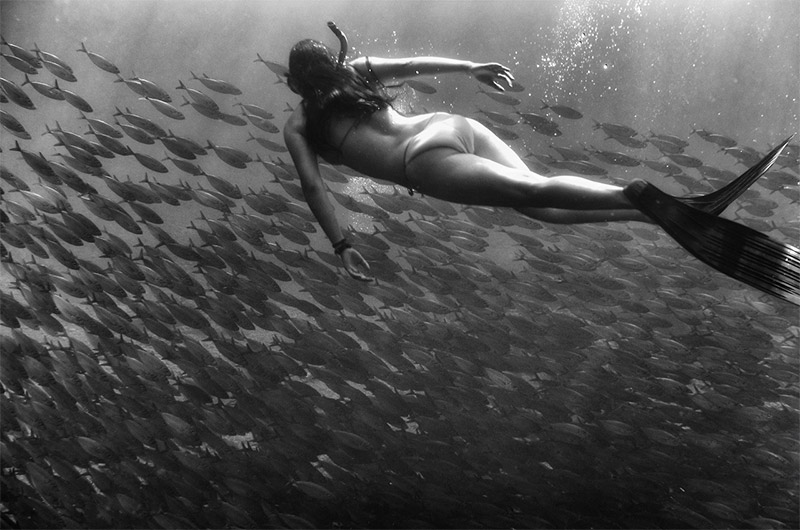
Swimming with a school of akule (big-eyed scad). Photo by Tiffany Mueller
A Good Housing Is Almost As Good As A Good Insurance Policy
Like a tripod and lenses, an underwater housing is one of those things you aren’t going to want to pinch pennies on. Buy the best one you can afford. Don’t experiment with off-brand products–like I did. Really, learn from my mistakes.
If underwater photography is just going to be a rare occurrence in your life and you don’t want to drop a couple thousand dollars on a hard case, you may consider purchasing a soft case, such as an Outex or DiCaPac. Just keep in mind, these soft, pouch-like cases will not perform well much deeper than 3 or 4 feet from the surface, as the water pressure will start to push buttons on your camera for you. If you can afford a quality hard case, make that investment, especially if you will be using it regularly.
The peace of mind I get from my Ikelite housing was well worth the cost.
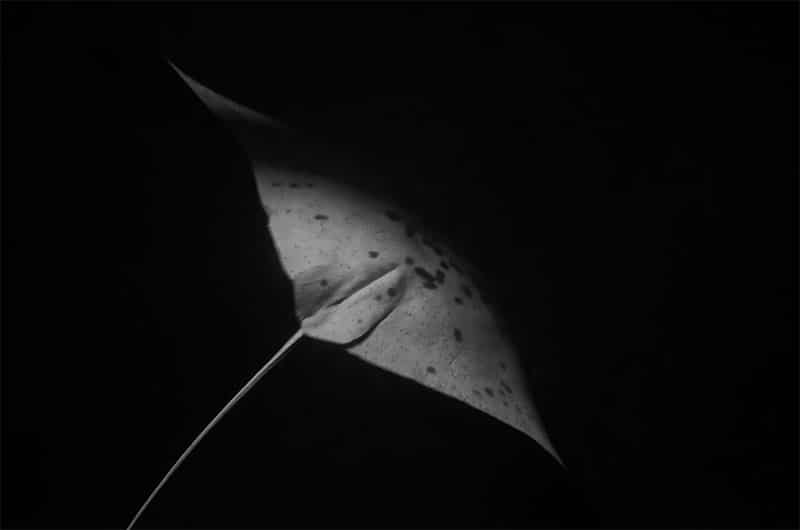
Manta ray photographed during a night dive. Photo by Tiffany Mueller
Shooting Tips
Now that you’ve got your gear sorted and protected, let’s talk about a few shooting tips to help you get some great shots right from the get go.
1. First and foremost, make sure you’re shooting in RAW. This will make editing your underwater shots go a lot better as you will more easily be able to recover some of the colors and shadows. I typically set my white balance to AUTO and make adjustments in post production.
2. Shoot early in the morning, between 7:30AM and noon, when the sun is high and the natural light is at it’s highest. You’re going to want all the light you can get! Once you go deeper than about 5-feet, you’ll start to lose the reds in your images. Using a strobe or flash will help counteract this. Just use lights responsibly when photographing wild animals.
3. Get in as close as safely possible to your subject. Sometimes this can mean within inches, sometimes it’s a much greater distance. But getting in closer to your subject will make them appear more vividly in the composition as well as helping eliminate backscatter.
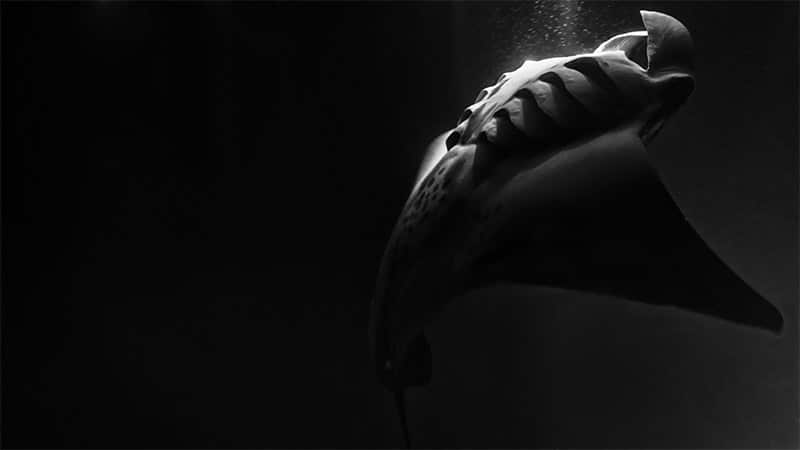
Manta ray eating plankton during a night dive in Hawaii. Photo by Tiffany Mueller
4. Additionally, shoot in manual mode. If you’re not sure how, practice on dry land until you’re comfortable setting ISO, aperture, and shutter speed without assistance from your computer’s camera. It is next to impossible to get the photos you want to take shooting in AUTO mode. Don’t limit your creativity to the level of a computer’s.
The Photos Will Come To You
One last thing to keep in mind is to not waste too much energy on trying to set up shots or go searching for a specific vision you may have come up with. When you’re underwater, you’re not really in control of what’s going on around you. Humans are completely out of our elements underwater–so go with the intent to be a tourist. Take your time looking at every little thing that catches your eye. Just pay attention to what’s going on and photo opportunities will present themselves!