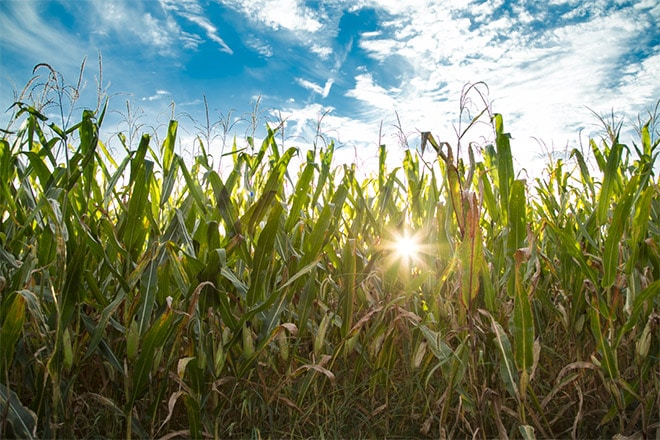
One of the most common things you will want or need to do when processing your landscape photos is to enhance the sky. This could involve improving the colors of the sky during sunrise or sunset, or simply giving a dull blue sky a little more life. Skies are obviously an important element in most landscape photos, and Lightroom makes it pretty simple to work with skies. In this tutorial we’ll be looking at two different approaches you can use to boost or enhance a blue sky.
It’s not uncommon to have photos where the sky is a little lacking, but if you are comfortable with a few simple tools in Lightroom you can drastically improve your landscape photos in this way.
Want to learn step-by-step how to effectively process your landscape photos in Lightroom? See more about our video training course Lightroom for Landscapes.
Option 1: HSL Settings
Probably the simplest way to add some life to a dull blue sky is to work with the sliders in the HSL (hue, saturation, and luminance) section of Lightroom’s develop module. This will allow you to enhance the blues simply with one or two adjustments. It’s important to note that this approach will only work if the sky in your photo does contain some blue. It will allow you to take a dull blue and make it more bold. However, if the sky is totally gray or washed out this approach will not work, because there will be no blue in the sky to work with.
It’s also important to note that the changes you make here will impact all blues in the photo, not just the sky. As a result, this approach typically will work best when you do not have a lot of other blues in the photo.
→ Related reading: How to Edit a Sunset Landscape Photo in Lightroom
Let’s take a look at an example. Here is the “before” version of the sample photo.
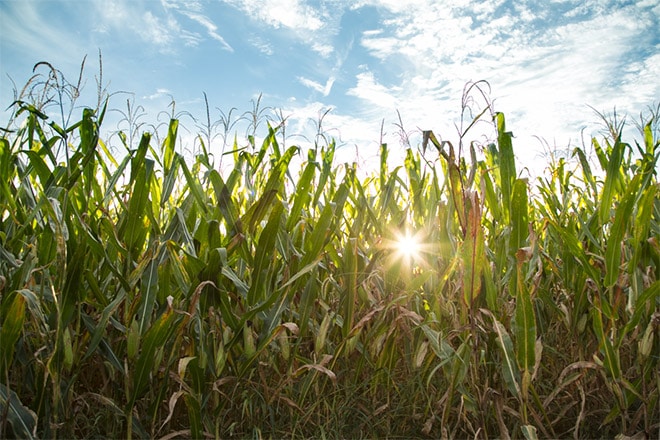
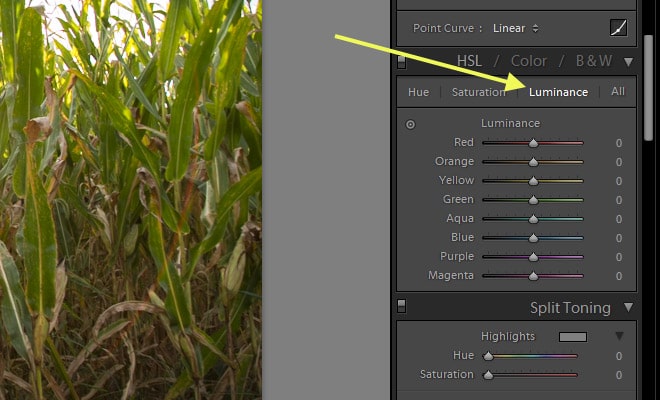
I’d like to enhance the blues in the sky to increase the contrast with the clouds. To do this I’ll go to the HSL settings and select “luminance”.
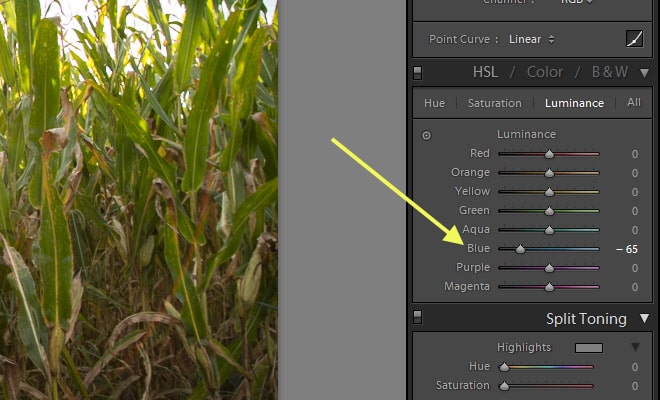
Now pull the slider for blue to the left. The setting that you want to use will depend on your photo and also on how strong you want the effect to be. I’m going to set it at -65.
After that change the photo looks like this:
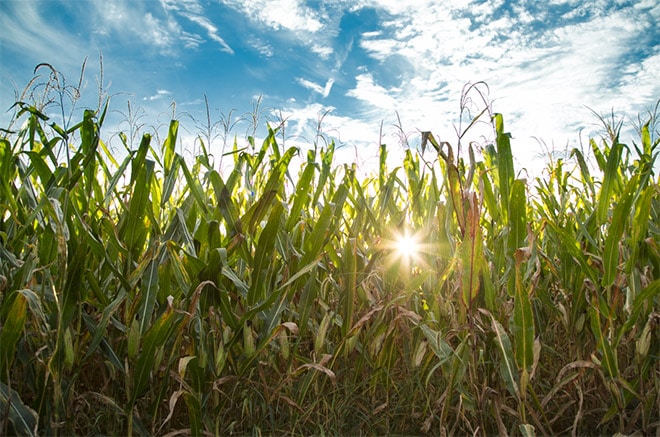
Depending on your photo you may also want to adjust the settings for aqua, but in most cases simply adjust the blue slider will do.
Next, click on “saturation”.
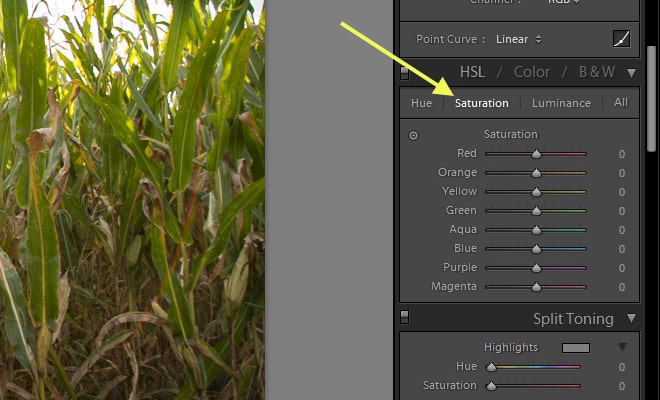
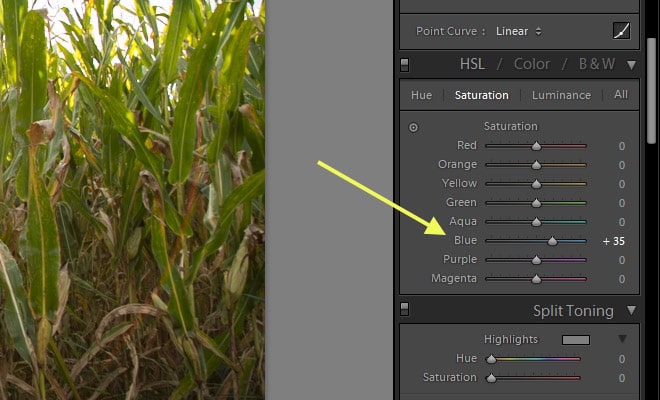
Move the blue slider to the right to add saturation to the sky. Again, the amount that you want will vary from one photo to the next. In this case I am setting it to 35.
And that’s it! Here is the end result:

If you want a really easy way to boost blue skies with HSL settings our Landscape Legend Lightroom Presets include presets that will take care of the work for you.
→ Related reading: How to Edit a Sunrise Landscape Photo in Lightroom
Option 2: The Graduated Filter
The graduated filter tool is ideal for enhancing skies, especially when the photo has a fairly straight horizon. With the graduated filter you will have greater control than you will be using the HSL settings, and the graduated filter can also be used for enhancing sunset colors or adjusting exposure selectively.
Let’s take a look at an example, using this sample photo:
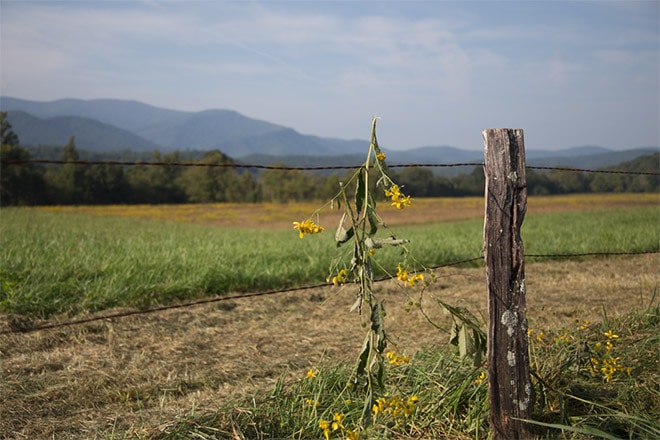
Click on the icon for the graduated filter tool, or use the keyboard shortcut “M”.
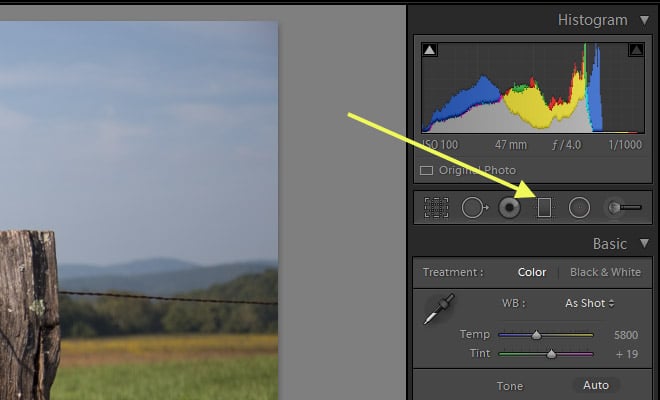
Now the first thing you’ll need to do is apply a graduated filter to your photo. Click near the horizon and drag down and then release your mouse. Don’t worry too much about the exact placement at first because you can adjust it after you have added it to the photo.
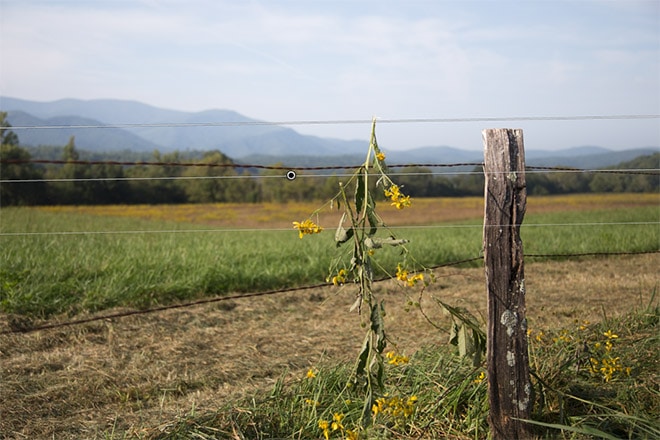
Once you have the graduated filter added to the photo you can line it up more accurately. You want the middle line to be right on the horizon, as close as possible. The graduated filter will impact only one in one direction. In this case it will impact the area above the horizon (above the middle line) without impacting the area below.
If you want to make sure that you have it facing the right direction move the exposure slider all the way in one direction. You should see the change at the top half of the photo if you have it facing the right direction.
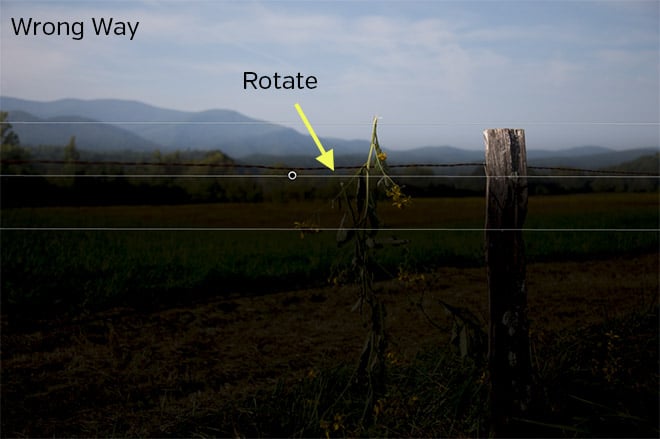
If you see it impacting the bottom half of your photo you can adjust it by hovering the mouse over the middle line until you see a half circle with arrows at each end. When you see this, click and rotate to change it so the filter is impacting the top of the photo.
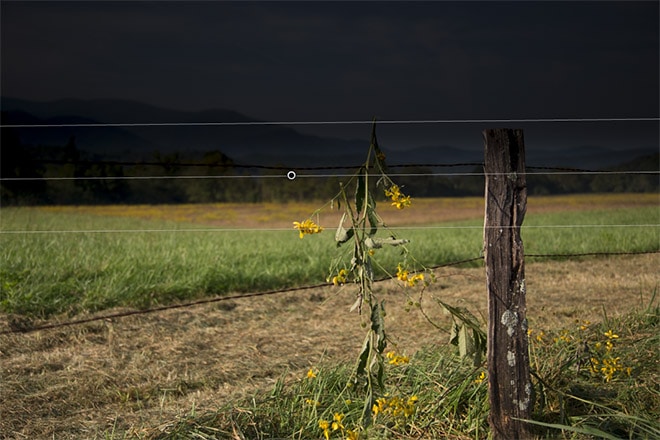
To adjust the middle line, click on the center point and drag it.
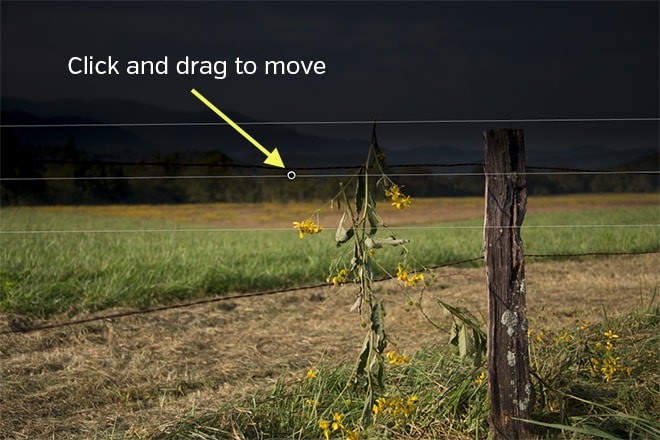
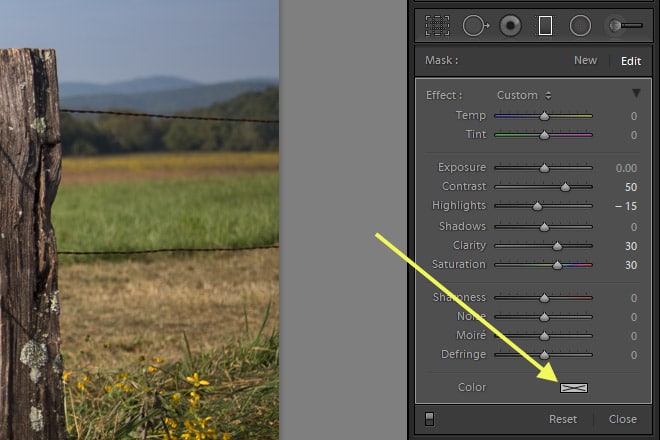
Ok, now we can start making our adjustments. Here are the settings that I am using with this sample photo:
- Contrast: 50
- Highlights: -15
- Clarity: 30
- Saturation: 30
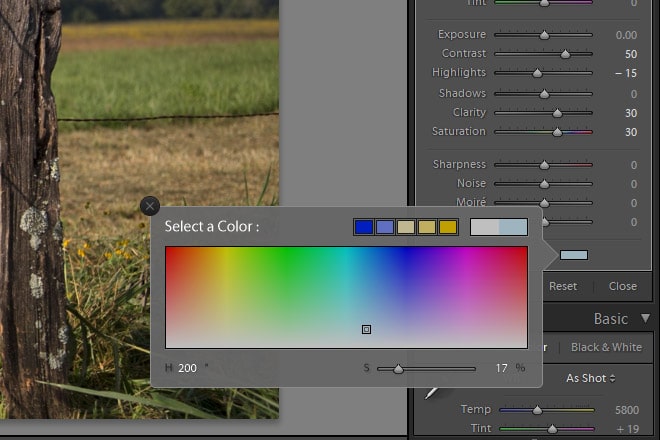
Next, we’ll add some color. Click on the icon at the bottom next to “color”.
From here you will be able to select the color that you want to use. You can click around and try different colors to see how thy effect your photo.
And here is a look at the end result:
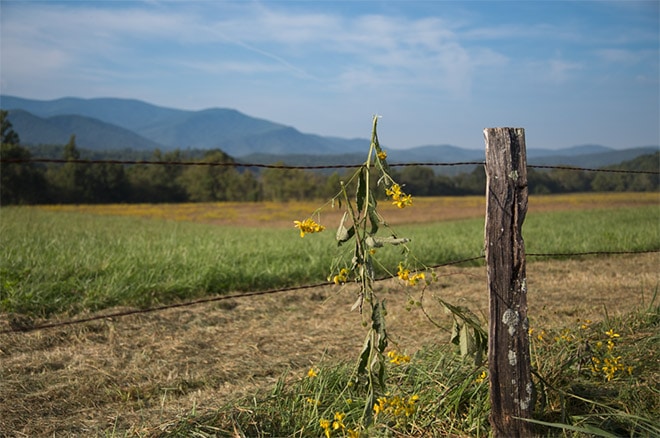
So when you want to add some life to a dull blue sky, these are two different ways that you can do it. Our Landscape Legend Lightroom Presets also include some graduated filter presets for boosting blue skies, enhancing sunsets, and much more.
→ Related reading: How to Effectively Replace a Sky Using Photoshop





Hey Marc,
You mentioned about presets in HSL settings. Are they like filters?
Awaiting your response and thanks.