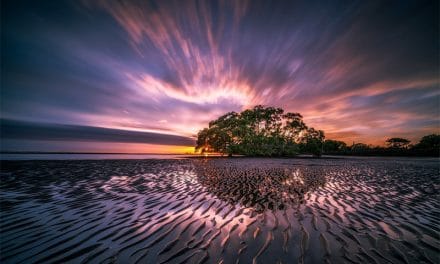
photo by: pixabay
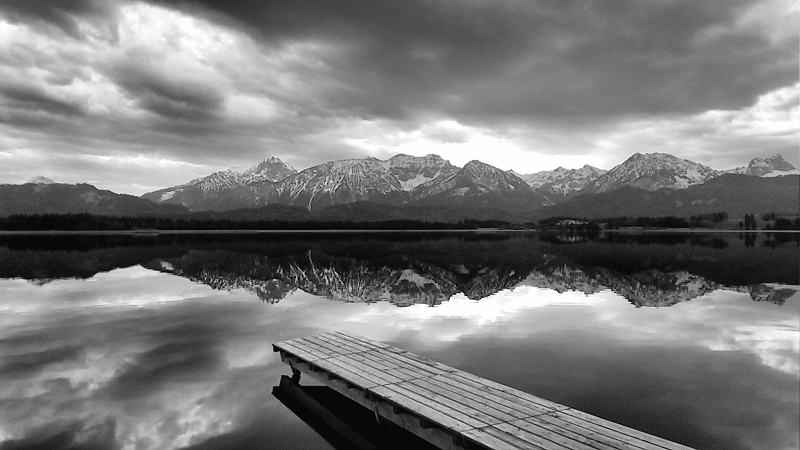
Color is wonderful, but there’s something truly spectacular about a good black and white landscape. Timeless and striking, black and white images have a unique flair and distinctive artistic beauty all their own.
Part of the appeal of black and white, is that the absence of color helps to narrow your focus onto the other aspects of the image. The composition, contrasting elements, shadows, and more all become more prominent in black and white images, without the distraction of color.
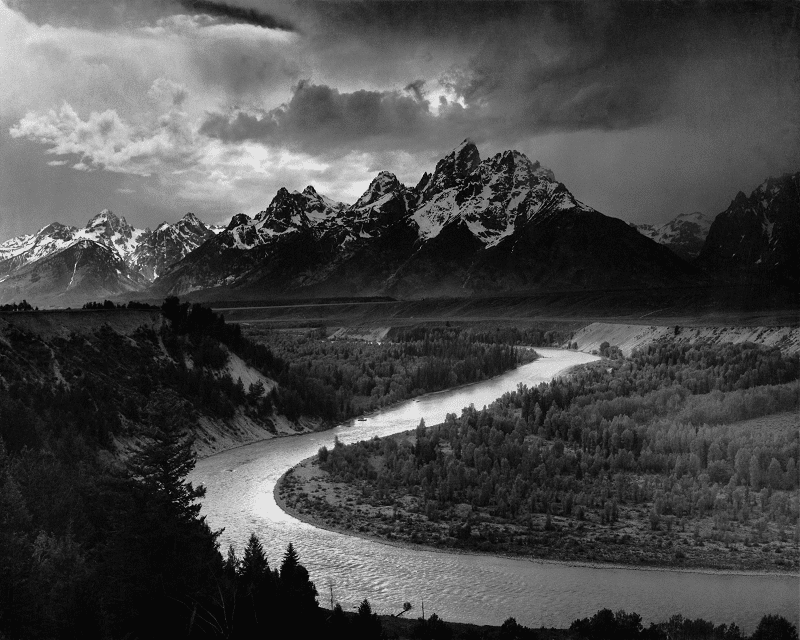
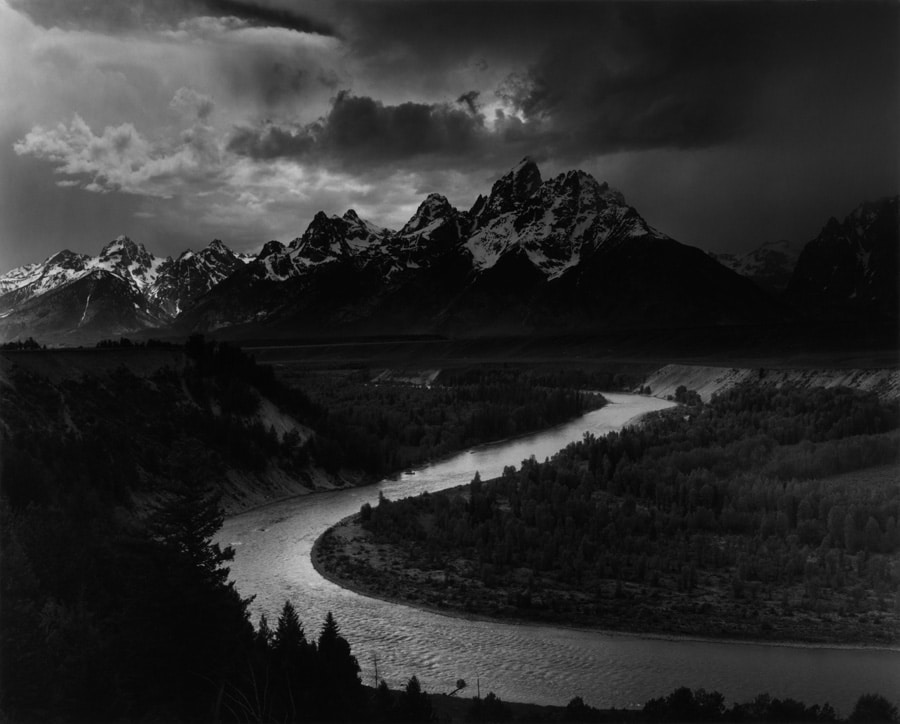
photo by: Ansel Adams
“The Tetons and the Snake River” (1942) Black and white image by landscape master Ansel Adams
However, the key to a good black and white image –is doing it right. Just as wonderful as a good black and white image can be, a black and white image with a week composition, distracting elements, or lackluster post-processing –can have the exact opposite effect, resulting in an image that’s dull and uninspiring.
If you are looking to take your black and white landscape images to a new level, here are a few tips that you’ll want to keep in mind to help you get off to the best start possible.
Compositional Tips
Creating black and white imagery successfully requires you to see the world a bit differently –through a black and white lens if you will! Here are a few key tips that you’ll want to keep in mind when capturing black and white images.
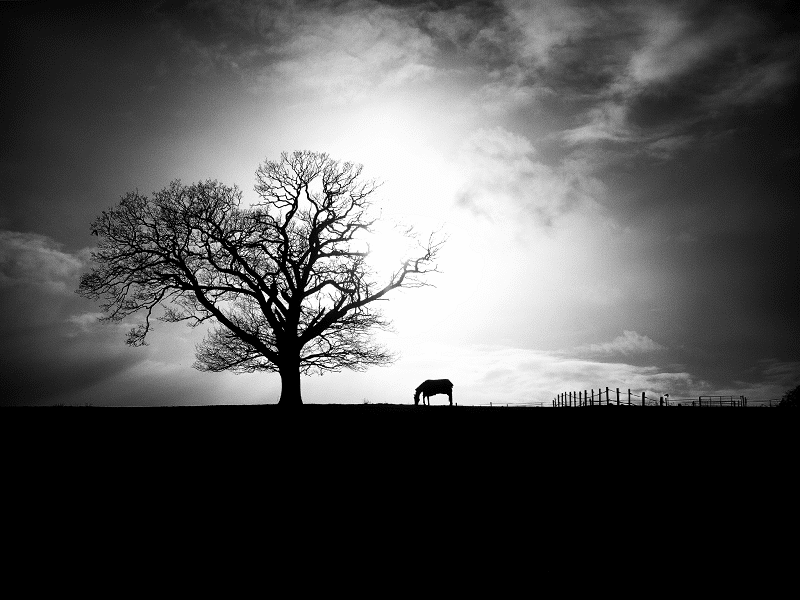
photo by: Nick Page
• Look for Contrast
Black and white photography relies heavily on the use of contrast. When capturing black and white images, look for contrasting elements that you can incorporate into your compositions. This includes contrasting tones –light and dark, contrasting shapes and elements, or textures –rough and smooth! Using them together can create a more powerful composition.
• Keep It Simple
Black and white images often benefit from a simple layout. Since everything in your scene is reduced to a monochromatic color palette. Instead of asking yourself how to add more –ask yourself instead if there’s anything that you can remove for a tighter layout.
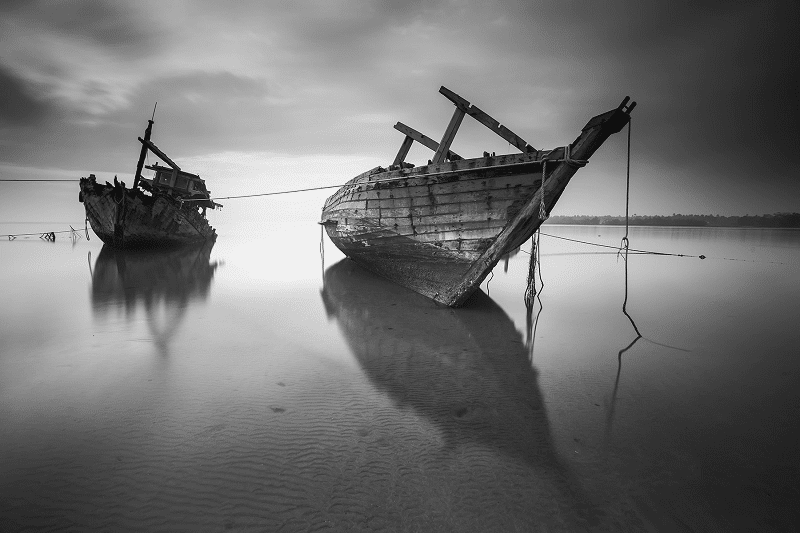
photo by: Zukiman Mohamad
• Focus on Shapes and Form
In monochromatic landscapes, the lack of colors means that focus will be on shapes and form, so try to look for strong subjects or elements to feature in your images. A jagged mountain peak, for example, looming against the backdrop of a wild and imposing sky, or the ominous form of a lone oak tree in a field. Trying to reduce all distractions in your images, with a focus on form and shape can help you to create more striking images.
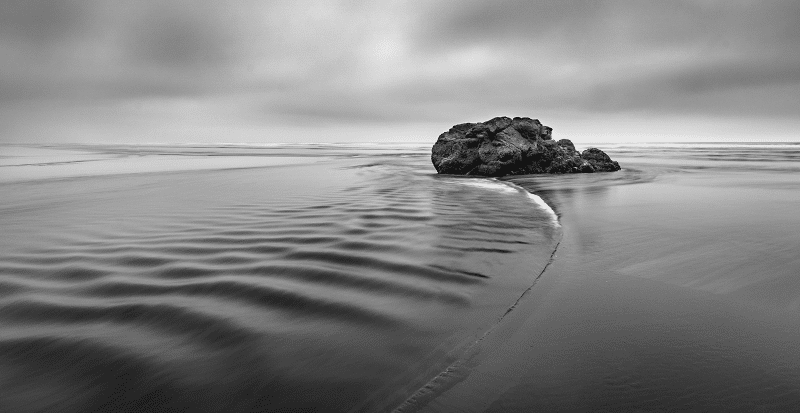
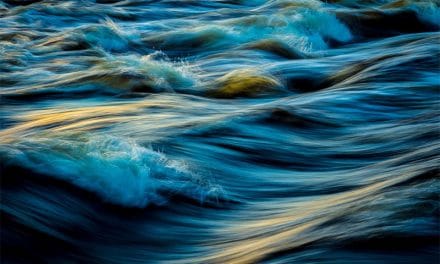
photo by: Joey Kyber
• Consider a Long Shutter Speed
Long shutter speeds lend themselves well to black and whites. When photographing moving water or clouds, consider slowing down your shutter speed and capturing some long exposures. You may find it useful to use a neutral density (ND) filter to help reduce some of the light when photographing in bright lighting conditions.
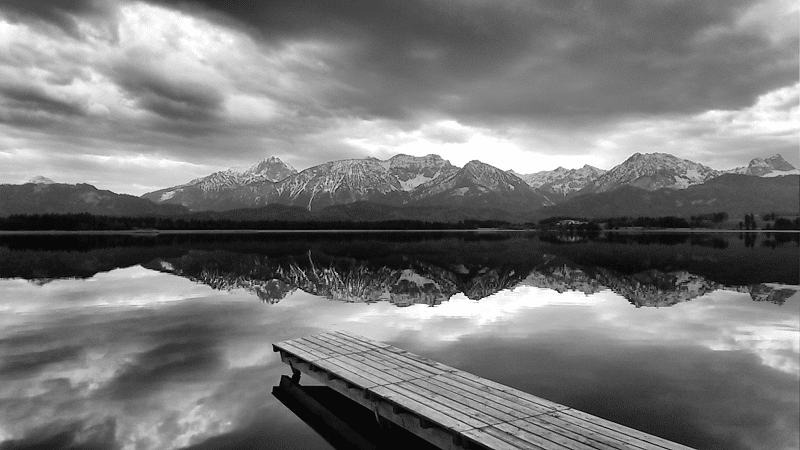
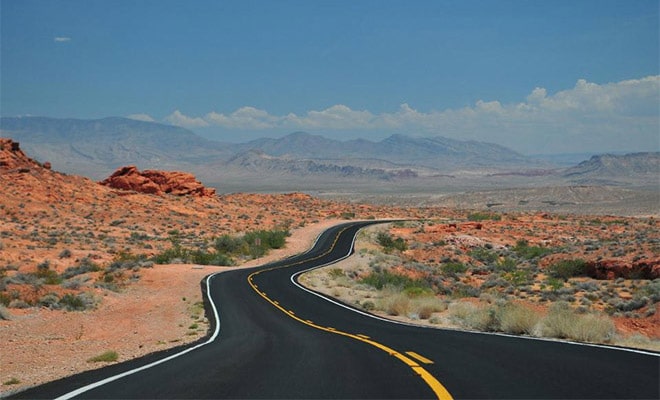
photo by: pixabay
• Consider the Lighting
While most images can benefit from spectacular lighting, with black and whites, excellent lighting doesn’t matter quite so much. Flat, dull lighting from a dull, overcast or dark day works fine for black and white images. Still, keep in mind that dramatic lighting can produce optimal results. Consider the direction of lighting, when composing your images –for best results, look for side-lighting, or backlighting, when the sun’s dipping behind clouds or a mountain.
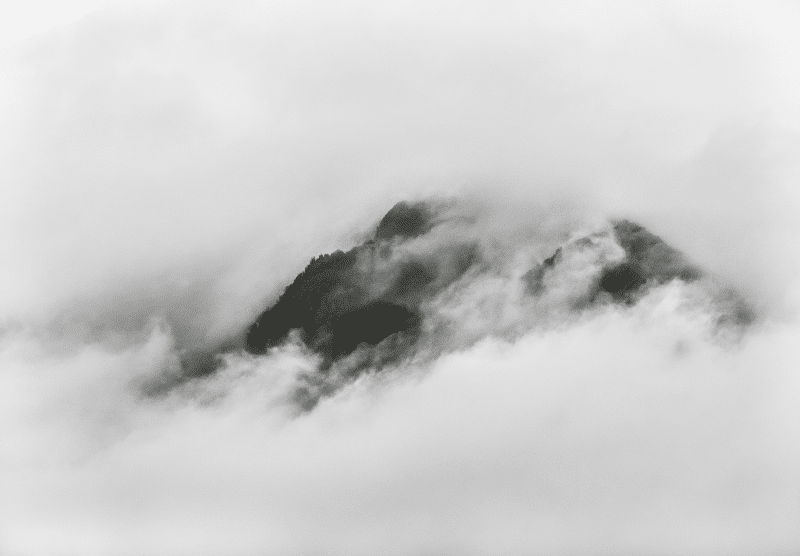
Photo by: Tyler Lastovich
• Look for Early Morning Mist
Misty mornings are an ideal time for capturing black and whites! The mist takes on an ethereal appearance when captured in black and white, resulting in some beautiful images.
How to Capture Black and White Images: Image Formats
There are three main options when it comes to creating black and white images, capturing images in either RAW or JPEG, and then converting them later; or switching your camera to monochrome mode and creating black and whites directly in-camera.
Each method has its own set of pros and cons.
• Monochrome – Monochrome offers the benefit of simplicity, and is ideal if you’re just getting started –plus you’ll have the added benefit of being able to see your composition in-camera in black and white, saving you from having to guess how it will look. The downside is, your camera will create the black and white, not you, so you’ll have less control over the resulting image.
• RAW – Shooting in RAW will give you more flexibility when post-processing, and is ideal if you’re looking for the most control over the resulting images. For example, you’ll be able to recover details that are lost in shadows, or fix highlights. You’ll also have tremendous flexibility in terms of how you process your image as you turn it into black and white, something that can mean the difference between a flat image and one that’s truly striking.
• JPEG – Finally shooting in JPEG, standard camera format is another option. While you’ll have less flexibility in post-processing when adjusting JPEG images, you’ll still be able to turn them into monochrome images later on.
Tools and Tips for Capturing Black and Whites
Finally, here are a few tips and tools for helping you to capture black and white images more effectively.
• Consider a Polarizer
In some cases, a polarizer can be a great tool for taking your black and whites up a notch. Use a polarizer for a bit more contrast between the clouds and the sky; or, to remove unwanted reflections from the surface of the water.
• Use a Wide-Angle Lens
There’s no substitute for a wide-angle lens when it comes to spectacular black and white photography! Be sure to get down low and include some interesting foreground to help add interest to your image, and create a composition that draws you into the photo.
• Don’t Neglect Post-Processing
Finally, post-processing is your secret weapon for transforming an everyday image into a sleek and polished one. You can download a preset and use it to transform your image, or adjust the image manually to get the results you’re after.
At the end of the day, the best black and white images are ones where the composition truly benefits from black and white. Remember, in the absence of color, you need strong elements and a good use of contrast for an image to work, so try to keep an eye out for those ideal photo opportunities. On the other hand, often images that didn’t turn out quite like you were expecting, will sometimes work well as black and white. So don’t forget to experiment with turning images into black and whites in post-processing. You just might be pleasantly surprised!
Salvaging Images: Black and White is Your Secret Weapon
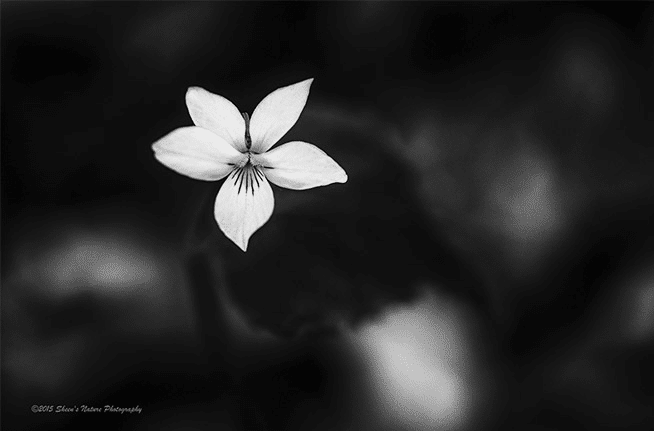
photo by: Sheen’s Nature Photography
Another amazing thing about black and white photography is that it can drastically transform your images –especially the ones that already have something special about them.
The two images below are an example of an early morning sunrise that had interesting colors and clouds. Multiple angles and distances were taken so that there was plenty to choose from in post-processing. The morning had an edgy, breezy feel. In color, the wide-angle image felt nice and gentle. With the color version, I selected the image that was closer to the chairs on the dock as it needed substance.
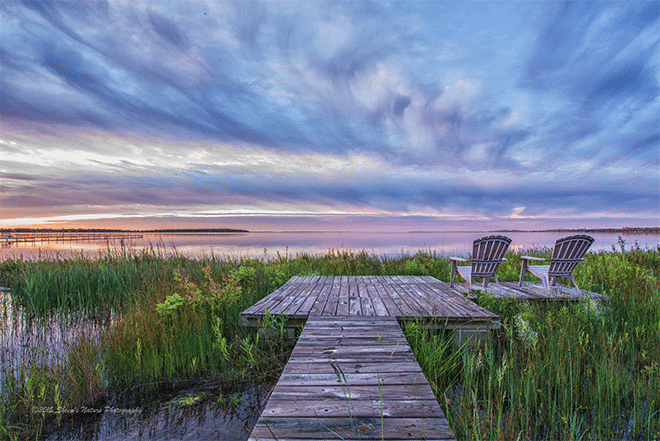
photo by: Sheen’s Nature Photography
The edgy sensation became more apparent when processed in black in white. Black and white brought out mood and a little bit of drama that I was trying to capture initially. Using the photograph where the chairs were in the distance enhanced the vast, moving sky.
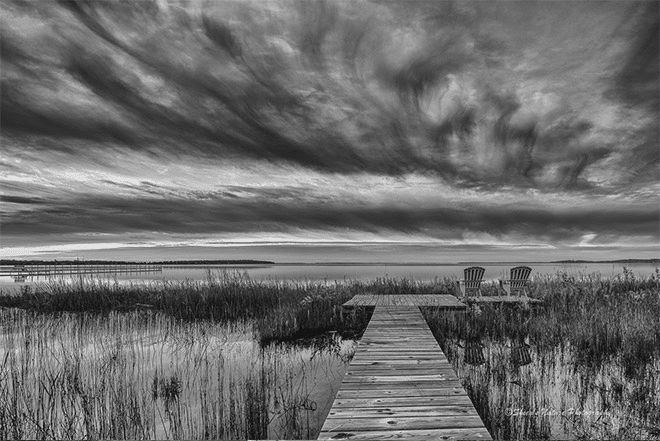
photo by: Sheen’s Nature Photography – Lens & Settings: Nikon 14-24mm, ISO 50, f/22, 2.5 sec
There are many photos that should quickly go to trash to maximize our efficiency and keep our hard drives free of unnecessary clutter. There are some images that are diamonds in the rough. Processed in black and white, the subject emerges with impact.
Woodland flowers represent the early signs of spring and summer. The tiny white violet has a face with lines, texture and soft petals. Take a look at the same flower processed in color and then in black and white.
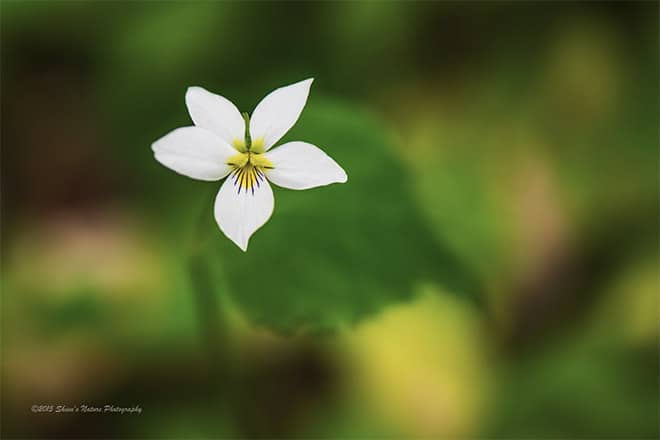
photo by: Sheen’s Nature Photography
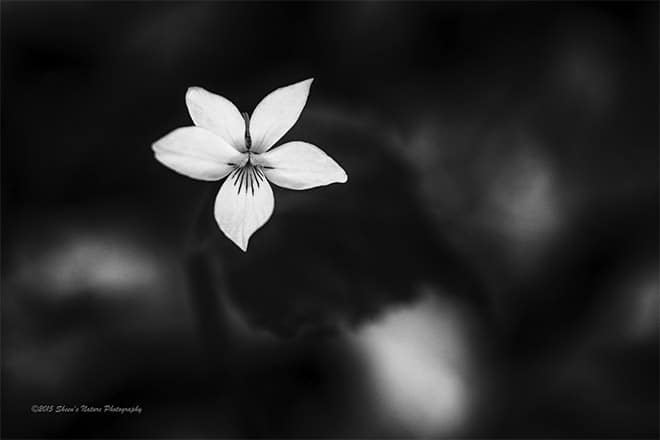
photo by: Sheen’s Nature Photography – Lens & Settings: Nikon 105mm, ISO 250, f/4.0, 1/640 sec
Switch.
For those images that you hesitated to hit the delete key, try switching it to black and white. There’s fast and easy ways to preview it quickly to determine if you want to spend additional time processing in black and white. These include:
• Lightroom using their provided presets underneath the Navigator panel. As you scroll down the presets, the changes will appear in the Navigator screen.
• Lightroom using the panel adjustments. Under the HSL panels, take the saturation sliders all the way to the left. In addition to turning the image to black and white, this is a fun way to get creative with edits.
• Lightroom using the Saturation slider under Presence in the Basic panel. Move the slider all the way to the left and all the colors will fade to black and white.
If you don’t already have Lightroom you can download a free trial here.
All of the above take a few seconds to apply and further edit to your personal preferences.
For people photography, the quote by Ted Grant resonates:
“When you photograph people in color, you photograph their clothes. But when you photograph people in Black and white, you photograph their souls!”
Taking a look at our Texas crooner, he was a delight to photograph on a trip to Big Bend, Texas. His face, voice and stage charm reached through the lens. However, when back in post processing, the color seemed void of his personality. The black and white brings out the ‘cowboy’ in the singer.

photo by: Sheen’s Nature Photography

photo by: Sheen’s Nature Photography – Lens & Settings: Nikon 85mm, ISO 250, f/10.0, 1/60 sec
Amazing Examples of Black and White Photography
Finally, let’s round out this post with some amazing examples of spectacular black and white images.
Shooting in black & white, or converting color images to black & white, often allows you to create powerful, moody photos. Black & white isn’t appropriate for every landscape or nature shot, but when the situation is right, going to black & white can be a very effective approach.
Here you’ll find 25 photos from various photographers that should serve to give you plenty of inspiration for your own black & white landscape photography. We’ll also give you some tips and information about black & white photography, and why it works so well – as well as different techniques you can try for yourself.
Black & white photography is also known as monochrome, because it uses just those two colours. In the image above, we can see a really great example of how black & white can work so well.
The human eye is always drawn to the lightest area that it sees, so using a dark image with one bright focal point is a really good way to direct attention to where you want it. In this case, the photographer has placed his subject – the lone boat – off to the side in a single shaft of light, hitting the ocean and the sky.
If this photograph was in color, it would still be powerful – just not quite as powerful as it is in this format. That’s because the lack of color allows us to focus more on tone and contrast instead, so we recognize that burst of light more easily. In other words, it makes us concentrate on that focal point even more. This makes for a really dramatic photograph.
If you have an image that feels lacking in contrast, then turning it into black & white could help. You can increase the contrast far further this way than you could if you were trying not to distort the color.
Mastering black and white photograph requires an eye for shades, rather than colours. When you’re looking at a landscape with your own eyes, it can be difficult to envisage what it will look like in monochrome – but with practice, you can start to see things in terms of light and dark, rather than red, orange, blue, and so on.
In this shot above, we can see that the photographer has used the natural phenomenon of mist to their advantage. Gathering across the landscape, it blocks the view more and more as you look further on, which means that these land formations – all of which are likely to be the same colour in real life – turn into different shades of grey.
Using greyscale gradients like this can really enhance your black and white photography, adding depth while at the same time giving more of an artistic impression for the viewer.
Interestingly, snow is one of the best possible lights to photograph in, according to many of the master photographers from history. This is because of the way that light is bounced back from the white surfaces all around. Black and white photography is used to strong effect here because it enhances the feeling of chill and frost, removing even any hint of color in the contrast between the snow and the uncovered bark of the trees.
The use of black and white toning on an image with a dramatic sky, such as the one above, can create even more drama for the overall shot thanks to the increase in contrast. Here, the image is one of deep blacks and bright whites, although nothing is oversaturated or undersaturated. This is made possible by the use of desaturation, combined with an increased contrast. Not only does this help the landscape to stand out more against the sky and water, but it also creates a more dramatic shot overall, with the dark clouds rolling in across the sky.
Selective desaturation can help you achieve interesting effects. Try playing around with filters, such as using infra-red filtering in Photoshop or Lightroom, to play with the tones of your image. Even though these edits ostensibly make use of the colors in your original image, they can make huge changes to the appearance in monochrome. This is because you are essentially telling the editing software which colors should be seen as the darkest blacks, and which as the brightest whites, rather than relying on it to choose for itself.
You may notice that not all black and white photography is always pure black and pure white. For example, the image above actually has a warmer tone to it, so that the black appears to have an almost red tint. This is still considered to be monochrome photography.
If you push the toning further, you can move out of black and white and into other colors. For example, sepia-toned photographs use browns and whites rather than blacks. Cyanotypes always produce shades of blue. The toning can depend on the processing method used, and can of course be added manually to digital photography using editing software. It can even be the result of a mistake, as darkroom photographs that have not been fixed correctly can see a shift in tones over time.
No matter what subject you choose for your photography, adding black and white can add plenty of drama, as well as gravitas. While it’s important to know when going monochrome will harm the image rather than help it, there are plenty of opportunities in landscape photography, in particular, to choose black & white.
There are some photographers, considered the masters of landscapes, who choose to shoot in black and white only – so you will be in good company if you choose to edit your photographs this way. On the technical side, it’s advisable to shoot in color and then convert to black and white, rather than shooting in black and white, if you are using a DSLR. The reason for this is that you will lose some tonality and a lot of control if you don’t have that color version available first. This also gives you the chance to make sure that black and white is the edit the photograph really needs, and that it wouldn’t be stronger in color!
Black and white can be very strong because of the fact that we tend to associate it with historical documentation and serious art. This creates an idea in our minds that if something is in black and white, it must be really important. In turn, your images take on that aura of serious art that will cause the viewer to look more carefully. So long as it suits the image, monochrome can be a great way to bring your work to a more professional level and have it taken more seriously.
Credits: Marc Andre, Sheen Watkins, Christina Harman, Amanda Fancourt




Thank you for this article. I play around with black and white in post-production occasionally and sometimes like the results … and sometimes don’t! I need to look into this further!
Nice photos, but, not unique, nor special …
Any one with a camera could have snapped a similar image !!!
Any one with a camera and knowledge might have snapped a similar or better image with improved details …
Why do you believe they are special and viewed on the Internet ???
Editor for “Loaded Landscapes” ….
Any one who doesn’t have any thing better to do and shares their Internet views or Internet images is some one to learn from …
Not all images are worth saving, but, they are worth seeing and studying …
When any one has time and finances to travel snapping graphic images it can be a worthy income investment ???
Traveling can involve more time away from home than necessary, but, how necessary can grabbing a good image be ???
… I’d say very important to the photographer; not so much to the family and kids ???
Wow. Nice compliments to the author and encouragement to readers. Post your own work for comparison and tutor us how to do a better job.