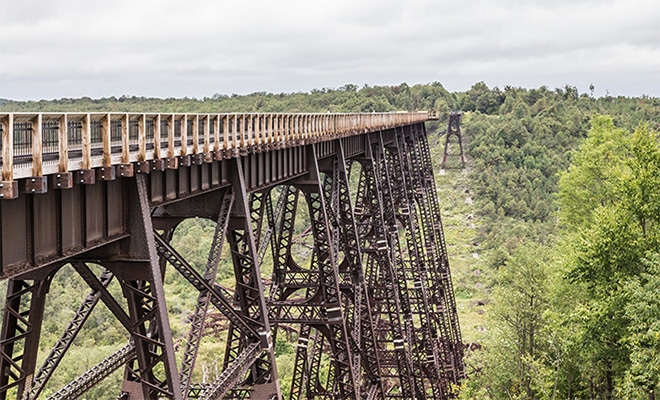
Image: john mcsporran / CC BY 2.0
Rainbows are spectacular and amazing –they also have a hidden talent, the ability to make just about everyone stop in their tracks and take in their beauty. No matter how many times we’ve seen them, there’s something about those colors in the sky that never loses its intrigue.
Part of what makes them intriguing, perhaps, is just how short-lived they are. Rainbows appear and disappear in a moment, giving us just a brief window of time to enjoy, and capture them.
But rainbows aren’t just challenging because of their fleeting nature, it can also be a difficult to capture a truly outstanding rainbow image. Often, what you see in the sky as vibrant and colorful, ends up appearing dull and muted in-camera. Fortunately, there are some things that you can do to increase your chances of capturing an amazing rainbow image.
If you’d like to be ready the next time one appears in your line of sight, here’s what you can do to increase your chances of capturing an amazing shot.
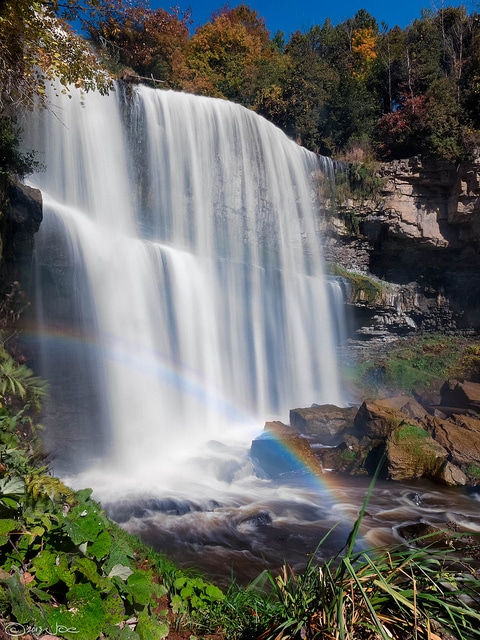
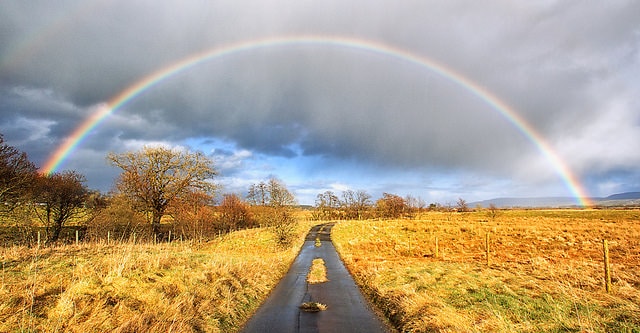
Image: Joe deSousa / CC0
Finding a Rainbow
Rainbows appear when the sunlight crosses with water drops in the air. One of the best times to spot rainbows is on a day where it’s been drizzling on and off, or anytime the sun bursts through a patch of clouds after –or during a rainstorm! While rainbows are usually something that you stumble upon, rather than “find” being prepared for when a rainbow does make an appearance is a good place to start. If you’re out in the field, and it’s rainy or drizzling, you’ll want to keep an eye in the anti-solar direction –the opposite direction to the sun. You may even want to get your tripod set up and ready so that if one makes an appearance, you’ll be ready. Once you spot a faint rainbow, get ready –often the colors will deepen for a few seconds.
Of course, you can also find rainbows in waterfalls, mist, or even in the spray from a garden hose.
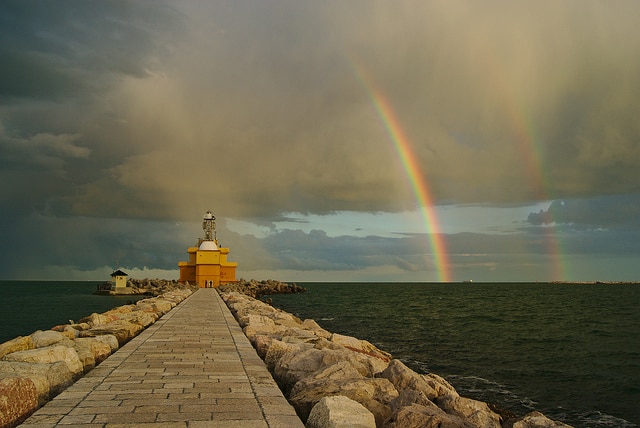
Image: Zoltán Vörös / CC BY 2.0
Composition
While a rainbow in and of itself is pretty awesome, the surrounding composition is what will help to set it apart. To help get the most from your shot, here are a few areas in particular that you should pay close attention to:
Include Some Foreground Elements
While you can’t control where the rainbow appears, you can change your position. Taking a few seconds to position the rainbow in your viewfinder is important. In most cases, including some foreground in your images can help to add some interest to your composition, resulting in a stronger image.
Look for Leading Lines
As with most landscapes, rainbow images are greatly enhanced by the use of leading lines. Dark shadows, roads, and other elements can all help to draw your eye into the photo, and lead them on toward the main focal point.
Decide Which Section of the Rainbow to Capture
You’ll also want to decide which section of the rainbow you’re going to capture; or if you’re going to try to fit the whole thing in. Unless you have a very clear vantage point, in most cases you won’t be able to see the entire rainbow; part of it is usually obscured. Often, focusing on the point where the rainbow hits the ground is a good way to capture the scene effectively. This is because there’s a lot of interesting details in this area of the photo. If the position of the rainbow seems a bit off, you could always consider zooming in or changing your position slightly so the rainbow lines up with some other interesting objects.
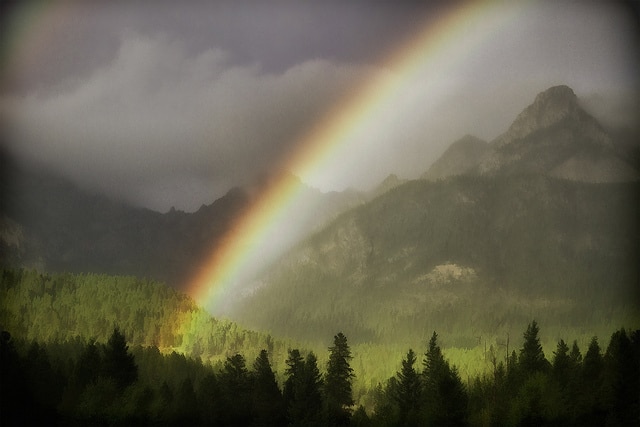
Image: Leslie De Blasio / CC BY 2.0
Capturing a Rainbow
Capturing the all-elusive rainbow can be a difficult task, especially considering that they don’t stick around for long, and your ‘practice time’ is generally very short. Here are a few things in mind to help you make the most of them!
Use a Polarizer
Using a polarizer can be a great way to enhance the colors of the rainbow, drawing it out of the sky. Just rotate the filter until you get just the right effect. You’ll want to avoid rotating it too far, though –or you’ll risk removing the rainbow from your view entirely!
Consider a Tripod
A tripod is another helpful tool when capturing rainbows. Using a tripod will allow you to steady your camera to capture those tack sharp images. And if the rainbow appears on a dark and overcast day, you may want to use a small aperture to capture it. This means, of course, using a slower shutter speed –and a tripod will help to steady the camera and prevent camera shake.
Consider a Wide-Angle – And Zoom
While it’s not strictly necessary, you could consider using a wide-angle lens when photographing rainbows –especially if you’re looking to capture sweeping landscapes the will include the entire rainbow. A wide-angle is also ideal if you’re hoping to include some interesting foreground to help add some context and extra detail to you composition. Of course, a zoom lens can also be a useful tool for capturing rainbows; and is ideal for zooming in on one section of the rainbow.
Use Manual Focus
Don’t waste valuable time with autofocus! The camera will have a hard time focusing on the rainbow itself, and you may need to help it out. In most cases, you’ll want to use manual focus.
Watch Your Exposure
With most of your rainbows, the background will be dark gray clouds. Just make sure you don’t meter off of the dark sky, as it could result in your rainbow being less vibrant.
Remember, rainbows are fleeting, and you’ll need to work quickly –but spend a couple of seconds double checking your composition, and adjusting your camera settings. While they can be tricky to find and capture in a way that does them justice, with a little bit of work, you’ll soon be creating outstanding images –ones that are worth their weight in gold!
Photo license links: CC BY 2.0, CC0