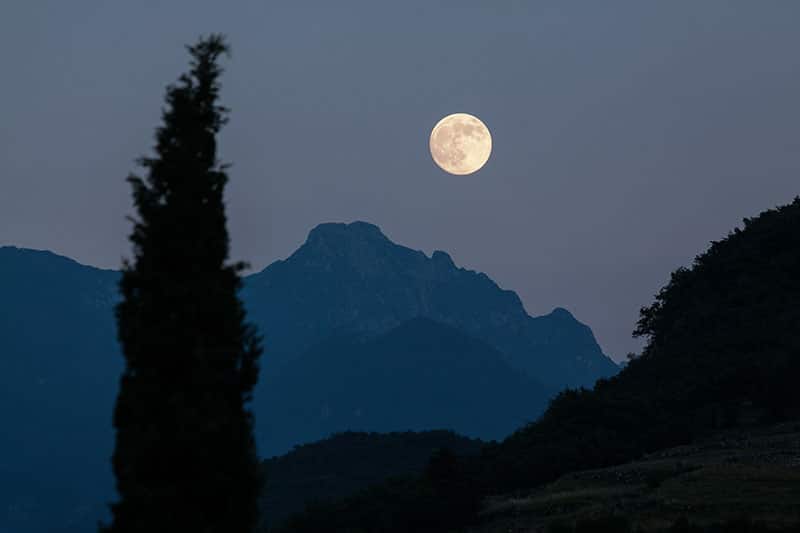
Photo by Stux
Moonrise and moonset photography can produce some rather beautiful, impactful images, but it’s not without its challenges. Unlike a typical day out to shoot street or landscapes, capturing a nice moonrise photo requires some extra preparation.
In this short guide, we’ll cover everything from planning and preparation to equipment and how-to-shoot tips. Hopefully, you’ll learn how to photograph a moonrise worthy of a magazine cover. Or, at the very least, a nice wallpaper background for your computer.
For general moon photography, take a look at our Practical Guide to Photographing the Moon.
These are the bare-bone requirements for moonrise photography:
- Camera with a large zoom
- Tripod
- Moonrise time and direction information
- Good location and timing
Planning for the Moonrise Photo
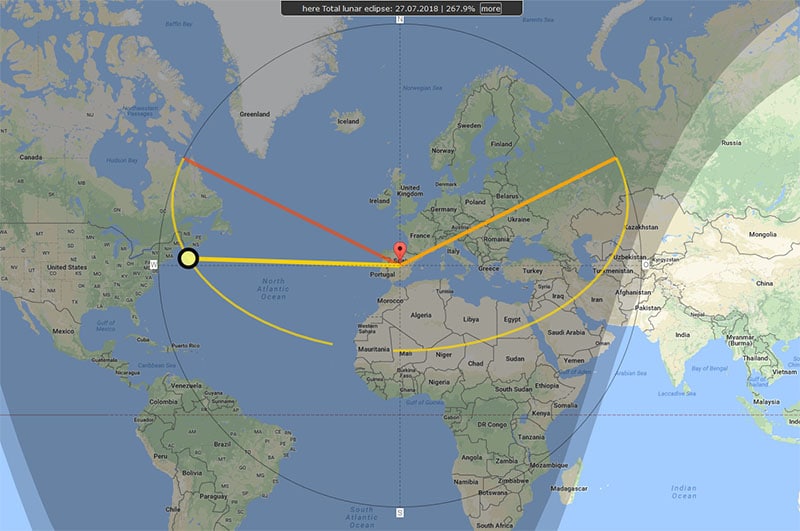
Screenshot from MoonCal website
As you can imagine, the obvious difficulty lies in the fact that moonrise only lasts a short time, so no time to fiddle around with settings, trying to hit the perfect exposure, metering and focus. Therefore we must know beforehand exactly when and where on the horizon is the moon going to rise. Fortunately, there are plenty of sites online that’ll allow you to access this info in real-time.
Websites
These are some of the best tools for tracking a moonrise.
- SunriseSunsetMap – Check moonrise and moonset time for any given time and location, simply by clicking the map.
- MoonCalc – Shows you position of the moon, its altitude and lots of other info, all relative to your specific position.
Apps
If you’d rather use an App, these should all useful for moonrise photography
- LunaSolCal app for Android and iOS.
- MoonCalc org – An Android version of the same online tool we mentioned above. Unfortunately it is not available for iOS devices.
Once you’ve picked the date and time, and made sure weather won’t cause any problems, it’s time to look for a good location. The higher the terrain, the sooner you’ll see the moonrise because there are less obstacles on the horizon. Its best you come to position at least an hour before moonrise and scout the location, or better yet, a day before.
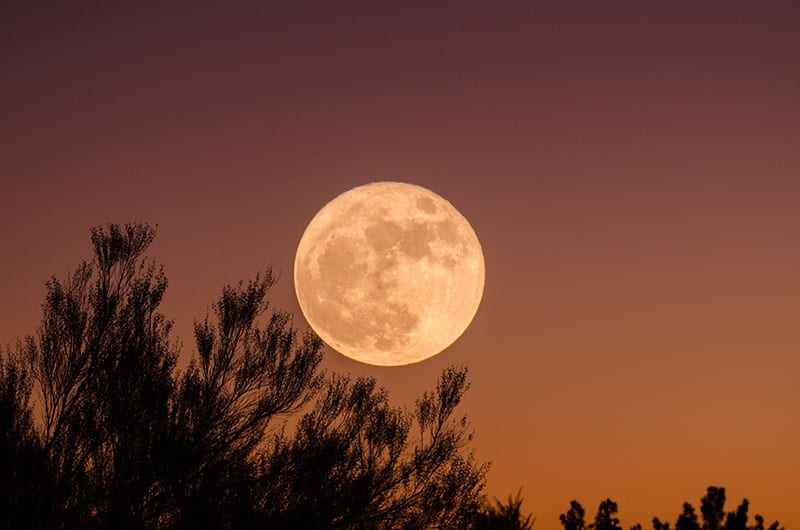
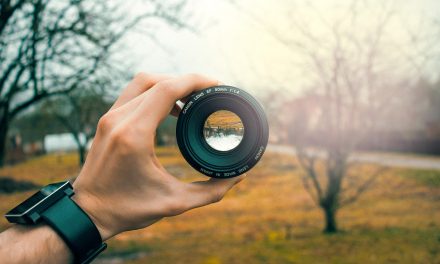
Ganapathy Kumar
Camera and Gear
Obviously, you’re going to need a lot of zoom and that means a telephoto lens, either a dedicated one for interchangeable lens cameras (DSLR, Mirrorless), or a as part of a point-and-shoot system.
If you want to keep things compact but powerful, consider the Nikon Coolpix P900 which boasts a super-telephoto lens with 83x optical zoom. When translated to 35mm full-frame format, that’s an equivalent of 24 – 2000mm focal length.
The P900 bridge system can get you very close to the moon, optically, but that doesn’t change the limitations of the relatively small 1/2. 3” sensor that lies inside. At its smallest, the F/6.3 aperture of its lens won’t let a lot of light in, which means you’ll either need to increase ISO (introducing noise) or lower the shutter speed (potentially introducing blur). The same goes for most consumer-grade point-and-shoot cameras.
So, if you really want those butter clean photos, consider a DSLR or Mirrorless camera with an APS-C or Full-Frame (FF) sensor. These sensors are considerably larger than those found on consumer P&S cameras and generally produce (much) better quality photos. BThat’s not to say a Micro-Four-Thirds camera won’t make a fine photo.
Best Beginner ILC Cameras and Lens for photographing a Moonrise
For a beginner looking to buy a first-time DSLR, be it to learn how to photograph a moonrise or for other types of photography, the entry-level Nikon D3300 and Canon EOS 700D are both excellent options. If you’d like a more compact budget solution, consider the Mirrorless Sony A6000. It is widely considered as best value APS-C camera for beginner and amateur photographers.
Best budget lenses for photographing the moonrise:
- Canon EF-S 50-250mm f/4.5 – 5.6 IS
- Nikon AF-S 70-300mm f/4.5 – 5.6 VR
- Tamron 18-400mm f/3.5 – 6.3 Di II VC
Note that the above lenses are designed for APS-C cameras only. The Tamron 18-400 offers the highest focal range (largest zoom) and is available for both Canon and Nikon mounts, but its optical qualities are lesser than those of original Canon and Nikon lenses.
Tips for Taking the Best Moonrise Photo
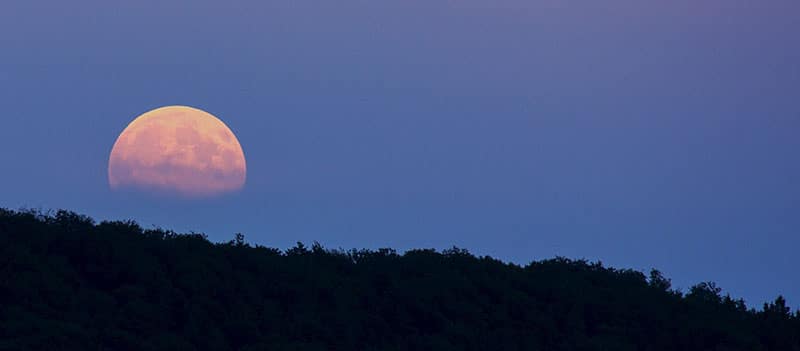
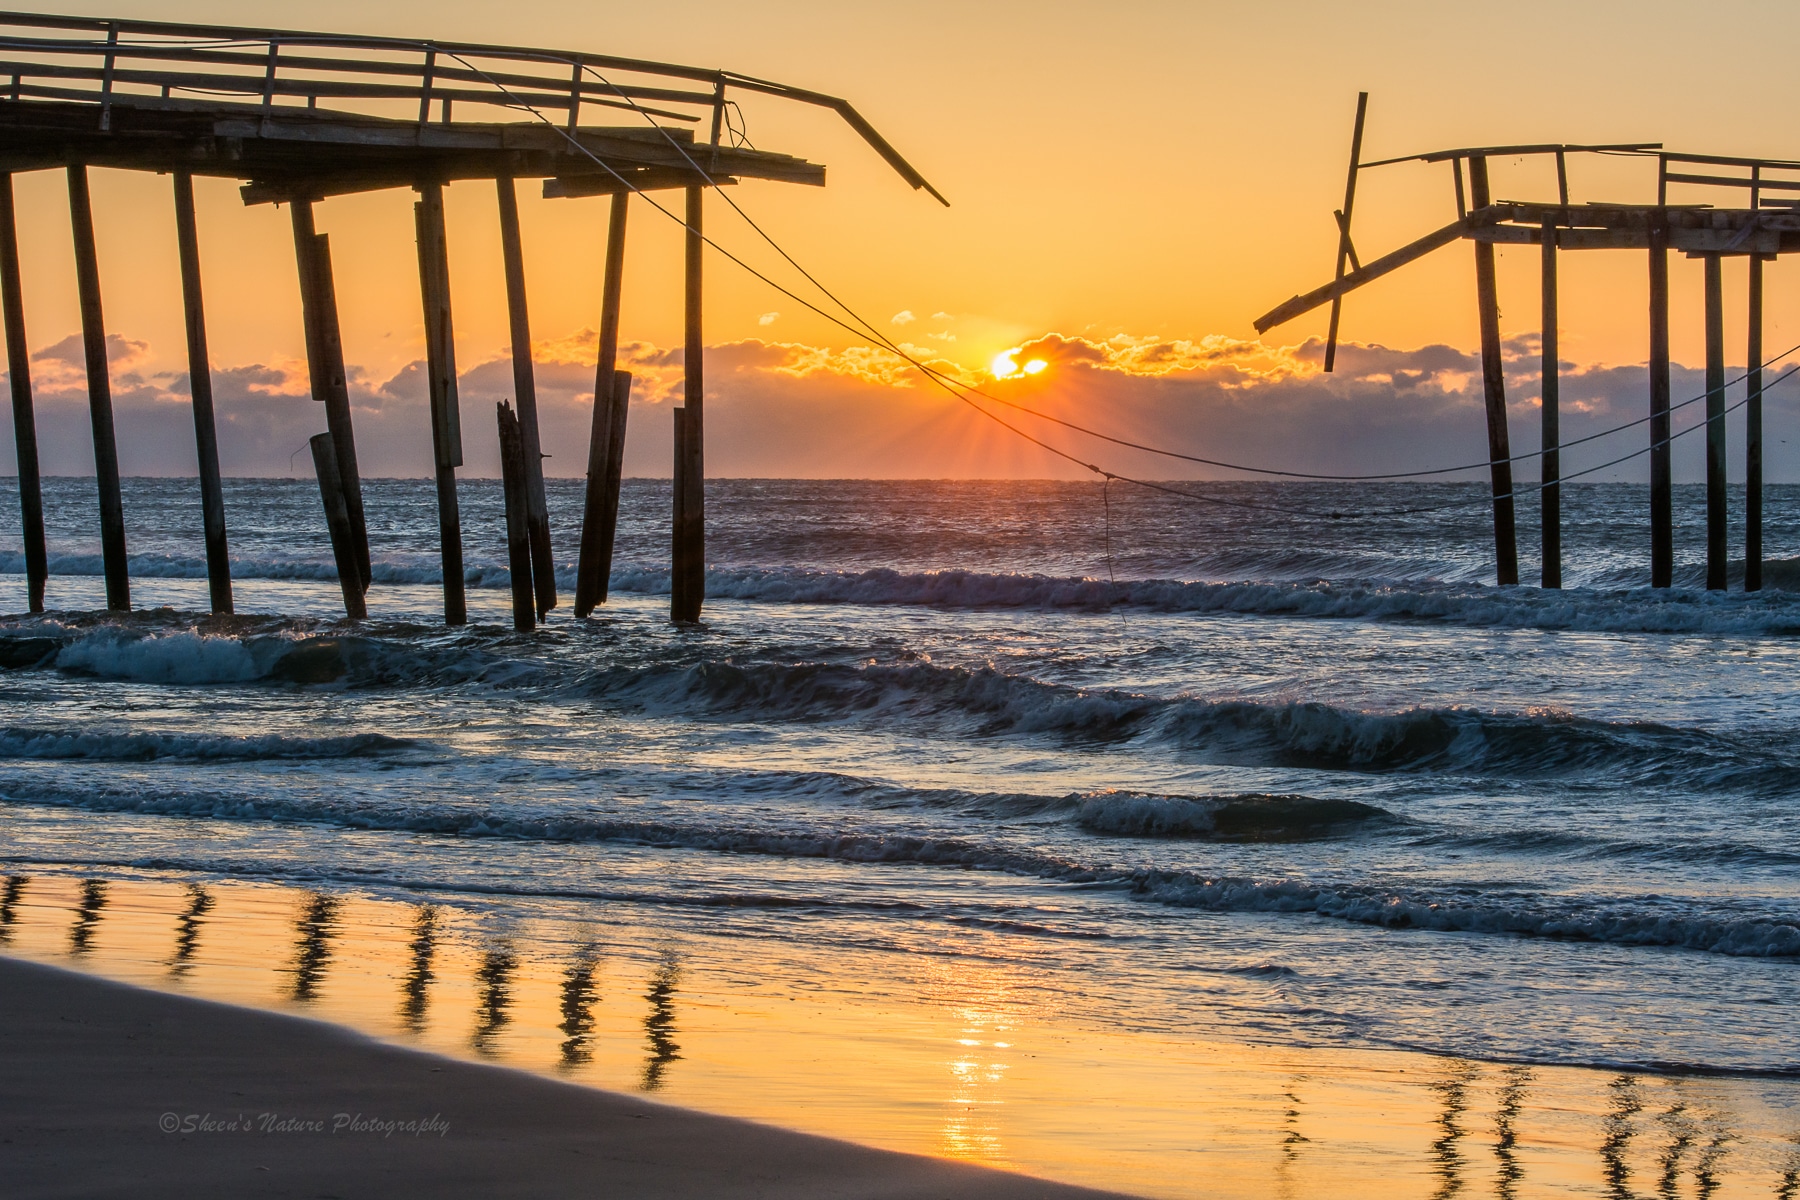
Photo by Nidan
Choose Your Moonrise
A nice twist with moonrise photography is that a moonrise is always different. The Moon will rise at different points on the horizon depending on the time of the year. Much the same way, moon will be in different phases depending on the time of the lunar month. A full moon is a popular choice for photographing. Otherwise, consider taking a shot at either of the moon’s quarter phases, that’s when you can still see most of the moon, but there’s also that beautiful gradient when its transitioning from highlights into shadows, dramatically bringing out the details in its crater-y landscape
Include a Subject
I would say the Moon alone is a worthy subject, but there are already so many moonrise and moonset photos out there with the moon by itself. If you have a 600mm lens, maybe you’d like to isolate the moon to capture moonrise with maximum detail, and that’s fine. Otherwise, why not add some depth to the photo by including foreground as well? The subject can be anything, a portrait of a person, silhouette, building, or a mountain. It doesn’t matter as long as you add context to the moonrise by capturing it from your own unique perspective. So, before you pick a location, think about what’s going to be in between you and the moonrise background.
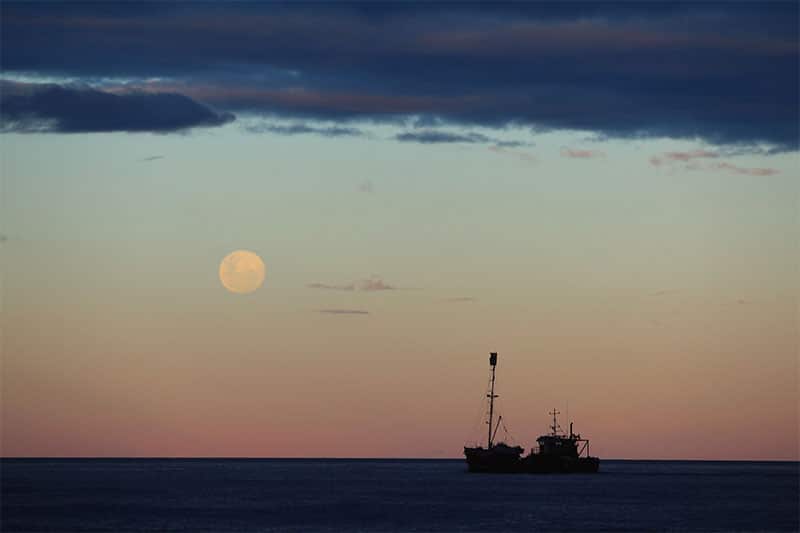
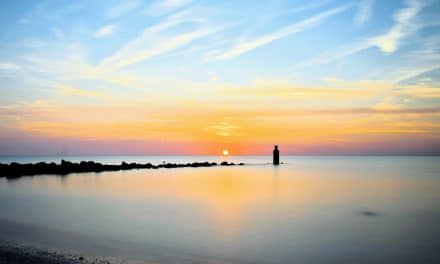
Photo by Becca H
Lower Shutter Speed
Lowering shutter speed allows the camera to collect more light without increasing ISO. This is because as the moon stars to rise and the sun is setting, it can be very dark. After some 30 – 60min the moon will become brighter, and that’s when you might want to increase shutter speed.
Use Manual Focus
You need to be quick so if you’re not confident in your AF system, your best bet is manual focus. If you own a DSLR its likely your camera support the focus assist magnification tool in Live View mode. Use it to fine-tune focus, leaving the moon nice and sharp.
Shoot in RAW format
The RAW image format in uncompressed which makes it perfect for image post-processing. Using software such as Lightroom or Adobe Camera Raw you can drastically increase image sharpness and reduce noise compared to default camera JPEGs, not to mention easily correct any potential lens aberration and geometric distortion.
Use small aperture
Aperture of F/9 – F/12 should keep everything sharp and in focus. But narrowing the aperture will let less through to the sensor, forcing the camera to compensate either by increasing ISO or lowering shutter speed. If your photos are coming out either blurry or too noisy, try opening up your aperture to a lower F value.
Use a Tripod
This is a no brainier but it has to be said. Using a tripod will drastically decrease chances of motion blur.


This article is a disservice to inexperienced photographers. You mention nothing about shutter speed and the earths rotation. Learn what your talking about before writing an article.
This comment is a disservice to anyone reading it. It offers absolutely no substance and is poorly written. If you have pointers about shutter speed and the earths rotation, then please share them. Otherwise, learn how to be a personable and courteous human being before posting comments.
Chris is absolutely correct. The author also mentioned nothing about sunset which is another important factor. And I will. Or do this authors work foe him.
As an amateur photographer, this article regarding moonrise was helpful to me. Apparently Chris is a fabulous photographer and knows it all. I enjoy comments from photographers that like to help teach others and not be a snob.