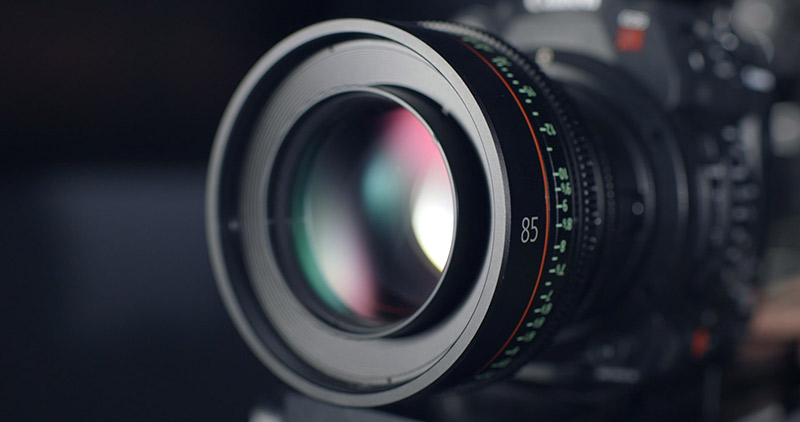
Cleaning the main part of the camera body is simple. However, when it comes to camera lenses, it’s a totally different story.
It’s more complicated since they are more sensitive, so they need special tools when cleaning.
A camera lens cap can minimize dirt and scratches to get to your lens. Though you may think that a lens cap is a great help, it’s still better to clean the lens thoroughly at least twice a year or when you decide to put it on sale.
After years of experience in handling cameras and cleaning lenses with some research, we’ve come up with the easiest way to make a lens clean.
How to Know if Your Camera Lens Needs Cleaning
Knowing the tips when your camera lens needs cleaning is the first thing you should do. It is better to do a physical check on your camera lens first, especially before doing a photoshoot.
Honestly, it’s a good photographer trait to have.
Here are some ways in knowing if your mirrorless camera or DSLR camera lenses require cleaning:
- Focus Afar: Use a manual setting of the lens and set focus on the farthest subject and avoid readjusting the ring. Lock the focus.
- Aperture Narrowing: Set your aperture as narrow as f/16.
- Click To Take: Try to take as many shots as you want at plain, clear subjects such as white walls or clear sky.
- Spot the Spots: Check on your camera screen or on your computer and review the images. Zoom and see every frame for marks. If you find dark marks, dots, lines, or smudges, you have dirty camera lenses that need cleaning.
Bookmark this article to know what to do next time if you see streaks or marks on your camera lenses for reference and keynotes to address the problem.
Things You Need to Clean Your Camera
These cleaning tools are easy to find and can be bought online or at most camera stores. Make sure you choose tools that are safer for your camera, especially for your lens coatings.
Just remember that we are not only getting our camera and lens clean but keeping their materials in pristine condition also.
Microfiber Cloth
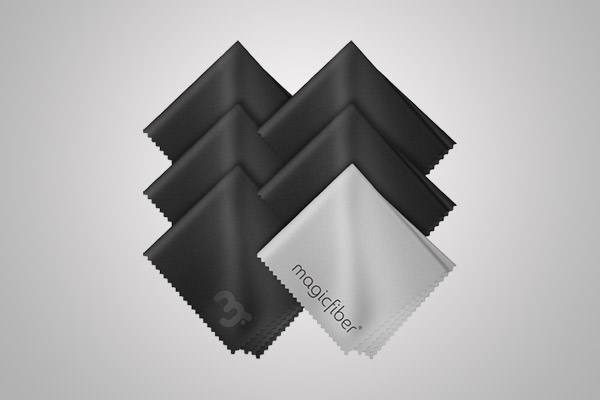
You will need a special cleaning tool when tending to your camera. A microfiber cloth is a type of good quality cloth which is too important to be missed from your camera bag. Microfiber cloths are excellent in cleaning your camera lens with a lesser risk of leaving streaks.
Lens Tissues
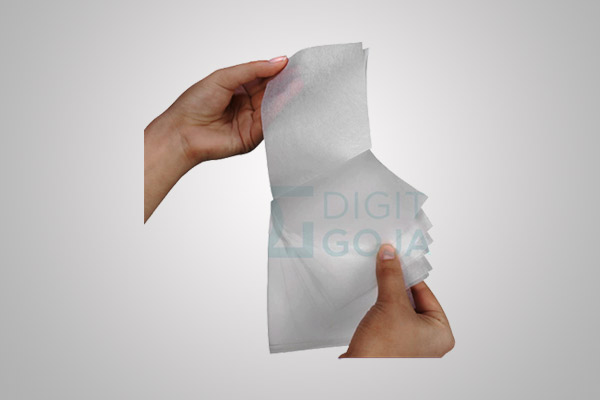
Table napkins or household tissues have excess fibers when using them. However, camera lenses have special cleaning tissues. They are tightly made and don’t leave fibers anywhere.
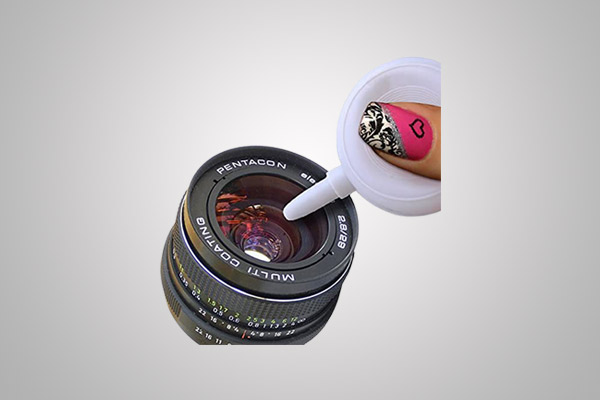
Lens Cleaning Liquid
If you wish to clean dirty lenses with smudges or marks caused by finger oil and raindrops, the liquid lens cleaning solution is what you need. Some solutions can be alcohol-free, some are not.
We recommend using a non-alcohol-based solution because it has less impact on vintage lens coating unlike with alcohol-based cleaners.
Camera Cleaning Spray

This is not especially to clean a camera lens, but it is good to have a camera body cleaning spray on hand. An alcohol-free-based spray would be better also.
Soft Brush for Lens
A brush with fine and softer bristles which don’t easily fall off can be a great replacement for a blower if you’re not fond of using it or is too bulky to bring. This is used to remove dust easily.
Blower
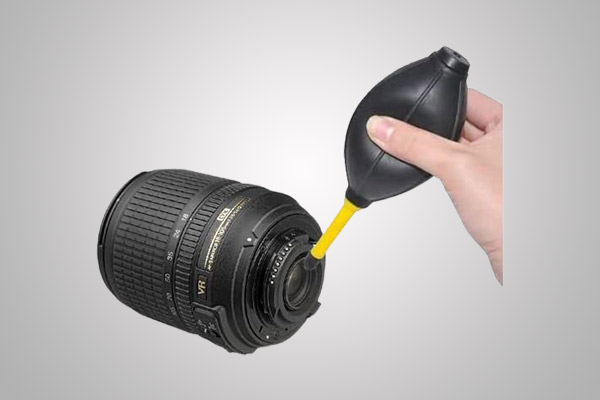
A camera blower can be used to clean a camera lens or camera body by blowing off larger dust and other light dirt.
Cleaning Kit Pouch
Of course, you will need a pouch or any container to fit all your tools. If you don’t secure your cleaning materials, how will you be able to carry them around and have them ready anytime?
To maintain the cleanliness of your camera gear, you need to take good care of your tools too.
Step by Step Process in Cleaning Your Camera Lens
Now we get to the important part! Here are the steps you need to know on how to clean camera lenses like a professional.
Also, learn how to maintain the camera’s excellent condition to produce good image quality.
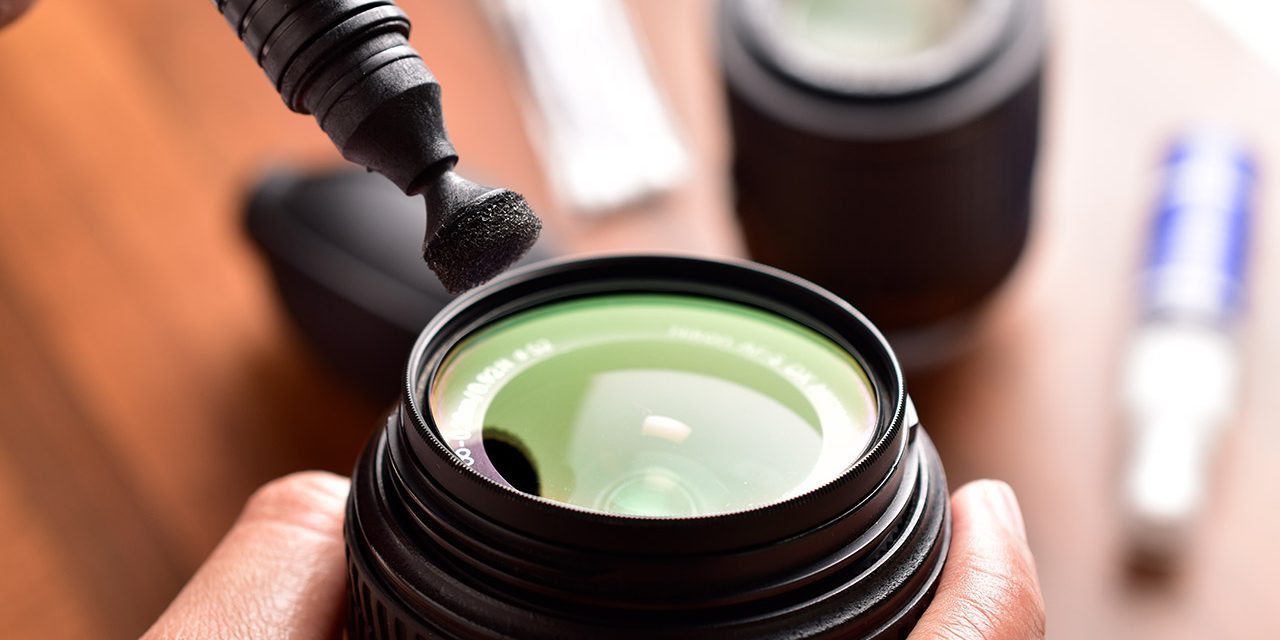
Step 1: Blow the Dust Away
Start using the blower in dedusting the lens glass. A blower is very helpful as it produces more powerful and successive blows.
Avoid using your mouth and use a lens blower instead. You don’t want to leave saliva on your lens, do you?
Beware that the debris or large dust may cause minor scratches to the glass if you start using the microfiber cloths first. You need a good light when cleaning the lens.
Face it upright or vertically and use the blower while tilting the lens 45 degrees.
Step 2: Brush Away Particles Using Soft-Bristled Brush
If the blower could not budge the heavier or stickier dirt on the lens, the soft lens brush would be a better choice. Especially if you’ve had shoots outside in humid or rainy weather.
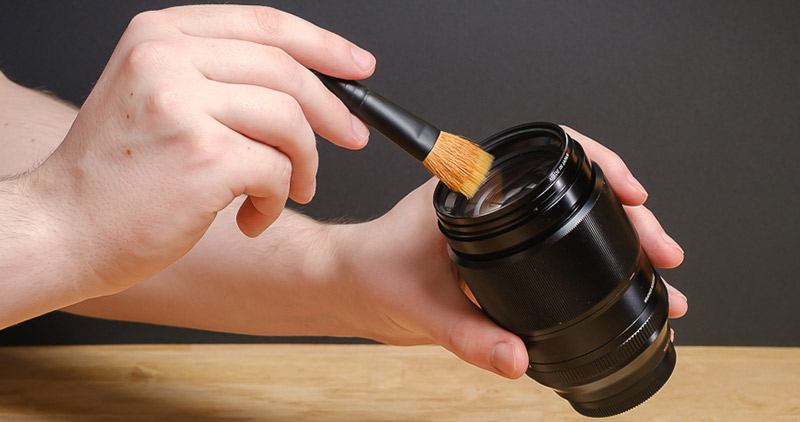
The brush is also essential in thoroughly cleaning the usually missed spot like the tight edges of the camera lens glass. Face your lens vertically again and brush side to side.
Please be selective in choosing a good lensRemember to do it gently to prevent leaving scratch marks from the stuck dirt through the bristles.
Step 3: Use A Cleaning Formula
After dealing with larger dirt, we need to clean the lens intensively. Now, we should get the lens paper and cleaning fluid. You can avoid damaging the protective lens coating if you use the right lens cleaning fluid.
Please be selective in choosing a good lens cleaning solution.
Fold the camera lens paper. Apply 3-5 drops of the solution. Hold the lens steadily in a vertical position. Instead of a spiral motion, use a straight one when wiping the lens surface in a gentle manner.
After wiping, use a dry sheet of lens tissue to finish drying off the lens.
Let it dry before rechecking the lens glass for unnecessary prints and hard to remove dirt. If you still notice some, you may as well repeat the process until all is spick-and-span.
Just a quick note: microfiber cleaning cloths can be a substitute for cleaning tissues.
Step 4: Use a Microfiber Cloth for the Final Polish
After three steps of cleaning lenses, we’ll need the last touch to get their best state again. Let’s say you perfected the previous steps; now you need to get your soft, tightly-made microfiber cloth to make the lens more sparkly.
Just a reminder, though, don’t use this in the beginning as it can collect dust particles and may scratch the surface! You may fold the cleaning cloth anyhow you want as long as it won’t use it to dust the lens once again. You can pad it triangularly or squarely.
Utilize the cloth to wipe the residue from the third step. Steadily hold the lens perpendicular. Start to wipe using either side-to-side or twirling motion gently.
Step 5: Don’t Forget to Clean the Rear Element
To clean camera lenses, we must consider both elements of the lens: the front lens element and the rear lens element. Now that you are done tending the front element, you can start cleaning the rear.
Some lenses have difficult rears to clean, but some are easy also.
While you run through the four steps again, we suggest you use lens tissue or cloth for the rear because it is smaller than the front glass element.
Step 6: Don’t Forget to Clean the Barrel
Now that both glass elements of the lens are good as new, you can get to the final step. Just remember to take care of the lens body because if the lens glass requires cleaning, so does the barrel.
Grimes and dust particles are usually stuck between the focus ring and zoom lenses’ gaps every time you refocus or zoom in and out. That’s why you need to tend for the lens body every once in a while.

While cleaning the barrel, be mindful when using fluids especially if you know that your lens is not weather-sealed.
Some are waterproof lenses, some are not, so make sure you know and have kept this in mind.
To clean the tight edges of the barrel, you can use the brush and blower. Be sure you cover with lens caps both the front and rear lens.
It’s better to clean the lens caps also. You don’t want to use a dirty cover for your lens, do you?
Clean the barrel gently using lens cloths slightly damped with solution or water. Water can be used if you don’t have a special solution used to clean the exterior of the camera.
Good job at cleaning your camera lens like new! Now, store it securely inside a closed, dust-free space or pouch to prevent dust from collecting again.
The Takeaway
A camera’s condition greatly affects the image quality a photographer takes. How bad it would be that you invest time and effort for perfect pictures just to see them ruined by mere dust particles.
Always bring a lens tissue or lens cloth whenever you have a photoshoot. It’s better to bring non-alcohol solutions.
But if you are using a larger camera bag, you can bring a blower and other cleaning tools to maintain your device in the best shape possible.
It’s a good thing that you can clean camera lenses with just easy steps requiring simple tools. What an affordable and convenient way to keep your lenses clean!


Very Clear and good explanation of the cleaning process.
Thank you for the feedback, great to hear that.