Exposure bracketing is taking multiple exposures of the same subject, including some that are underexposed and some that are overexposed. Exposure bracketing improves our ability to maximize optimum exposure and offers additional post processing creativity. We’ll review key considerations in exposure bracketing including 1) How it works, 2) How to set up your camera, 3) Photography tips and tools, and 4) Post processing.
1. How Exposure Bracketing Works
Exposure bracketing is where you take three, sometimes more, photographs of the same scene with a different exposure setting while keeping the aperture setting consistent. There a are two key benefits.
First, it’s a technique that helps ensure that there’s at least one photograph that is optimally exposed. This is a very useful approach particularly when the lighting situation is difficult or is quickly changing. Examples would be sunrises and sunsets.
Second, by having multiple photos with different exposures, they can be processed using HDR. The underexposed photo(s) will be useful for accurately capturing the highlights, such as a light sky, even if the shadow areas are too dark. The overexposed photo(s) will be useful for getting detail in the shadow areas, even if the highlights are too light and blown out.
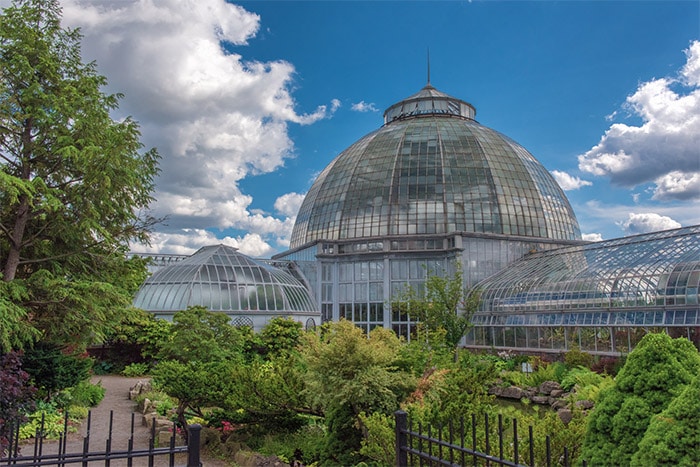
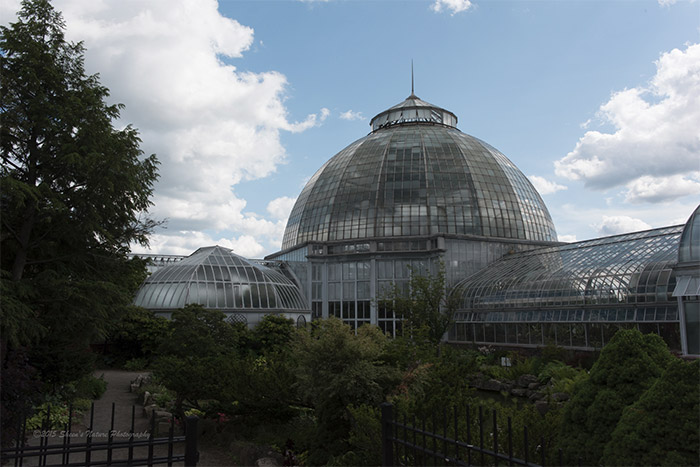
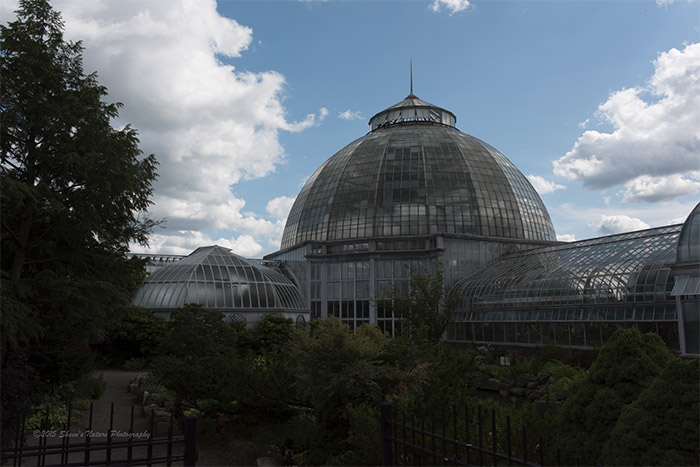
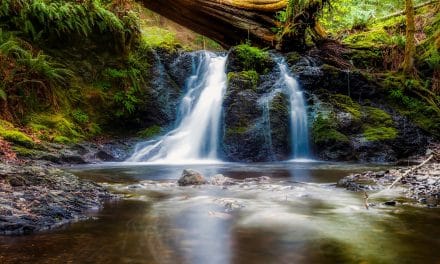
Here are three bracketed photos of the Conservatory on Belle Isle in Detroit, MI (the HDR processed image is shown later in the article). The aperture was set at f/16 and shutter speed was 1/200, 1/325, 1/125. These files have not been processed at all for illustration purposes.
2. How to Set Up Your Camera
Depending on the camera manufacturer and model, accessing the bracket function may differ. For Nikon as an example, there is a button that is noted as “BKT” and Canon is “AEB”. Check the camera manual for specific instructions.
By selecting the BKT (Nikon) button and turning the command dial, the camera will switch to bracketing mode. As you will be taking multiple exposures of the same subject, the aperture setting (i.e. f/16) should be same across the series.
If shooting in Aperture Priority and select Bracketing, the camera will automatically adjust the shutter speed across the three photos to give different exposures. When you are just getting started with exposure bracketing, shooting in Aperture Priority mode is easiest.
If shooting manually, select the desired aperture setting. Then for each photo, manually adjust the shutter speed.
3. Photography Tips & Tools
Hand-held: If shooting hand-held and correct exposure is the goal along with clear images, the minimum shutter speed should be the equivalent of the focal length. For example, if shooting with a focal length of 200mm, shutter speed should be a minimum of 1/200 seconds. The advantage of the bracket feature is that there will be multiple exposures to choose from. If the shutter speed is slower, a tripod is recommended for stability.
HDR (High Dynamic Range): If shooting with the intent of combining and processing the file in HDR, a tripod is necessary. This will ensure no movement or repositioning the camera between each snap of the shutter. A remote shutter release is also beneficial (and inexpensive) in that there is no shake from pressing the shutter.
Note: High Dynamic Range (HDR) images are created by taking a multiple photos of the same image using different exposures. When merged, there are more details in the highlights and shadows to work with in post processing.
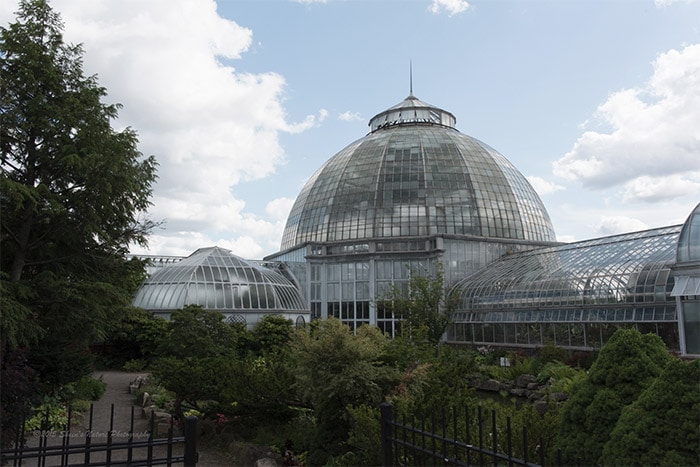
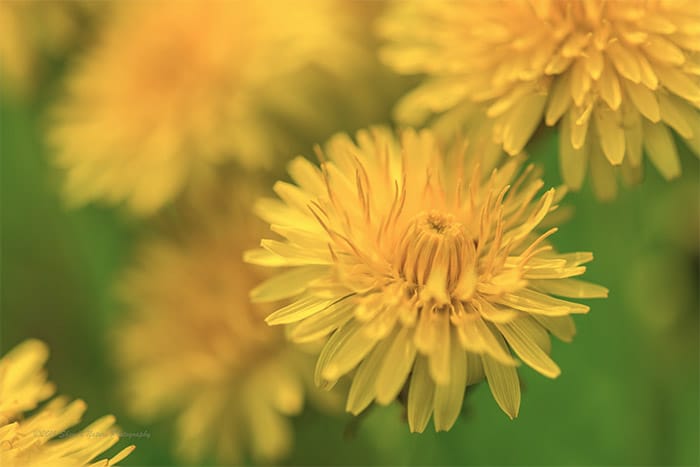
This is the HDR image that was created using the three files above:
4. Post Processing in Lightroom/Adobe CC
The new HDR feature in Lightroom 6 streamlines the merging of multiple photos that are the same subject with different exposures. The HDR feature in Lightroom 6 produces very natural results.
To perform this step, select the multiple photos that were bracketed. These should have the same focal point, aperture priority and different shutter speeds. From the main menu select Photo, scroll down to Photo Merge and select HDR. Lightroom will process the selected files and produce a single file.
If you don’t already have Lightroom you can download a free trial here.
In some cases I’ve used all three files and some I’ve chosen to use only two. This is personal preference based on how you want to process the image.
By Sheen’s Nature Photography
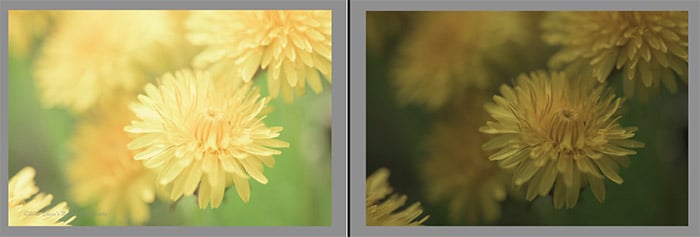
With the dandelions, only the over and under exposed files were merged into HDR.
After shooting in Bracket mode, remember to switch the camera back your desired settings. I always recommend that when it’s time to pack the camera back into the bag, always go back to your standard, go-to camera settings. This will prevent forgetting that you have bracketing (or other settings) turned on the next time you use the camera.


I was curious if you ever thought of changing the page layout of your blog?
Its very well written; I love what youve got to say.
But maybe you could a little more in the way off content so people could connect with
it better. Youve got an awful lot of text for onl having 1 or two pictures.
Maybe you could space it out better?