We are used to keeping everything digital these days, but there’s still a lot to be said for being able to hold a physical photograph in your hands. Prints are great for hanging on walls, giving as gifts, selling, and even entering into exhibitions.
But how do you get your photos ready for printing? Follow this guide to get started.
1. Calibrate Your Monitor

This isn’t just something you should do for printing, but rather, is something you should be doing on a regular basis. The way that things look on your screen – or monitor – can be heavily influenced by a number of factors. One is the way you have the screen set up; one is your location; another is the lighting around you. It can even be affected by the angle at which you are sitting in relation to your screen.
Calibrating should be done on a weekly basis if you are serious about getting images that look the way that they should, whether in print or online. If you ever move your monitor, or change the lighting in the room, then you should also calibrate again.
There are plenty of options, like the Spyder5PRO by Datacolor for calibration software, and the important thing is that calibration gets your screen to look the way that the printer thinks it looks. This can often be very different to how it actually looks, if you haven’t calibrated in a while.
2. Finish the Image
The first real step for the print process is to ensure that you are happy with your image and ready to print. It might be wise to step away and leave 24 hours at a minimum between the finished edit and preparing it for print. There are things you don’t notice when you’re too close to something, as can happen when you’ve spent hours in post-production already.
Make sure that you check your editing is as smooth as possible, you have the colors and brightness or contrast the way that you want them, and the image is the right choice to print. When you’re sure of these things, you can move on to the next step.
→ To learn more about effective post processing please see our Lightroom for Landscapes video training course.
3. Calibrate to Your Printer
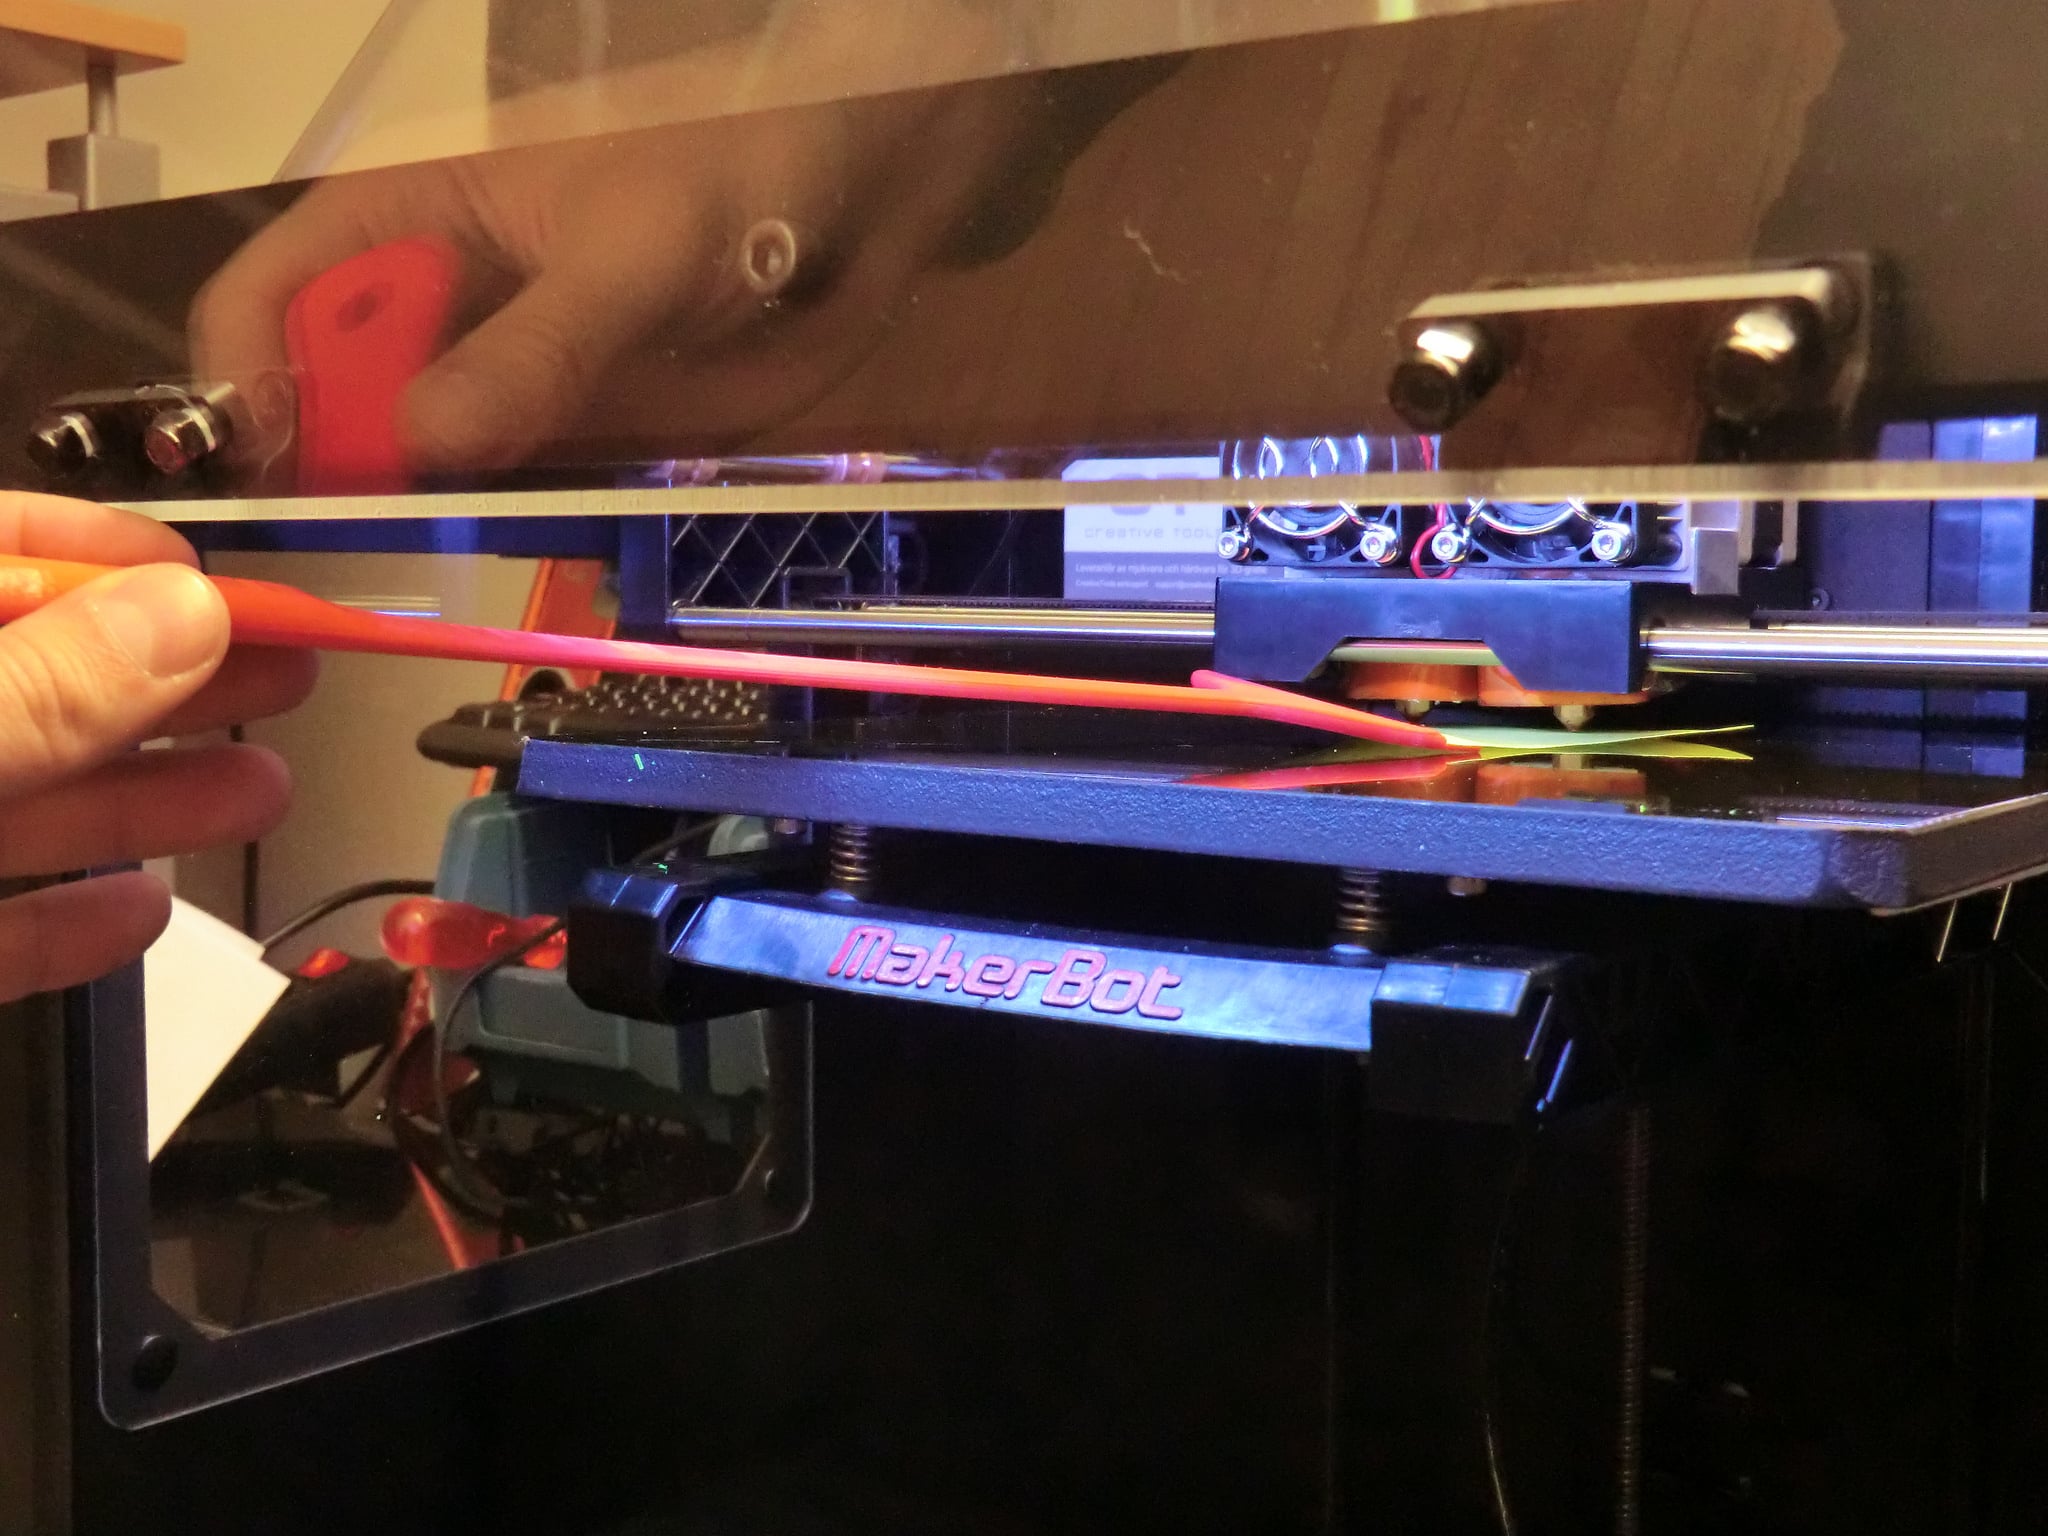
photo by: Creative Tools / CC0
Next, you need to make sure that you have your file set up the way that it should be for your printer. Whether you’re printing it at home on your own machine or sending it off to a lab to be done, you should be able to find out what kind of print profile you are supposed to use.
There are lots of options for creating your print profile when you save your image. Should it be in RGB or CMYK? What dpi should you be using? Along with the profile name for the specific set-up your printer uses, all of this should be easy to find out. You have to save your image to the correct variables, or it’s going to look different on the printer again to how it looks on your screen.
The reason for this is that saving an image to a different profile can actually change the way that the image looks, particularly in terms of the colors. You can also foresee different effects. For example, if you’re using a heavier art paper to print on – especially a textured paper – then you might end up with an image that has less contrast, with the black areas appearing grey.
The easiest way to handle this is to have your photos printed by a professional lab rather than trying to do it yourself, and ask the lab for their recommended settings and specifications. You can usually find it right on their website.
If you save your image in the right profile, however, things get much easier. You’ll be able to see that grey appearing, and then you can change the contrast in the image to bring it back down to black again. This will print very darkly with a lot of ink, but if that’s what your photograph needs, that’s what it needs.
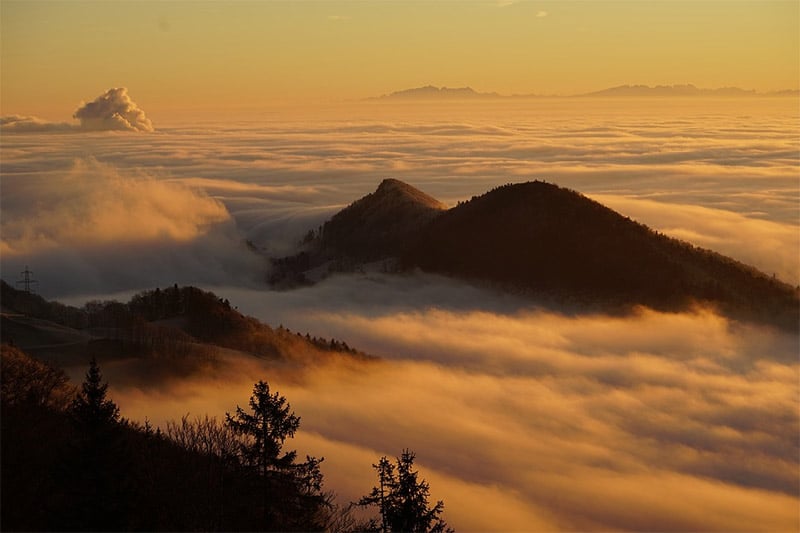
4. Consider Your Options

photo by: Pixabay.com / CC0
By the way, what kind of paper are you using? It may interest you to know that when printing with a lab, you don’t necessarily need to go for paper at all. There are other options, like wood, canvas, or metal. The list goes on from there – different printing labs will offer different options, so check them out and consider what kind of surface your image requires.
To be even more sure, you can request a sample pack. This will offer you different types of stock as well as alternative options, showing you how images would print up on each of them. You can then compare your images to see which might be best suited.
If you are printing yourself, you can also order sample packs of paper before you invest in the more expensive art papers. Companies that sell paper will send you a small pack, usually with one or two sheets of each of their paper types, which you can use to do test runs through your printer.
Think about framing, too, as this might affect the size of print you make or the material you use.
5. Send Your Files
When you’re ready to print, make sure to label your files clearly and give any instructions needed in as clear a manner as possible. Even if you’re printing it yourself, you don’t want to waste expensive paper stock on the wrong file because you accidentally clicked an older version.
Pay close attention to any requirements from your printer if using a lab. Should your file be send as a PDF? A TIFF? A JPG or PNG? What size should it be? Check these details to get everything off without a hitch, particularly if you’re on a tight schedule – you don’t want to delay delivery by getting the file type wrong.
Seeing your photographs come to life as prints can be very satisfying, and it can also be a huge step in your career. Whether you’re ordering your first print for a client, putting something in your own home, or preparing for an exhibition, it’s exciting to hold that finished product. Just be sure to hold it with gloves, or just touch the frame – you don’t want to leave finger marks on it!
Photo license link: CC0