Sunrise is my favorite time of the day for photography. While I don’t really enjoy getting up and out before dawn, it is well worth the sacrifice.
Not only is the light ideal and the sky beautiful at sunrise, but in many cases, you will be all by yourself, even in locations that are normally crowded.
One of the best habits you can develop as a landscape photographer is getting up early. Sunrise often presents the best light and opportunities for amazing photographs, not mention that you can often find yourself alone even at popular locations when you’re there ahead of sunrise.
Related reading: Sunrise Photography: How to Make Your Images Sparkle & Shine
In this tutorial, I’ll walk through the process of editing a sample sunrise photo using our Landscape Legend Lightroom Presets. While Landscape Legend does include 100 different one-click presets that will give you instant effects for your photos, what really makes this set shine, in my opinion, are the workflow presets.
Landscape Legend has an extensive collection of stackable workflow presets that give you endless possibilities that won’t restrict your creativity, while still allowing you to process photos much faster than you could without the help of the presets. For this tutorial I will be using Landscape Legend’s workflow presets and graduated filter presets to enhance the sky.
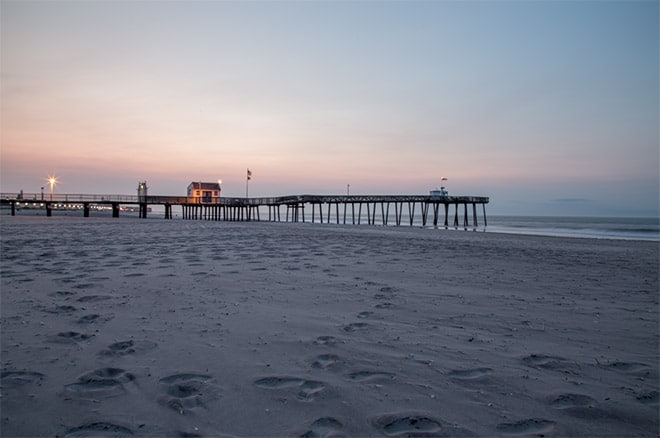
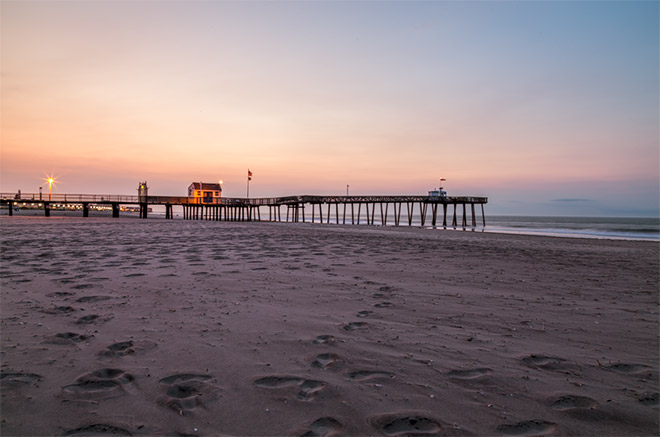
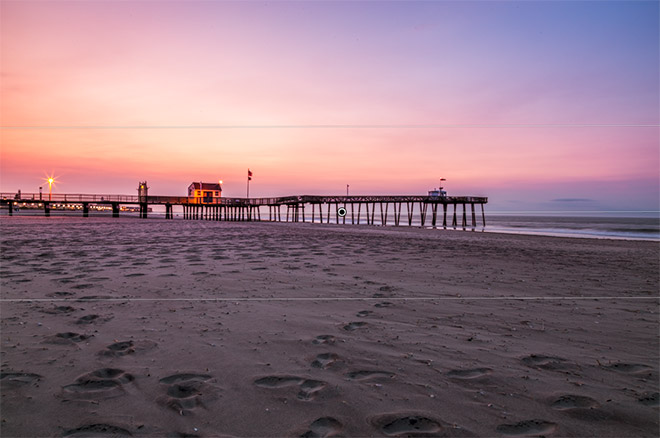
I’ll be working with a sample photo that was taken on the beach in Ocean City, NJ about 20 or 30 minutes before sunrise. The photo straight out of the camera looks like this.
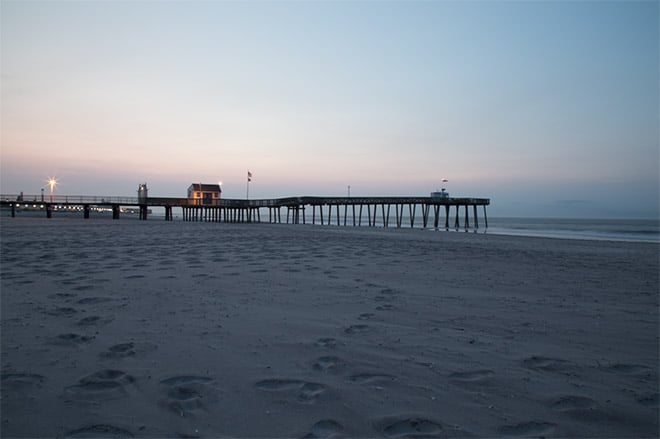
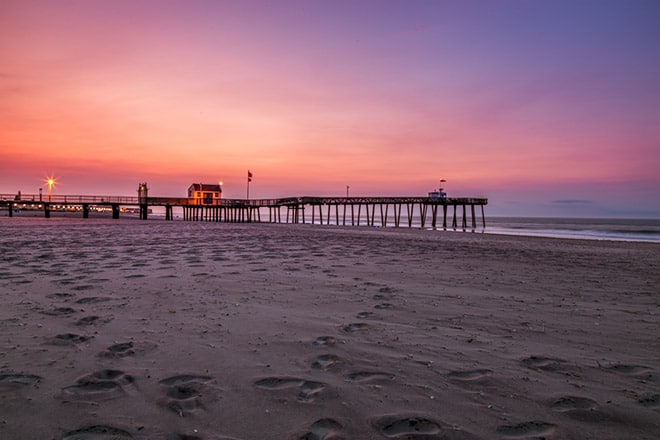
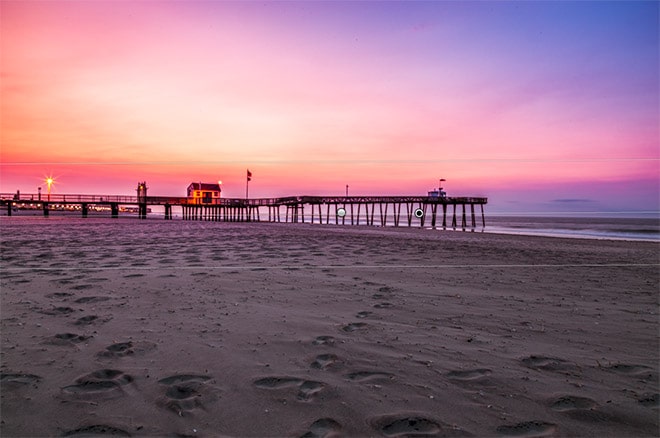
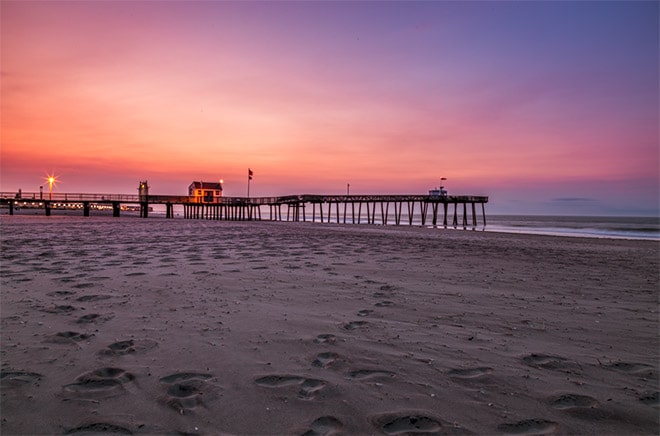
And this is what we will be creating (very quickly with the help of the presets) in the tutorial.
I’ve also recorded a video version of the tutorial if you prefer to follow along in video format.
The Landscape Legend workflow presets include several different sections of presets, and each preset will only impact the settings within its section. For example, if you experiment with the exposure adjustment presets you won’t impact the white balance setting that you already adjusted.
The first section of workflow presets is for black & white adjustments. I don’t want to convert this photo to black & white, so I am simply going to skip over that section and move on to the next section, which is for white balance. There are four different presets for white balance and I will try each one to see what works best.
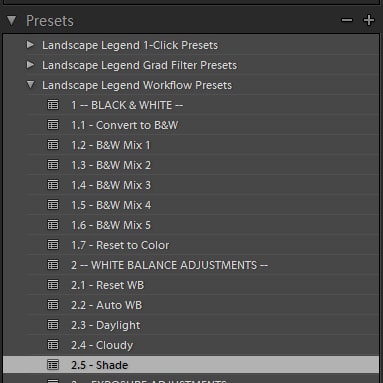
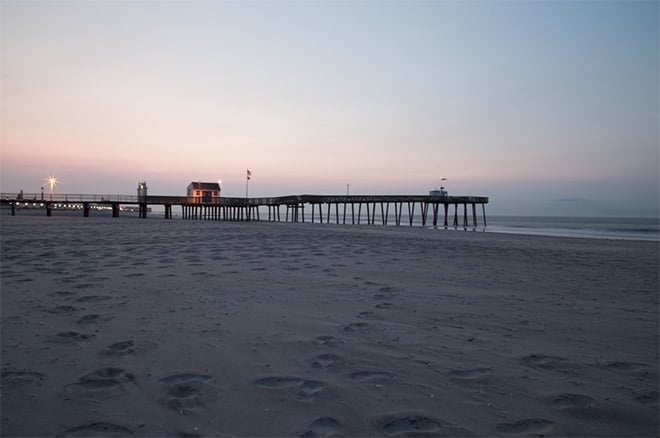
After trying the different white balance presets I like “shade” the best, so that is what I will use. After the white balance change the photo looks very slightly different.
The next section is for exposure adjustments. At this point, I am not going to apply any of the exposure adjustment presets. I may want to come back and adjust the exposure later after making the other changes, but for now, I will leave it untouched.
The next section is for tone adjustments. I want to use one of the HDR tone presets so I will try each of them and see what looks best. I like the “bold HDR tones” preset the best.
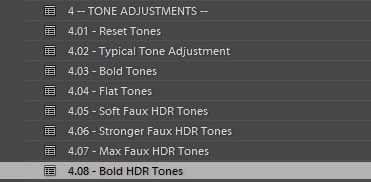
After the bold HDR tones preset the photo looks like this.
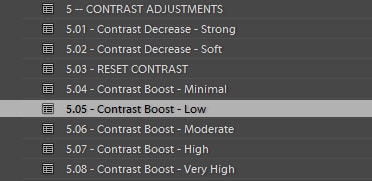
Next up is contrast adjustment. I want to give this photo a small contrast boost, so I’ll try a few different contrast boost presets, and in the end, I wind up with the low boost.
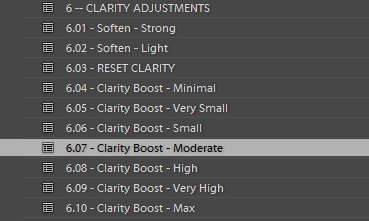
Next, I will adjust the clarity with one of the clarity boost presets. Clarity gives the photo a sharper look, and after trying the different clarity presets I’ll stick with the moderate boost.
After the clarity adjustment, the photo looks like this.

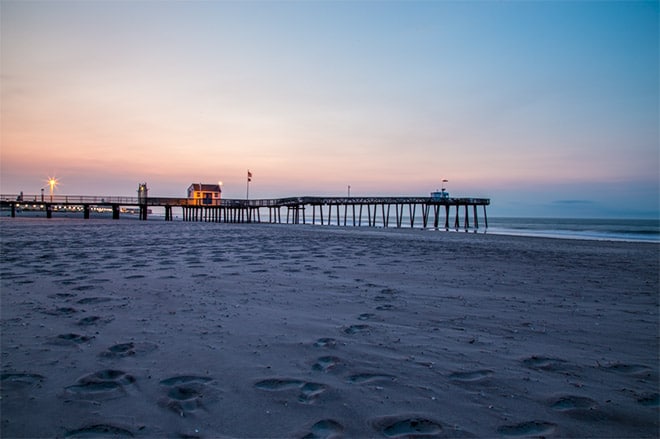
The next section of presets is for vibrance and saturation. This photo doesn’t include a lot of colors, so I’m going to use one of the stronger boost presets here. After trying the different presets I decide on the preset called “unreal”.
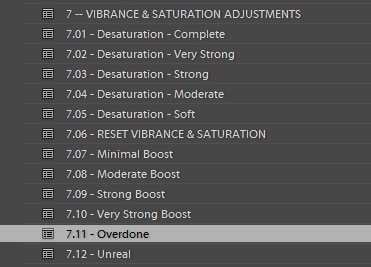
After applying the boost to vibrance and saturation the photo looks like this.
The next two sections for tone curves and color adjustments are going to be skipped for this photo.
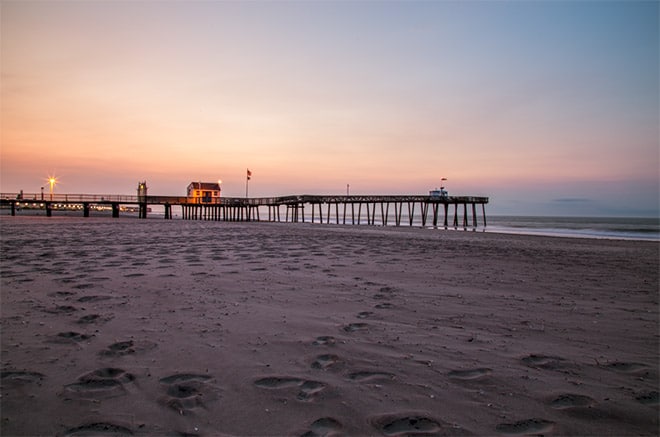
The next section of presets is for split toning. I want to add a warming effect so I will try both the light and strong warming filter presets. After trying both I think the stronger one works best.
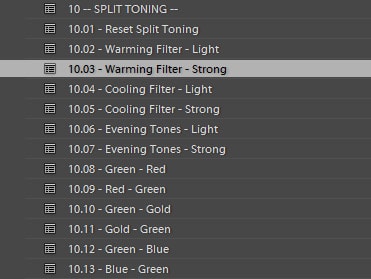
At this stage, the photo looks like this.
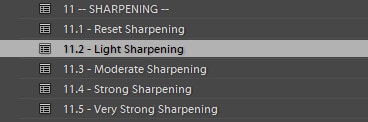
Next, I’ll use the light sharpening preset to apply a small amount of sharpening.
I’ll skip the next two sections for noise reduction and grain because I don’t want to use any of those presets with this photo.
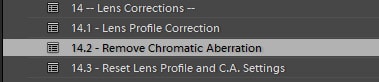
The following section is for Lens Corrections and I will apply both the “lens profile correction” and “remove chromatic aberration” presets.
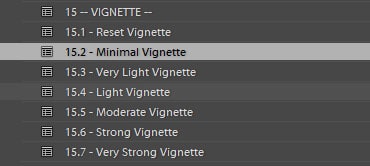
And the last step for the workflow presets, I will apply the minimal vignette.
At this stage, the photo looks like this.
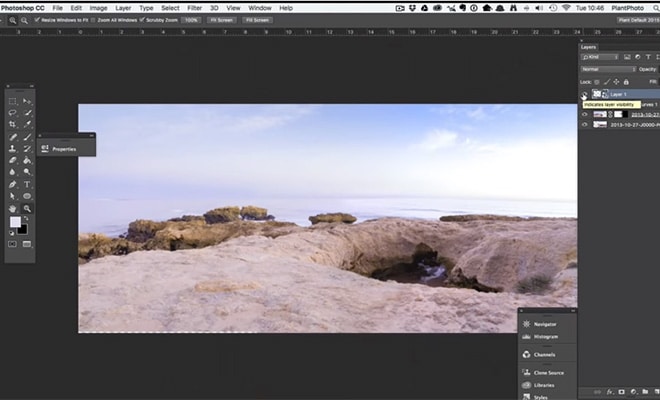
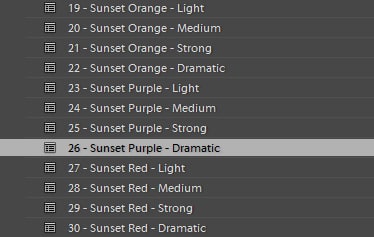
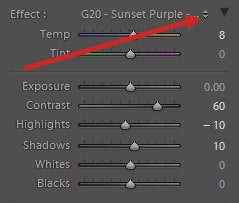
Now, let’s move on to the graduated filter presets that are a part of Landscape Legend to enhance the sky. There are several different presets for working with sunsets/sunrises, so I will try each and see what looks best. After trying them I decide on “Sunset Purple – Dramatic”.
Then select the graduated filter tool (keyboard shortcut “M”) and select the center pin and move it to line up the graduated filter with the horizon.
Next, I want to add another graduated filter to darken the sky a little, so I’ll click on “new” to create a new filter.
Now click and drag down to add the new graduated filter to your photo and move the center pin to the horizon.
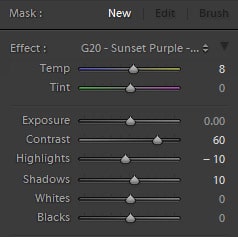
Right now Lightroom is applying the purple sunset preset, so I’m going to change that by clicking on the arrow shown below.
That will open up the list of presets and I will select the “-.5 stop grad filter” preset.
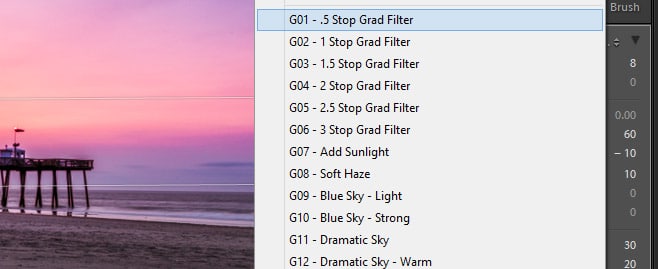
Now we have the purple sunset graduated filter as well as the -.5 stop grad filter preset.
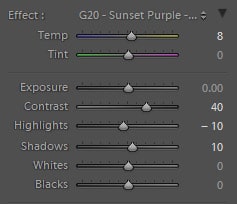
After darkening the sky a little it looks too bold. So I’m going to select the pin for the purple sunset grad filter and reduce the contrast from 60 to 40.
And that completes our work! Here is the finished photo.

If you’d like to be able to speed up your workflow for editing landscape and nature photos please check out the Landscape Legend Lightroom Presets.
6 Tips for Sunning to Stunning
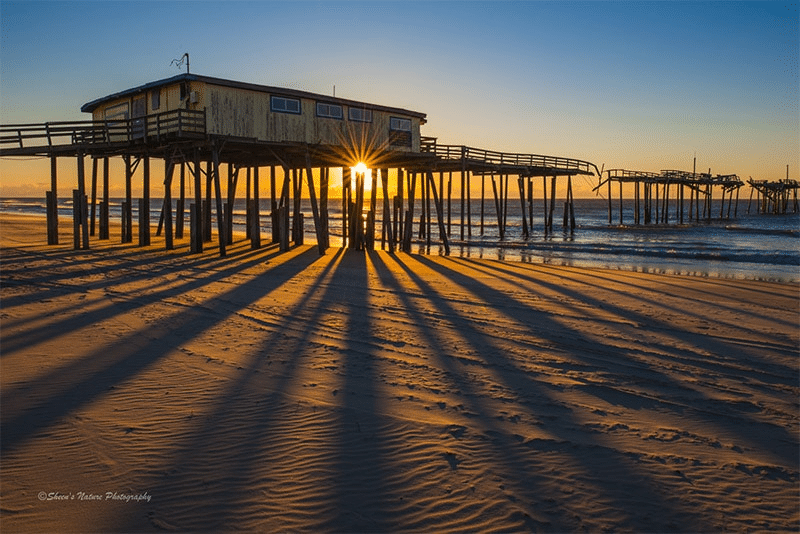
The Sun is a Star (starburst)
Our sun is the massive star at the center of our solar system. It is our most vital source of energy. The colors emitted by the sun change throughout the day.
Before sunrise and after sunset, known as the blue hour, the colors in the sky feel soft and a bit cooler. After sunrise and before sunset, the golden hour covers the landscape in warmer hues.
At the point of when the sun is cresting near the horizon, take advantage of photographing the sun as a star. When composing your image, adjust your aperture to f/16 or higher.
An effective technique in photographing starbursts is when the sun is peaking or partially visible. The horizon line, pier beams, mountain peaks, trees, and many other subjects can serve as a tool for creating starbursts.
by Sheen Watkins using Nikon 24-70mm f/2.8
Sunrises and sunsets move fast. Be prepared to compose and adjust camera settings quickly so that you’ll be rewarded with a variety of images to select in post-processing.
Bonus tip: How many starburst points will you get with your lens? If your lens has an even number of blades such as six or eight, that will be the number of starburst points you’ll have in your image. If your lens has an odd number, the starburst points will be double. A seven-blade lens will have 14 starburst points.
Painting the Sky
When photographing landscapes, the optimal composition typically includes a foreground, middle ground, and background. There are moments where composition guidelines just beckon to be ignored. Instead of going for the traditional approach, use camera settings and a slight movement to paint the sunset.
This technique works really well when there are no subjects or points of interest.
After the sun dips below the horizon, try adjusting your settings to achieve a one second (or a little shorter) shutter speed. When pressing the shutter, gently and evenly move your camera from left to right. This is creating a soft blur and a soft pallet of color.
Related reading: Try These 3 Ideas to Start Shooting Abstract Landscapes
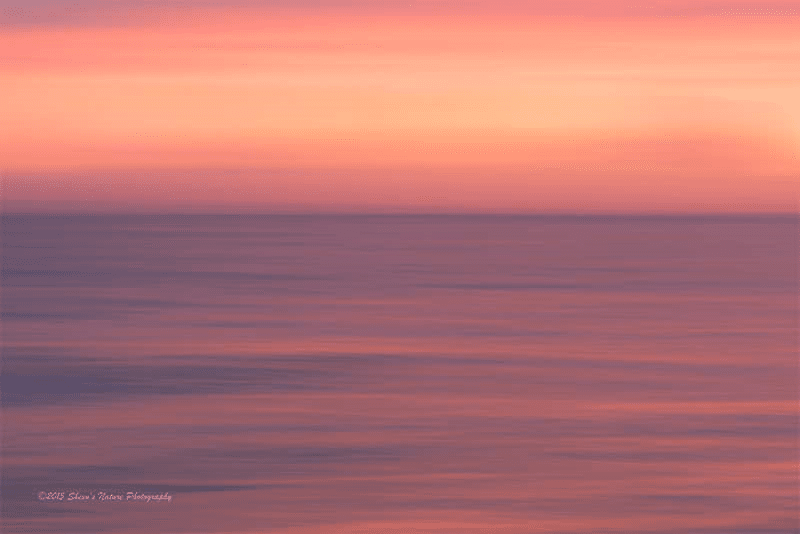
by Sheen Watkins using Lensbaby Velvet 56mm
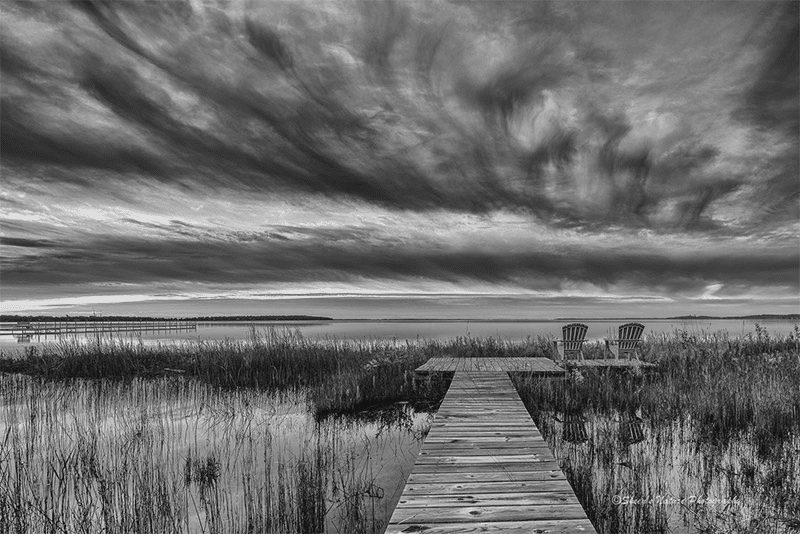
Smoke & Mirrors
For variation at dusk and dawn, try slowing the shutter speed to capture a different mood. Reflections, clouds, waves and other subjects take on a different dimension.
A tripod and cable release provide stability and minimize shutter shake. These two tools are crucial when working with slower shutter speeds.
A neutral density filter reduces the amount of light passing to the sensor without changing the scene’s color. Neutral density filters are available at different densities. Today I use my ND6 or my ND10 filter.
The image below was taken with a neutral density filter. The blue chairs on the beach were taken before sunrise. With an ND6 filter, the shutter was open for 90 seconds. The morning beach scene turned into a soft blue, smokey haze.
Related reading: Guide to Long Exposure Landscape Photography
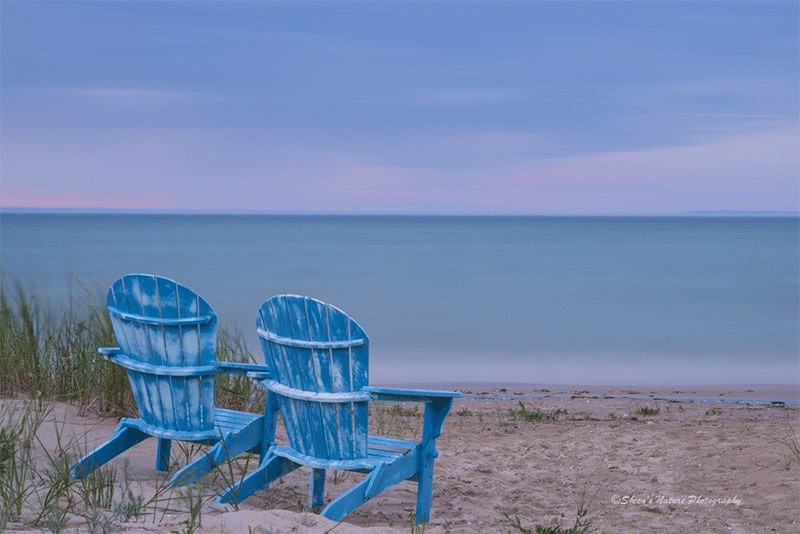
Sheen Watkins using Nikon 85mm f/1.8G
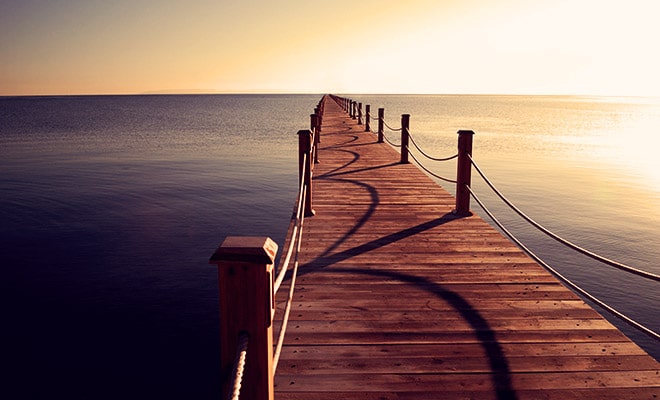
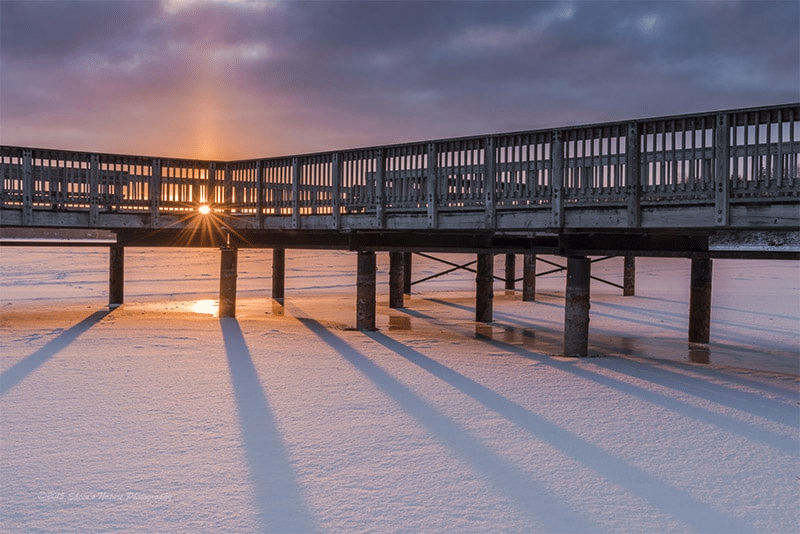
Sun & Shadows Create Leading Lines
When the sunrise provides backlighting for building structures, leading lines and shadows pull the viewer in. Wide and extra wide lenses optimize the use of leading lines.
Sheen Watkins using Nikon 14-24mm f/2.8
Bonus tip: Extra-wide lenses push sunsets and other subjects in the distance further out in the image. When working with extra-wide lenses, the foreground and middle ground need to have interest and punch.
Stormy Horizons
Sunrises and sunsets do not always need to be pink and blue hues. We all have those occasions where the weather didn’t cooperate. There are also images that look okay in color. Convert the bad weather or okay image to black and white. It may turn in to a personal favorite.
Sheen Watkins using Nikon 14-24mm f/2.8
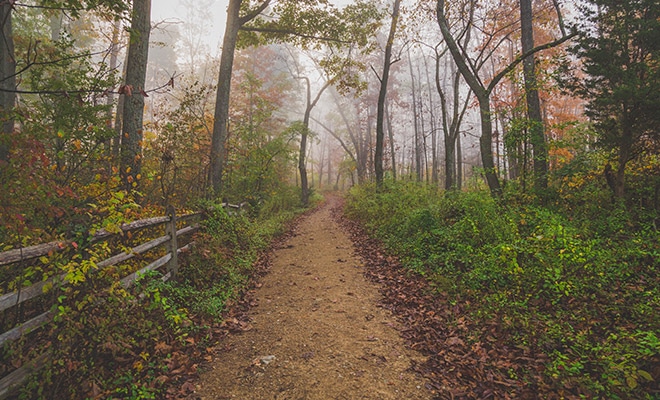
Peaks, Valleys & Woods
The minutes before the sun rises and after the sun sets can bring dramatic and soft hues of pinks and blues.
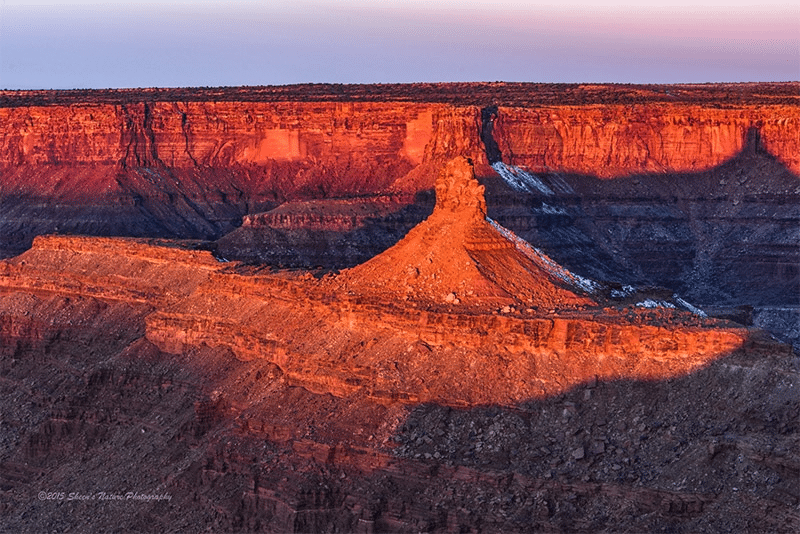
Sheen Watkins using Nikon 14-24mm f/2.8
The sun casting the light from behind you can load a scene with rich color. The mountain range in Utah glowed deep reds as the sun lit up the rocks. Dramatic shadows that are typically avoided add depth to the morning moment.
Whether shooting sunrises or sunsets, having a plan for your shoot will help maximize your time. Arrive in advance to scope out multiple scenes. Use your weather app or The Photographer’s Ephemeris to know the sun’s position.
With a few creative ideas in mind, the right tools and a plan, you’re almost guaranteed to leave with amazing photographs to work on in post-processing.
Here are Brilliant Examples of Sunrise Photography
Jetty at Hisoler by Lemuel Leogene / CC BY 3.0
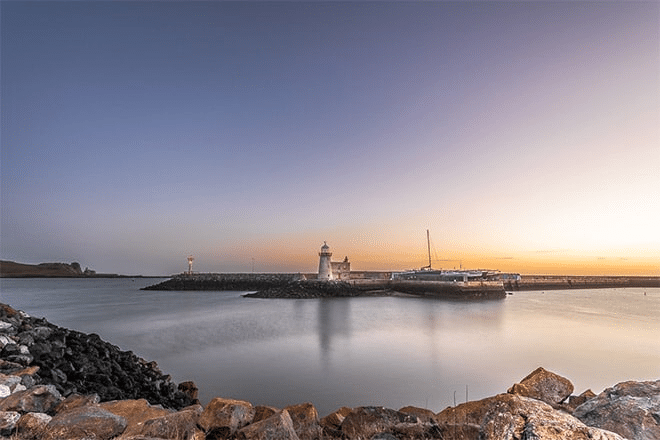
Sunrise at the Howth Lighthouse Dublin, Ireland by Giuseppe Milo / CC BY 3.0
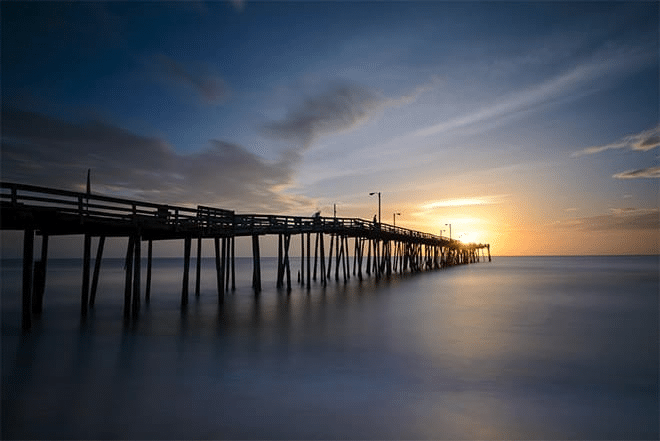
Nags Head Sunrise by John Buie / CC BY 3.0

DÍCIDO (Mioño) by Jesús Ignacio Bravo Soler / CC BY 3.0
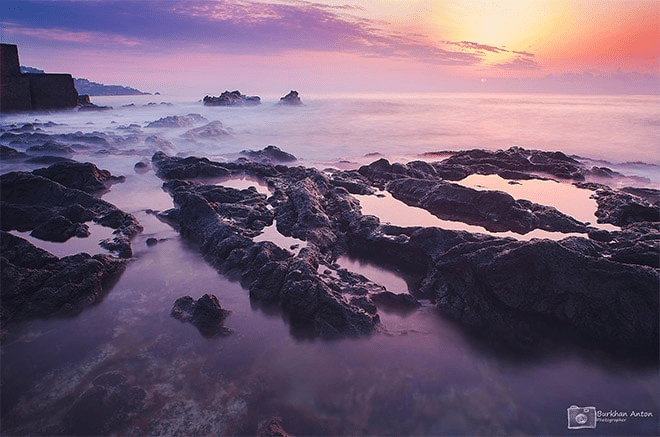
Geardini Naxos, Sicily, Italy by Anton Burkhan / CC BY 3.0

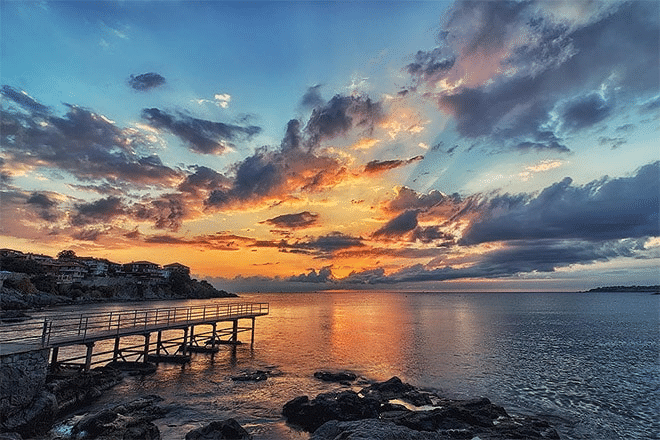
Breathless Desire by Krasimir Ganchev / CC BY 3.0
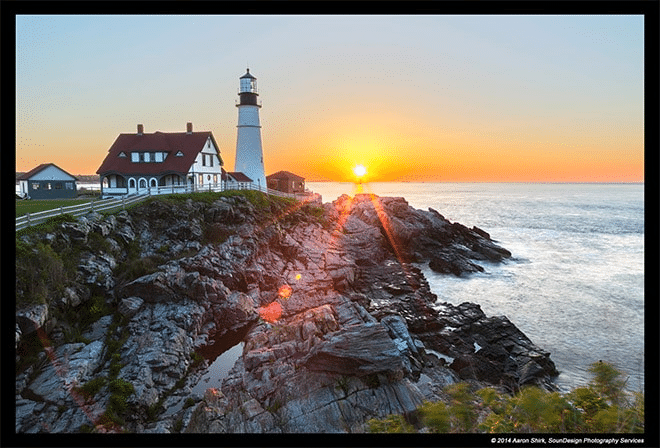
Portland Head Light Sunrise by Aaron Shirk / CC BY-ND 3.0

Reflections by Raphaël Bacco / CC BY 3.0
Just Behind the Corner by Emi Delli Zuani / CC BY 3.0
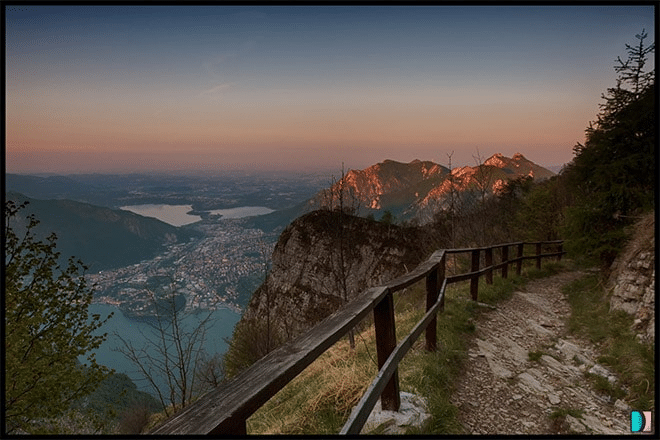
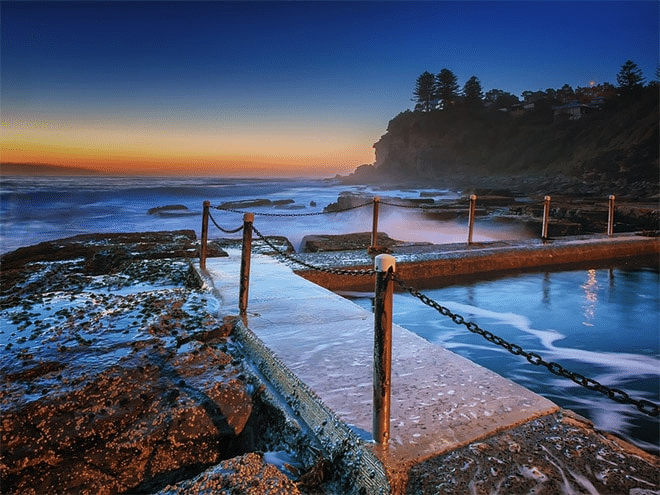
A Path to a Beautiful View by Emi Delli Zuani / CC BY 3.0v
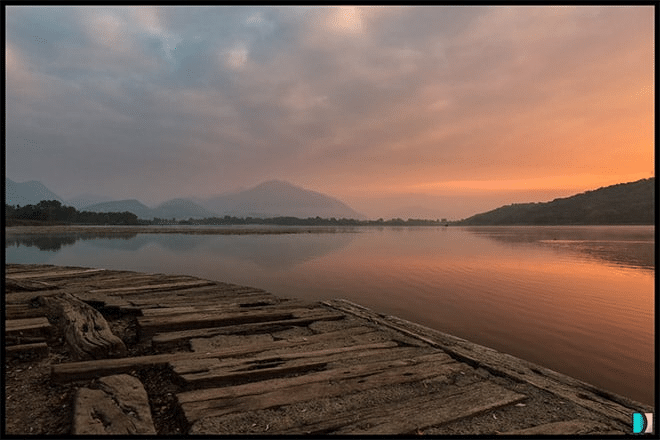
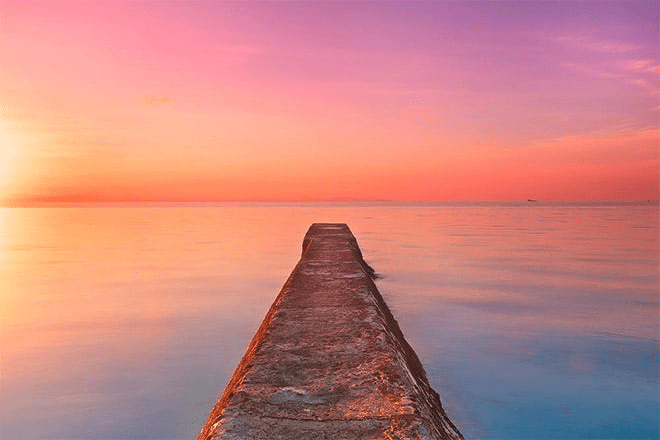
Old Pier, Calm Water by Emi Delli Zuani / CC BY 3.0
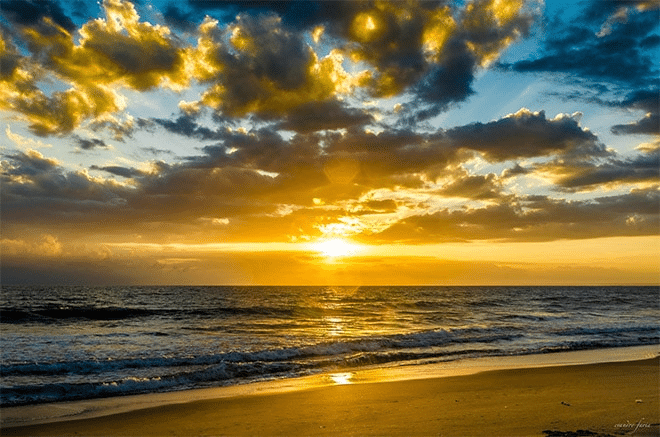
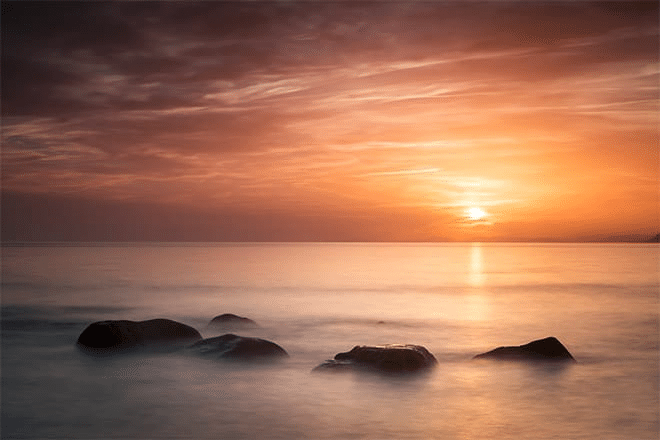
Tibau’s Sunrise by Evandro Faria / CC BY 3.0
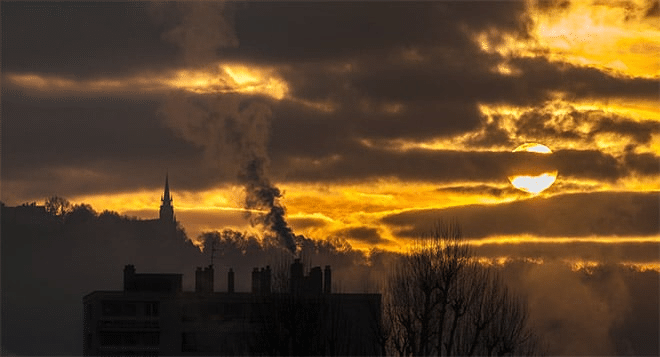
Good Morning 2015 by Raphaël Bacco / CC BY 3.0
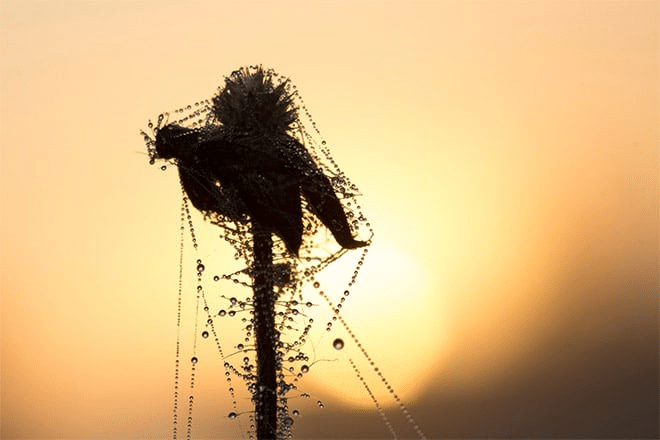
Spider Routes by Даниил Мартынов / CC BY 3.0
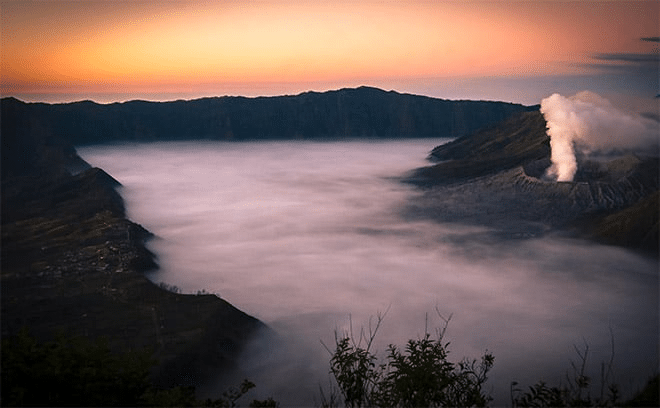
Clouds Over the Sea of Sands by Guillaume Buret / CC BY 3.0
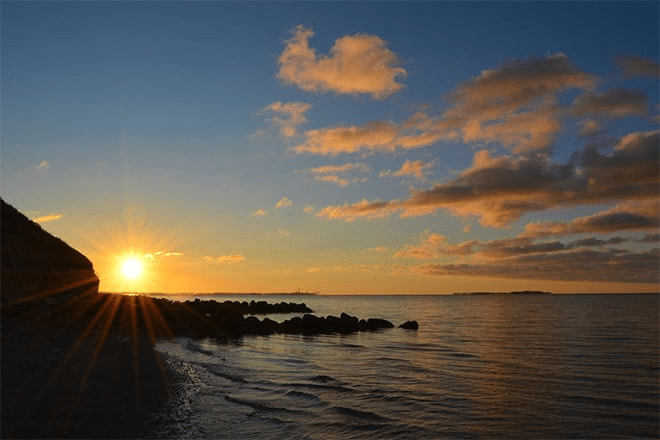
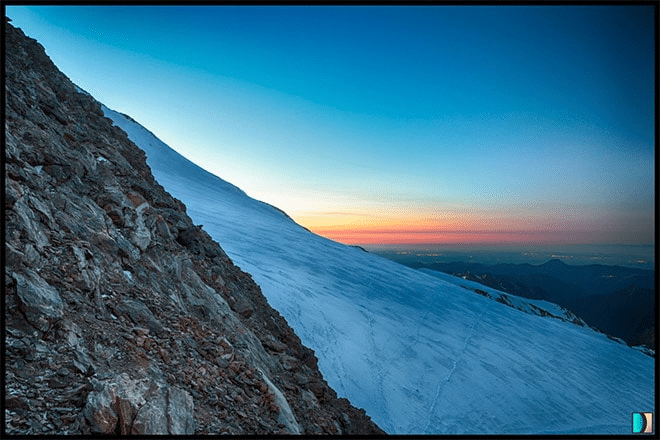
Winter Sunrise by Valentin Kold Gundersen / CC BY 3.0
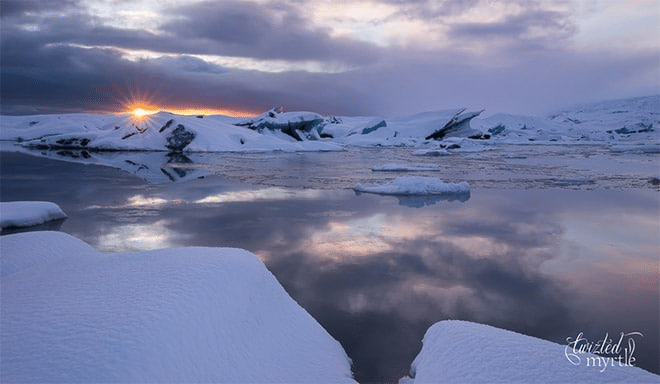
Tranquility at Glacier Lagoon, Iceland by Asha Wadher / CC BY 3.0

The Sunrise by Debsourabh Ghosh / CC BY 3.0
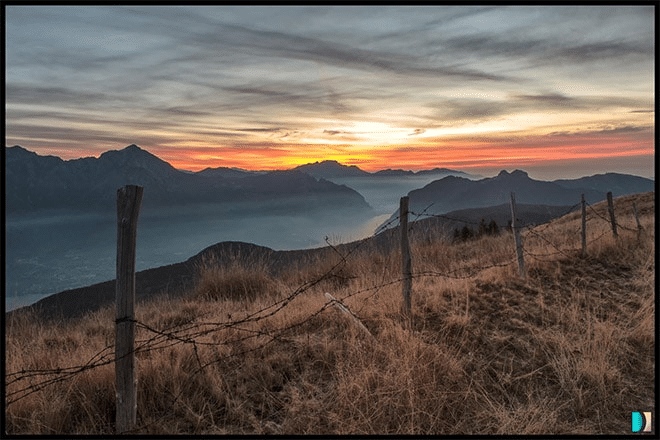
Sunrise from Monte San Primo / CC BY 3.0

Sunrise in Bull Island, Dublin, Ireland by Giuseppe Milo / CC BY 3.0
WARM VELVET by Jesús Ignacio Bravo Soler / CC BY 3.0

Illa Pancha Ribadeo by Giorgio Pirola / CC BY 3.0
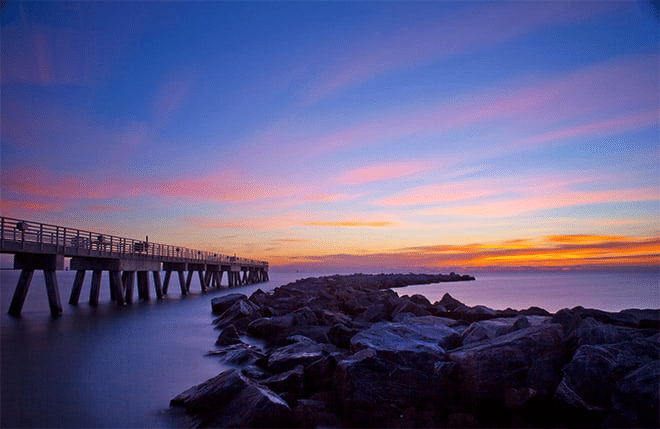
Jetty Park Makenzie Rae Dick / CC BY-ND 3.0
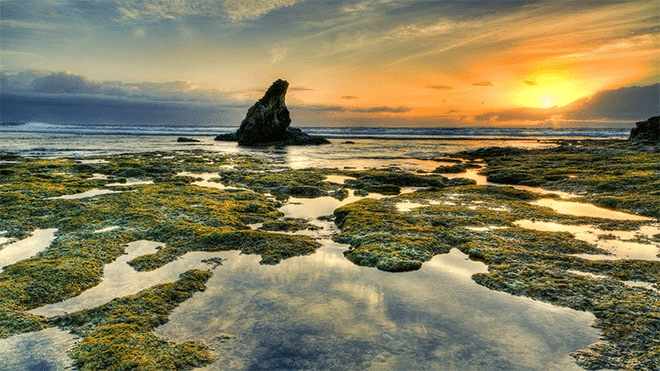
Nusa Dua Sunrise by Dedy Angsana / CC BY-ND 3.0

Unexpected Surprise by Joshua Warrender / CC BY-ND 3.0
Welcome Day by Tyuncher Eminov / CC BY-ND 3.0
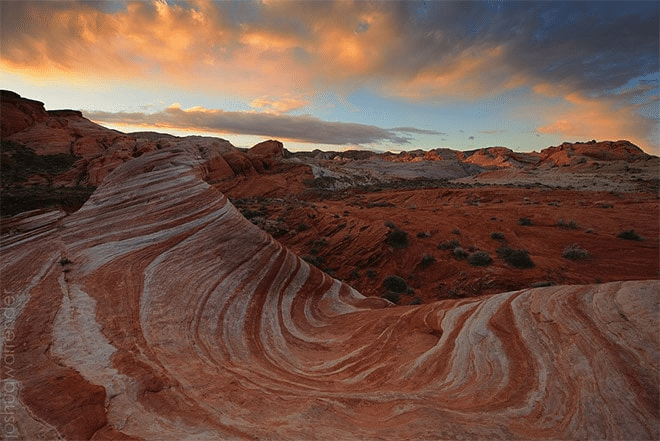
Fire Wave First Light by Joshua Warrender / CC BY-ND 3.0
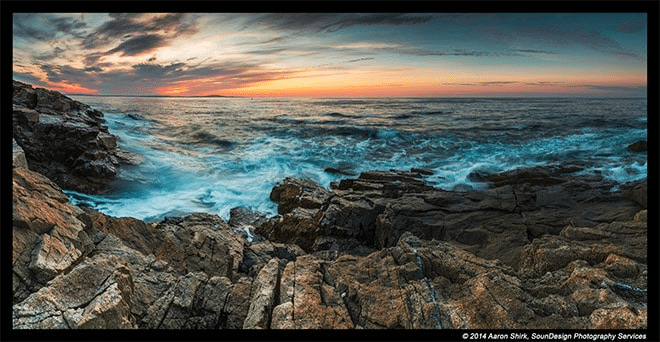
Sunrise Pano from Otter Point by Aaron Shirk / CC BY-ND 3.0
Morning Shot by Oleg Popov / CC BY-ND 3.0
All photos shown in this post are licensed as Creative Commons Attribution 3.0 or Creative Commons Attribution-NoDerivs 3.0.