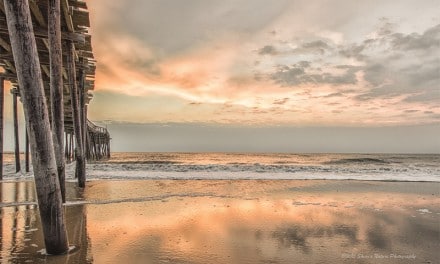
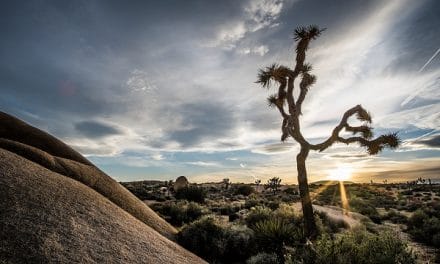
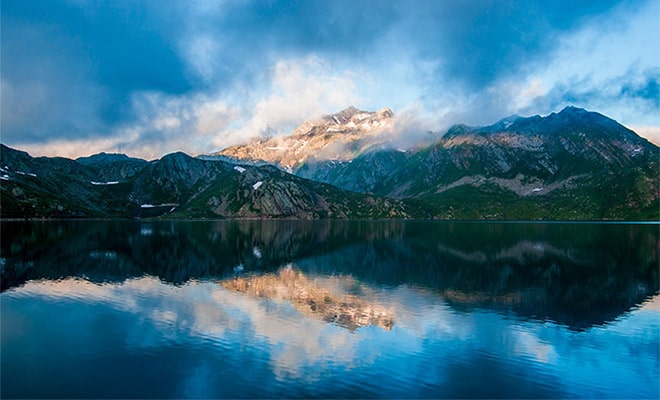
An interesting sky is almost as important to a landscape photo as the land beneath it. If the sky lacks interest or is improperly exposed, it can take away from the overall quality of the image. So what’s the secret to capturing those stunning and eye catching skies we see in the work of our favorite landscape photographers? While there’s really no secret formula, there are a handful of things we can do. Let’s take a look at some of those techniques.
1. Timing Is Everything
Unfortunately, there’s only so much we can do to control what kind of skies we have to work with. Since we can’t control the weather or the clouds, the only way we have to take things into our own hands is by planning out our photoshoots to the best of our ability. That means we have to pay attention to weather forecasts and give ourselves a working understanding of the weather beyond the extent of glancing at the 5-day forecast.
What you’ll be specifically looking for when reading the forecast will vary depending on what you want to photograph–some people love to photograph severe weather, while others will be looking for fair weather. Looking at the wind speed, cloud cover, precipitation, and temperatures. Take a detailed look at the hourly forecasts to help you better plan what time of day is best geared to your desired shooting conditions. Being as specific as possible often pays off.
Lastly, when you’re going to be shooting at higher altitudes, try make sure the weather report you are looking at is reflective of the elevation in which you’ll be shooting. Often, you’ll find the weather forecasts are geared towards lower elevations where people are more likely to live. Of course, this isn’t always the case, but it’s definitely worth checking so you’re not in for any surprises.
→ Related reading: Photographing Landscapes in All Weather
2. Filters
Many top landscape photographers consider a circular polarizing filter and a graduated neutral density filter essential items in their gear bag. The explanation for that is simple: they’re about as close to a magic trick as landscape photographers can get.
A polarizing filter will make colors more vibrant and unwanted surface reflections disappear by blocking certain types of light. A graduated neutral density filter allows you to stop light on one portion of your composition, such as the sky, and allows for full light to come through in other parts of the composition, such as the landscape. It essentially takes the high contrast between the sky and the ground and balances it out so you can get an evenly exposed image.
If you’re not familiar with the many different kinds of filters available, I recommend you check out this earlier post. It will give you a great introduction to the most popular types of filters used by landscape photographers.
3. Try A Long Exposure
Long exposures won’t work well for all landscape images, but for others they can add a bit of creative touch. If you’re photographing trees and the wind is blowing, a long exposure is likely to result in blurry trees. But, for example, if you’re shooting something less likely to be blown around by the wind, such as mountains, a long exposure can make moving clouds look a little more eye catching.
→ Related reading: Guide to Long Exposure Landscape Photography
If you’re shooting a seascape, the long exposure effect will also give the ocean a milky look, which is popular in landscape photography at the moment.
One last thing to keep in mind when you’re out there shooting, is to take the time to really look at the sky and decide whether or not it adds to the overall composition or takes away from it. There’s no set formula for this as weather and cloud patterns will greatly differ across shooting situations, as will personal taste. That’s why it’s even more important to be able to make an on-the-spot decision to either include more of it in your landscape or tilt your camera down slightly to include less of the sky if needed.
We can plan in advance and use all the helpful little accessories we can get our hands on, but sometimes nature just won’t be on our side. If the sky doesn’t significantly add to your image, it may be in the best interest of your image to only include a sliver of it in your photo.
Photo license links: CC BY 2.0, CC BY-ND 2.0


