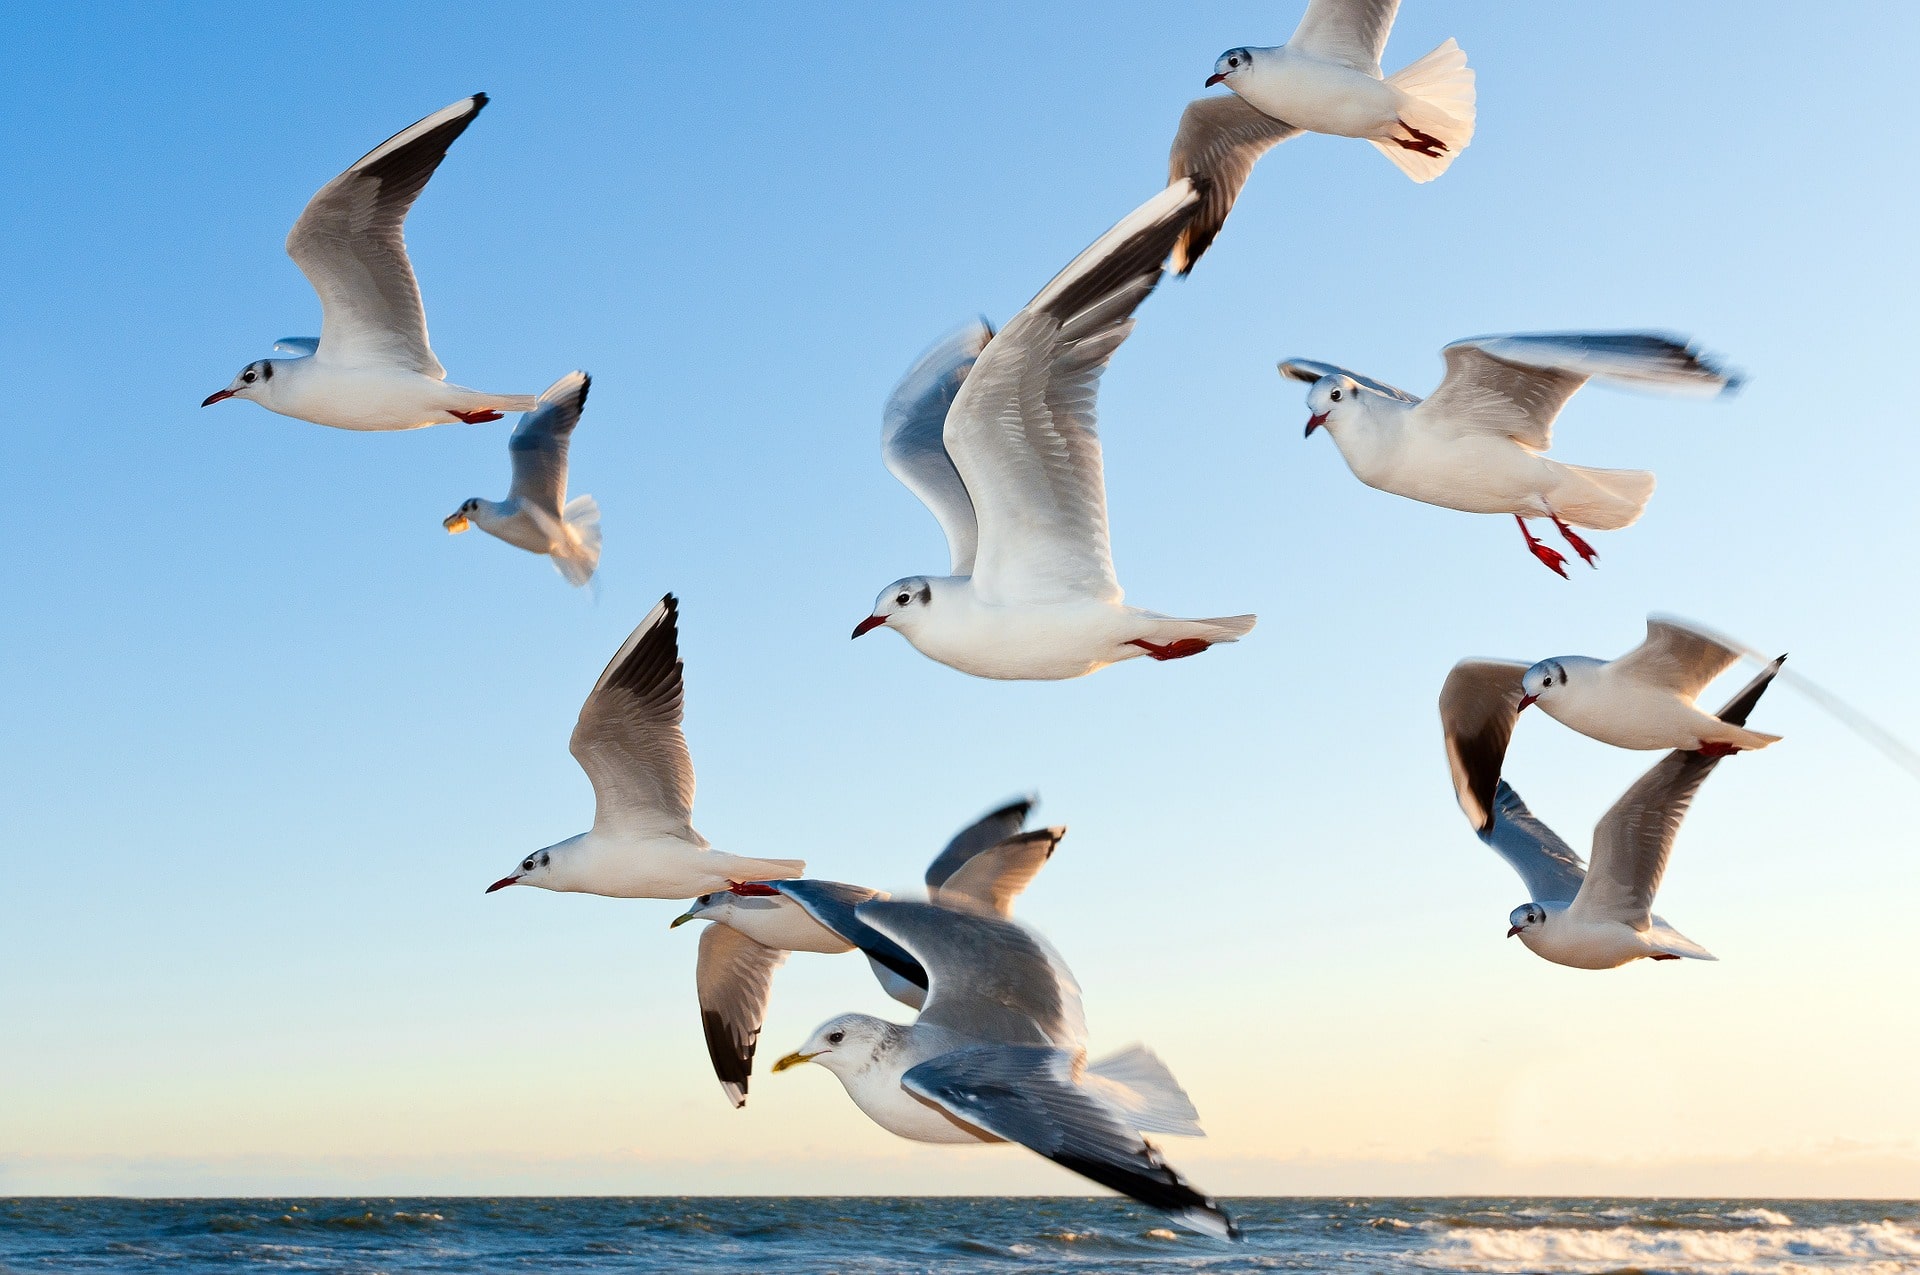
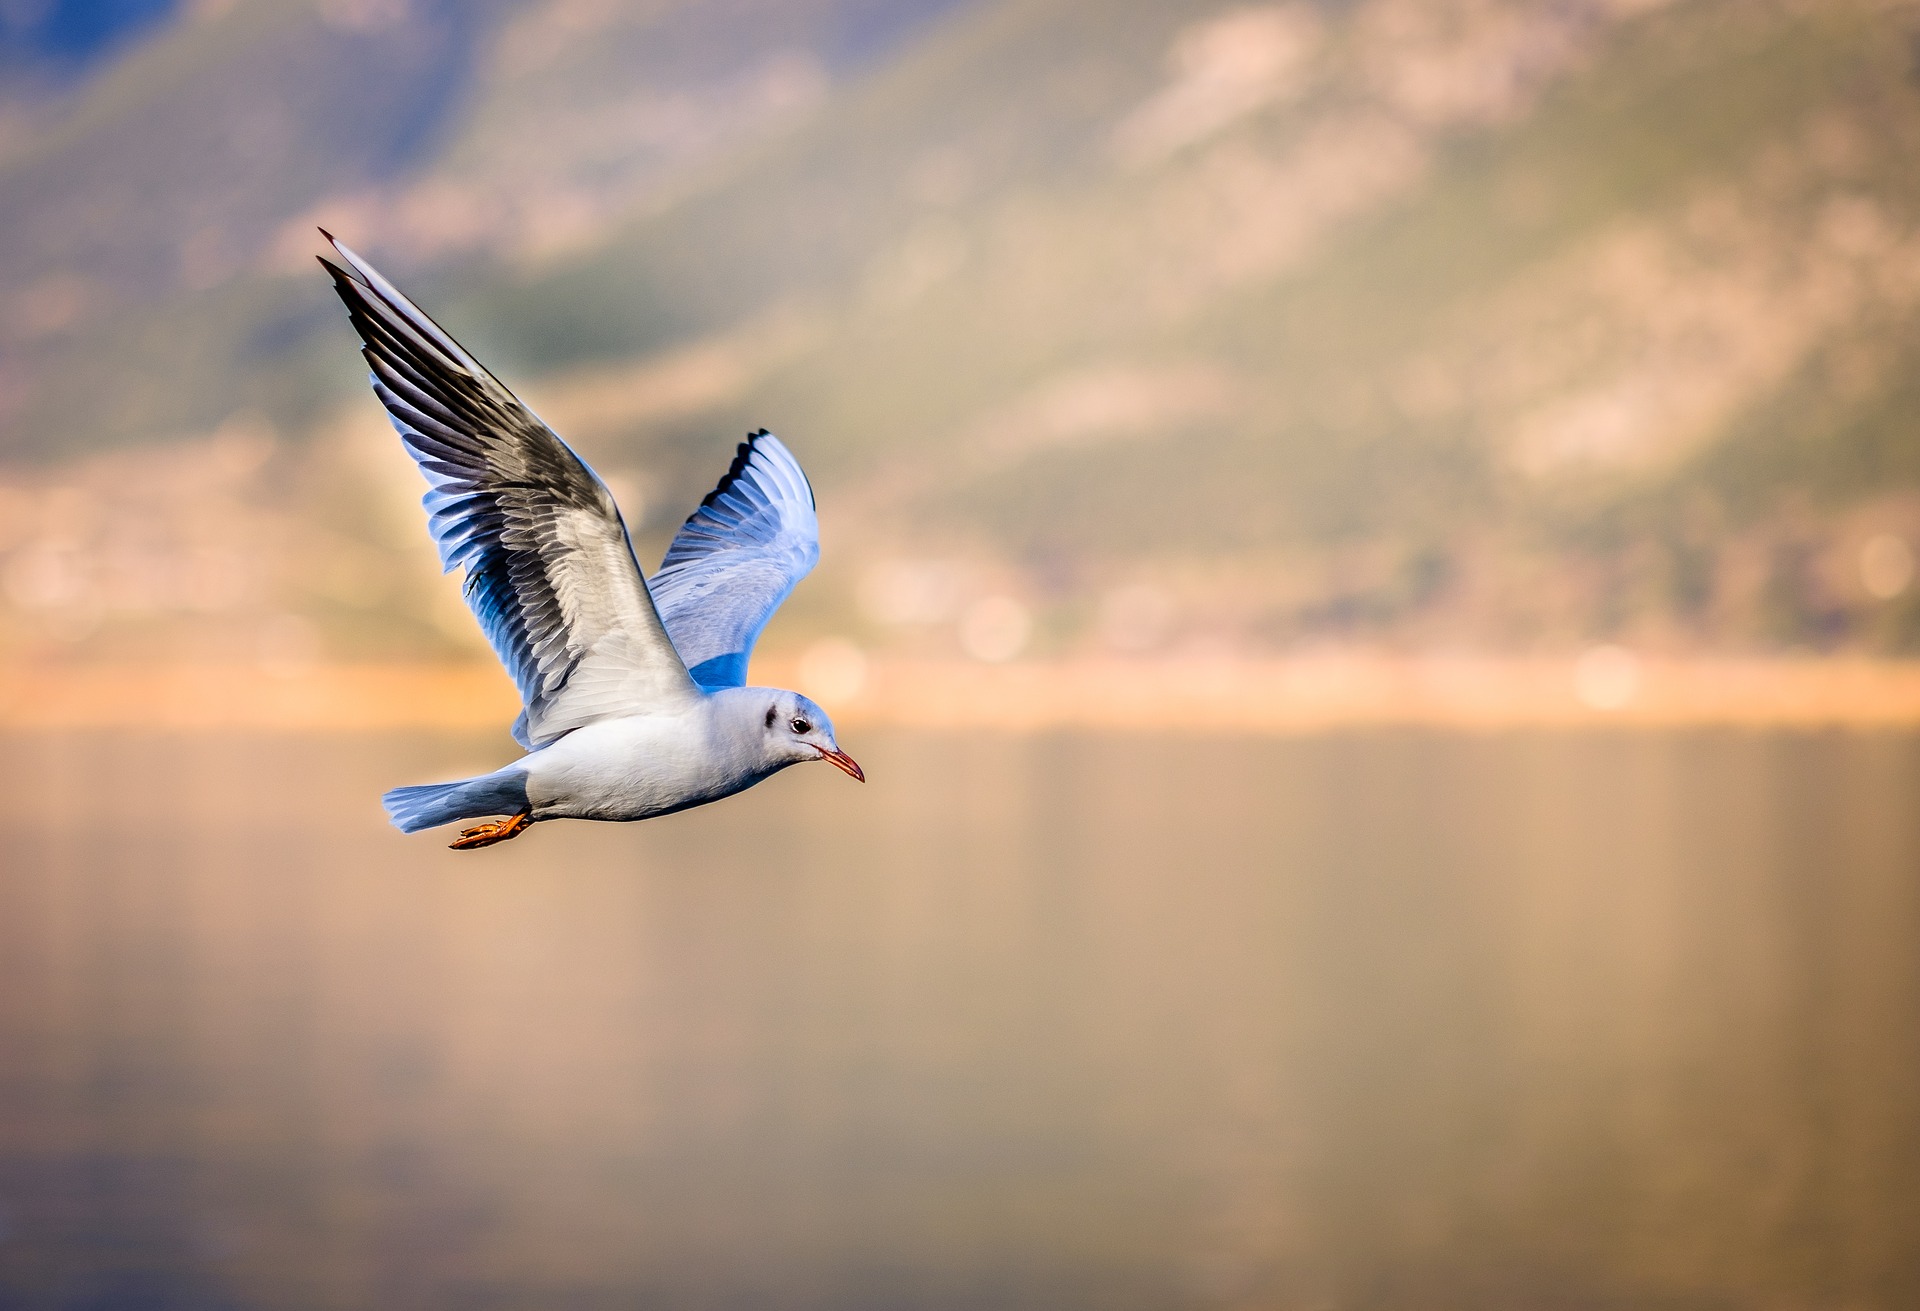
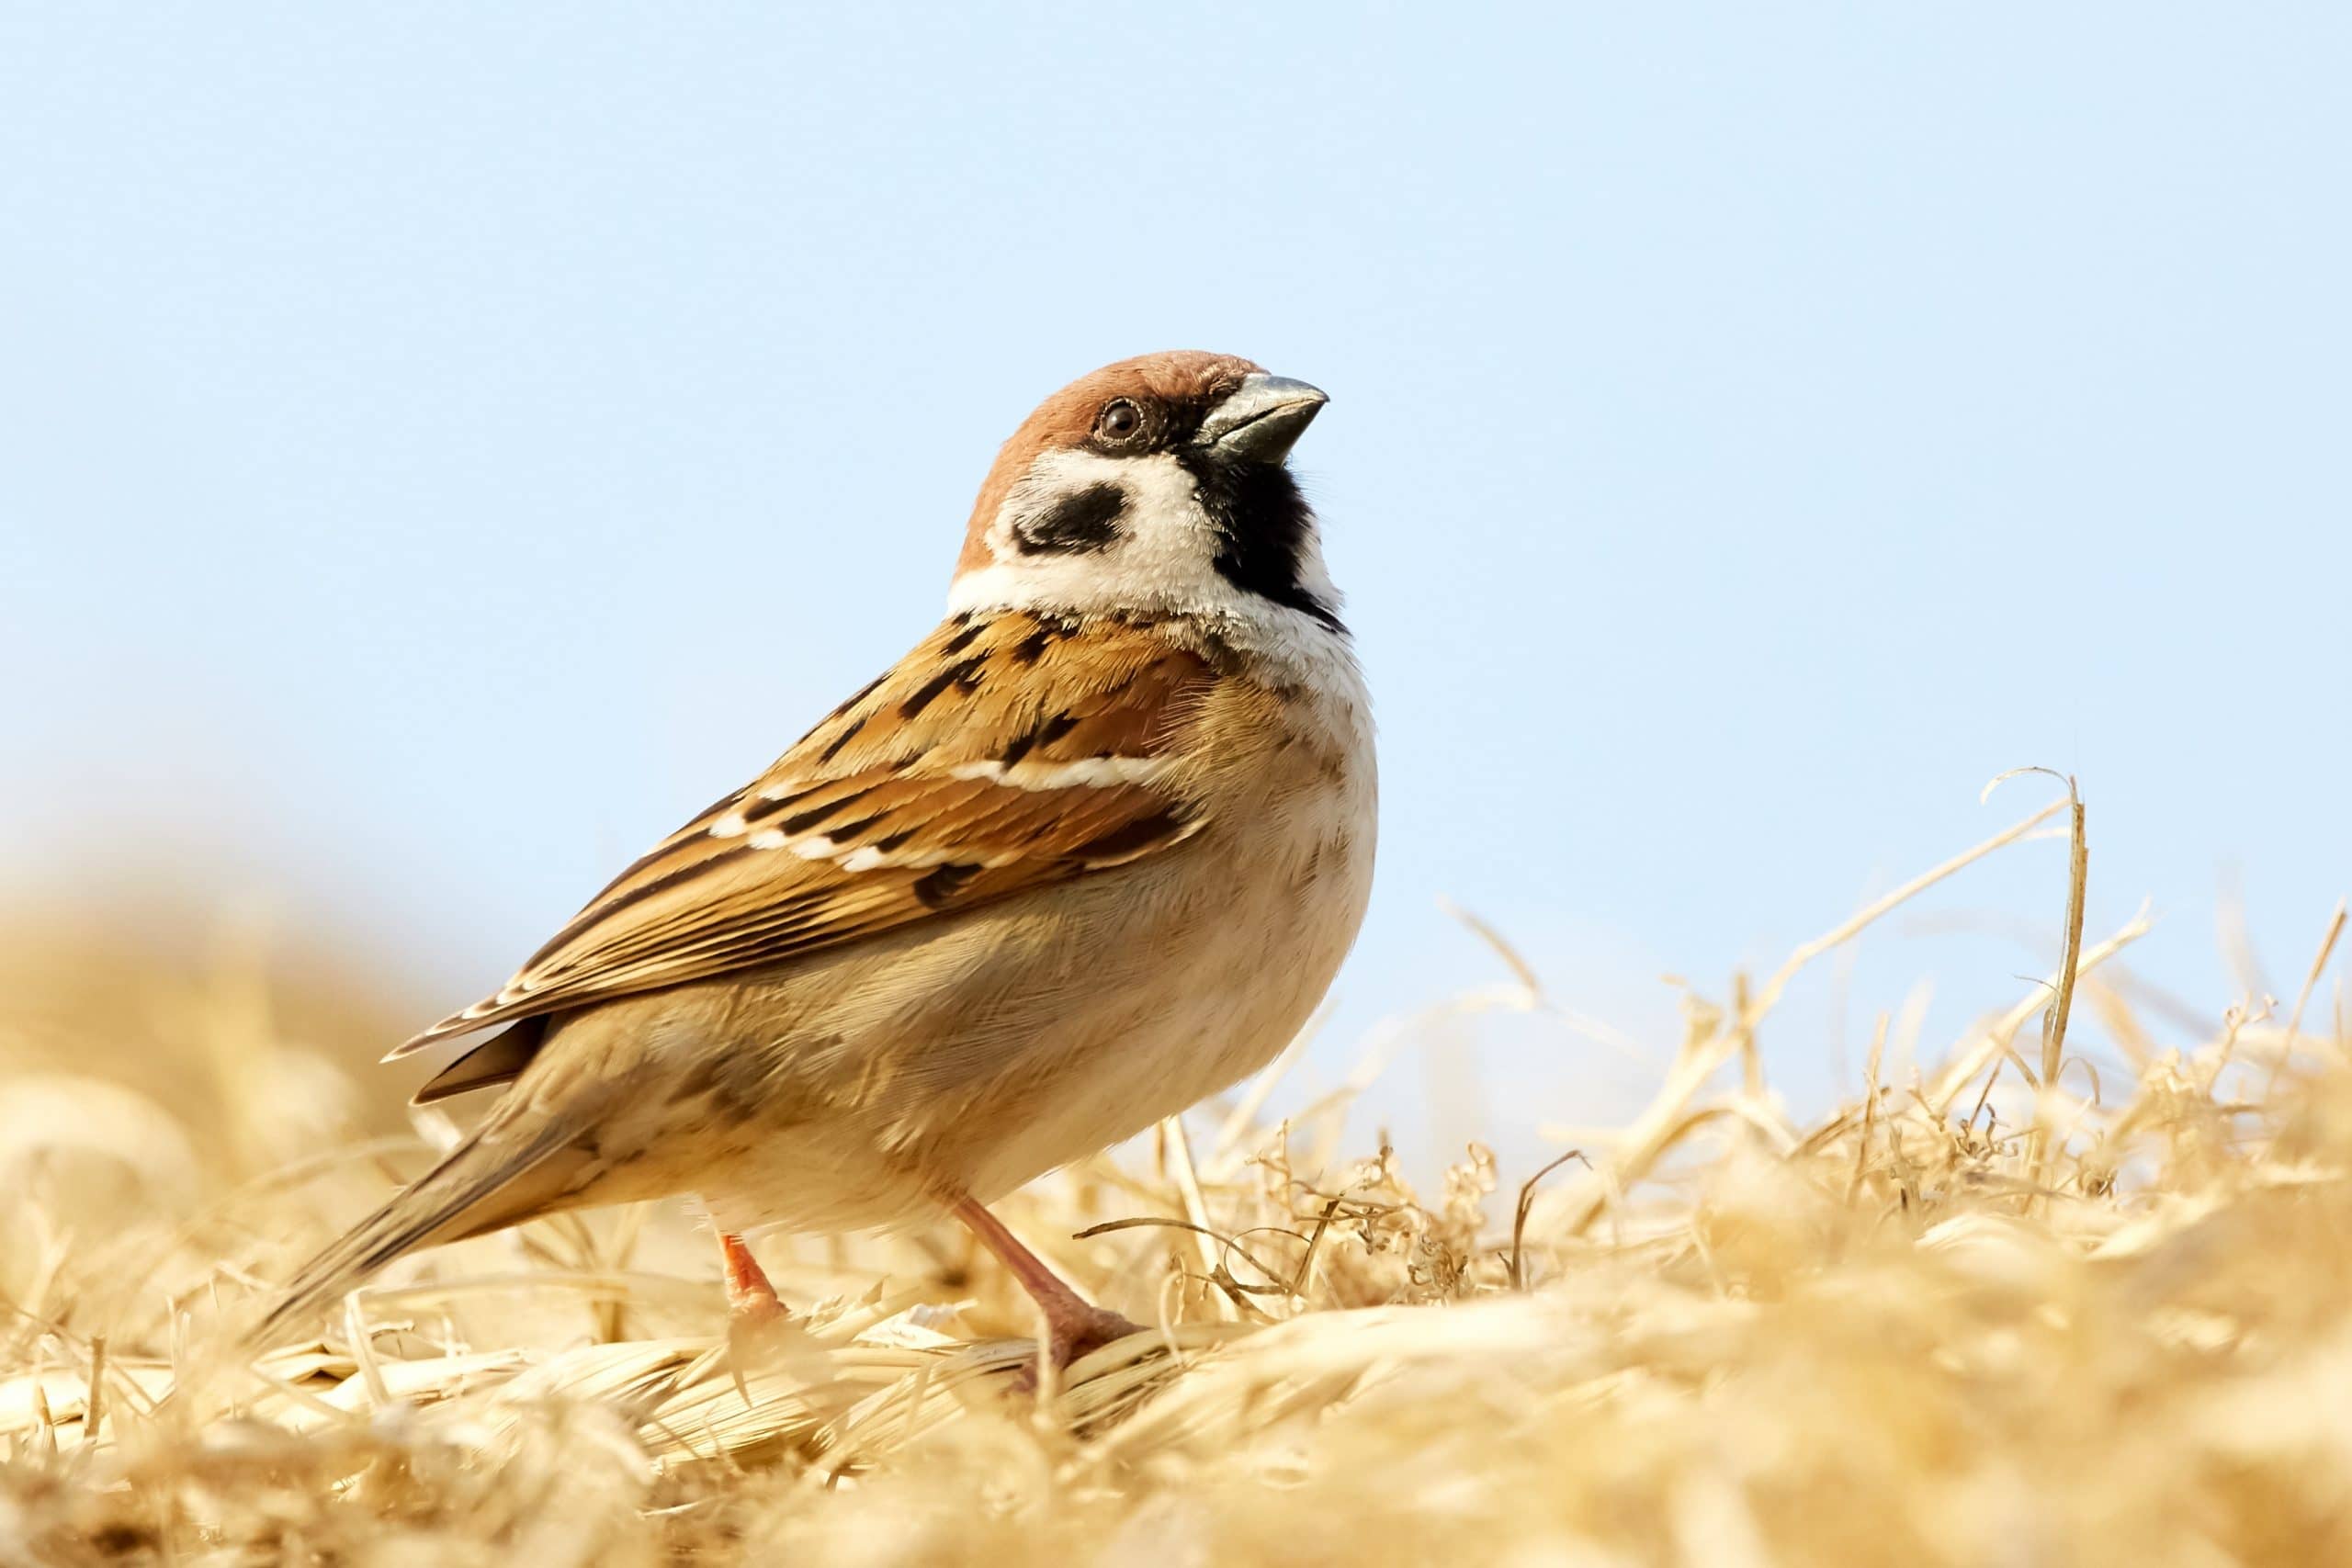
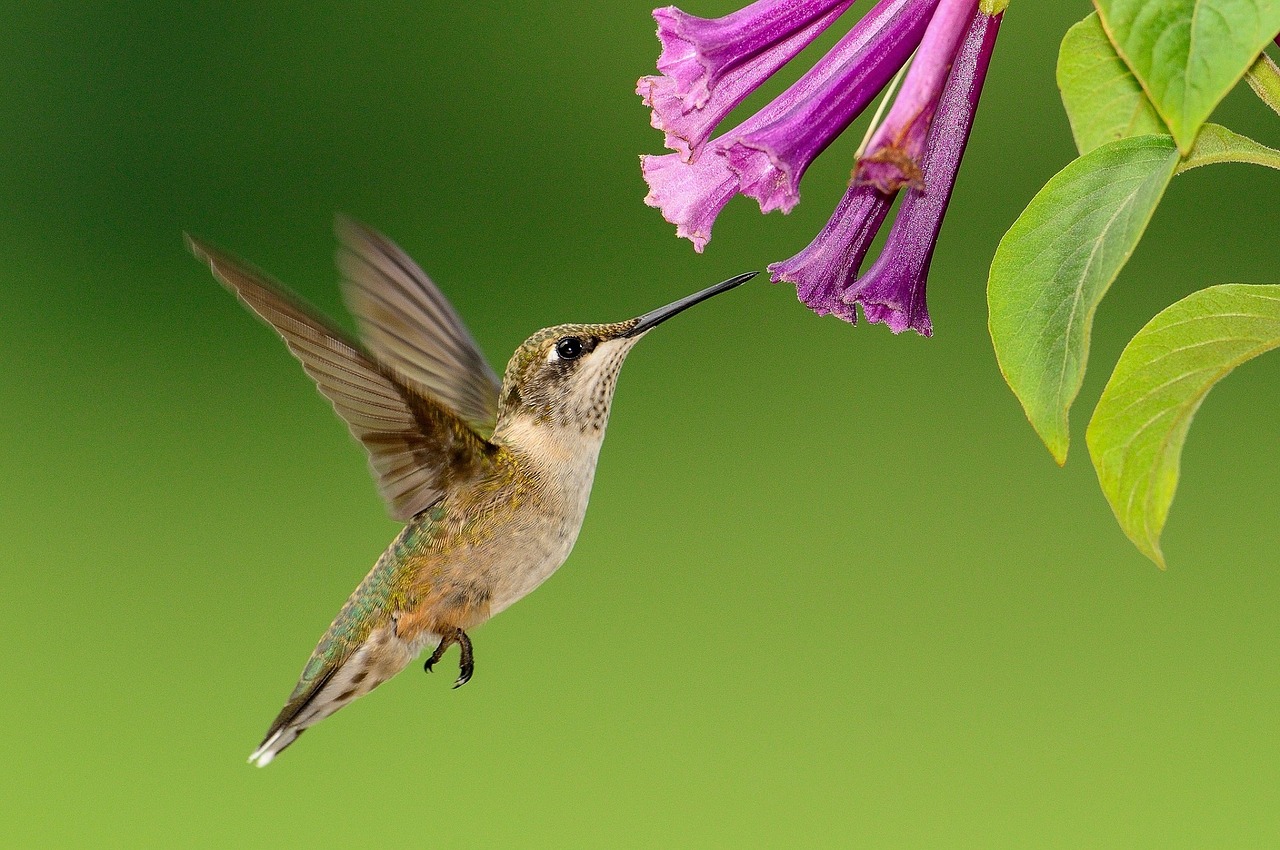
Even if you have some experience with wildlife photography, learning how to photograph birds can be a difficult hurdle. Birds are skittish and move quickly, and can be hard to capture – both while they’re sitting still on the ground or on a branch, or when they’re in flight.
To start getting better photographs of birds, you need to make sure you have the right gear, know the proper photography techniques, and are setting up your camera properly to ensure you can capture the movement of birds in flight.
There’s a lot to think about – so if you need help with the basics, you’re in the right place. In this guide, we’ll go over 6 steps you need to take to get great photos of birds in their natural habitats.
1. Find Hotspots Of Bird Activity In Your Area, And Learn About Your Subjects
If you’re shooting birds, the first thing you need to do is… find some birds! You’ll want to do some basic research about what birds live near you, their habits, their habitats, and their behavior. This will help you get great shots.
A helpful resource for this is Avibase, which can give you a ton of information about birds in just about any region of the globe. You can also turn to resources like the North American Bird Guide from the Audubon Society.
If you have a local birdwatching club or even a bird photography club near you, this can also be an invaluable resource. You can meet other individuals who love watching and photographing birds, and get tips about where to find congregations of birds, the best times to shoot, and more.
Hobbies are more fun with others, so get out there and find a birding group near you! Looking for a local Audubon chapter is a good place to start.
2. Choose The Right Camera
If you don’t already have a DSLR or a mirrorless camera, you’re going to need to buy one. A high-quality camera that can shoot at least 1/1000th of a second, and ideally take six frames each second, is ideal.
Slower shots mean you risk blur, and that you may not be able to capture the unique moments that make wildlife photography such a fun hobby. Most entry-level DSLRs and mirrorless cameras can meet these requirements – but “point-and-shoot” cameras can’t.
Naturally, you may think a full-frame camera would be best for wildlife photography. But that’s not always the case. If you put a full-frame lens on a cropped sensor camera, it will have 1.5x magnification – meaning you could use a 50mm lens as a 75mm lens, for example.
This will make everything look closer to you when you shoot– which can actually be a good thing for photographing birds. You may not even need to invest in an expensive telephoto lens, although we recommend doing so eventually if you plan on making avian photography a hobby of yours.
Mirrorless cameras can also be a good investment if you photograph birds, because they do not make loud shutter sounds, which could startle your subjects. Whether you choose a DSLR or a mirrorless camera, you should be able to pick up a pretty good entry-level crop sensor camera for $500 or less, and a 50mm lens will cost you $100 or less.
3. Use The Proper Camera Settings For Better Results
You’re going to be shooting extremely quickly, and taking photos of moving objects – so manual focusing is out. Turn on autofocus, and you’ll have a much easier time shooting moving birds. If you’ve found a stationary subject, you can focus manually – but birds can (and do) move at any time, and they’re easily startled, so be very careful when doing so, or you could lose a great photo opportunity.
Using your shutter speed priority setting is also a good idea. You’re not going to be very concerned with the size of your aperture when shooting birds and other fast-moving animals. Instead, you want to minimize shutter time as much as possible. You can simply set the shutter speed you want – 1/1000th of a second or lower – and then your aperture will auto-adjust based on your shutter speed.
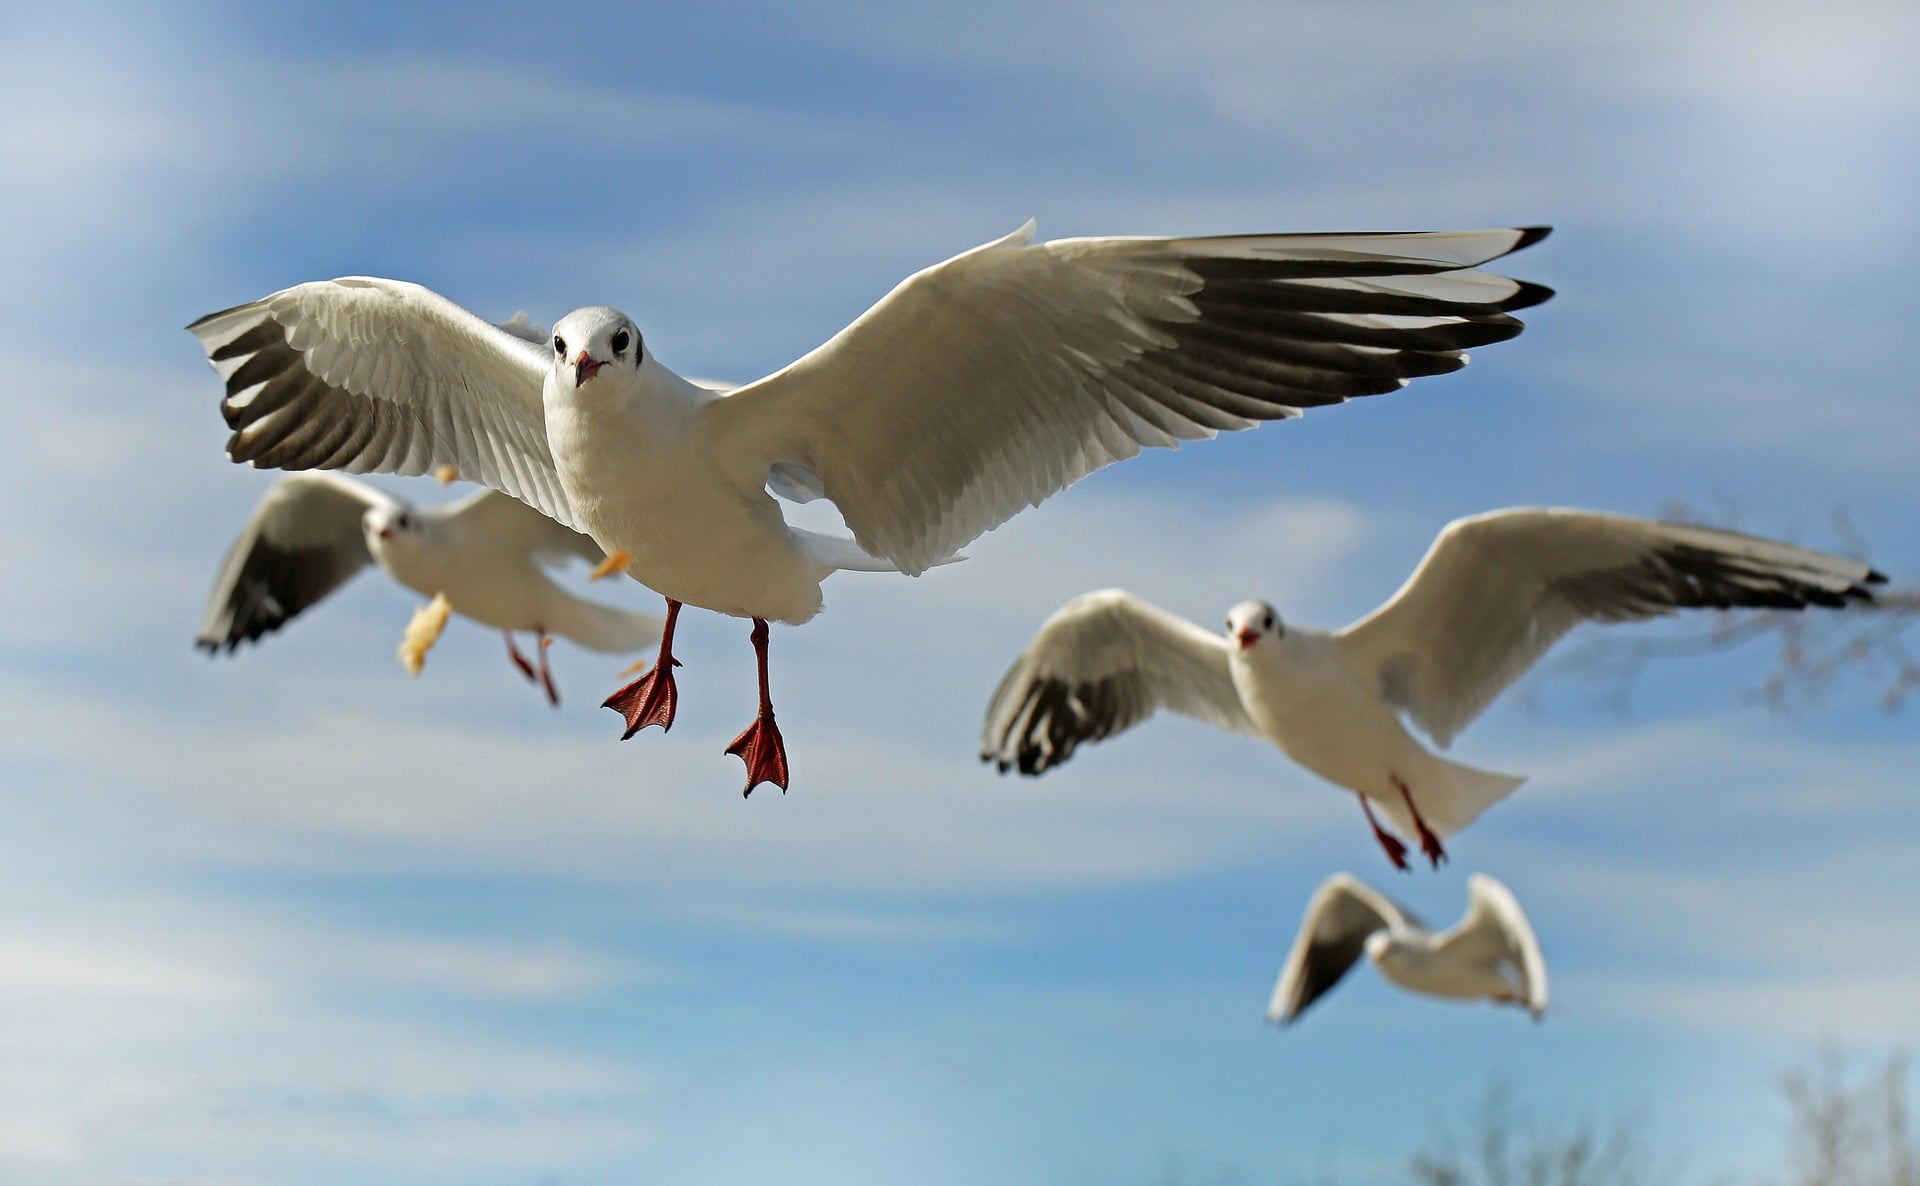
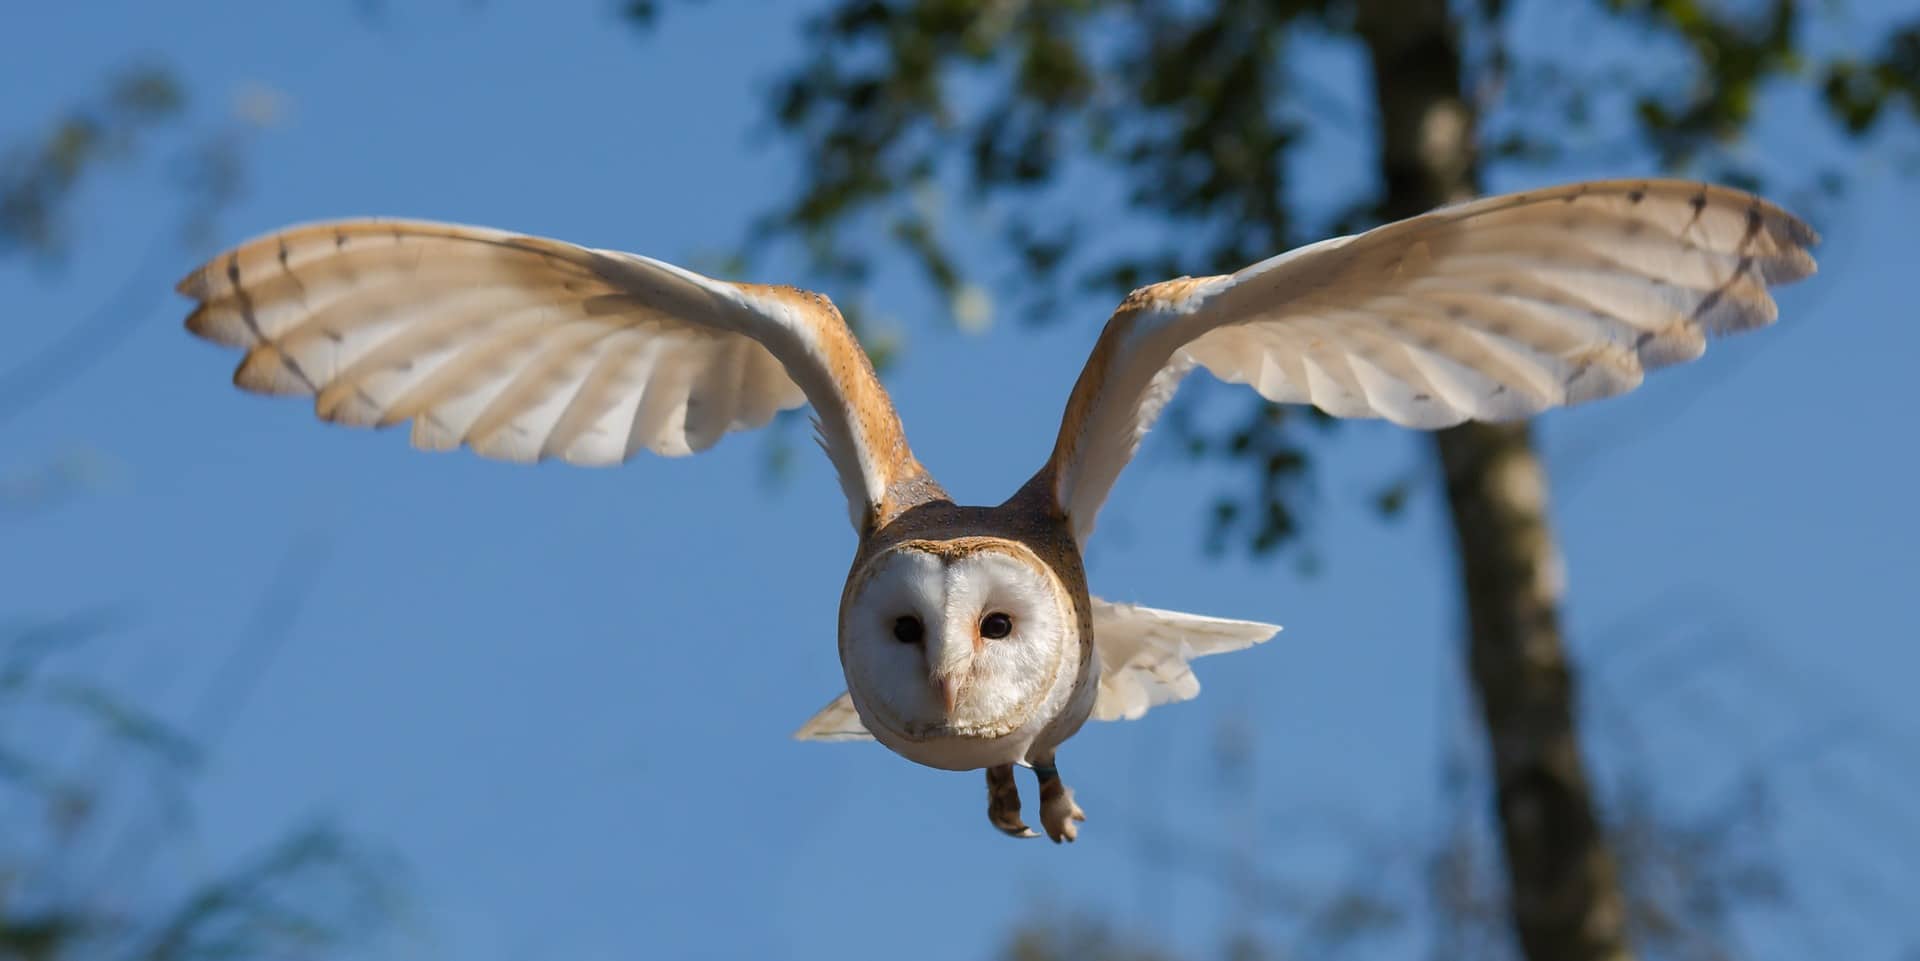
We also recommend shooting using spot metering. Spot metering allows the camera to determine proper exposure based on the brightness of one specific spot – usually the area that’s in focus. This means that you’ll always be able to make sure your subject (the bird) is exposed properly. In turn, leads to a more balanced exposure, and helps you avoid accidentally under-exposing the bird. In most cases, the sky will also be over-exposed and blurred, which adds a very cool visual effect when taking aerial shots of birds.
4. Practice On Urban Birds – And Refine Your Shooting Technique
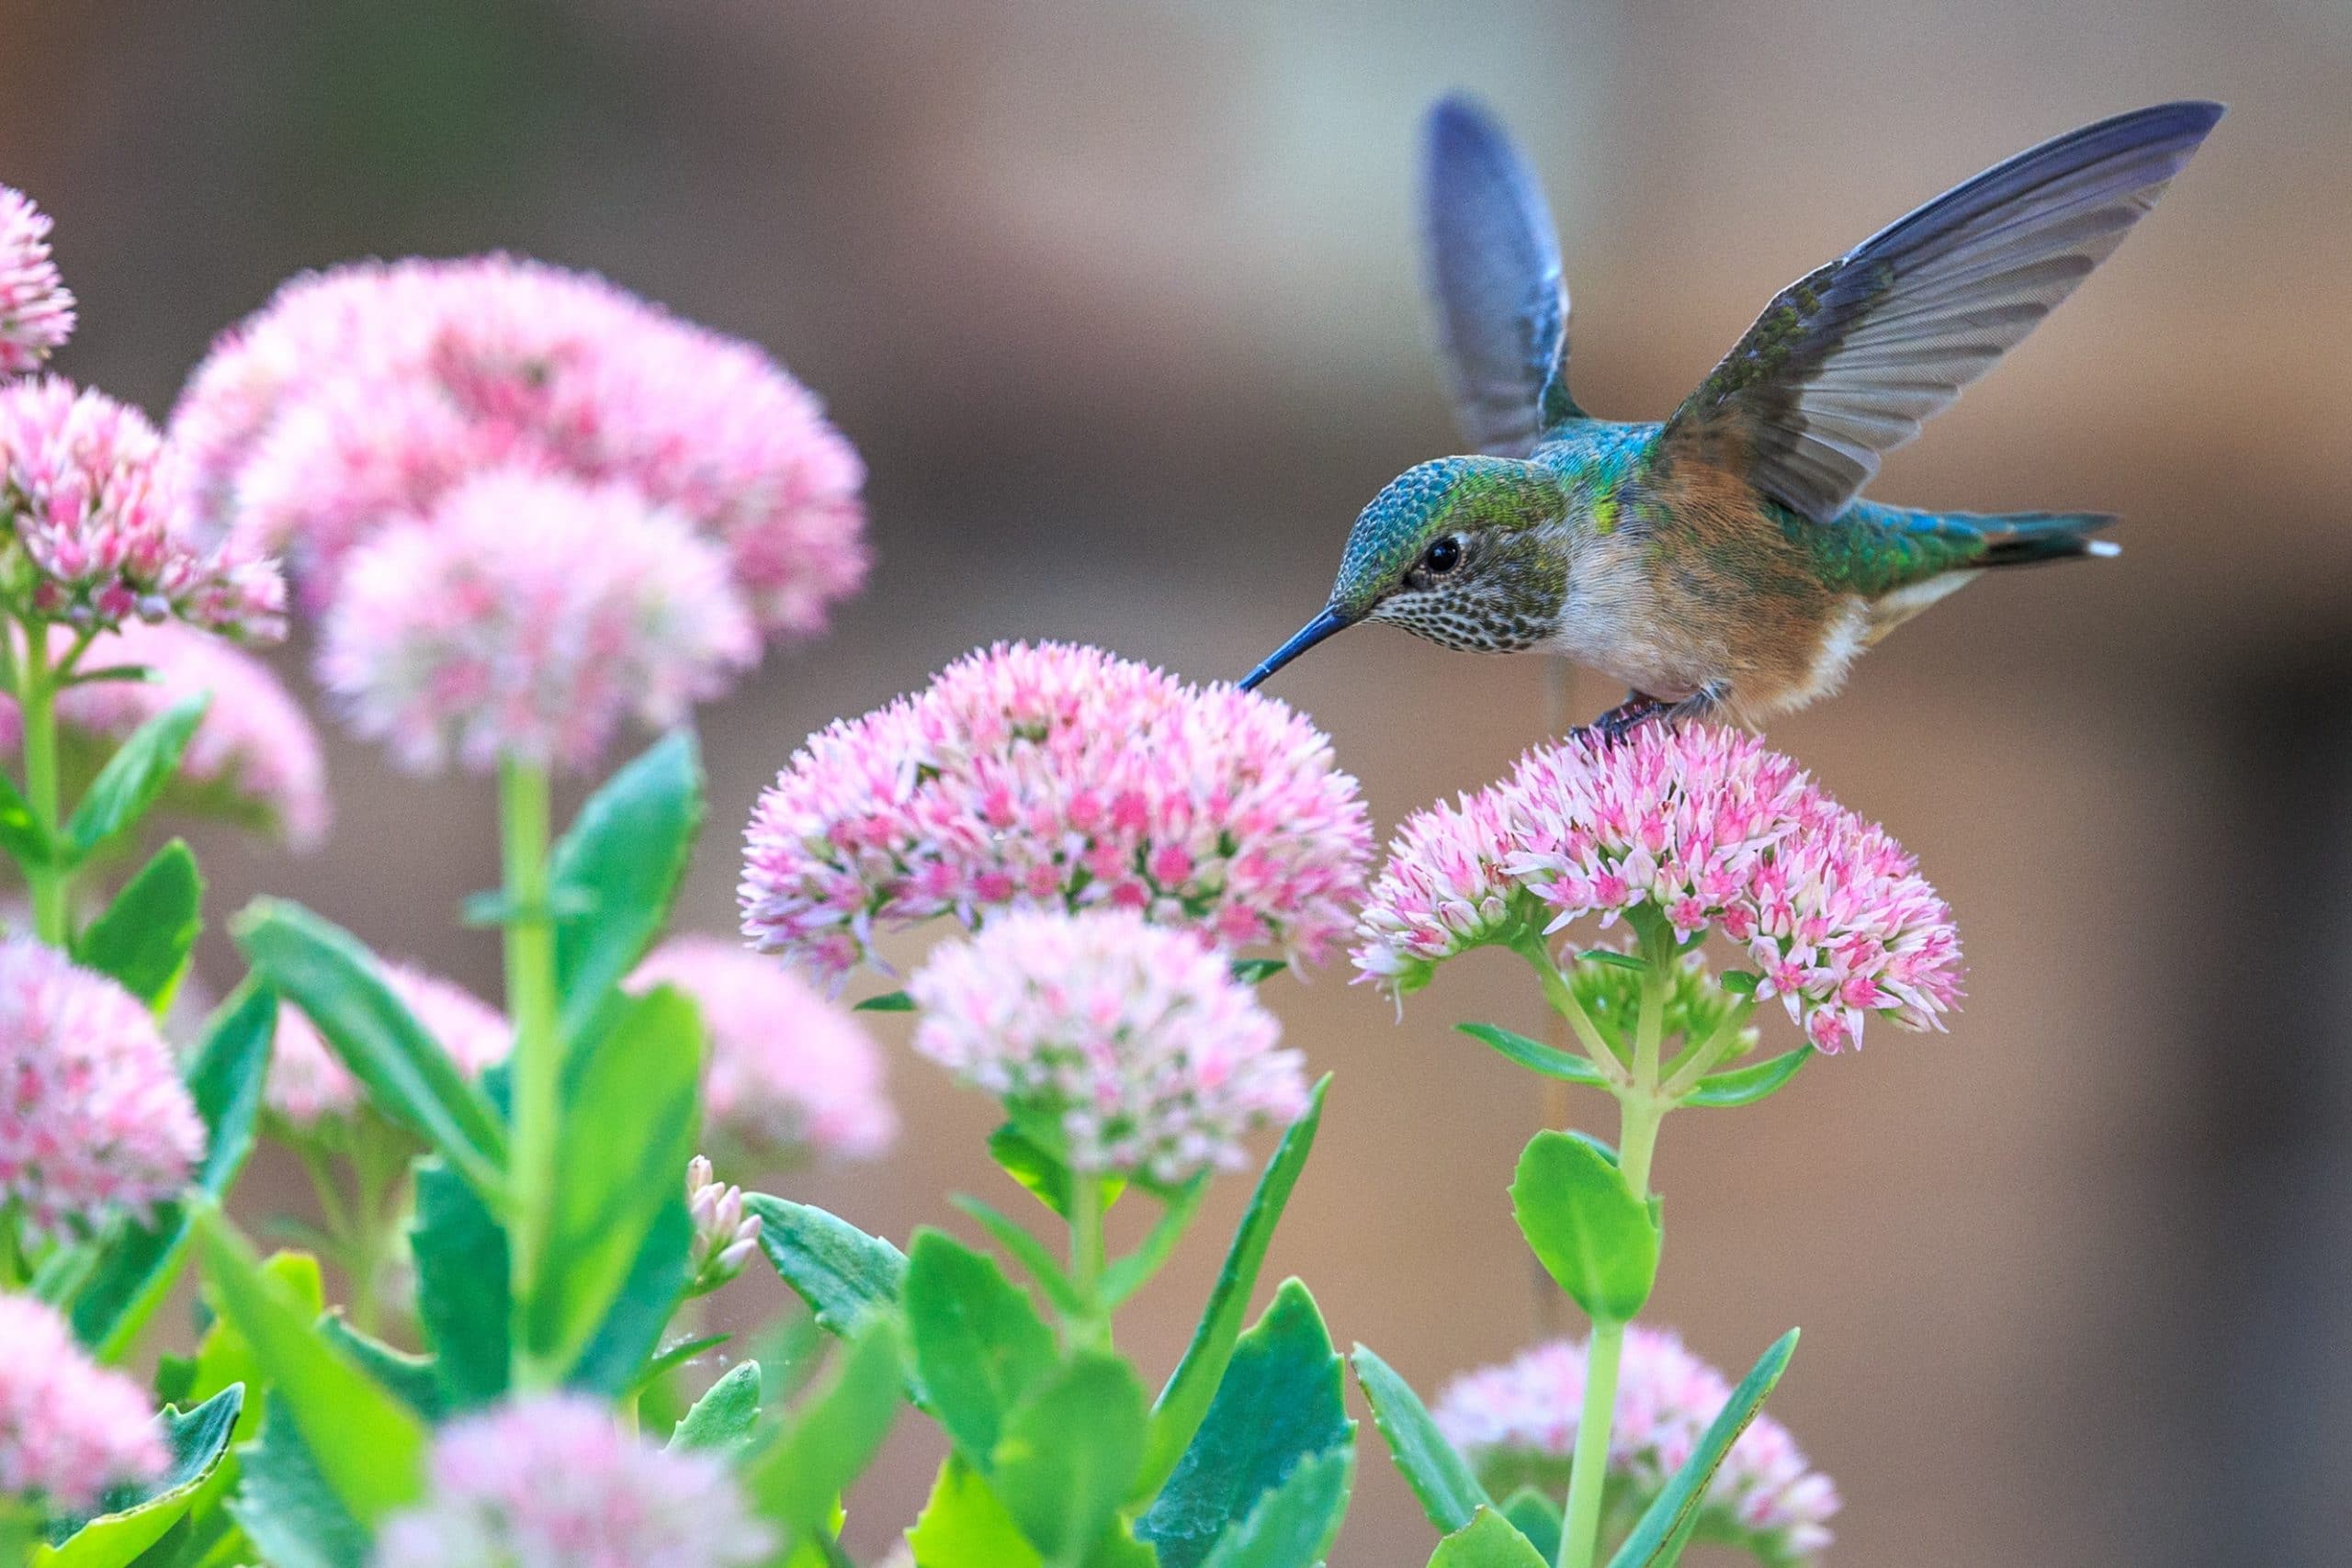
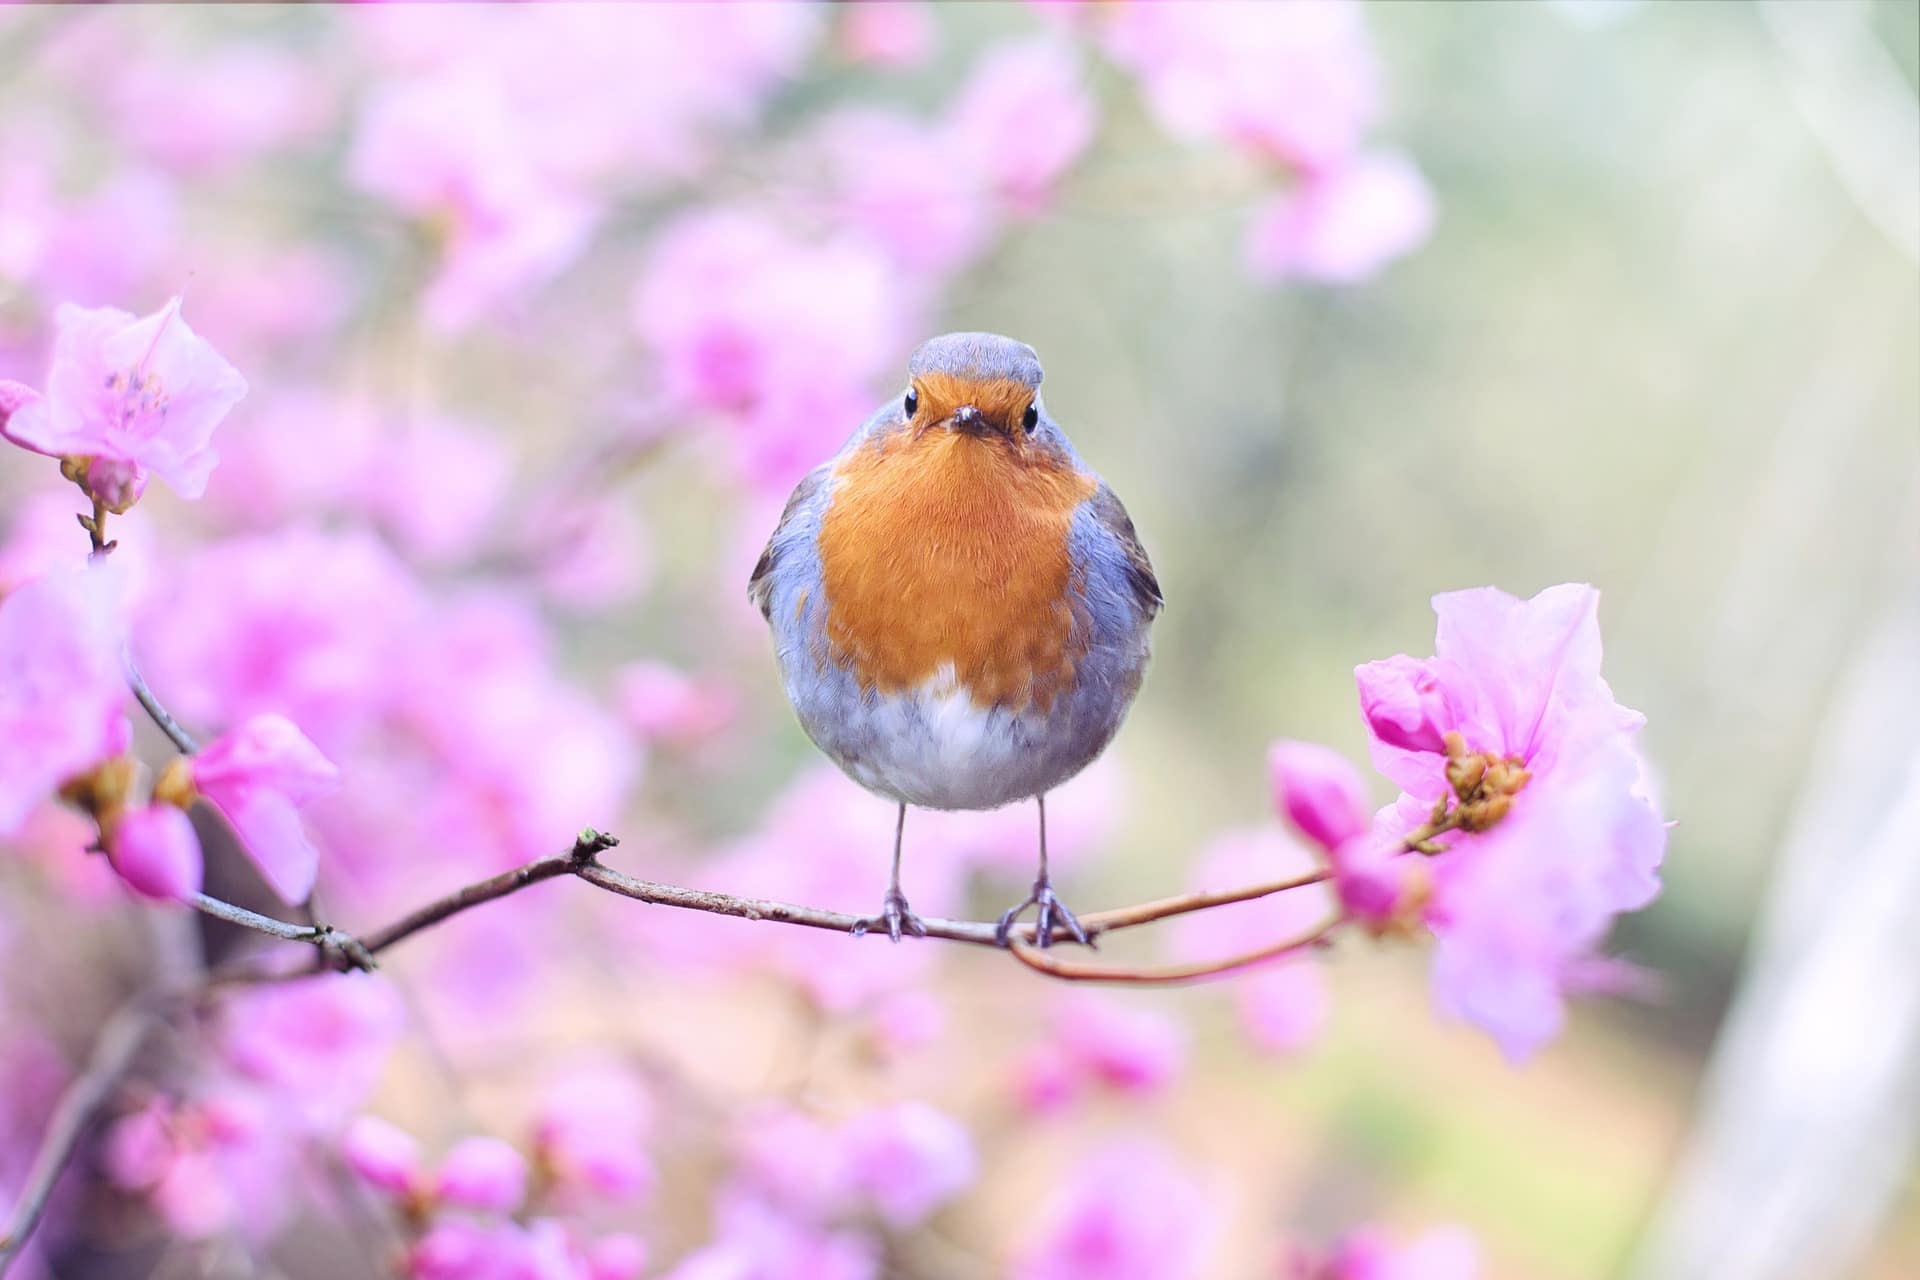
Don’t just head out into the wilderness right away. If you’re looking to improve your ability to shoot birds, you should start by photographing birds who are more used to people – pigeons in the city, robins around your birdbath and bird feeder, local hummingbirds, geese and ducks in public parks, and so on.
Practicing on these birds lets you get a better feel for proper photography technique – and because your subjects are less likely to fly away, you can refine your shooting technique clearly.
You could even consider going to a zoo or bird sanctuary to find more exotic subjects who are used to being around people – shooting birds at the zoo can be a lot of fun!
5. Don’t Forget About Image Composition
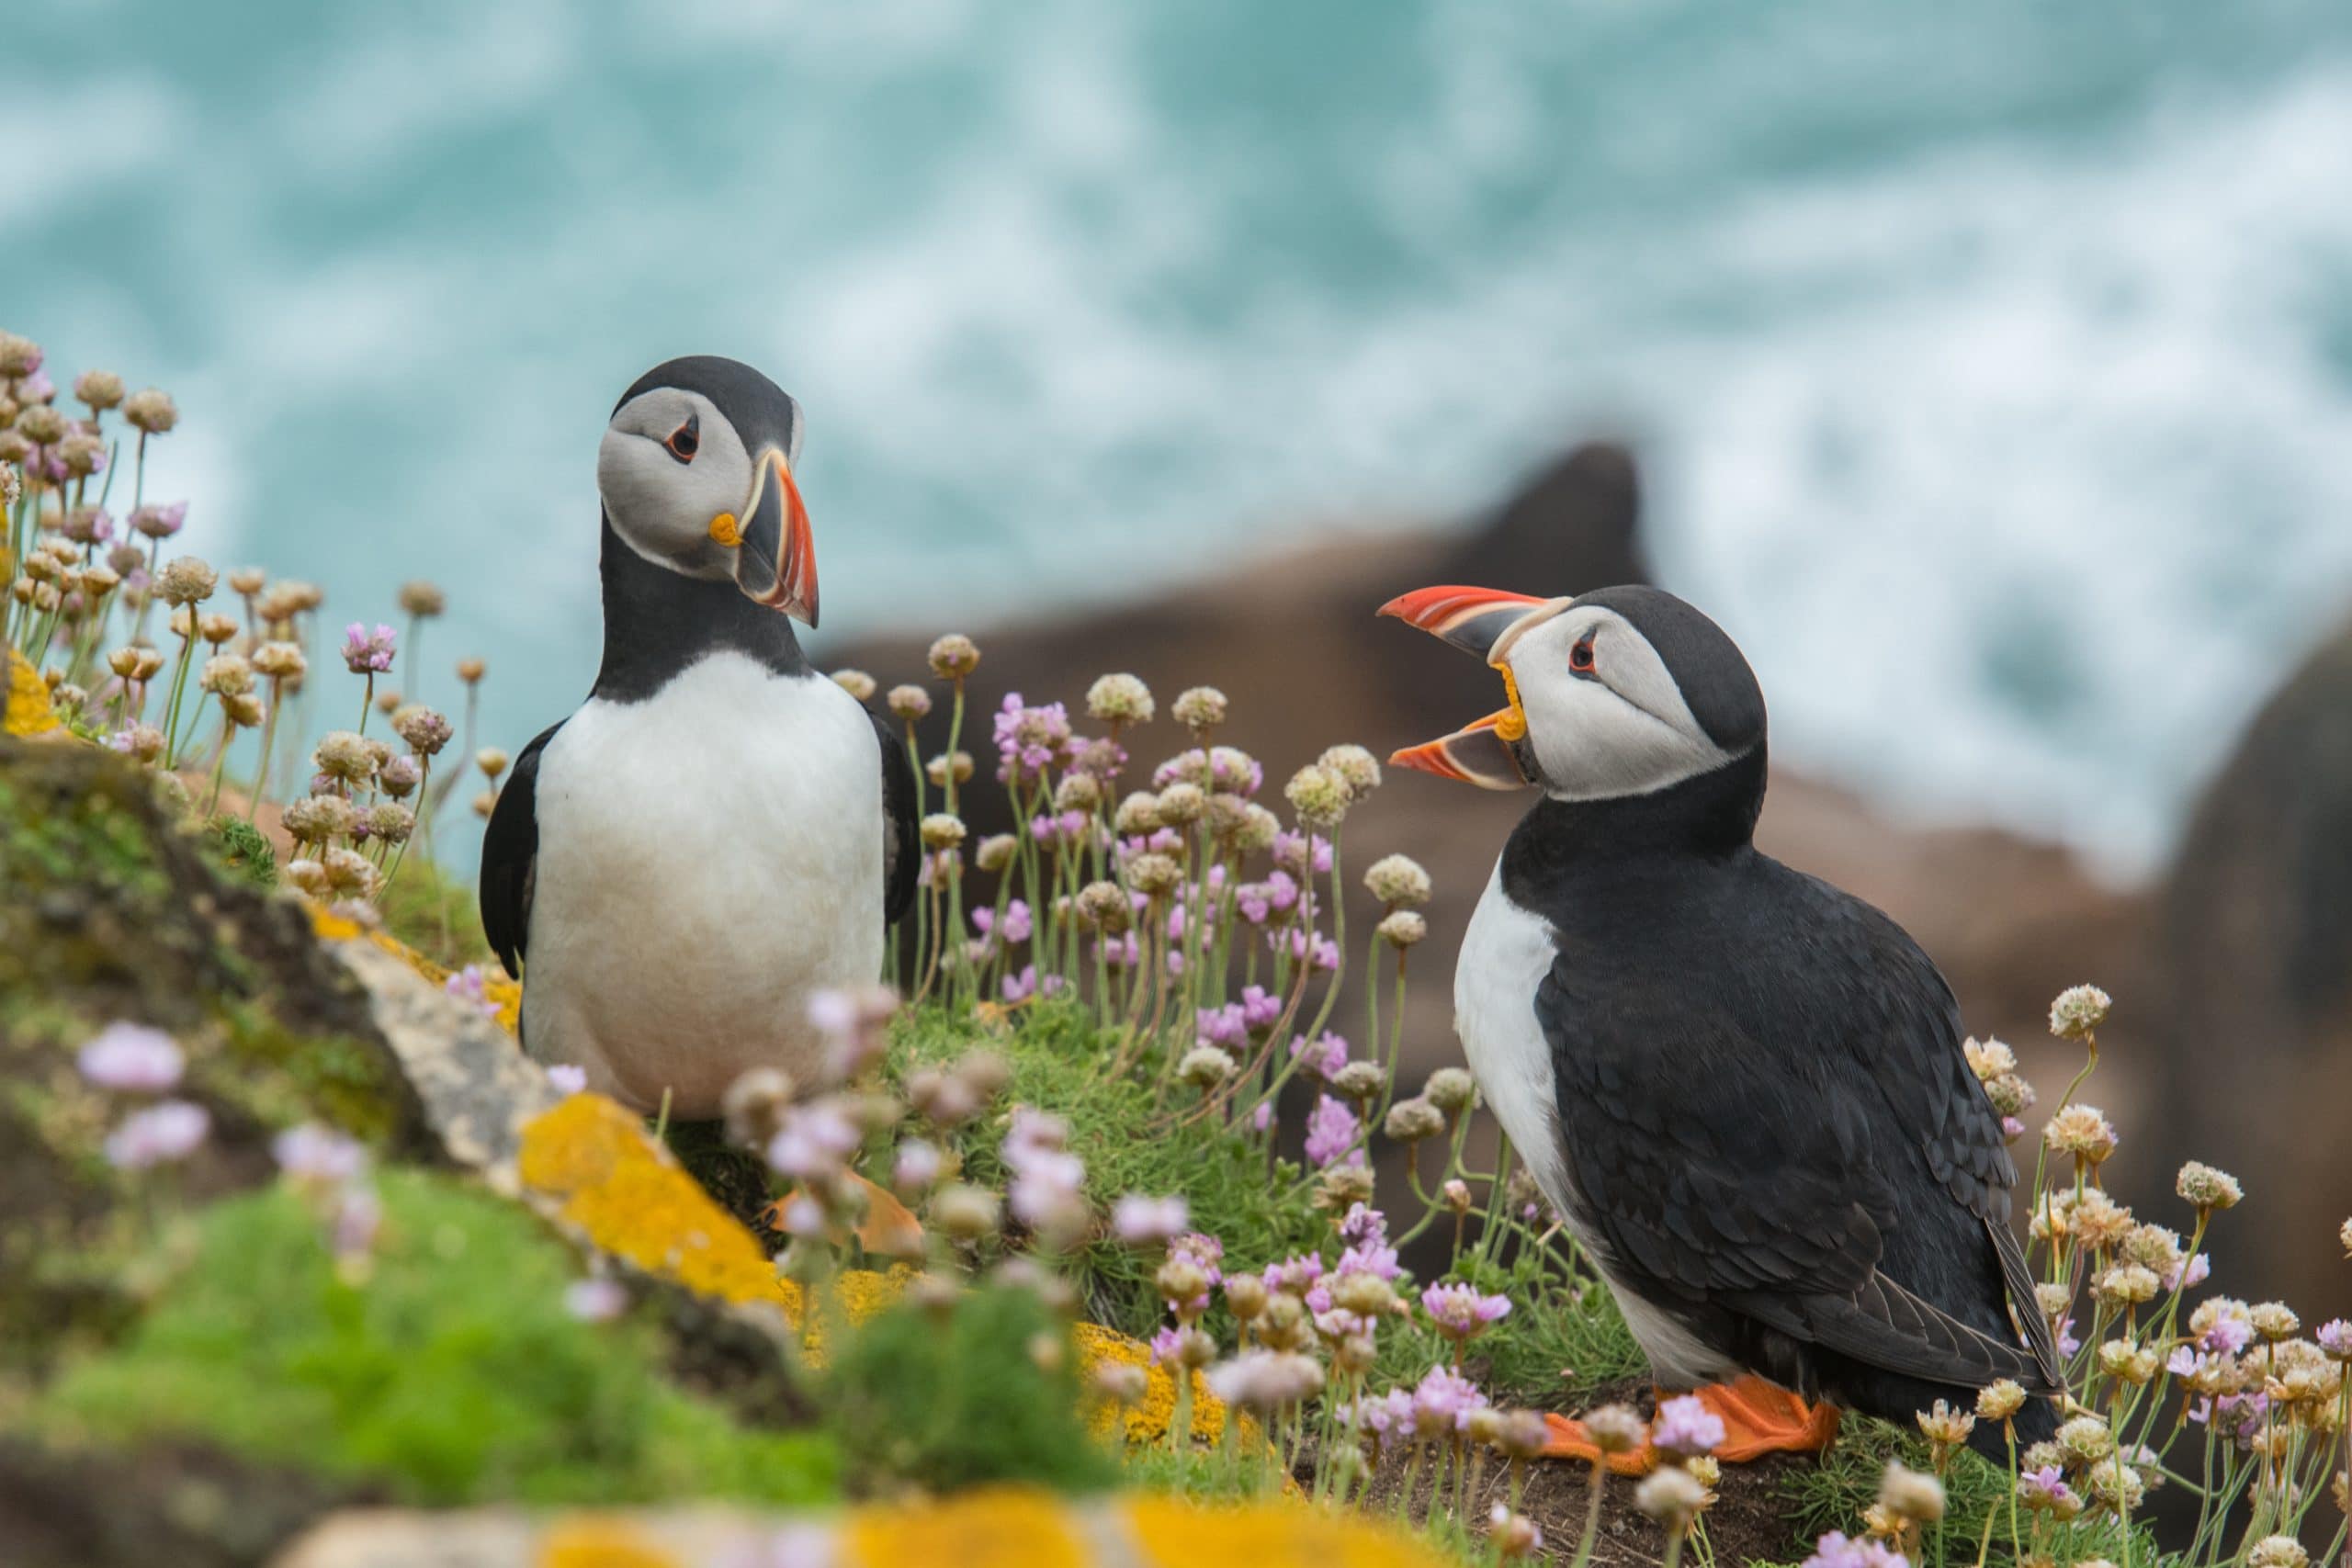
Birds are likely going to be the main subject and focus of your photos, but that doesn’t mean that you should ignore the rest of the scenery around you. You should try to find a secluded, visually-interesting place to take photos of birds. The ocean, ponds and lakes are always good choices.
You could also try to set yourself up on a hill. If you are on a hill, the birds that fly around you will be closer to your level, due to your elevation. This means you can take photos of them flying past you, rather than simply taking photos from below.
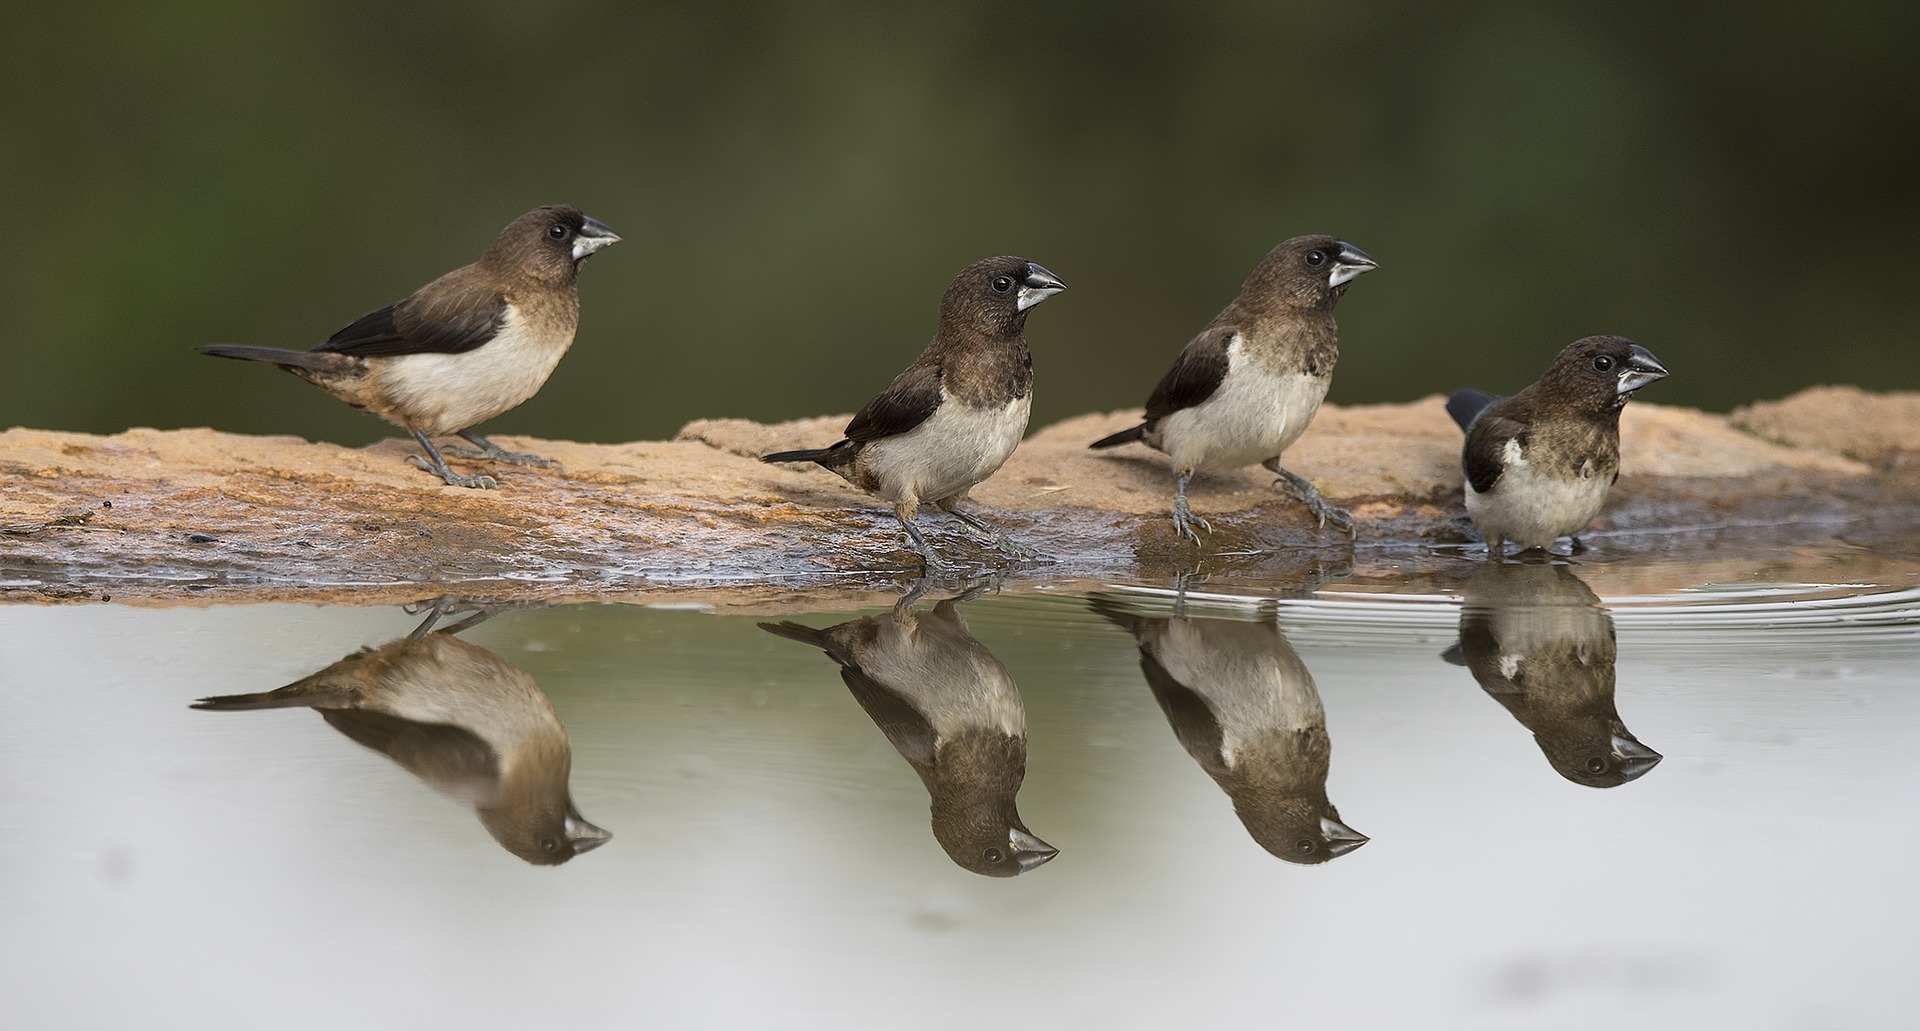
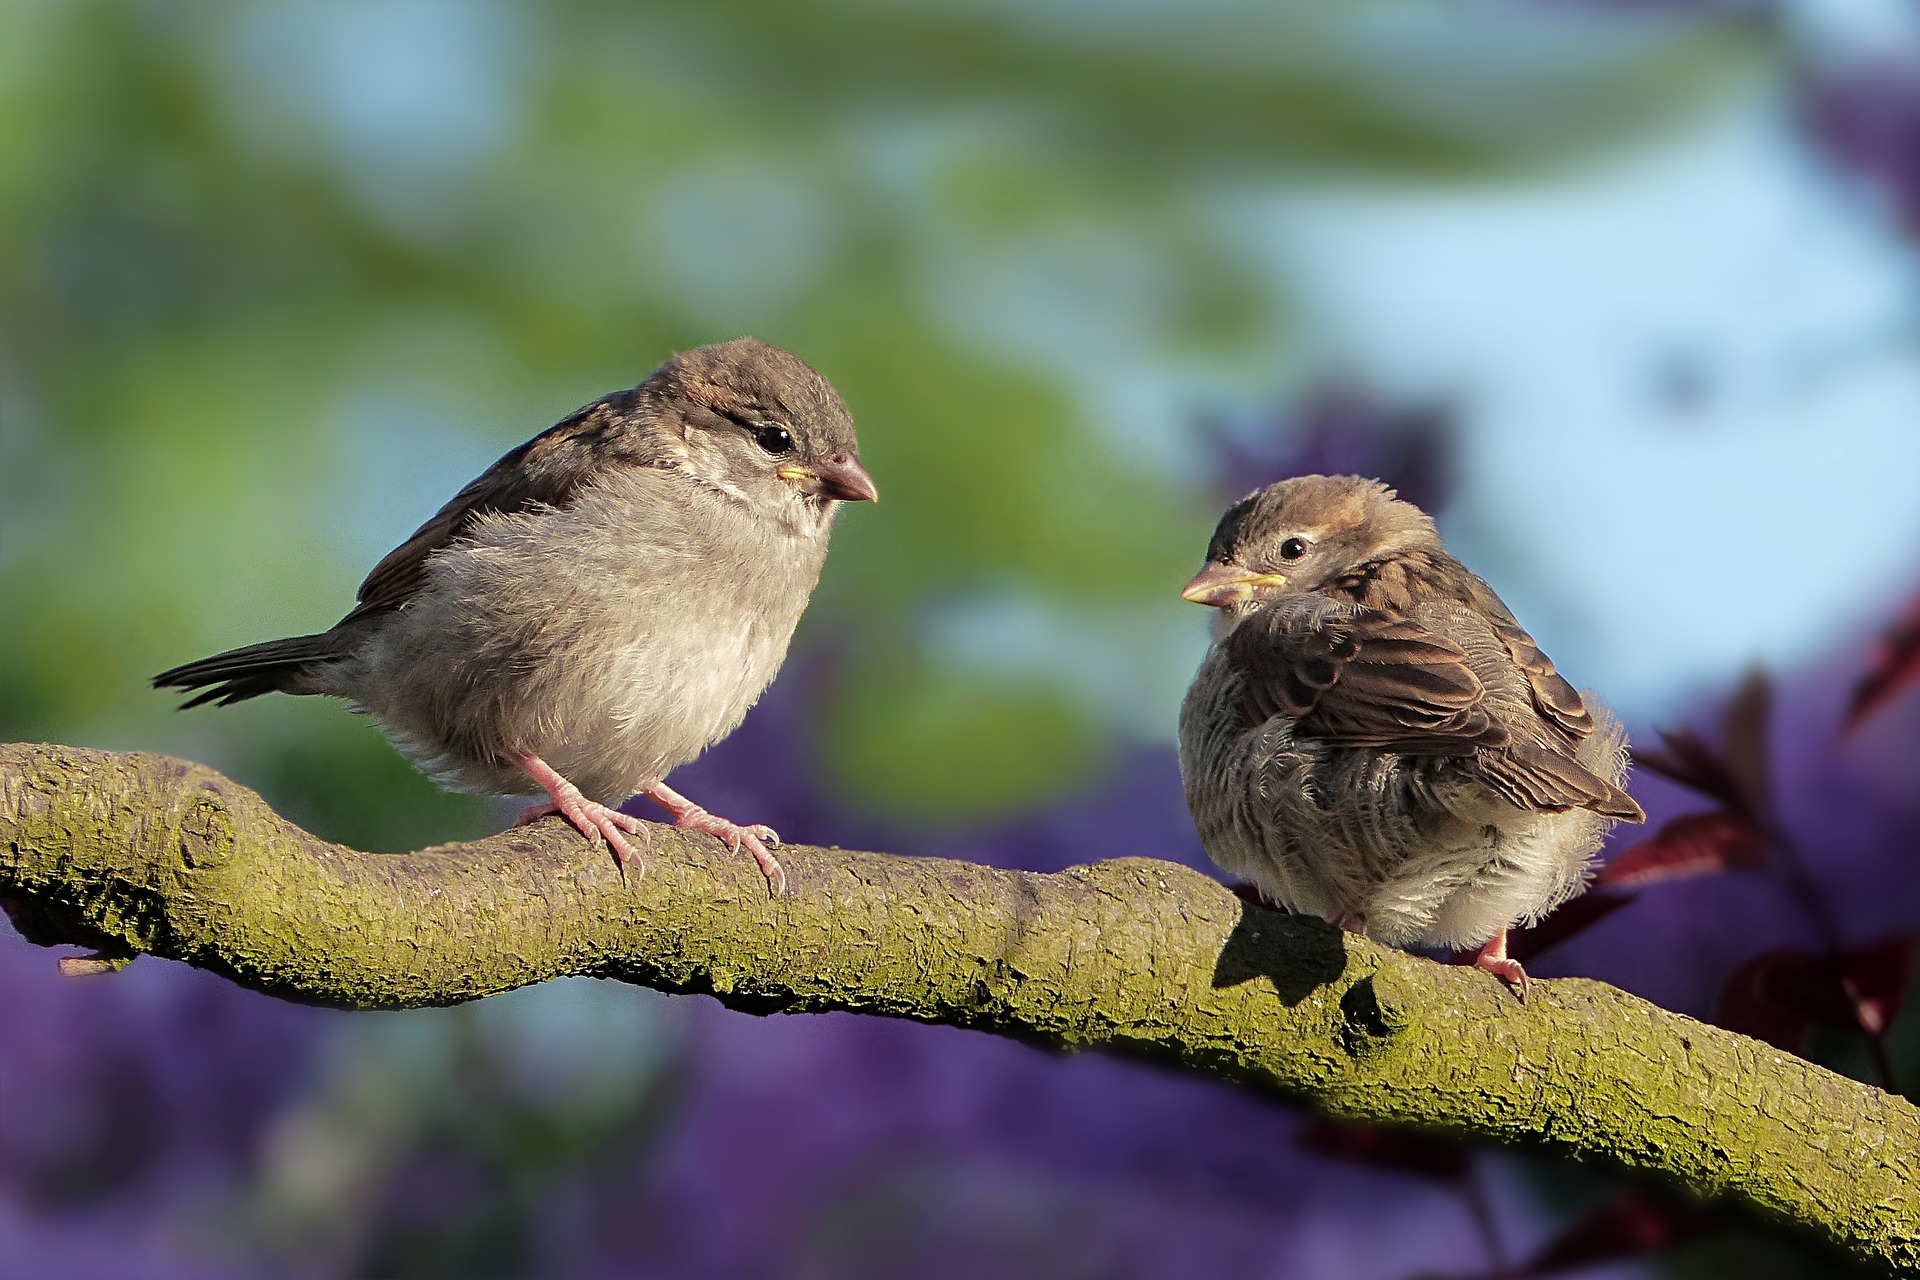
In addition, don’t just focus on birds in flight. Taking photos of birds when they’re nesting, floating on the water, hanging out on tree branches, and in other such natural states will help your photos tell a story – and the visually-interesting background will help them really pop.
6. Stay Stealthy When It’s Time To Shoot
Wear neutral-colored clothing that will not attract attention. Bright colors can cause birds to become skittish and flee, so camouflage is essential, even you just wear neutral tan, brown, or green clothing.
Try to bring along a minimum of gear. Messing around with heavy bags and lenses can make noise, which will cause birds to flee. You should also avoid making sudden movements when in an area with a lot of birds, as this can also startle them. Move smoothly and slowly, and try to avoid any excessive movements.
When moving, use a zig-zag pattern to avoid approaching a bird directly. Birds know, from instinct, that if you’re moving directly towards them and looking at them, they may be in danger. Once you’ve made your approach and are at the proper distance, raise your camera slowly and steadily, and snap a few shots.
The birds may flee at the sound of the shutter, but if they remain in place, you can keep snapping as many pictures as you want. You could even try approaching them more closely, though they will definitely flee if you get too close.
Follow These Tips To Shoot Better Photographs Of Birds!
Birds are a great photographic subject. Our feathered friends are beautiful in flight, and come in a stunning variety of shapes, colors, and sizes, making them ideal for wildlife photography.
While taking photos of birds has its challenges, this simple guide is sure to help you as you get started. Once you get more experience, you’ll be able to take great shots of birds wherever you are – and begin fine-tuning your camera settings, purchasing extra gear like telephoto lenses, and shooting more exotic wildlife.

