Photo by Strikers
Making creative use of shutter speed is one way to create memorable photos that stand out. Long exposures can use slow shutter speeds to create light trails, blur moving water, demonstrate drama in moving clouds, and more.
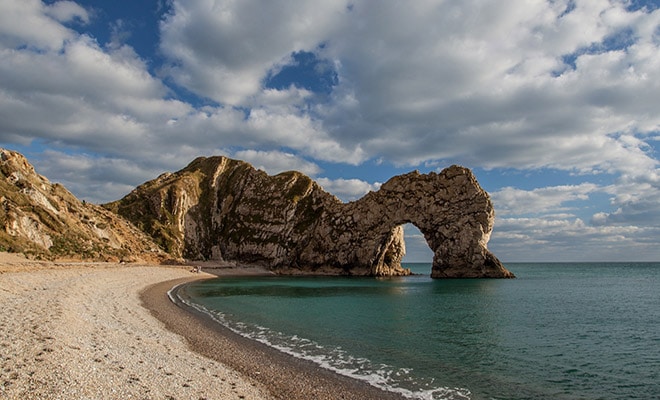
Here you’ll find a collection of 40 creative long exposure photos for your own inspiration.
If you want to learn more about this technique, please see our Guide to Long Exposure Landscape Photography.
Photo by Troy Nikolic
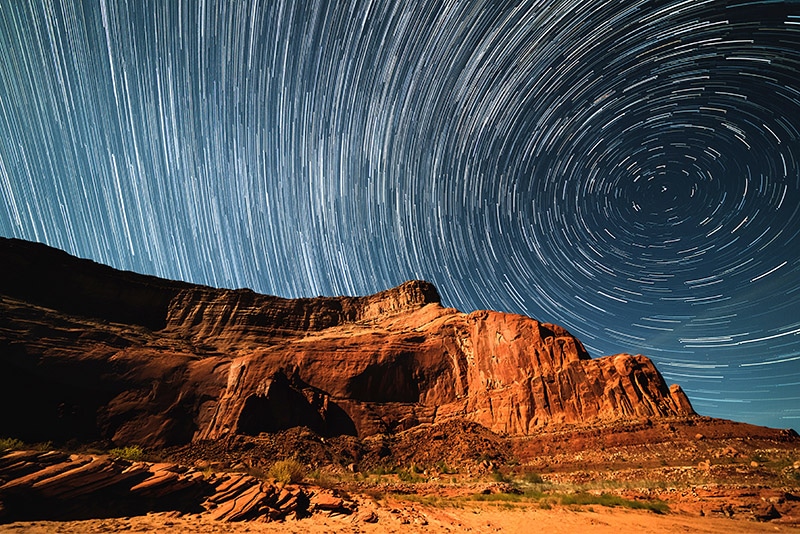
Photo by Andrew Preble
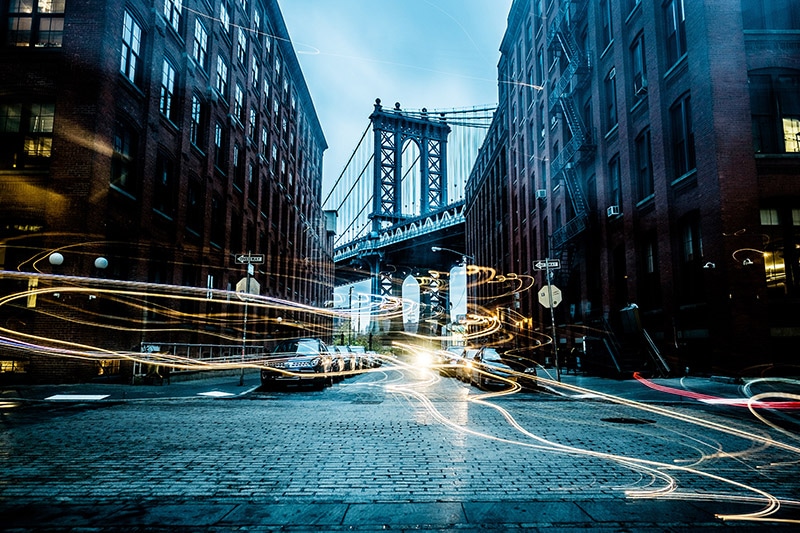
Photo by Osman Rana
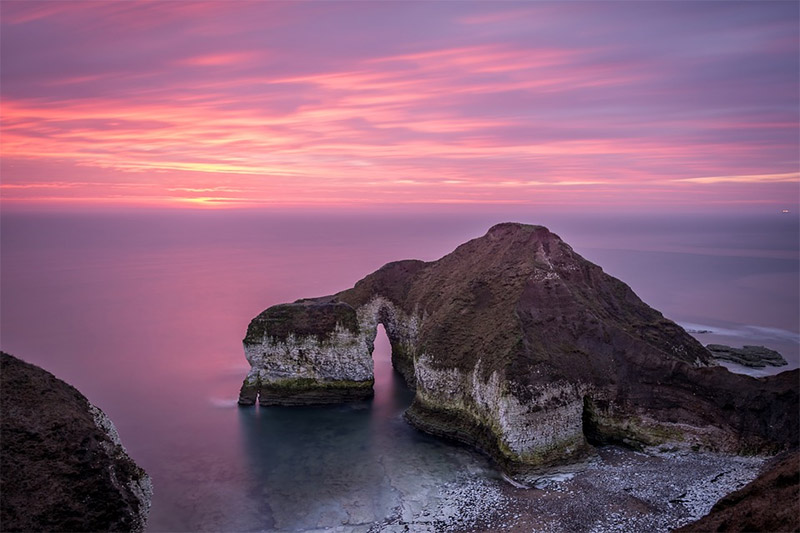
Photo by 5727184
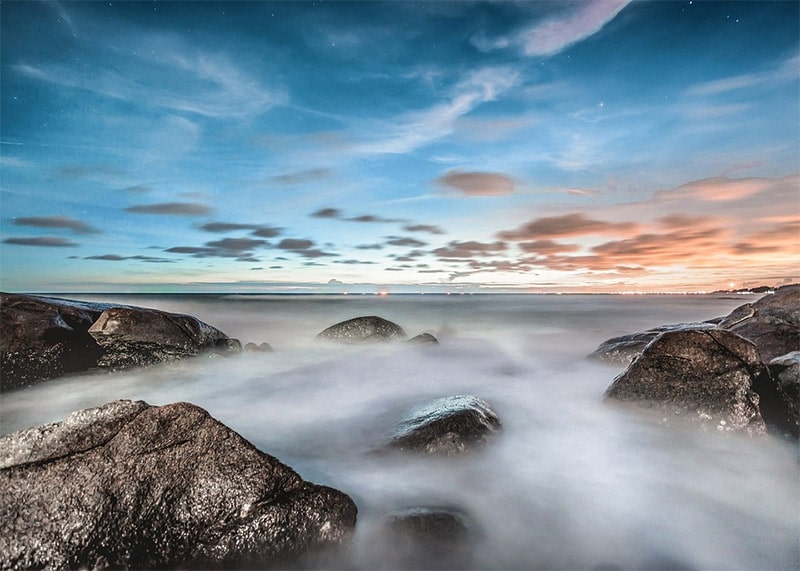
Photo by Pexels
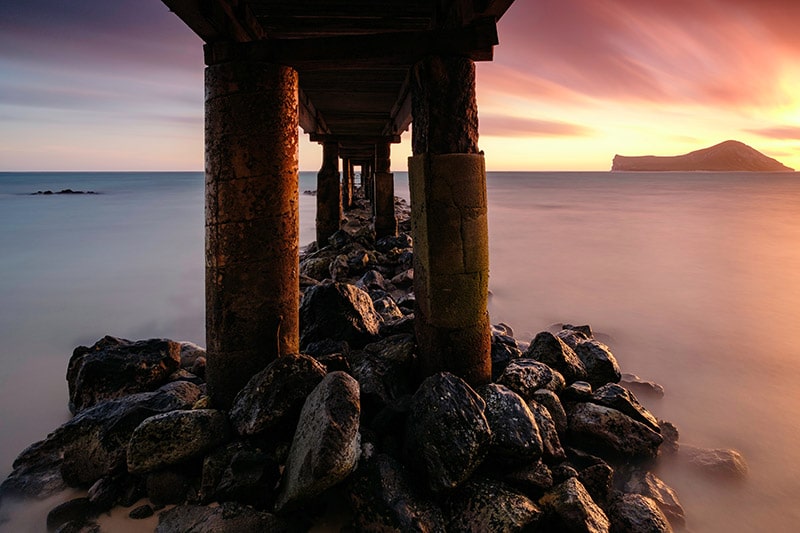
Photo by Brandon Kawamura
Photo by Jamison McAndie
Photo by Austin Neill

Photo by Paul Carmona
Photo by Robson Hatsukami Morgan
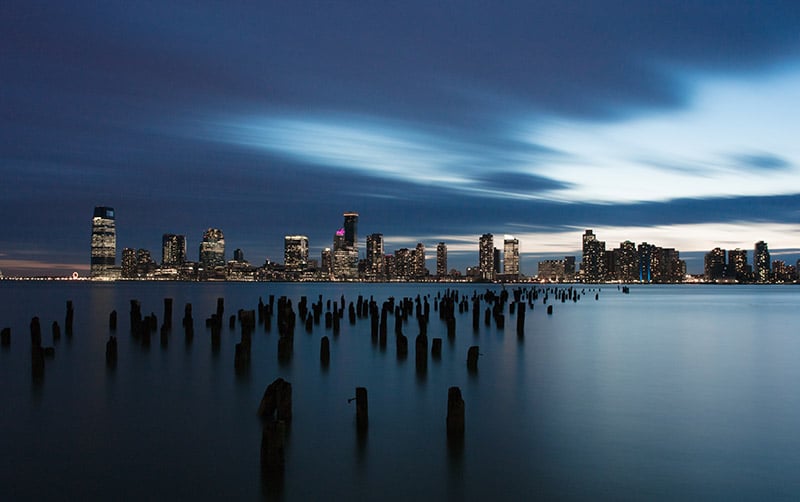
Photo by Ian Simmonds
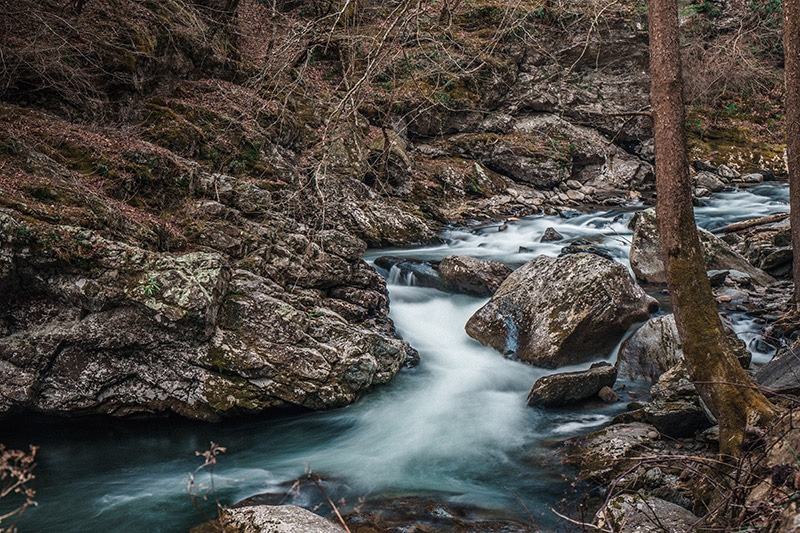
Photo by Jeffrey Wegrzyn
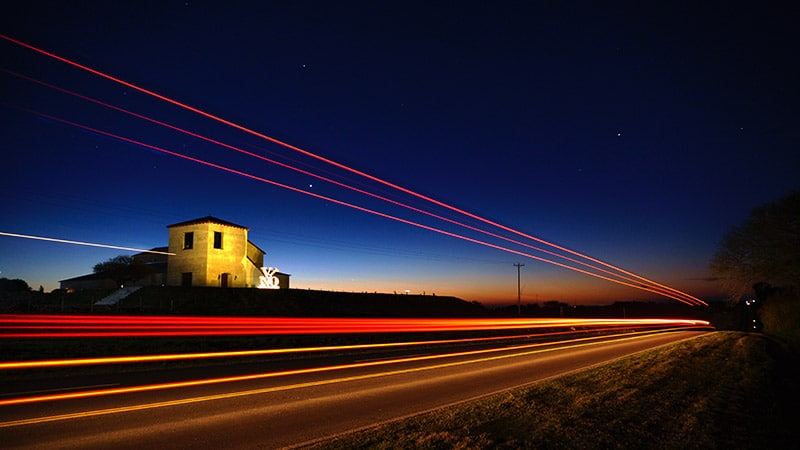
Photo by Diego Vitali
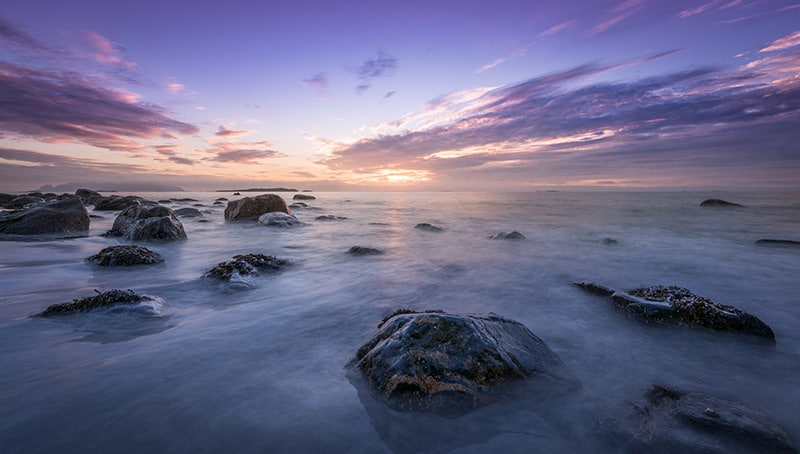
Photo by Janko Ferlič
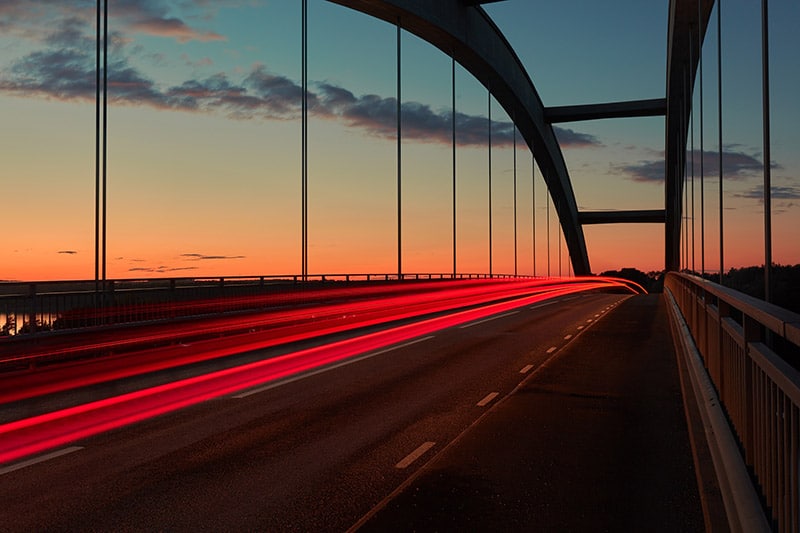
Photo by Anders Jildén
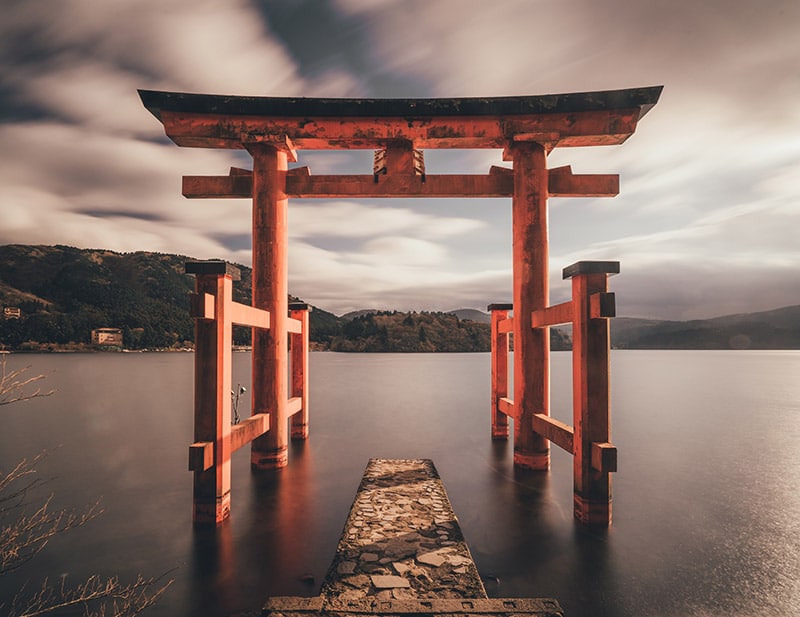
Photo by Tianshu Liu
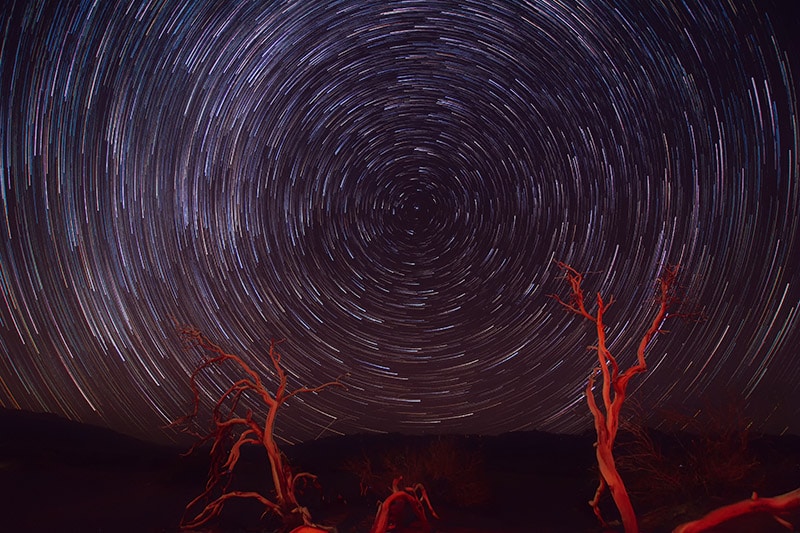
Photo by Caleb Steele
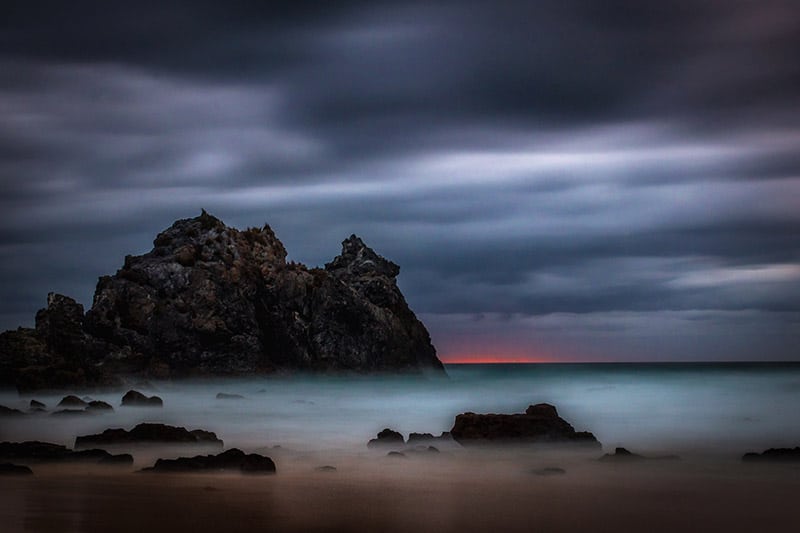
Photo by Andrew Furlan
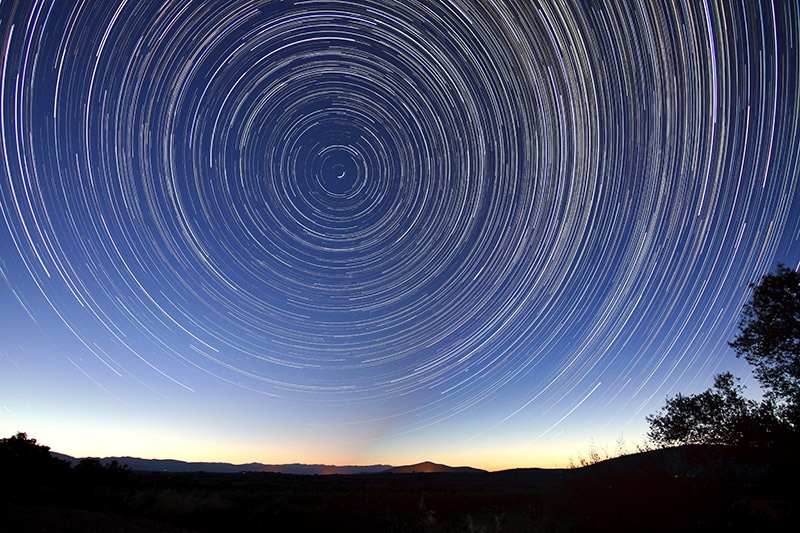
Photo by Josep Castells
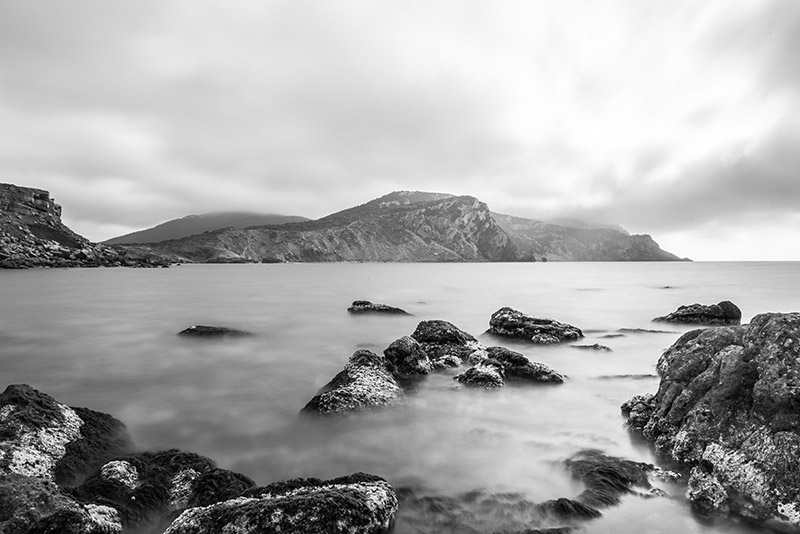
Photo by Stafan Kunze
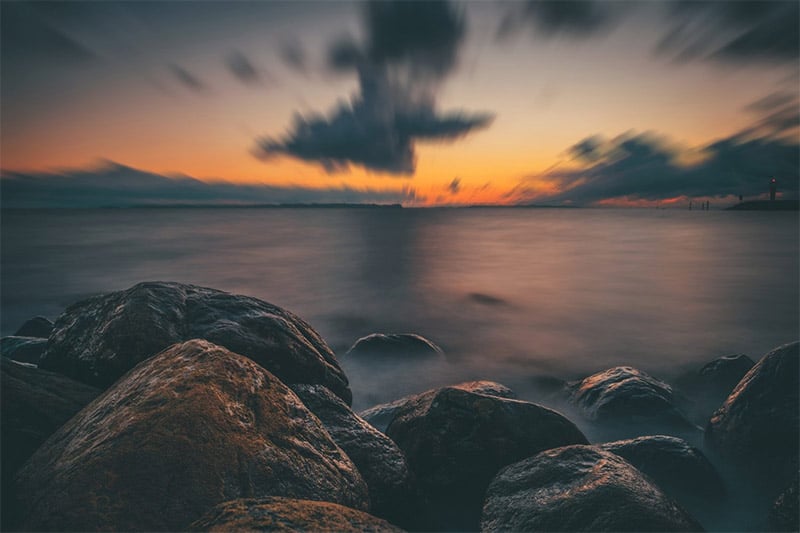
Photo by SØREN JØRGENSEN
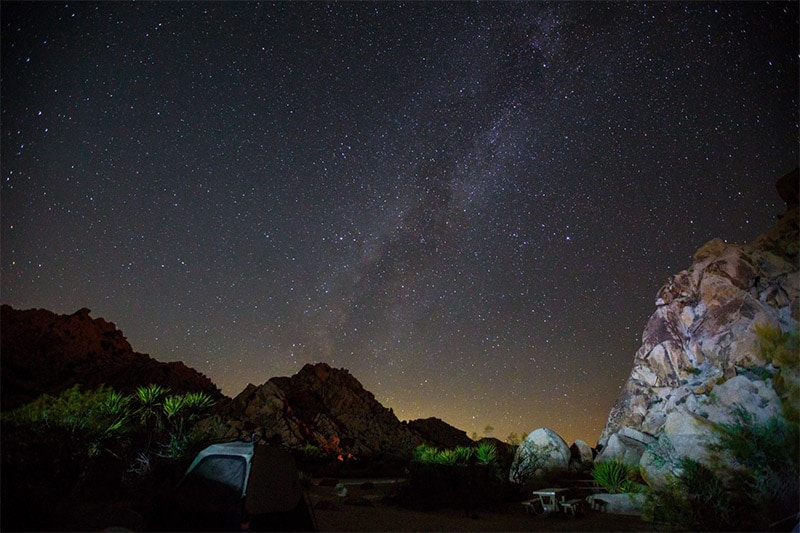
Photo by Adam Derewecki
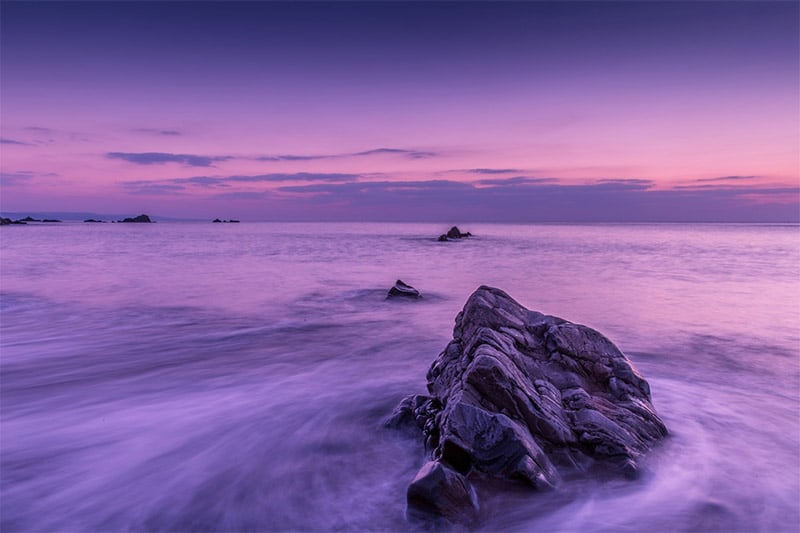
Photo by Tom Eversley
Photo by 1681551
Photo by htt_billy
Photo by Engin-Akyurt
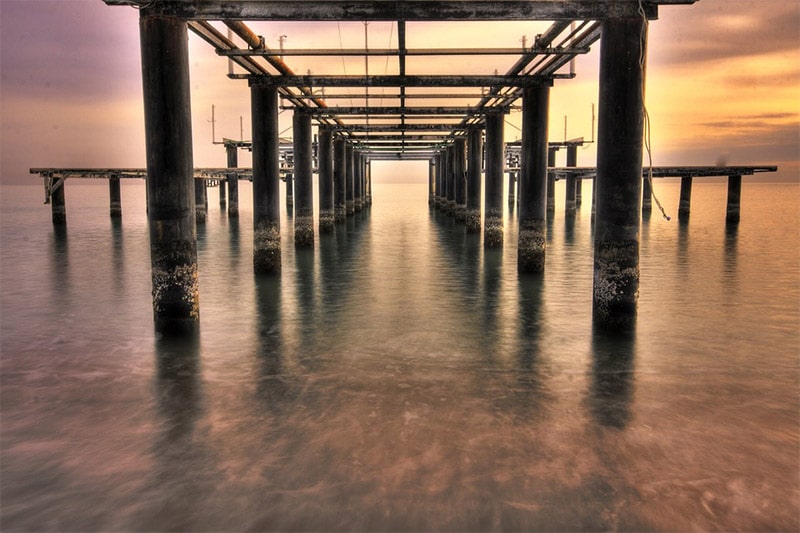
Photo by Engin_Akyurt
Photo by Engin_Akyurt

Photo by 3855198

Photo by Engin_Akyurt
Photo by Free-Photos
Photo by Free-Photos
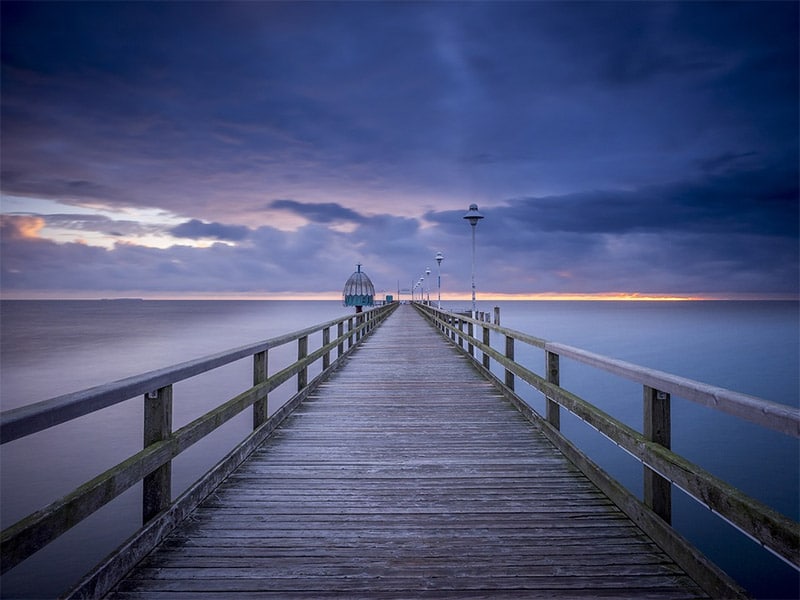
Photo by Fradellafra

Photo by 2780243
Photo by 1581551
Photo by EvgeniT
Photo by PhotoVision

Photo by Flotography
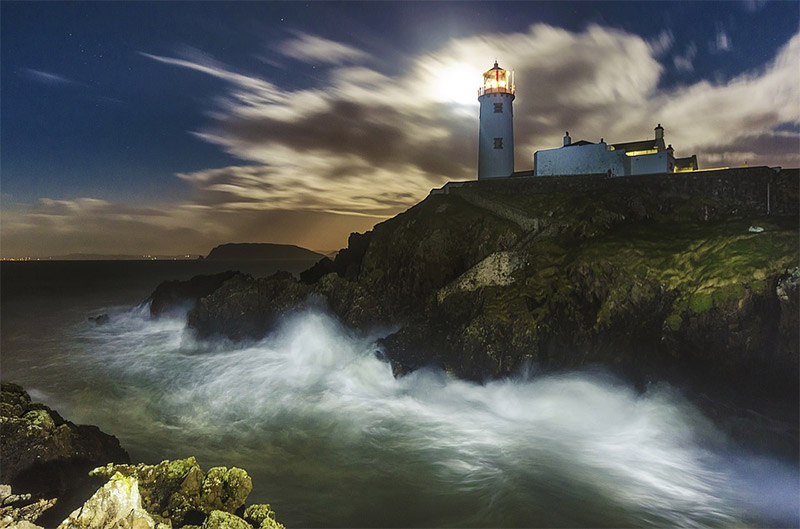
Photo by pooch_eire
If you want to learn more about this technique, please see our Guide to Long Exposure Landscape Photography.
How to Avoid Light Leaks in Long Exposures
Long exposures can be a lot of fun when you are shooting a landscape. They allow for a few different effects which are really useful. The first is motion blur, in which you can make the sky or a flowing water source appear like a smooth ribbon across your image.
It can even make the stars into white lines that move across the sky or turn moving people and vehicles into blurs of color and light.
The second is to allow more light into the sensor, which means you can capture a clearer image even when there is not much light to speak of.

Image by hoangtung1809 on Pixabay
So long as you have a steady tripod or another sturdy place to support your camera, you can capture a great long exposure which has a really interesting effect without any camera shake.
However, there is one big issue which is often the bane of long exposure. This is the light leak, in which light enters your camera from a source other than the end of the lens and throws off your settings.
It can result in overexposed images and could give you a very different result than you were hoping for, which is very frustrating when you are shooting something that might take a long while to complete.

Image of Sven Lachmann on Pixabay
Generally speaking, unless your camera is damaged or poorly made, there should only be one source for light leaks: your viewfinder. Here’s what you can do in order to solve that issue.
Why light leaks happen
The viewfinder allows you to look through a prism and down into the mirror, which reflects back what the lens is letting in, thus giving you a view of what will be captured when you press the shutter. This nifty method usually doesn’t have too much of an effect on the overall image.
However, when you are creating a long exposure, any tiny source of light can come into play – and that is where the viewfinder ends up backfiring on you.
Both digital and film cameras can suffer from this problem, with the only exception being cameras that don’t have an optical viewfinder (for example, because they use a live-view LED screen instead or in the case of compact cameras).

Image by Sven Lachmann on Pixabay
The other option, of course, is that there is a gap somewhere in the body of your camera. This would be an extremely rare case, although if you are a bit accident-prone and have given it a fair battering, there’s a chance that a dent or a bash could cause a slim fracture in the body.
Normally this would happen at a joint or a place where two parts of the body come together. If you think this might have happened, you should take your camera to a repair shop – or even consider just replacing it altogether, especially if you are serious about taking long exposures.
Some lenses can also cause light leaks, perhaps where they join the body. Again, this would be very rare and is usually a result of using the wrong lens fitting for your camera or perhaps having an old or damaged lens.
Many photographers have complained about their filter letting in light in some way, but this would not usually be the case – often, there is another culprit from those options we have mentioned above.

Image by Quang Le on Pixabay
Correcting light leaks
If you want to correct a light leak after it has happened, you must be prepared to spend a lot of time on Photoshop! Your post-production process will be getting a lot longer. You will need to use tools such as the brightness and contrast slider or curves, levels, and the dodge and burn tools to try to recover the areas that have been affected as well as normalizing the whole shot.
Light leaks can often take the form of stripes of differently colored bands, which is even more complicated to fix than just having your exposure thrown off. You could find yourself having to edit out these bands from different places on every shot in a whole set if you took the photos without fixing the leak.
Of course, this is not really an ideal option. You want to have something straight out of your camera which will be quick and easy to work with. If all you need is to do some quick color correction before it’s done, then you will obviously be off to a better start. The only way you can do that is by fixing your light leak issue before you take the shot.
Covering the viewfinder

Image by 1681551 on Pixabay
So, since we know that the viewfinder is the source of the problem, let’s start there. The easiest way to correct leaks is to place a piece of black gaffer tape over the whole of the viewfinder, covering it completely and ensuring that there are no gaps around the edges.
This can make it difficult to set up your image. You should look through the viewfinder to set up your frame, decide where you want it to be, and then leave it there on the tripod. Next, you should cover the viewfinder before pressing the shutter.
You are best off setting everything to manual before attempting this so that you can see that everything is correct before you cover it off – including your focusing.
If you have a LED screen with live view enabled, then you don’t have to worry about covering and uncovering the viewfinder every time you want to take a shot. Just cover the viewfinder once, and then use your live view to compose your shots from then on.
Some camera bodies, especially in professional ranges, actually come with a viewfinder cover or shutter that can be put into place for situations like this. In those cases, you don’t need to bother with tape at all, as the shutter should have been manufactured to fit exactly and cover all light leaks.
If you’re in a bind without tape or black cloth, and you don’t have a camera with a built-in shutter, then try searching through your camera bag or pockets to see what you can turn up. Even a microfibre cloth included for cleaning your lens (or your glasses) might be the right option for a temporary fix. Hold it closely over the viewfinder and see if it makes a difference.
Checking your images

Image by JonBonSilver on Pixabay
Now that you have the viewfinder covered, there shouldn’t be any further light leaks to ruin your shot. But if you do still have another source of a leak affecting your images, you should take care to examine all possibilities when you are trying to solve it.
The best way is to start covering anywhere that might contain a leak, one area at a time. Once you manage to take a shot without the light leak, then you know the last place you covered is the place where the problem lies.
If you really can’t make it happen, then you could do like the photographers of old and cover yourself with a heavy black cloth. This should cover every part of the camera from the tip of the lens, over your head, and then around your shoulders at least. Try to minimize the possibility of even a sliver of light getting in.
If you’re really concerned about it and want to create the perfect shot, you could even consider making or buying a ‘sleeve’ that would fit the whole camera exactly, with a sealable area over the viewfinder so that you can take a look and then take the shot.

Image by Larisa Koshkina on Pixabay
Light leaks are annoying, and if you’re trying to take a shot for commercial purposes, it can even be a heart-breaking way to ruin a job. To avoid them, make sure that you always have gaffer tape or black cloth on hand ready for your long exposures!