There are a lot of different factors that will impact the quality of your landscape photos, and there are many things to keep in mind when setting up a shot. This article serves as a checklist that you can use to help in the process of capturing your own landscape and nature photos. We’ll break down the process from start to finish in 15 different steps. The end of the article also includes a card that you can print out to keep with you for reference. Follow these steps and you’ll surely see results.
1. Get to Know the Location
Being prepared and scouting the location is a big part of having success as a landscape photographer. While there will be times when you are just out shooting without having time or the opportunity to prepare, in most cases you will be able to know ahead of time where you will be shooting. Planning ahead and scouting your location allows you to have an idea ahead of time about the subjects that you want to capture and the types of shots that you would like to get. Preparing ahead will save you time in the field, allow you to take advantage of short windows of the best lighting and conditions, help you to avoid missing out on the best opportunities, and allow you to get more out of your time in the field.
Whenever possible it is best to scout your location in person ahead of time. Many photographers use mid-day hours when lighting can be harsh to scout for sunset and sunrise opportunities. This allows you to go right to the best spots before sunset and sunrise so you won’t miss the best shots, and it helps you to make any time of the day useful regardless of the lighting conditions. If you’re unable to scout the location in person ahead of time, or if you want to research before traveling, there are a number of websites and apps that can be helpful for scouting locations.
→ Related reading: Picture-Perfect Planning: The Photographer’s Ephemeris
2. Arrive Ahead of the Best Light
Lighting is obviously a critical element for landscape and nature photography, and most photographers prefer to shoot during the hours shortly before and after sunrise and sunset. Make sure you leave plenty of time to get to your preferred spot ahead of time so you don’t miss out on the best light. Arriving early will allow you to do a little bit of last minute scouting if needed, and you can set up your gear and your shot so you are ready when the best light occurs. And if you are photographing at a popular destination arriving early may be needed to beat the crowd so you can get a spot that gives you the view that you want.
3. Choose Your Subject
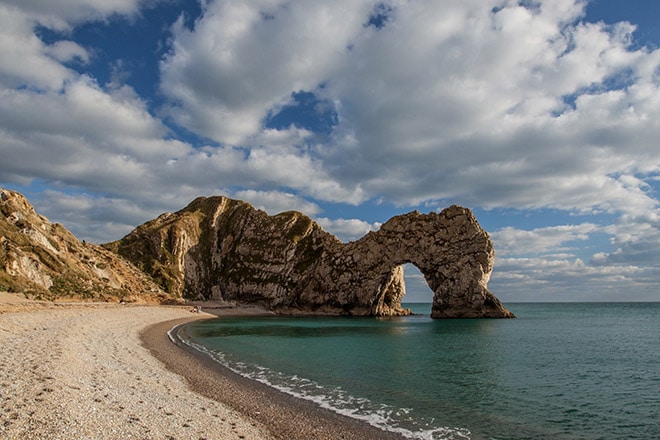
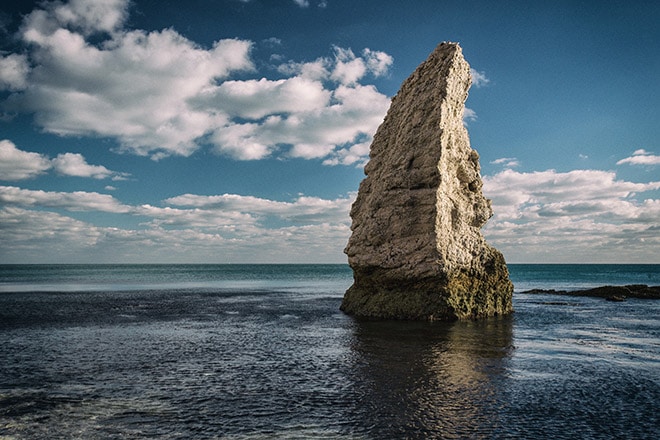
Simply being surrounded by beautiful nature is not enough to get amazing results with your photography. Even the best subjects can result in sub-par photos if there is no subject or focal point to capture the interest of viewers. Be sure that your photo has a purpose or a subject that makes it worth viewing.
4. Select Your Lens
Once you are in the right location and you know what you want to photograph, the next decision is which lens will allow you to capture the scene in the way that you want. Wide angle lenses tend to be a staple for landscape photography, but you have other options as well. You could use a mid-range lens (like a 50mm) or a telephoto lens to capture a subject off in the distance. You could also use a specialty lens like a fisheye. For more specific recommendations see our list of The Best Lenses for Landscape Photography.
5. Compose Your Shot
Once you know what you want to capture and you have your lens selected it is time to compose the shot. There are several composition rules that you can follow when it comes to composing your landscapes, and the rule of thirds is probably the most common. However, rules are meant to be broken, especially when it comes to a creative process like photography. Here are a few things that you can keep in mind when composing your shot.
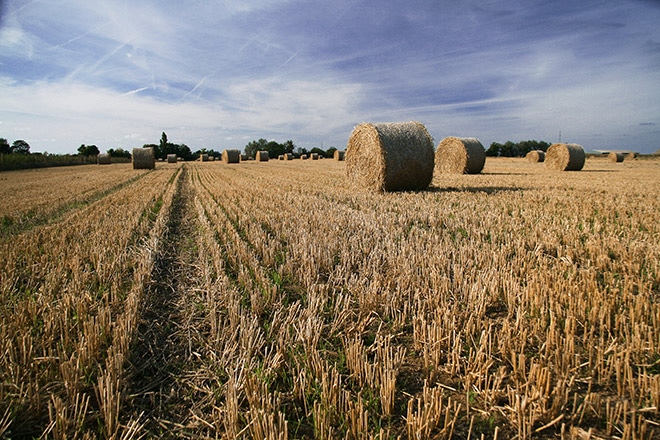
Include Foreground Interest
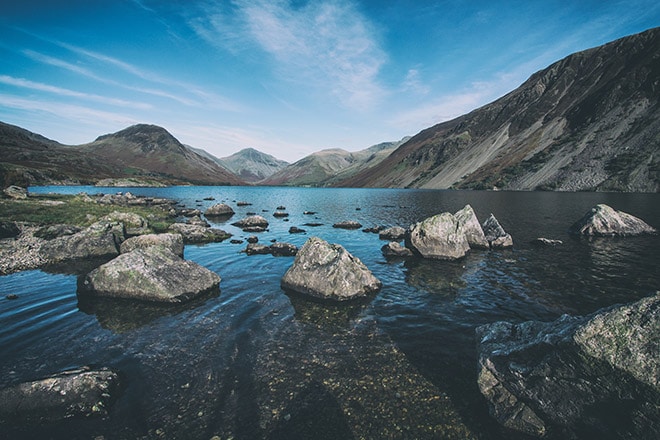
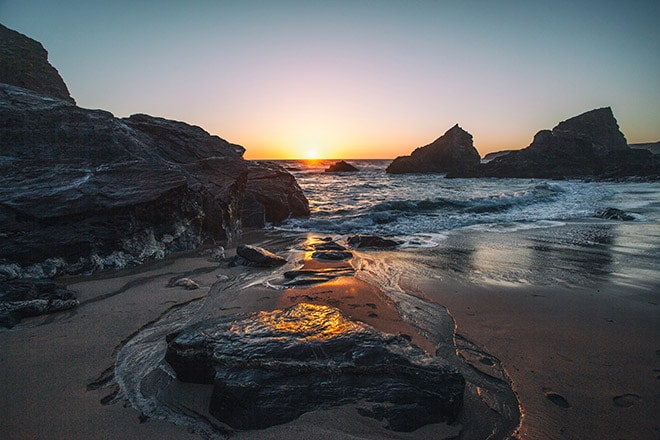
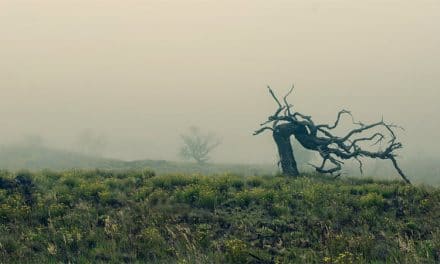
One of the best ways to ensure that your landscape images will capture the interest of viewers is to include an interesting element in the foreground of the photo. For example, if you are photographing distant mountains you can find something like rocks, flowers, a dead tree, or any other object to add interest in the foreground. Many of the best landscape photos use this approach.
Look for Leading Lines
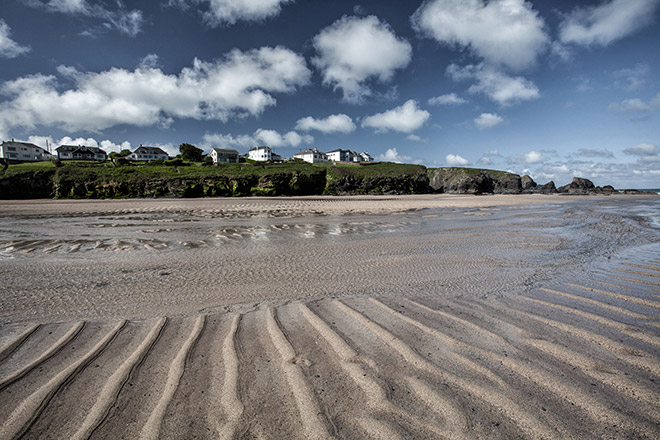
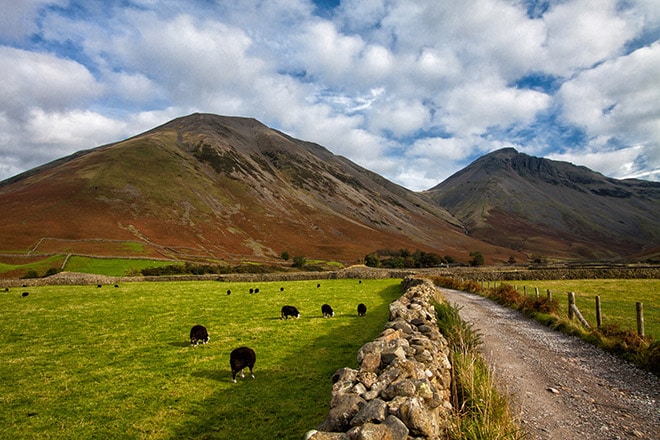
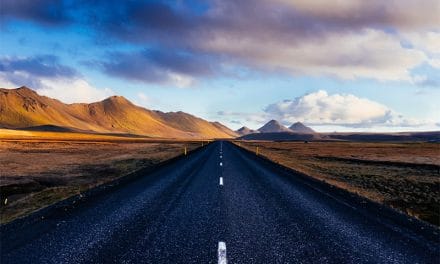
Lines occur all around us, whether they are in nature or man-made. Both types of lines can be used to add intrigue to a landscape composition. Man-made elements like roads can lead to a focal point or direct the attention of viewers. Natural elements like lines in the desert sand, lines in a rock formation, or a stream or river can also be used in the same way.
Edges Free of Distractions
One of the common mistakes in landscape photography is to have distractions at the edges of the photo that take away from the interest in the focal point. When you are composing your shot make an effort to keep the edges of the frame clear of distracting elements like tree branches, rails, and other objects. Of course, there are times when you will want to include tree branches or other objects at the edges of your photo, but be sure that in these situations it is a creative decision that adds to the photo rather than just a situation of rushing that results in a distraction that takes away from the photo
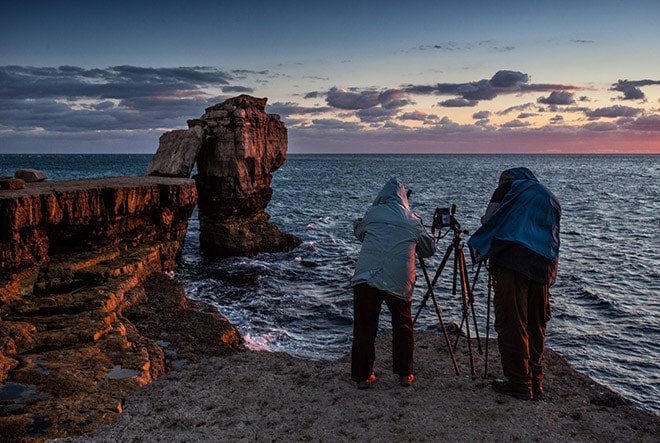
6. Use a Sturdy Tripod
A good tripod is almost as essential to landscape photography as your camera body and lenses. The best tripod will be both sturdy and lightweight. If you have a bulky, heavy tripod you’ll probably get sick of carrying it all time and you’ll wind up leaving it behind more often than not.
Tripods will help you to get the sharpest photos possible, and they’re also good for forcing you to slow down and think about your composition. If you’re shooting at sunrise or sunset you will probably need to use a tripod because of slower shutter speeds due to the lack of light. If you’re photographing at night you will certainly need to use a tripod. A tripod is also needed for long exposures (like for blurring moving water). While not 100% necessary, a tripod is also really helpful for HDR and exposure bracketing that involves multiple exposures of the same scene. And if you want as much of your scene as possible to be in focus, which is often the case with landscapes, a tripod will give you the best results. If you are looking for a good tripod please see our Recommended Gear page.
7. Decide if You Need a Filter?
Filters are an important accessory that you may find yourself using quite often. The most important types of filters include polarizers, neutral density filters, and graduated neutral density filters. For a detailed look at the possibilities of each of these filters please see this article.
Polarizers can help to reduce unwanted glare (such as glare coming off a lake) and will increase contrast and saturation, especially in skies. Polarizers tend to create more contrast between blue skies and white clouds.
Solid neutral density filters will reduce the amount of light that reaches the sensor, allowing you to use slower shutter speeds during daylight hours. They come in different levels of strength, which impacts the amount of light that they will block and just how slow of a shutter speed you can use. Neutral density filters are extremely handy for things like blurring moving water to create a softened look or showing movement of storm clouds in the sky.
Graduated neutral density filters will block more light at one end than the other. They are useful for evening out exposure in scenes that include both dark shadows and brighter skies.
Evaluate your situation and determine if you should be using a filter. Do you need to reduce glare or increase contrast? If yes, use a polarizer.
Do you need to reduce light to use a slower shutter speed? If yes, use a neutral density filter.
Do you need to reduce light at one side of the photo to even out the exposure? If yes, use a graduated neutral density filter.
8. Set Low ISO
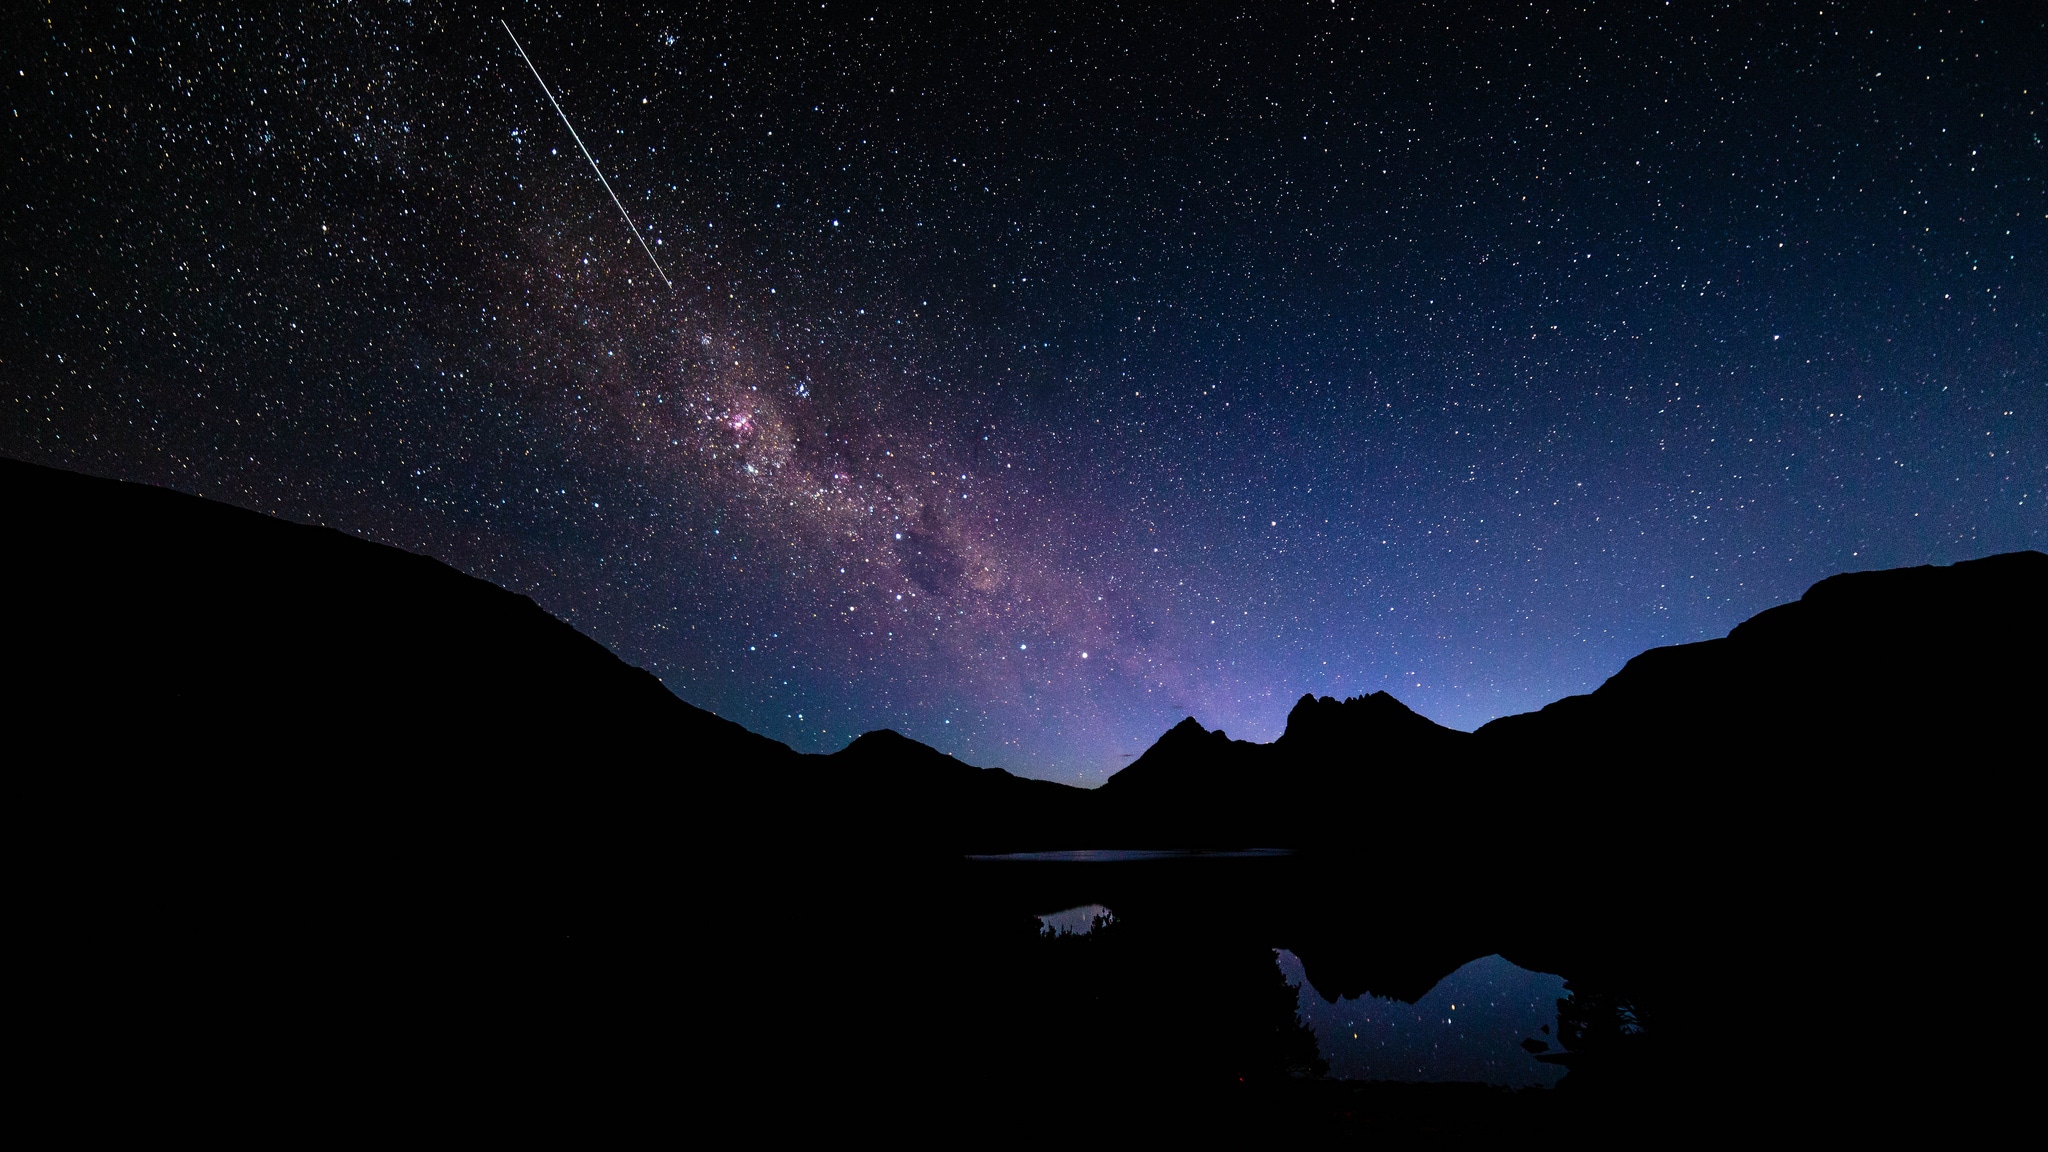
ISO is one third of the exposure triangle, although aperture and shutter speed often get more attention. In general, you will want to set the ISO as low as possible to keep digital noise to a minimum. Higher ISOs will allow you to use faster shutter speeds in lower light, but if you are using a tripod it is usually preferable to shoot with a low ISO and slow down the shutter speed if needed. In most cases you’ll want to use an ISO of 100 or 200 for landscapes, which will help to keep noise in your photos very low. If you’re photographing at night you may need to use a higher ISO, but even at sunrise and sunset you can generally use a very low ISO.
9. Determine if Shutter Speed is Important
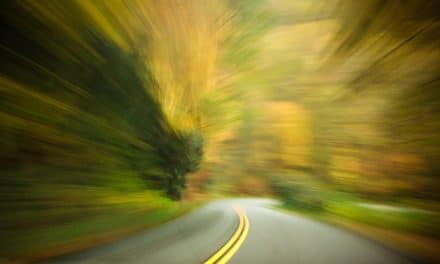
Is there any movement in your scene? If so, do you want to freeze the movement or allow the movement to be a creative part of the photo? If no movement is involved, for example a photo of mountains with a still sky, you can use just about any shutter speed that you need and it will not have a big impact on the photo. If there is any movement in the photo, for example flowing water or quickly-moving storm clouds, your choice of shutter speed will have a significant impact on the end result.
When no movement is involved you may prefer to shoot in aperture priority mode. You’ll set the aperture and the ISO, and the camera will determine the appropriate shutter speed. Since shutter speed isn’t an important decision when there is no movement this is a good situation to allow the camera to decide the shutter speed.
When movement is involved you will want full control over the shutter speed so that you can get the type of shot that you want. You can either shoot in shutter priority mode where you will set the shutter speed and ISO and let the camera determine the aperture, or you can use full manual mode where you will set aperture, shutter speed, and ISO.
10. Turn Off Image Stabilization
Many lenses offer image stabilization or vibration reduction to help you get sharper photos by minimizing the effect of movement while the photo is being taken. This can be very helpful when you are shooting handheld, but if you are using a tripod you can actually get sharper photos with it turned off. With most lenses you can simply flip a switch on the side of the lens to turn it off when you are using a tripod.
11. Activate Mirror Lock-Up, if Needed
When you press the shutter button on a DSLR the mirror will flip up out of the way of the shutter. This slapping can cause a slight vibration that may have an impact on the sharpness of your photo. With mirror lock-up activated the mirror will move out of the way before the shutter is activated, eliminating any vibration from the movement of the mirror. The impact is typically minor, but it can be one more factor that helps to get the sharpest photo possible. If you’re not familiar with mirror lock-up please see this guide.
12. Focus One Third of the Way into the Scene, or on Your Focal Point of Choice
Knowing where to focus is key to getting the best shot possible. For landscapes in general the rule of thumb is that you will want to focus about 1/3 of the way into the scene. This will typically help you to keep as much of the photo as possible in reasonably sharp focus. However, this isn’t a rule that always needs to be followed. If your composition includes a specific focal point that should be the center of attention you can focus there.
13. Use a Cable Release for Sharper Photos
We’re now ready to take the photo. Since our goal is to get the sharpest photos possible we will want to do whatever possible to minimize movement while taking the photo. Even the smallest movement from pressing the shutter button can result in a slight blur that will take away from the sharpness. By using a cable release you can avoid touching the camera at all, helping you to get maximum sharpness. Cable releases are a great companion whenever you are using a tripod. They are also extremely helpful for long exposures over 30 seconds when you will be shooting in bulb mode. In bulb mode the shutter will remain open as long as the shutter button is being pressed, which is not ideal if you are pressing the button manually. Many cable releases include a locking function so you can leave the shutter open without needing to hold down a button.
14. Evaluate the Histogram
After you have taken your photo use the LCD screen to evaluate the histogram and the exposure. Simply viewing the photo on the LCD screen can be deceptive because of the brightness of the screen, but if you rely on the histogram you can ensure that your photos are properly exposed. Make sure that your shadows and highlights are not clipped at the edges of the histogram to avoid losing detail that cannot be recovered in post processing. If you are not familiar with histograms please see Using Your Camera’s Histogram Display to Take Better Pictures.
15. Adjust Exposure if Needed
After looking at the histogram you can adjust the exposure as needed and re-take the shot. You can either change the settings for aperture, shutter speed, and/or ISO or you can simply use exposure compensation on your camera. Exposure compensation makes it easy to increase or decrease exposure on the fly. If you’re not familiar with how it works please see How to Use Exposure Compensation.
Another approach that can help to ensure that you get proper exposure is to bracket, which will take multiple shots at different exposures. For example you can set auto bracketing to capture 3 shots, one at the exposure that you dial in, another shot one stop below the base exposure, and another shot one stop above the base exposure. With most DSLRs you can set the number of exposures (like 3, 5, or 7) and how many stops apart you want them to be. Bracketing is commonly used for HDR photography, but it can also be used to simply ensure that you get an exposure that you can use.
Photos above are courtesy of ISO Republic.


Hello Marc, thank you for your post. I found it very helpful, and it was very nice to see the check list at the end of your article. There are always great articles posted with tons of information, I always forget half of it later, so the checklist was a great surprise. thanks, maria
Maria,
Thanks for your comment. I’m glad to hear that the checklist is helpful!