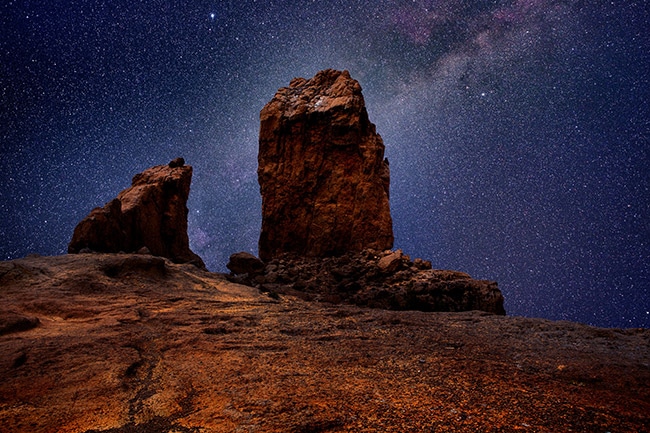
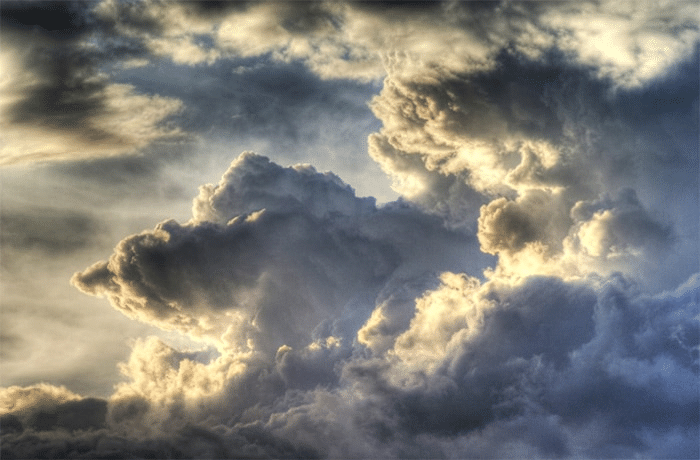
Landscape photos taken at night can have a completely different feel as compared to a photo of the same scene taken during daylight hours. Night photography also presents plenty of opportunities to capture beautiful images of the moon and stars.
Night photography has some specific gear requirements, and there are also a number of apps and resources that can prove to be invaluable. Here you’ll find a description of resources, gear, and accessories that can help to make your night landscape and night sky photography to the next level.
→ Related reading: How to Photograph the Night Sky
If you want to learn to master night photography I highly recommend Collier’s Guide to Night Photography in the Great Outdoors. You can read my review of the book here.
Apps and Resources for Night Photography
International Dark Sky Association
The International Dark Sky Places Program promotes the preservation of night skies around the world. If you are looking for a great location to photograph the night sky, visit their website to find locations of parks, reserves, and communities that are a part of the program.
Clear Sky Chart
Clear Sky Chart will show you when, in the next 48 hours, you can expect a clear, dark sky. There are charts available for thousands of locations in the USA, Canada, and Mexico.
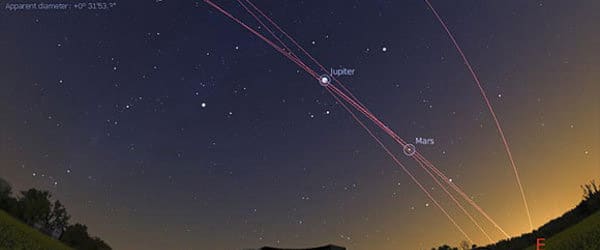
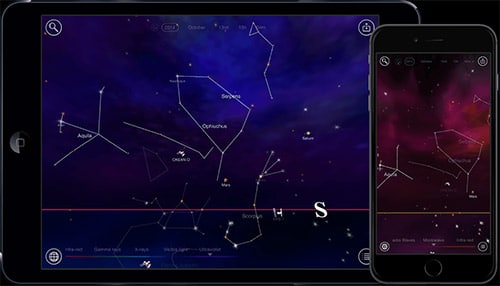
Stellarium
Stellarium is a free, open-source planetarium software. You’ll see a realistic sky in 3D, which can be very helpful for planning your photographs of the night sky.
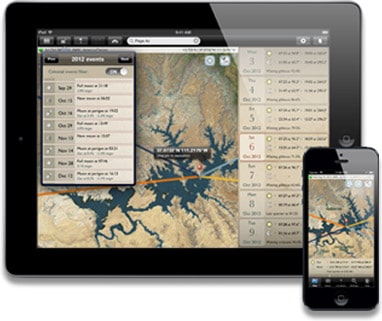
The Photographer’s Ephemeris
The Photographer’s Ephemeris is a free app that will help you to plan your outdoor shoots with a map-centric sun and moon calculator. It is available for the desktop as well as for iOS and Android. The website has a number of tutorials that will help you to get started the desktop web app or mobile apps.
It is not a tool exclusively for night photography, so you may also find it to be very helpful for your daytime photography.
StarDate Moon Phase Calendar
StarDate is an easy-to-use moon phase calendar. Just select the month and year that you would like to research (by default it shows the current month) and it will show a visual representation of the approximate moon phases.

Star Gazing Info from StarDate
StarDate also provides stargazing information and tips for the current month. Use this page to find dates and events that you may want to photograph.
Sun or Moon Rise/Set Table
The website of the United States Navy allows you to enter a location, select a day, and get a report of the times of sun and moon rise and set, as civil twilight, nautical twilight, and astronomical twilight.
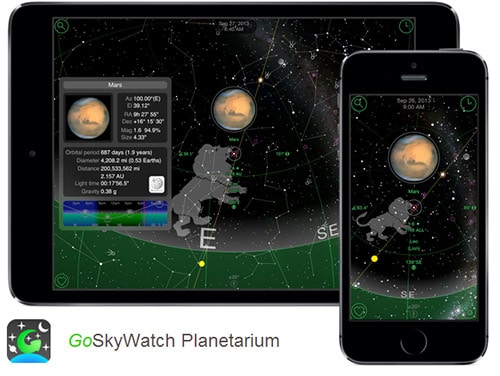
GoSkyWatch Planetarium (for iOS)
GoSkyWatch Planetarium ($3.99) helps you to quickly identify and locate stars, planets, comets, constellations, galaxies and more by simply pointing to the sky.
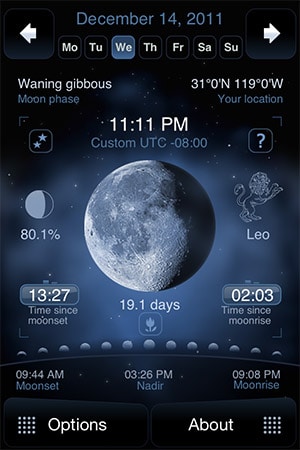
Deluxe Moon App (for iOS, Android, and Windows)
Deluxe Moon ($2.99 for the full version with a limited free version also available) includes features like a moon phase calendar, a moon compass, sun and moon rise and set time table, and more.
Moon Seeker App (for iPhone)
The Moon Seeker app ($3.99) provides a list of lunar phases, a calendar view, a flat-view compass, and an augmented reality 3D view of the lunar path with hourly intervals.
Night Sky App (for iOS)
Night Sky ($0.99) includes a number of useful features like a 3D globe view for information on the sky from any location, stargazing weather, live sky information, and a search and locate feature that helps you to find constellations, planets, stars, and satellites. A Free lite version is also available.
Star Walk 2 App (for iOS)
Star Walk 2 ($2.99) is a “guide to the sky day and night”. Point your iPhone or iPad at the sky. The app provides 3D models of celestial bodies and plenty of information that can help you to be familiar with the sky that you are photographing.
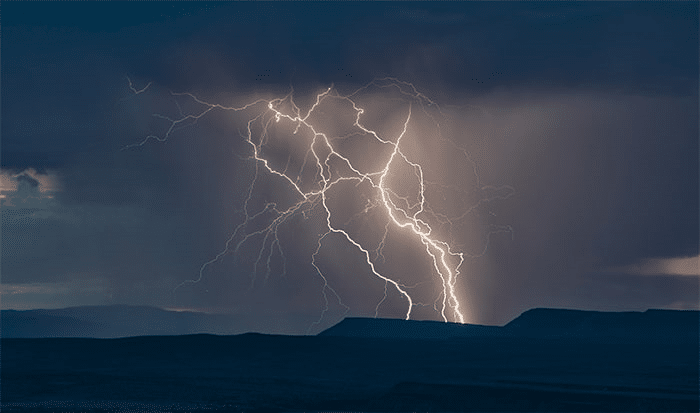
Lightning Bug
If you hope to capture outstanding night shots of lightning you will either need a lot of luck or some assistance from a tool like Lightning Bug. Lightning Bug ($179) works by sensing the infrared burst that happens just before lightning and that trips the shutter to capture the lightning that will follow. Lightning Bug mounts to your camera’s hot shoe and it gives you full control over the sensitivity settings. You can also set it to capture 1-10 exposures per second.
StarStaX
StarStaX is free software for image stacking and blending, which is developed primarily for star trail photography. With its help, you can merge a series of photos to create a single image with star trails. It is available for Mac OS X, Windows, and Linux.
→ Related reading: How to Photograph Landscapes at Night
Gear for Night Photography
While apps and resources can be extremely helpful, you’ll also need the right gear to make night photography possible.
Tripod
Night photography will require slow shutter speeds and a sturdy tripod is a must-have. Ideally, your tripod will be both light and sturdy.
Carbon Fiber tends to be a strong and lightweight material, and carbon fiber tripods also do not transit cold like aluminum tripods well, which is something you will appreciate on a cold night.
There are several different brands for getting a quality tripod, and there are options at all different price ranges. Some of the quality brands include Manfrotto, Oben, Really Right Stuff, Gitzo, Slik, and Vanguard. If you are just getting started you certainly don’t need to buy one of the more expensive models.
But don’t go for a cheap option if you can afford a little more. A quality tripod should last you for a long time. It will make your life easier and will help you to get the best quality photos.
Locking Cable Release
A cable release is a handy tool any time you are using a tripod. It can help you to eliminate even the smallest of movements caused by pressing the shutter button. With night photography you will want to have a cable release or remote that will lock, allowing you to take long exposures without holding the button down.
You can lock it to leave the shutter open, and then remove the lock when you are ready to close the shutter. Most camera manufacturers offer cable releases that you can purchase. Or you can get one made by a third-party, just be sure that it is compatible with your camera.
Penlight or Small Flashlight
One of the challenges of shooting at night is simply seeing what you are doing. Always have at least one penlight or flashlight with you. A backup or at least spare batteries is also a good idea.
The flashlight can help you to see where you’re going, allow you to get set up, find items in your camera bag, and see controls on your camera if needed.
LED Flashlight or Night Vision Flashlight
You may also want a more powerful LED flashlight to help with light painting. During a long exposure, you can shine the light on an object that you want to highlight or lighten it in the shot. A few good options include the Coast HP7, Coast G50, and Coast PX20. The red LED of a night vision flashlight won’t impact your night vision once your eyes have adjusted to the dark.
An inexpensive option like the Celestron 93588 Astro Night Vision Flashlight can be a great addition to your camera bag.
Digital Watch or Timer
Keeping track of long exposures can also become a challenge. Having a digital watch or timer specifically for the purpose of timing your exposures is a good idea. You don’t need anything fancy or expensive, just something that is easy to use.
Extra Camera Batteries
The long exposures of night photography can drain your battery very quickly. Make sure you have a fully charged backup, and possibly several backups if you will be doing extremely long exposures.
Protecting Your Work and Your Camera Gear The Right Way

by Jerry Ferguson / CC BY 2.0
Our photography work is more than just a photo. It’s our work, our vision, our end result and our personal investment of time and money. We spend a lot of money on our cameras, lenses, accessories, computers and post-processing technology.
When we start totaling up the dollars to replace the replaceable (i.e. a broken lens, camera, etc), it can put a serious hit on the pocketbook.
The investment of our personal time and creativity ~ the hours behind the post-processing, the volume of files ~ if that gets corrupted, destroyed or stolen, it cannot be replaced. Losing a year’s worth of work, a year’s worth of lost raw files and your personal artistry could cause quite a bit of angst, heartache and a few tears.
There are cost-effective and time effective solutions to protect both your equipment and work.
We’ll cover methods for protecting and backing up your work (and preventing heartache) and methods of insuring your gear.
1. Backing Up Your Work
If you have your work on only your hard drive at this moment, you are at significant risk. Technology, while advanced, is still unreliable. Other risks include human error (that darn delete button and trash can!), theft and natural disasters.
I’ll never forget the time that I had backed up my work for the first time. A week later my computer had significant issues and the only way to get it to work was a system overhaul. Too close for comfort!
Since ‘lighting can strike more than once’ there are 2 key requirements for protection – onsite and offsite backups.
This includes two external (not one!) drives and storing your work in the cloud.
by John Fowler / CC BY 2.0
Why 2 External Drives?
External drives while tough, may be damaged too. ‘Reliability’ issues you weren’t expecting when you purchased the latest on the market can occur. Having two external drives allows you to have identical backups of your photography files.
One drive can be stored at home and the other in another location such as an office or a family/friend’s home. If something happens at one location, the offsite backup serves as a safety next.
I personally update my local external drive every couple of weeks. I update the offsite drive once per month unless it’s a critical shoot and I update both immediately.
Tip: With Lightroom, Photoshop or other programs, copy the complete directories that include the catalog files, digital negatives and then paste it into the formatted external drives.
by Pranav Yaddanapudi / CC BY 2.0
Cloud Storage
Photographers need the ability to manage large files, raw files and large volumes of data. There are cloud-based solutions that offer a variety of services. Research their features and their file management approach to ensure it ‘thinks’ the way you think.
Examples of cloud-based storage solutions for photographers include Backblaze, Carbonite, ZipCloud and Crash Plan.
My personal choice was Backblaze as they handled raw files, unlimited file size, and file storage and works great with a MAC. At $100 for two years or a few dollars per month, unlimited cloud storage that supports RAW files and large volumes of data met my needs. I used the free trial for a couple of days.
After I observed the upload process and reviewed how it looked (just like my hard drive), the decision was easy. My hard drive alone took a few days to update. The external drive took about six days.
Tip: Check your settings so that your computer will not time out during the first long upload.
BackBlaze continues backing up your work in the background during the upload process and ongoing as new files are uploaded.
2. Insuring Your Gear
Whether you are an enthusiast or a professional, not having insurance is a risky proposition. Our piece of mind and our equipment is definitely worth investing a few hundred dollars a year for protection.
Enthusiast photographer:
When considering the camera and gear insurance, check with your current homeowner’s policy or talk with your insurance representative. Homeowner policies will cover lost/stolen gear (typically they do not cover damage from dropping i.e. on concrete or in the water).
Understanding exactly what they will or will not cover is recommended well before disaster strikes. A deductible at varying amounts may be required depending on your agency and personal selections.
Professional photographer:
If you are using the equipment as a professional photographer, you may be denied access to reimbursement on your homeowner’s policy depending on their criteria. In the case of professional photographers, equipment and other business-related protection may be added as a rider on your homeowners’ insurance. Before adding a rider, research other available insurance solutions designed for photographers.
Organizations such as NANPA – North American Nature Photography Association, ASMP – American Society of Media Photographers, PPA – Professional Photographers of America or APA – American Photographic Artists provide their members with access to underwriters who specialize in photographic insurance. The costs are very competitive combined with their knowledge of our field.
Backing up our work effectively and having the right insurance coverage will bring peace of mind and allow us to face each shoot with a smile knowing our work and gear are well protected.

by Sheen’s Nature Photography
Photo license link: CC BY 2.0


Hi Marc,
great article; I’m going to look into the Night vision flashlight you recommended as I recently broke my old camera that was specifically designed for night photography. Thanks for this. Have a great Holiday Season. xxx Stephanie
Stephanie,
Thanks for your comment. I’m glad this article could help.
very nice, thanks for sharing