If you’ve ever gone on a road trip to take photos and have had difficulties knowing where to go to get the best angles, worry no further! With Google Earth you can plan out every detail, down to what time the sun sets, and how the shadows will fall across the landscape.
As an avid landscape photographer I’m always looking for ways to make planning a shoot easier. There’s been so many instances in my career where I’ll arrive to an approximate location only to realize the sun had gone down, or I had no clue how to get to the best vantage point.
In this article I’ll be going over the different tools Google Earth provides and showing you how they can be applied to planning your next shoot.
→ Related reading: Picture-Perfect Planning with the Photographer’s Ephemeris
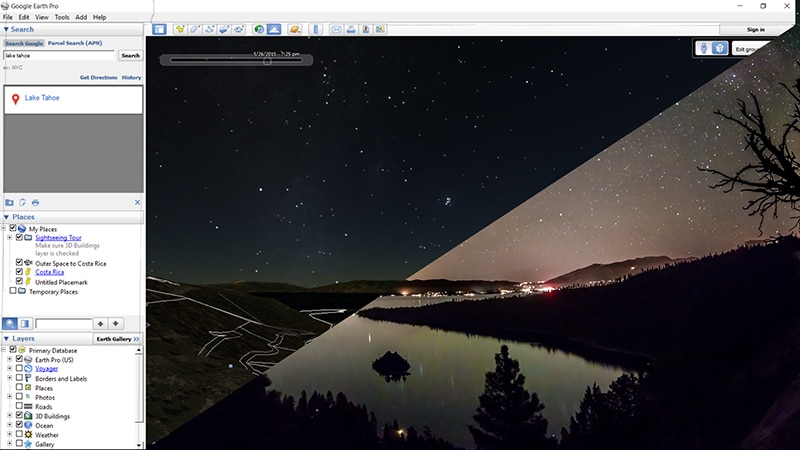
Google Earth has an incredible location database, allowing you to select very specific locations.
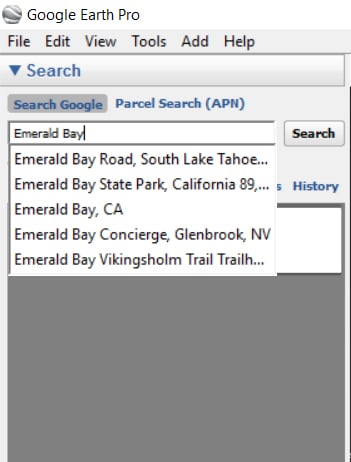
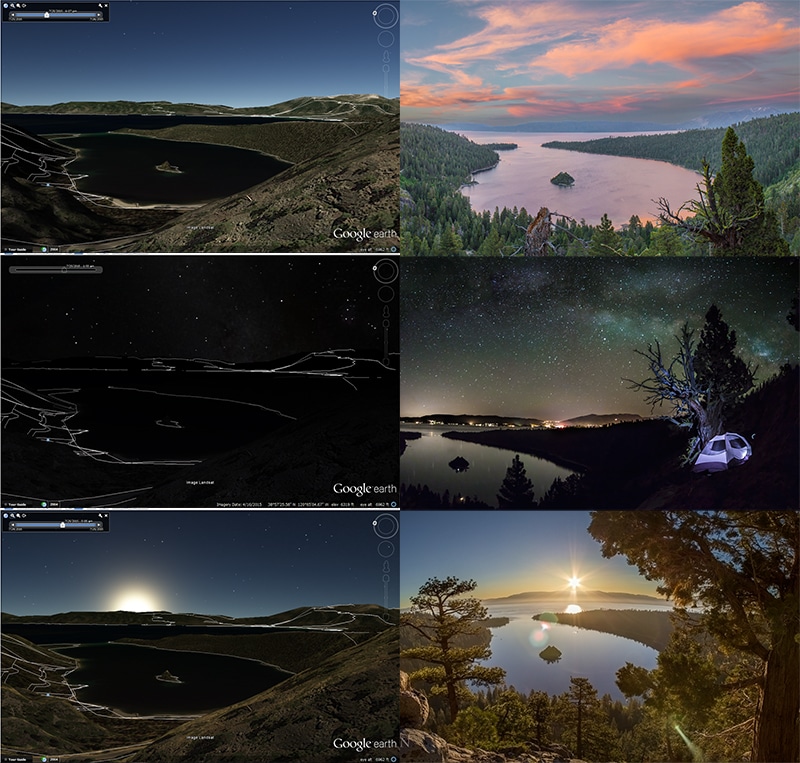
Emerald Bay is a popular landscape location in Lake Tahoe, rather than searching “Lake Tahoe”, we can type in “Emerald Bay” to bring us directly there. Take a look around the area and try to decide on a good vantage point.
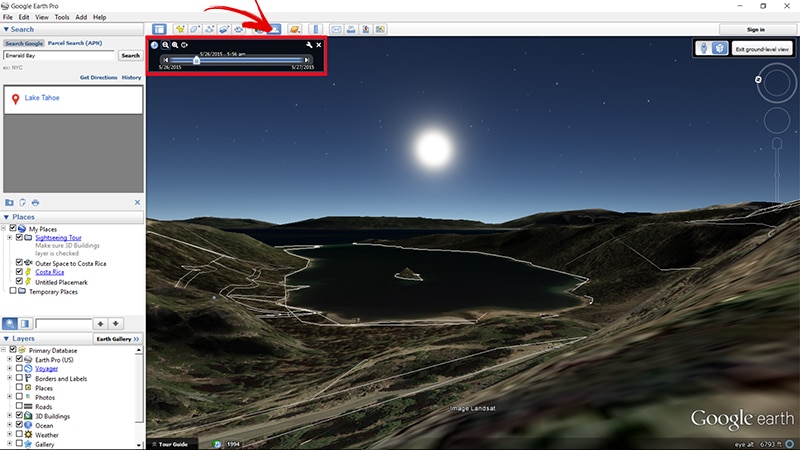
Next, use the little orange man in the right hand side to bring your perspective down to ground level.
In ground view you’ll be able to cruise along the landscape, seeing perspectives that are as close as it gets to a live camera. In the navigation panel on the right side you can change your angle of view, move positions, or zoom out to see possible vista points. This step is important for selecting potential compositions, and finding your route. You’ll notice Google Earth won’t display trees and other natural features perfectly, which you can compensate for upon arrival.
One of my favorite tools in the program is the sunlight and time of day slider, located in the tool panel on the top of Google Earth (See Red Arrow). Here you can adjust the time of day to see exactly where the sun will be rising/setting, along with the shadows it will create across the landscape. One of my frequent mistakes was to simply Google what time the sun was setting, and assume it would be visible across all portions of the landscape. This assumption has led to a lot of missed opportunities due to the drastic variances shooting in the mountains.
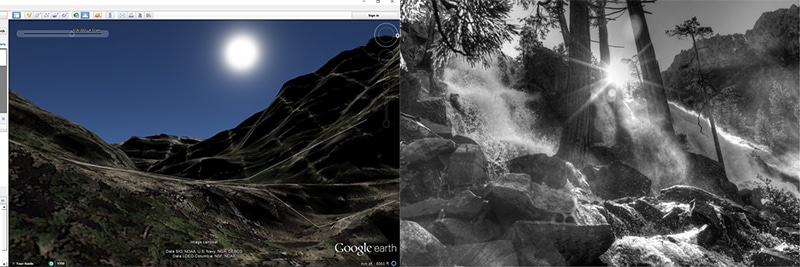
In the shot below you can see I adjusted the time of day to see when the sun would become hidden behind the steep mountains. Had I shown up any later I would have missed the shot I had in mind.
Whether you’re just going out for the day, camping overnight, or taking an extended road trip, it’s incredibly efficient to plan for multiple shots in order to get the most from spending the time and resources to travel somewhere. One of my most successful outings came from planning an overnight camp trip during which I was able to capture the sunset, the milky way, and sunrise all because I knew what time, and at what angle the light would be coming from. (See Below)
Good photography is just as much the product of proper planning as it is technical prowess. By using Google Earth you’ll greatly improves your odds of finding the right location, rather than relying on being at the right place at the right time.
The weather can be unpredictable, even in the most temperate of climates. Rainy days can…
Haze can be a photographer's ally, but it is a trouble to endure most of…
As a landscape photographer, you often find yourself drawn to the expansive views and deep…
When you're traveling, it's always a good idea to travel light. The fewer things you're…
Volcano photography is an enriching hobby. Even though a lot of work goes into the…
You may not have heard of Norway’s second largest island, Senja Island. This underrated must-visit…
View Comments
Thanks, Jeremy for the helpful tutorial. I'm planning a trip to Yosemite for the Dec 14 full moon. I've been using Google Earth to plan my shots. Alas, when using the "time of day" feature, I see stars in the night sky, but no moon. Do you have any insight on if/how Google Earth can show the rise/set of the moon? Cheers, Rick.
Hi Rick,
I'm not sure if Google earth tracks the moon. In the past I don't think it did, but that may have changed. You may want to try the Photographer's Ephemeris (http://photoephemeris.com/) or Stellarium -(http://www.stellarium.org/)
Hello,
Google Earth held a lot of promise, but the phone App sucks as far as scouting locations. I'm not aped yet at dragging a laptop around and won't. I will give this a shot on my 9.7 Ipad Pro, but not yet.