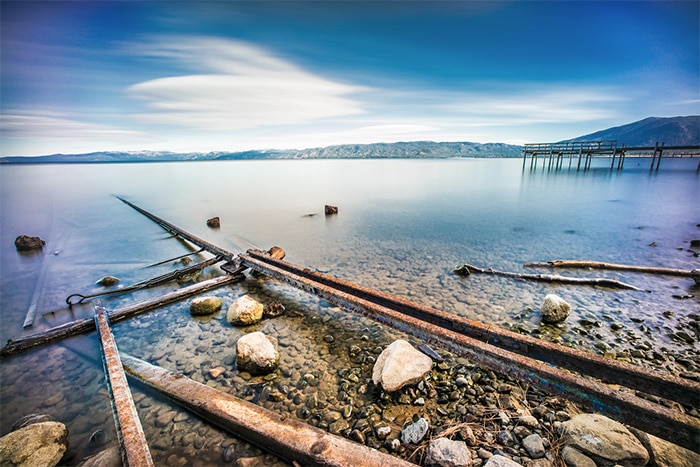
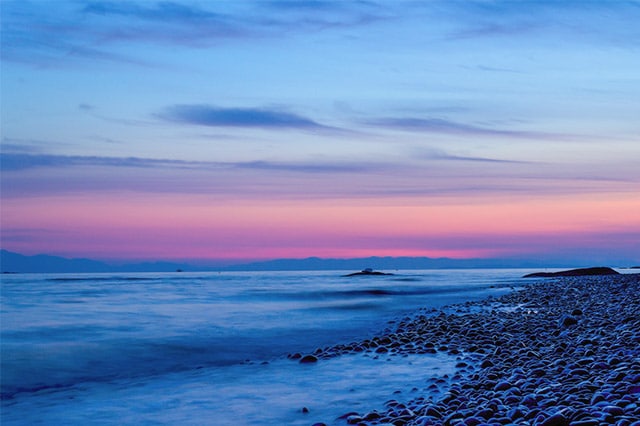
by Johnny Myreng Henriksen / CC BY 2.0
Most photographers are well aware of the golden hour, that spectacular time early in the morning or just before sunset when the sun casts a soft, golden light over everything, illuminating the scene in a dramatic way.
But few are aware of the blue hour, and the impact that this time of day can have on images. The blue hour is the period of twilight that occurs twice a day –in the morning just before sunrise, and at night just after sunset.
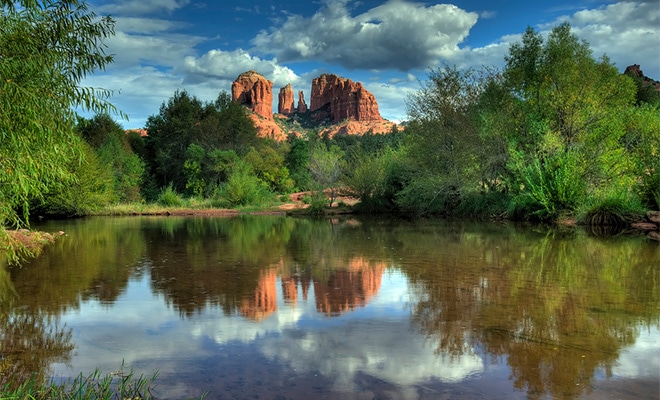
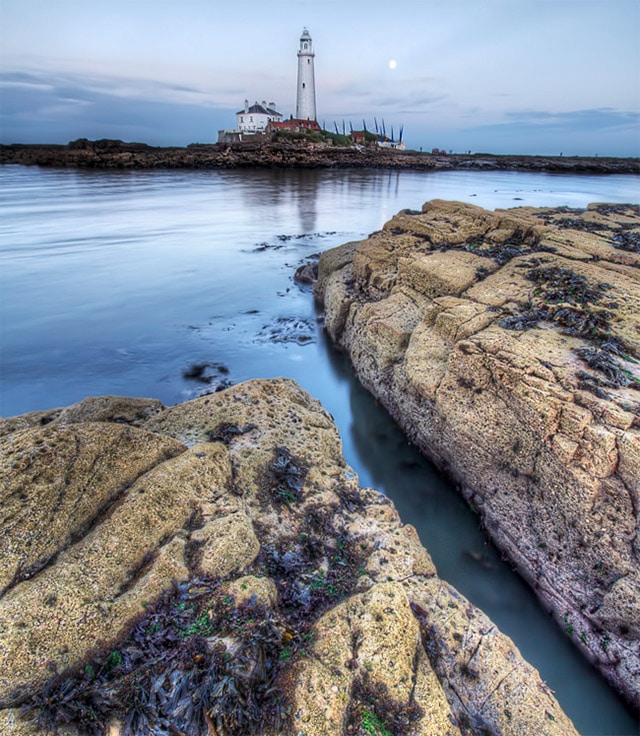
by James Stewart / CC BY-SA 2.0
Whether or not you’ve heard of the blue hour, you have probably seen images taken during this time. These photos are characterized by a blue-tinted glow and have a mysterious, almost ethereal quality to them. During blue hour, the light takes on a blue quality, covering everything in a soft, dark tone.
→ Related reading: Tips for Better Sunset Photography
Let’s take a closer look at the blue hour, and find out how you can take advantage of the intriguing quality of light during this timeframe, and use it to capture some spectacular photos.
What Is the Blue Hour?
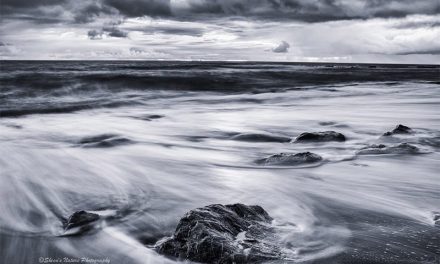
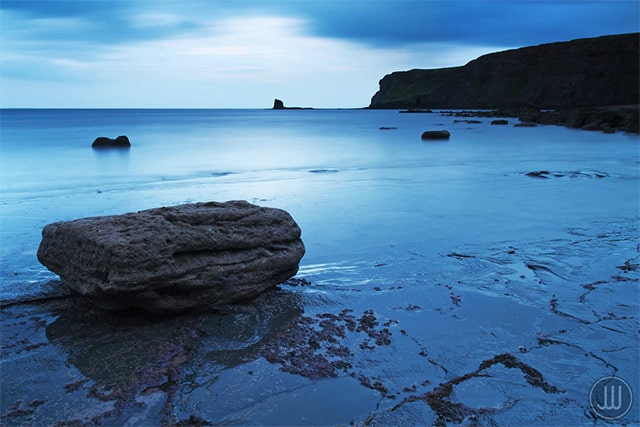
During the blue hour, the sky often has a texture that appears smooth and creamy, and the visible light will appear to take on a blue tone. The light during this time is extremely fleeting, and you’ll have to work fast, blue hour usually only lasts for 20 to 30 minutes –sometimes less.
It’s important to note that when shooting during the blue hour, what you see and what your camera sees are often two completely different things. This is because the camera often renders tones differently from how we see them, resulting in some surprising and spectacular images. This is especially the case when using long exposures, which can help the images to have a softly blurred and misty quality.
→ Related reading: Sunrise Photography: Make Your Images Sparkle & Shine
by Jimmy McIntyre / CC BY-SA 2.0
Camera Settings and Equipment
Blue hour photography requires longer exposures than most daytime photos, so be sure to bring your tripod along to steady your camera for slow shutter speeds. You may also want to bring a neutral density (ND) filter, which will act like a pair of sunglasses for your lens, allowing you to slow the shutter speed down even more. For lenses, you may want to bring along a wide-angle for landscape and scenic shots (see our Recommended Gear for Landscape Photography).
- Exposure
During the blue hour, the amount of light you have to work with is limited. This means that your shutter speed will need to be slower than usual to allow the most light into your camera. Using a small aperture for a wide depth of field, and a slow shutter speed is ideal for landscape photography during the blue hour.
- Manual Focus
Auto focus works great when there is plenty of light available, but during the blue hour, when light is limited, your camera will have a hard time finding something to focus on. Because of this, it’s usually best to switch your camera to manual focus to capture clear and in-focus images.
- Auto Exposure Bracketing (AEB)
Auto exposure bracketing (AEB), or autobracketing, is another technique that you can use during the blue hour. With this setting, the camera will take three or more shots with slightly different exposures. This is handy for creating HDR scenes from multiple exposures later. During the blue hour, lamps and windows will often appear blown, but autobracketing make it easy to blend images with two different exposures, allowing you to salvage the overexposed areas.
→ Related reading: Introduction to Exposure Bracketing & Tips for Terrific Photos
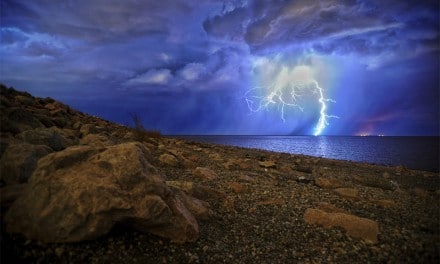
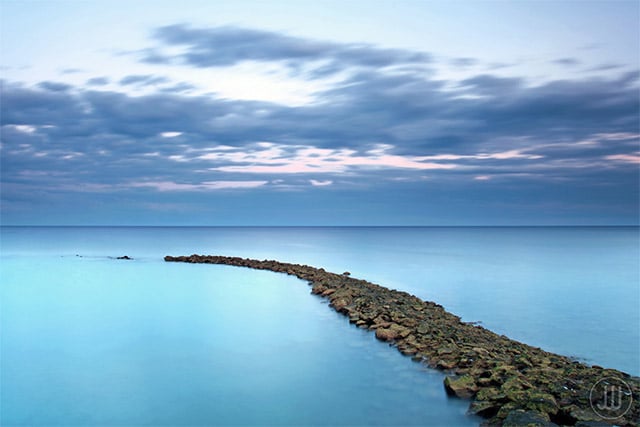
by James Whitesmith / CC BY-ND 2.0
Blue Hour Composition
To get the most out of the blue hour, you’ll want to find a location that can benefit from being bathed in a soft, blue light. Scenic vistas, open fields, ocean landscapes, and city skylines make especially ideal settings. Photographing the moon or other bright lights is also ideal. If you’re feeling especially creative, you can also capture some unique portraits during this hour.
- Portraits
The blue hour is a great time to capture some creative portraits. Just remember to use a fast shutter speed since to avoid blur caused by moving subjects. The blue hour gives you the perfect opportunity to get creative with lighting. One technique is to compose your image with a skyline in the background. Using a wide aperture can render this as stunning bokeh. You’ll also want a fill light to help illuminate your subject’s face, so be sure to look out for street lamps or other sources of ambient light to position your subject under.
- Landscapes
Everything from the coastline, to a bridge, to a vacant field with a lone tree in it will take on an entirely new look during the blue hour. To take full advantage of the mysterious glow, look for a setting that will truly benefit from this lighting. Settings that have some type of light in them, like the bright moon, lights on a bridge, or lights reflected on the water can look especially beautiful in this light, resulting in a softly blurred quality when captured with a long exposure.
- City Skylines
City skylines make an especially ideal blue hour composition, since the lights of the city can benefit greatly from the blue backdrop that blue hour provides. Multiple sources of artificial lighting such as windows, streetlights, or other lights combine to create the ideal photo opportunity.
by James Whitesmith / CC BY-ND 2.0
→ Related reading: How to Anticipate Great Sunsets
Before You Go
It’s a good idea to plan ahead for blue hour photography since this time frame is relatively short. Knowing when sunrise or sunset is will give you time to get to your location and set up for when the blue hour arrives. Using an app like Blue Hour Site that calculates the estimated time of the blue hour for you, also makes it easy to plan.
→ Related reading: Gear and Resources for Night Photography
It’s also important to note that the sky will appear blue to your camera before it looks blue to you. So don’t be afraid to try some test shots just after sunset, to check for the blue tint.
Ready to try your hand at blue hour photography? We’d love to hear from you. Don’t forget to share your images and experience with us in the comments.
Photo license links: CC BY 2.0, CC BY-SA 2.0, CC BY-ND 2.0