There are countless different possibilities when it comes to post processing, but one popular approach is to mimic a film look or style. The film look can work well with just about any type of photograph, and landscapes certainly are included in that.
In this tutorial we’ll walk through the process of creating a simple film-inspired effect. This is not intended to replicate a specific type of film, but rather give a general look that resembles a typical film style.
If you don’t already have Lightroom you can download a free trial here.
The settings used in this tutorial come from the standard film preset that can be downloaded for free at PhotographyPla.net, so if you like the effect head over to their site and get the free preset. They also have a full set of 30 Film-Inspired Lightroom Presets if you want a lot more options.
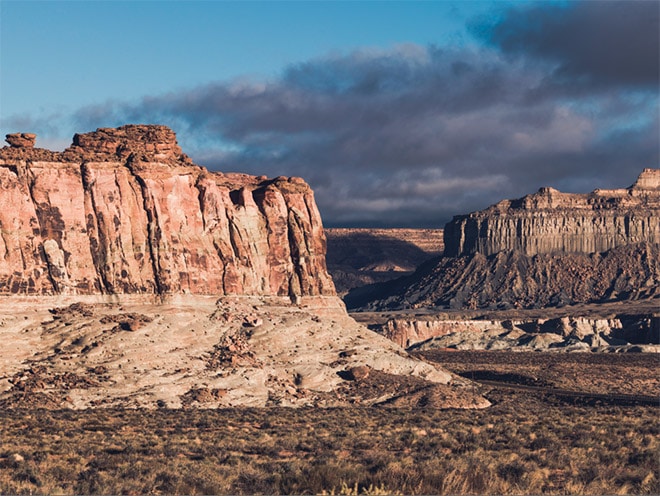
For this tutorial I will be working with the sample photo shown below.
And here is a look at the end result that we will be creating.
In Lightroom’s Develop Module go to the “Basic” settings and adjust the sliders to the following settings:
With these settings we are slightly reducing the contrast, lightening the lightest areas of the photo by moving the highlights and whites sliders to the right, lightening the shadow areas, and deepening the blacks by moving that slider to the left.
Still in the basic settings, apply the following adjustments:
The boost in clarity will increase midtone contrast, which gives it a slightly sharper look. Moving the vibrance and saturation sliders to the left will reduce the strength of colors in the photo.
Next, apply a tone curve like the one shown in the screenshot below. It is a very subtle “S” curve with the end points of the curve also being adjusted. At the left end (for the dark areas) we’re lifting the point slightly. And at the right end (for light areas) we are dropping the point slightly.
The last step we’ll take is make a small adjustment in the “Split Toning” section of the Develop Module. In the highlights settings change the hue to 50 and the saturation to 10. This will add a slight golden hue to the highlights that will warm up the photo just a little.
That completes our effect. You may also want to apply some sharpening and/or noise reduction based on the photo that you are using. Here is our finished product:
The weather can be unpredictable, even in the most temperate of climates. Rainy days can…
Haze can be a photographer's ally, but it is a trouble to endure most of…
As a landscape photographer, you often find yourself drawn to the expansive views and deep…
When you're traveling, it's always a good idea to travel light. The fewer things you're…
Volcano photography is an enriching hobby. Even though a lot of work goes into the…
You may not have heard of Norway’s second largest island, Senja Island. This underrated must-visit…